


Last Updated on November 29, 2025 by sandeeppote

Update: Below is applicable for Sitecore Commerce 10.2. Change the SDK version accordingly. Ignore the step mention for Content Hub
Sitecore Experience Commerce 10 has come up with great new features like Dynamic Bundles, Free gift with Purchase promotion and a sample Sitecore DAM to Commerce connector.
Before you start looking into this, it is important to setup the development environment to debug and test the changes you are making to engine.
Main changes I could see compared to previous versions are integration with Content Hub and Configuring the Commerce Engine using environment variables which not only helps for on-premise installation of Commerce Instance but also helps setup the Docker technology where XC solution is running in containers.
In this post I will walk you through on how to setup the development environment. This post assumes you have Sitecore Commerce Engine along with Visual Studio 2019 installed on developer workstation. If Commerce not installed no worries see this post on how to install Sitecore XC 10 step-by-step.
Step-by-step install Sitecore Commerce (XC) 10
For previous version of XC you may follow this blog post
Step-by-step – Setup development environment for Sitecore Commerce 9.3 Engine
Step 1- Extract Commerce Engine SDK
- Copy the downloaded SDK Sitecore.Commerce.Engine.SDK.6.0.130.zip on your development folder. e.g: c:\development. Note– there is an update on 19th August where the external dependencies are removed. Download the package again if you have a version before this date.
- If not available you may download Packages for On Premise WDP 2020.08-6.0.238. Login before you download the file.
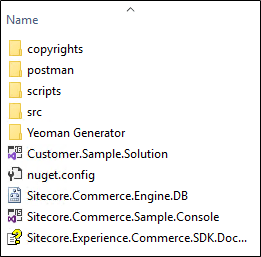
- Extract the commerce package and then extract Sitecore.Commerce.Engine.SDK.6.0.130.zip in your development folder
Step 2 – Setup Visual Studio Solution
- Open the Solution, by default this is Customer.Sample.Solution.sln
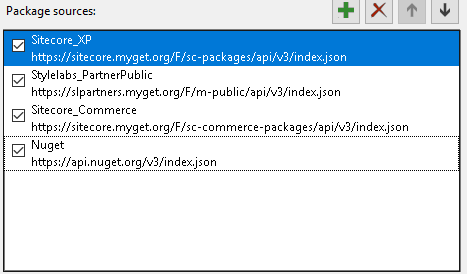
- Ensure Package Source is configured for Commerce- https://sitecore.myget.org/F/sc-commerce-packages/api/v3/index.json
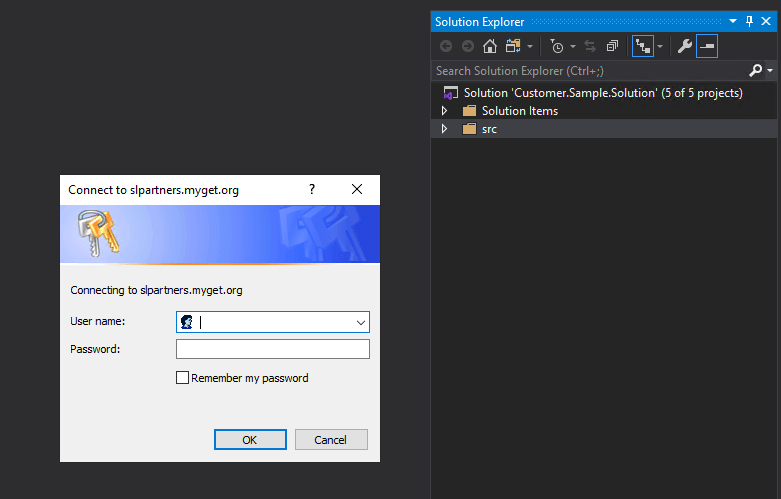
- Whilst opening solution login from slpartners.myget.org will be prompted
- Create an account on https://slpartner.myget.org/ and login here. You may unload Plugin.Sample.ContentHub project if you dont want to integrate ContentHub and the login should not require. Also note myget account has a trial for 14 days.
- Build the Solution. It should restore the package and build successfully.
- (optional)Rename the Solution name. In this case I have renamed to Retail.Commerce
- (Optional) Create Foundation and Feature projects. Build the solution again.
Step 3- Important – Commerce Engine configuration
Sitecore.Commerce.Engine project should have a config.json file in wwwroot folder. Open this file you will see the placeholders that needs to be filled in.
Instead updating config file, you should update the launchSettings.json and the placeholders in config.json will be updated on launch on commerce engine.
Similarly Global.json you can find this in wwwroot/bootstrap folder of your Sitecore.Commerce.Engine project. Again this file has the Placeholders that will be populated from launchSettings.json,
You need to update mainly following variables in launchSettings.json file for both config and global json. There are other variables apart from listed below, you may need to update those based on your site instance name etc.-
- COMMERCEENGINE_Caching__Redis__Options__Configuration
- COMMERCEENGINE_GlobalDatabaseServer
- COMMERCEENGINE_GlobalDatabaseUserName
- COMMERCEENGINE_GlobalDatabasePassword
- COMMERCEENGINE_SharedDatabaseServer
- COMMERCEENGINE_SharedDatabaseUserName
- COMMERCEENGINE_SharedDatabasePassword
- COMMERCEENGINE_AppSettings__SitecoreIdentityServerUrl
- COMMERCEENGINE_EngineAuthoringUrl
- COMMERCEENGINE_EngineShopsUrl
- COMMERCEENGINE_EngineMinionsUrl
- COMMERCEENGINE_EngineHealthCheckUrl
- COMMERCEENGINE_AppSettings__AllowedOrigins
Step 4 – Generate Development Certificate
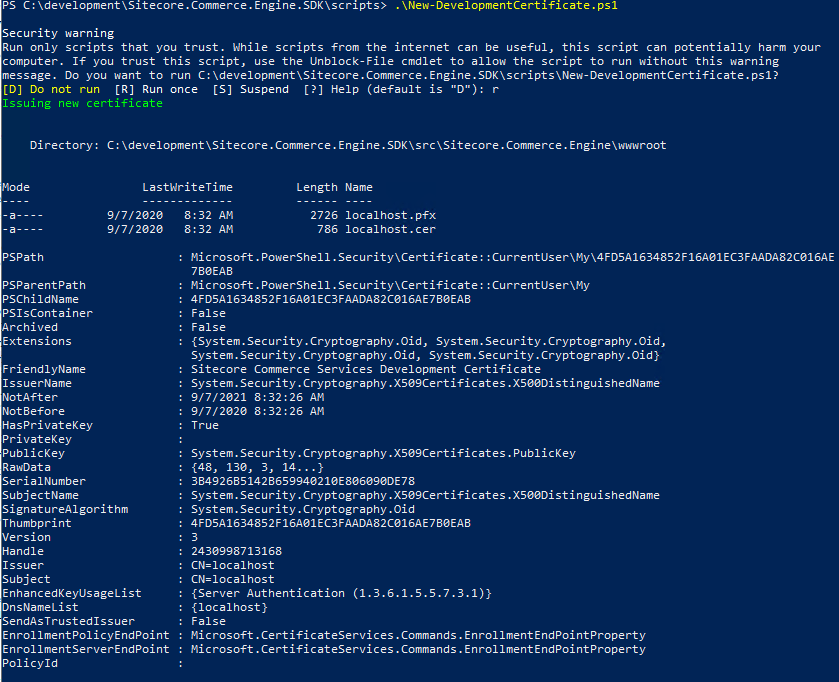
Generate development certificate using script “New-DevelopmentCertificate”, so the localhost runs on SSL(https)
- Create a folder named “dev” in the root directory of SDK
- Create a folder named “Sitecore.Commerce.Engine_Dev” under “dev” folder
- Create a folder named “wwwroot” under “Sitecore.Commerce.Engine_Dev” folder
- Open powershell script and navigate to scripts folder.
- Change the Path($certificateOutputDirectory) if required. Certificate should be copied to \src\Project\Engine\code\wwwroot
- Execute New-DevelopmentCertificate script. This script should be available in script folder in SDK folder.
Step 5 – Update EngineUri in BizFx Site
- Open config.json file. Should be in assets folder of your BizFx instance
- Change EngineUri to https://localhost:5000
- Change BizFxUri to https://localhost:4200
- Restart BizFx site
Step 6- Run the Commerce Engine from Visual Studio
- Set the Sitecore.Commerce.Engine project as Startup Project
- Change the emulator to Engine
- Stop the CommerceAuthoring_SC site hosted in IIS
- Run the solution
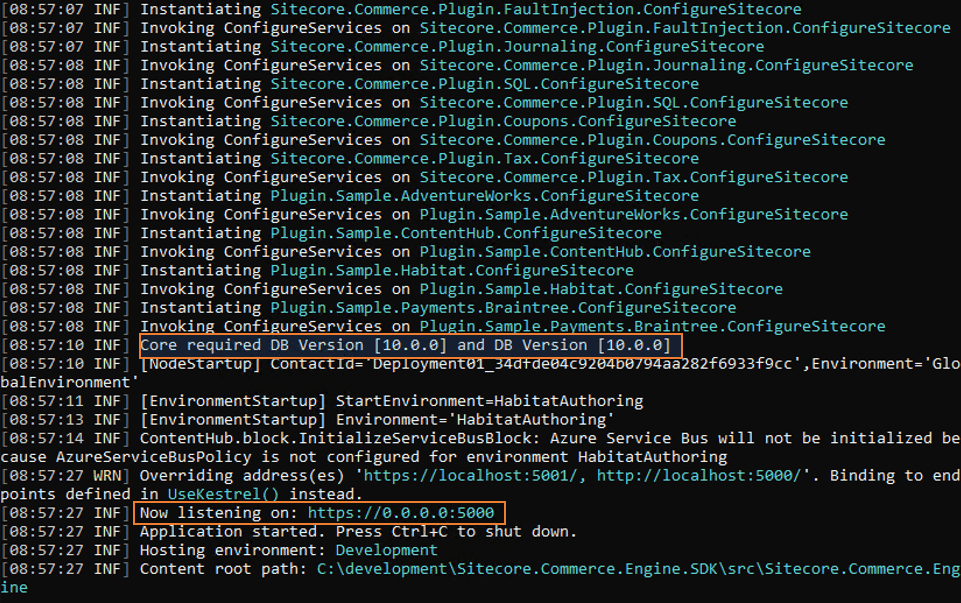
Hope there should be nothing that should block to run the Business Tools requesting a call to Engine running from Visual Studio
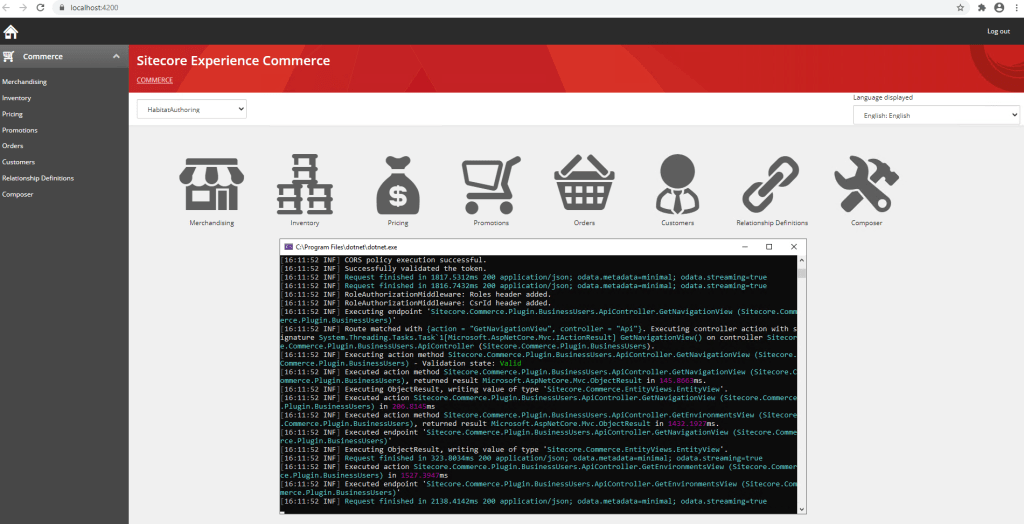
Note: some places you may have to restart IIS also clear the browser cache before you start checking Business Tools is highly recommended.
Hope this post helps you setting your XC 10 development environment.
ISSUES–
Request origin https://bizfx.sc.com does not have permission to access the resource
Resolution- Follow Step 5