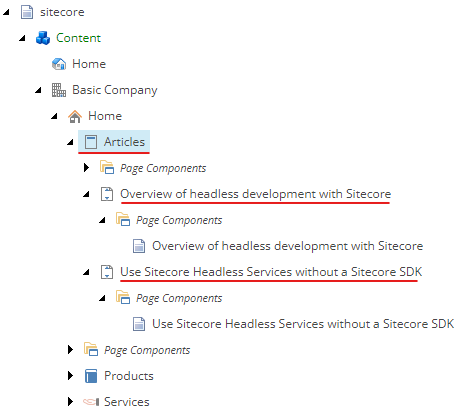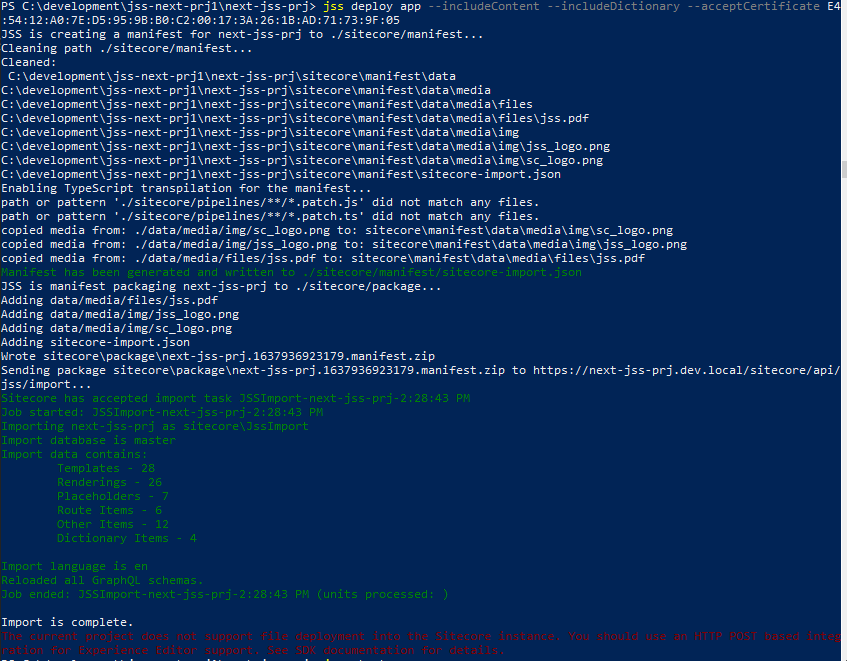
In this blog we will create a Headless SXA Site in local instance, setup and resolve any errors while running the rendering app (sxastarter)
We will create a Headless SXA site in Sitecore local instance and then setup the FE application.
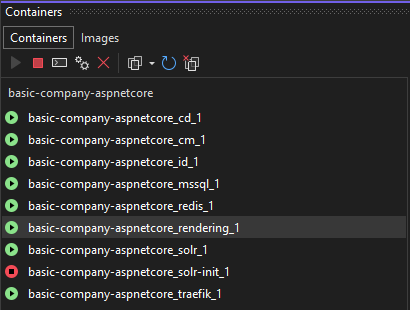
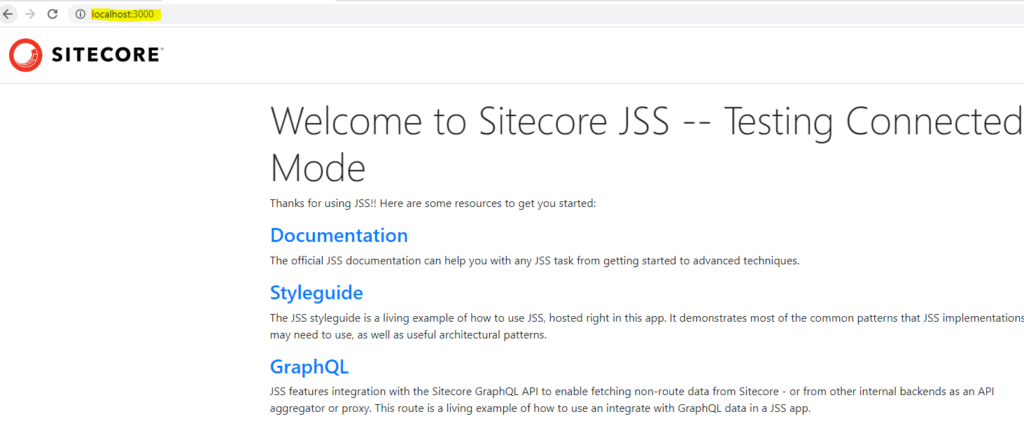
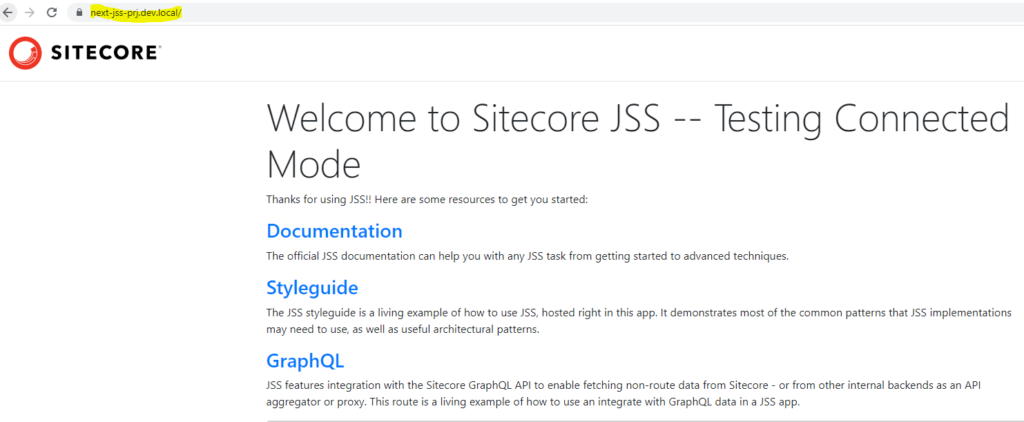
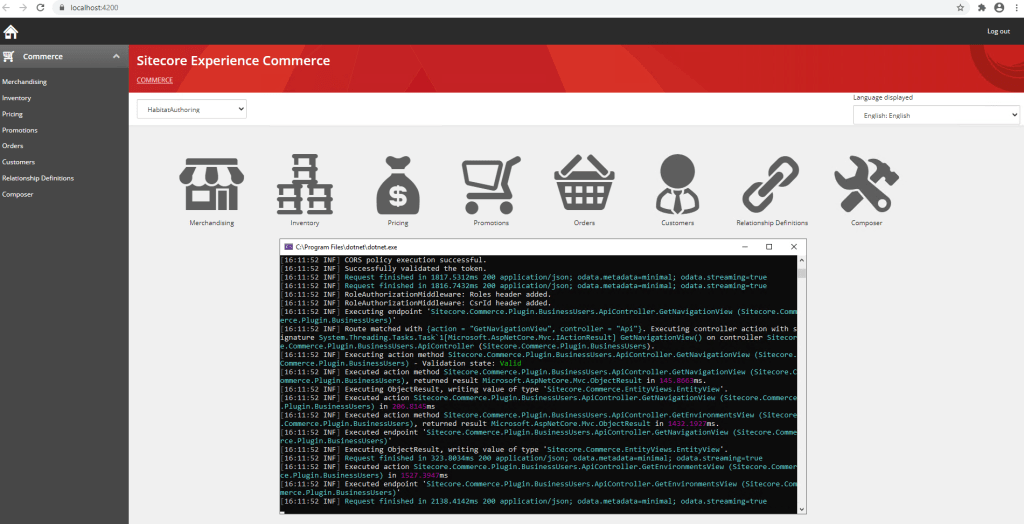
With the local Sitecore instance(CM) you should also see the rendering host is configured i.e. https://www.sxastarter.localhost/
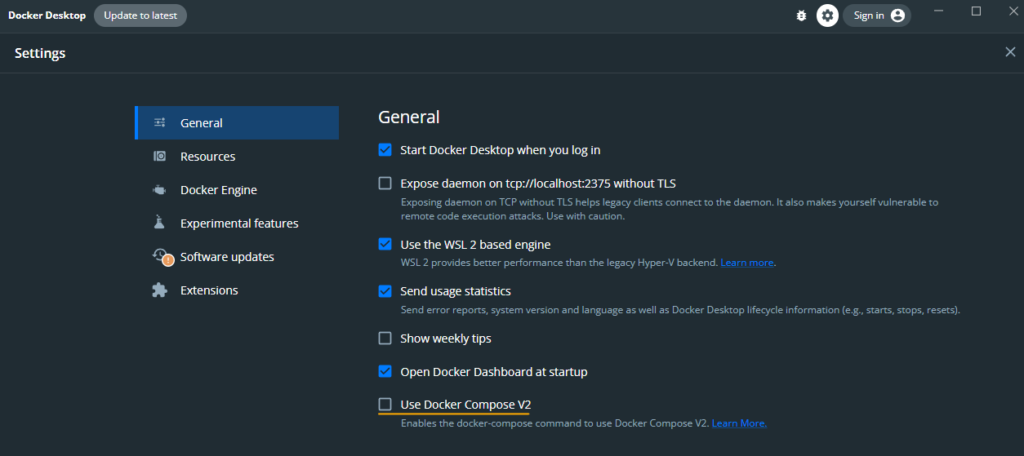
While seting up the local instance we haven’t made any changes to docker compose or override files nor to the .env files manually, although while initalizing the app certian key values were updated in .env file.
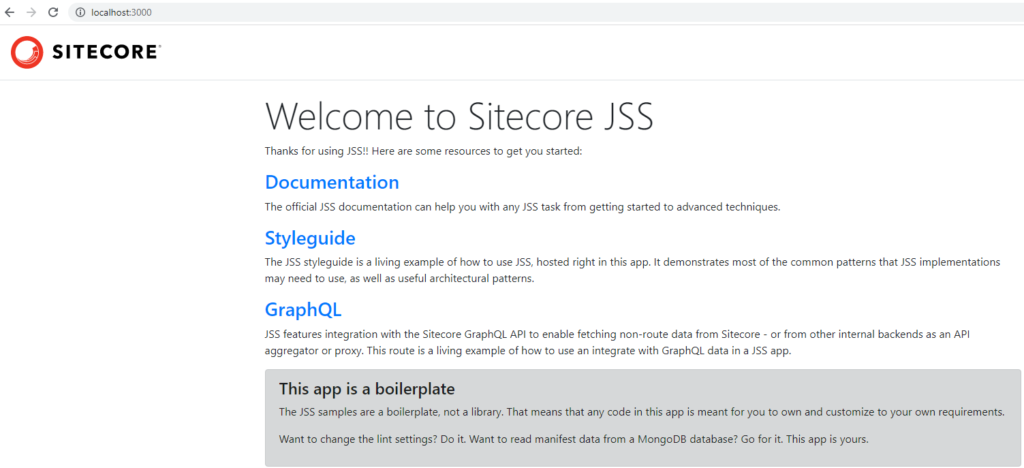
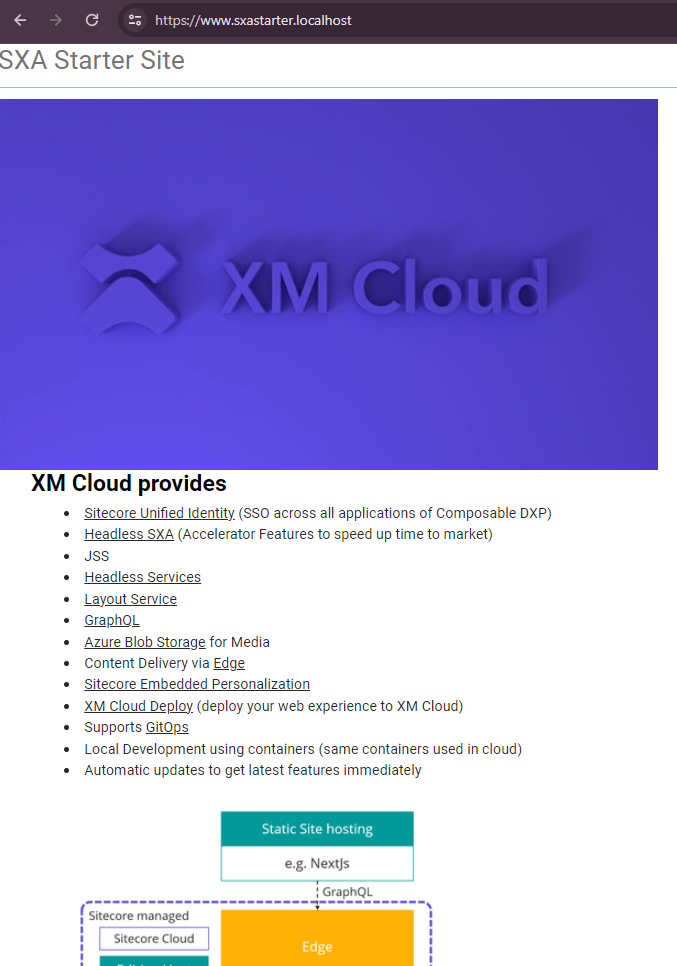
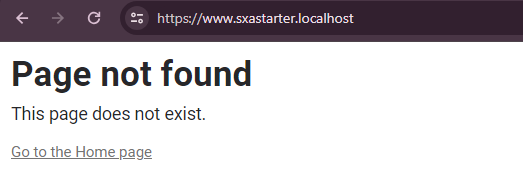
Check the sxastarter rendering host- https://www.sxastarter.localhost/
At this point you might see the error since we haven;t created a sxastarter app in Sitecore.
This is because the no Site Collection or Headless Site exists in Sitecore. Lets create a Headless Tenant and Site.
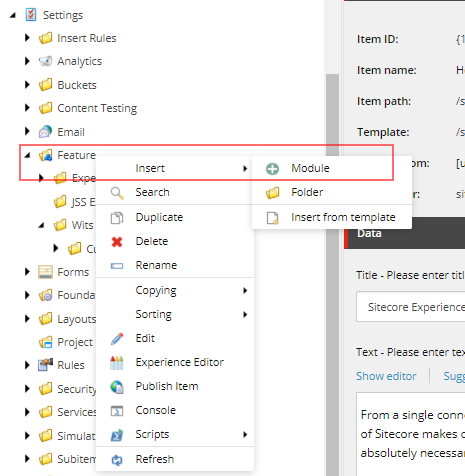
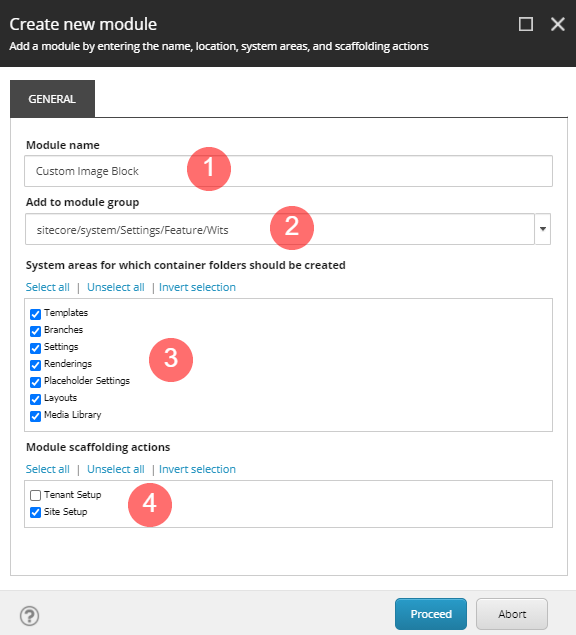
2 . Create a Healdess Tenant and Site
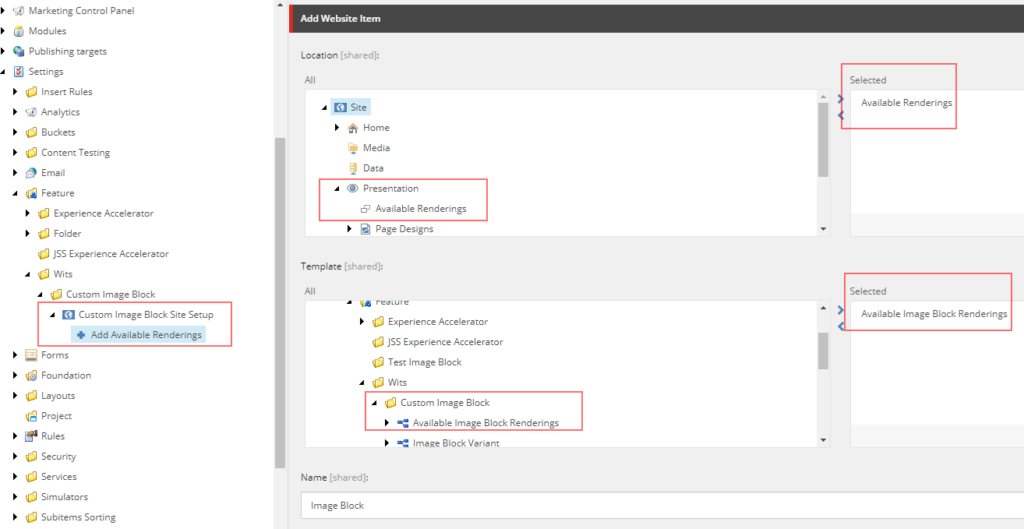
In your Sitecore instance create a Healdess Site Collection, you may create a folder Site Collection Folder if required-
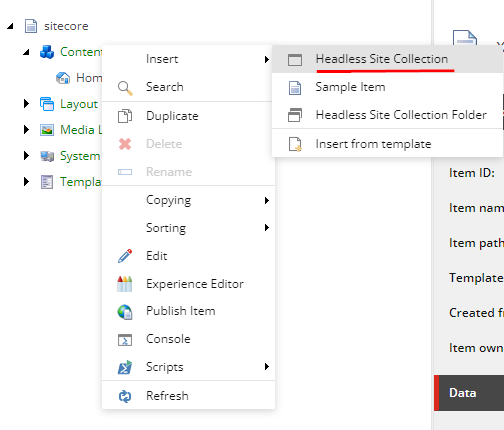
Next provide the Site collection name, in this case scxmcloud and select the required modules-
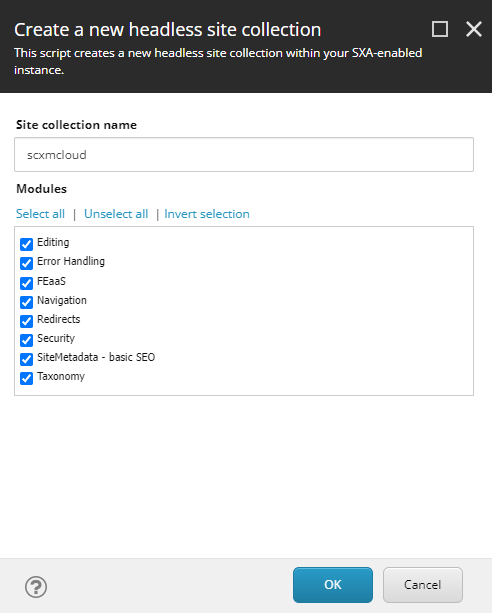
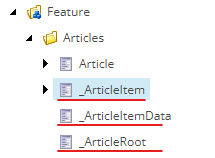
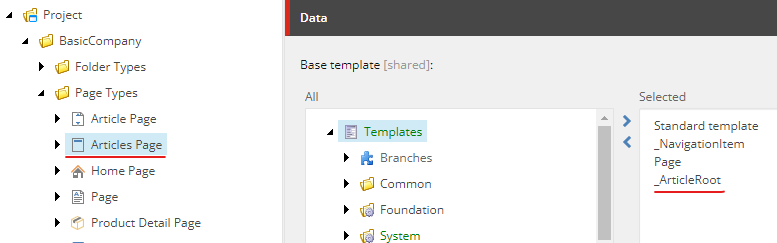
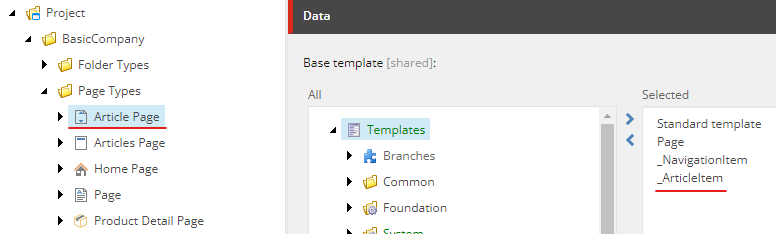
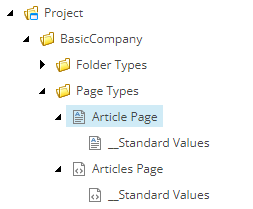
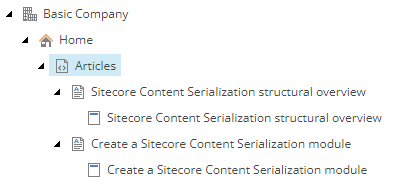
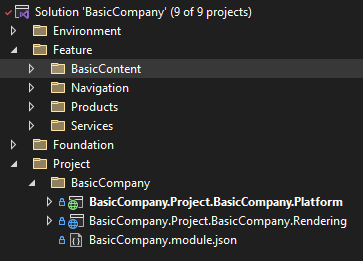
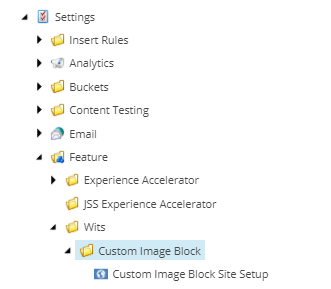
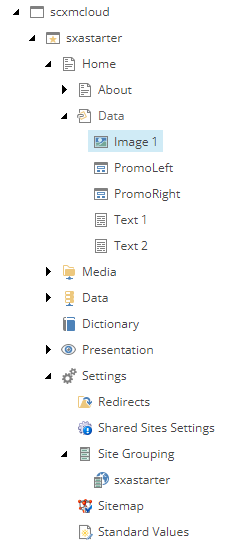
You should see the Site collection created along with the required templates in Project/scxmcloud folder.
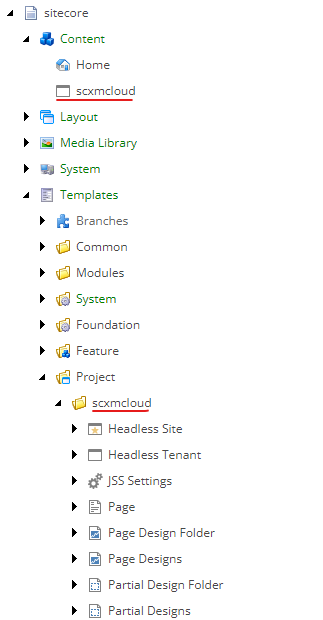
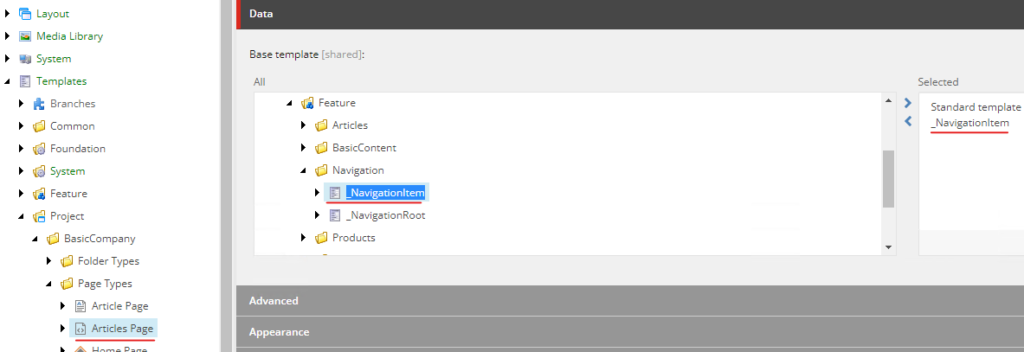
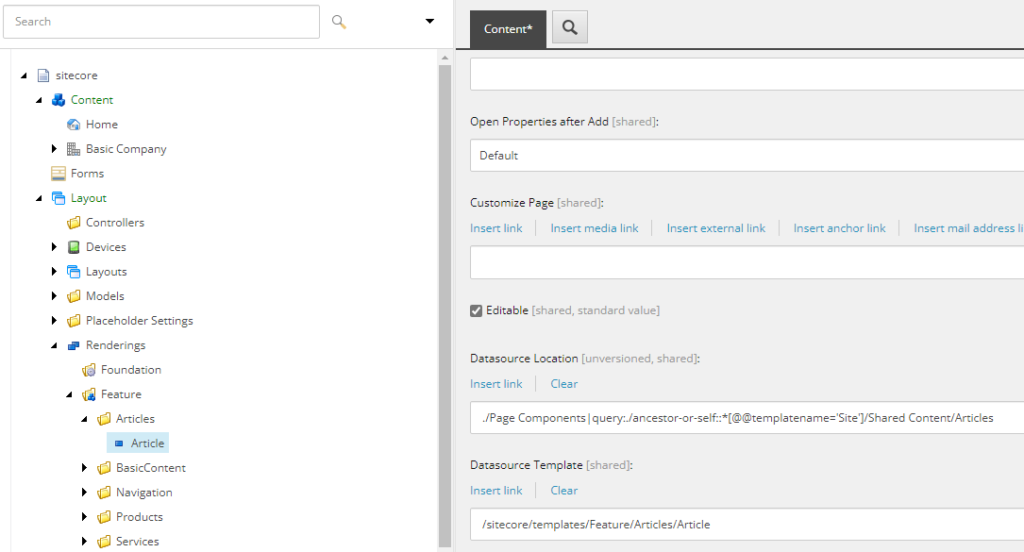
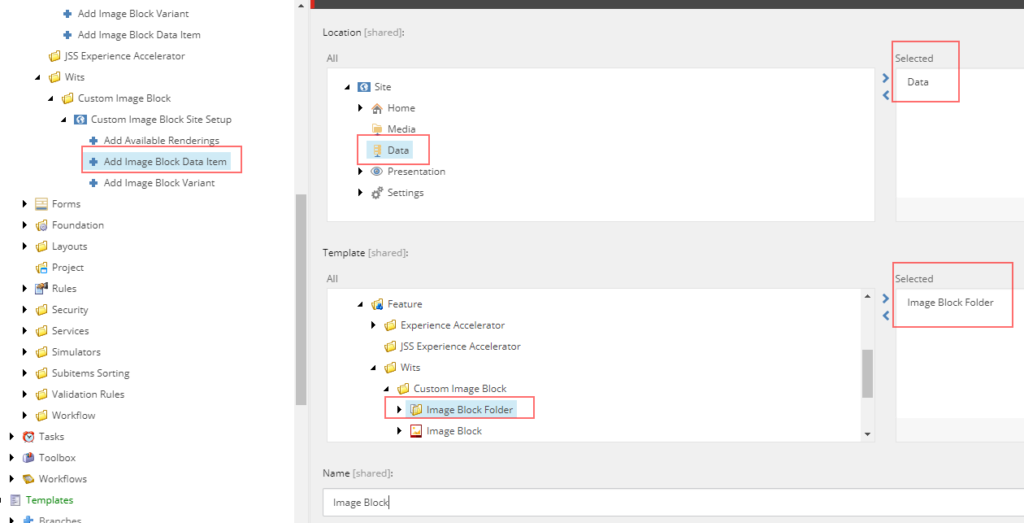
Setup should create folders and required items in following location. Note this as this is required whilst setting the item sync using Sitecore SCS (Sitecore Content Serialization)
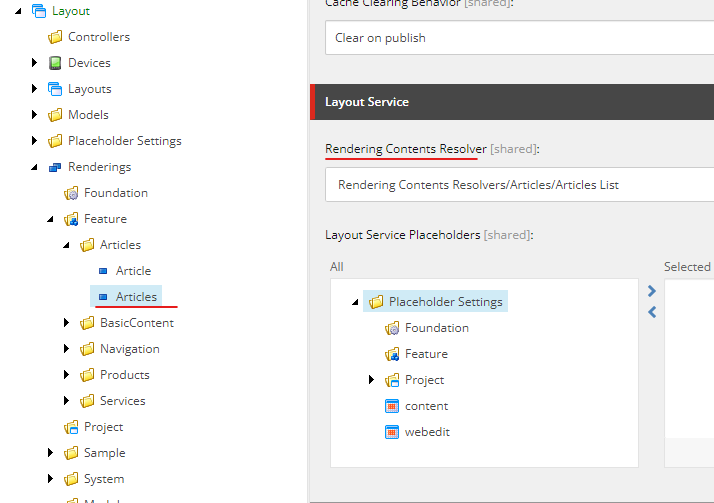
Layout Placeholder Settings- /sitecore/layout/Placeholder Settings/Project/scxmcloud
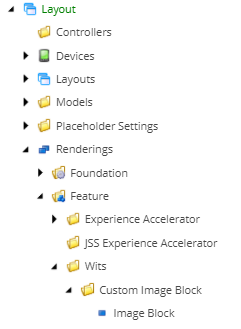
Layout Renderings – /sitecore/layout/Renderings/Project/scxmcloud
Media Library – /sitecore/media library/Project/scxmcloud
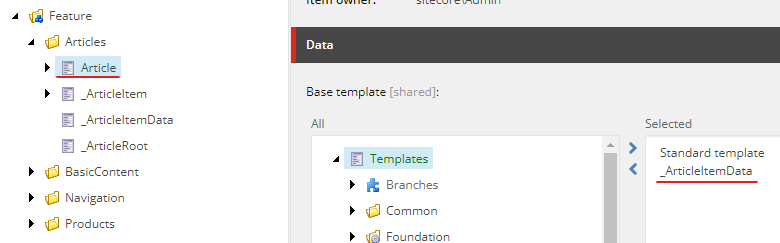
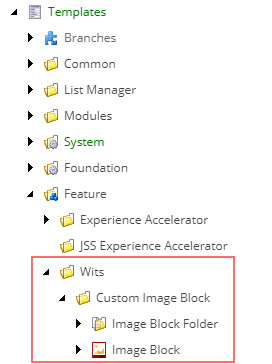
Templates – /sitecore/templates/Project/scxmcloud
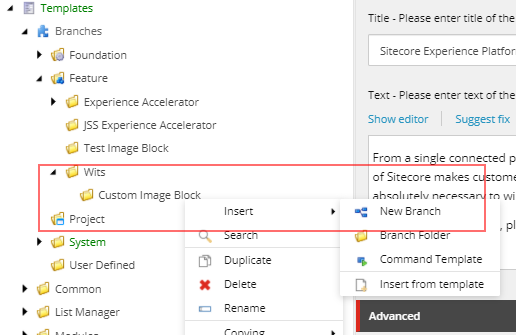
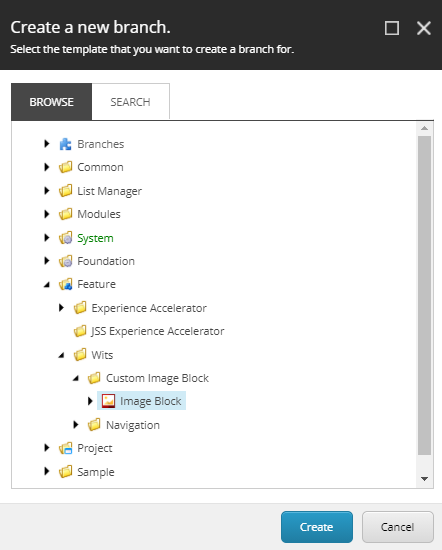
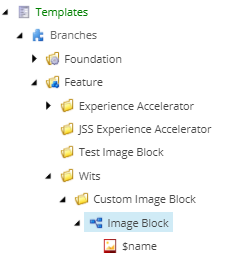
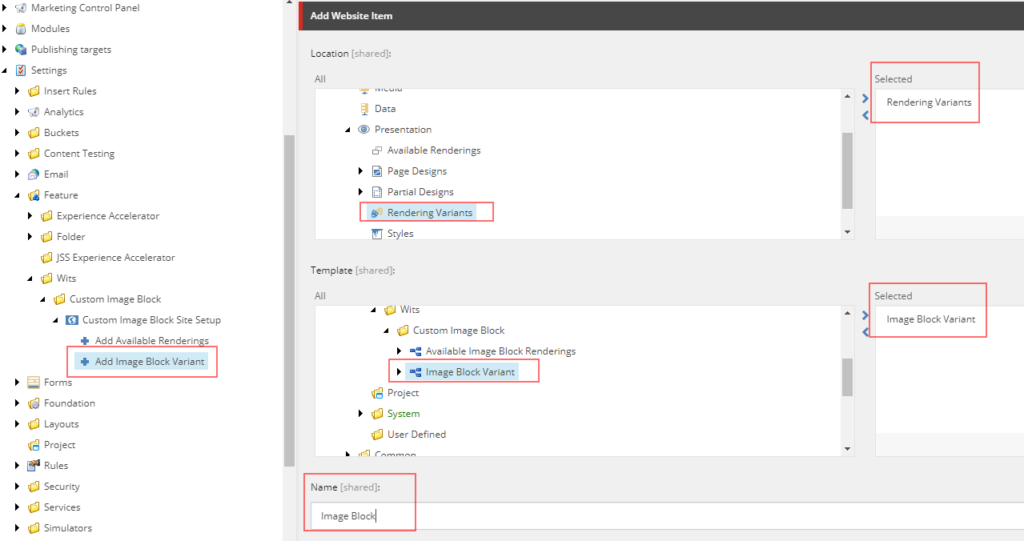
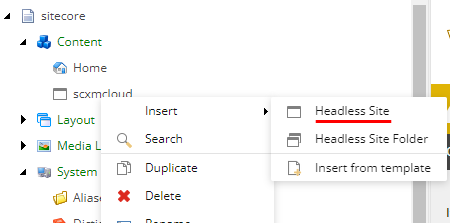
Create a Headless SXA Site
Create headless site under site collection-
Provide the name of the site- sxastarter.
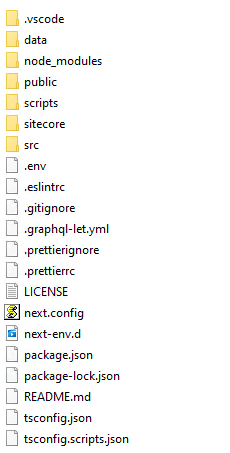
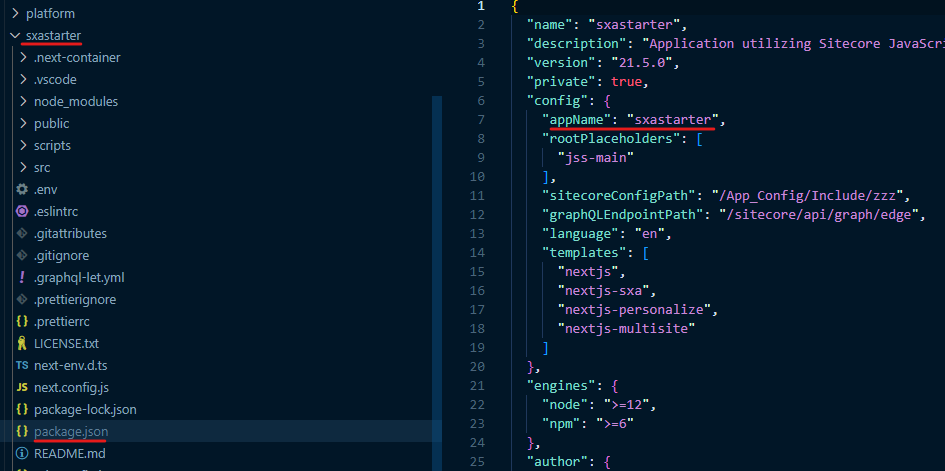
You may choose another name but ensure the package.json file is updated accordingly.
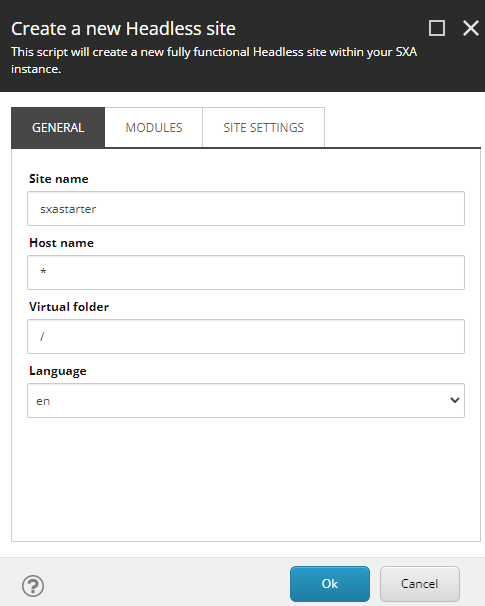
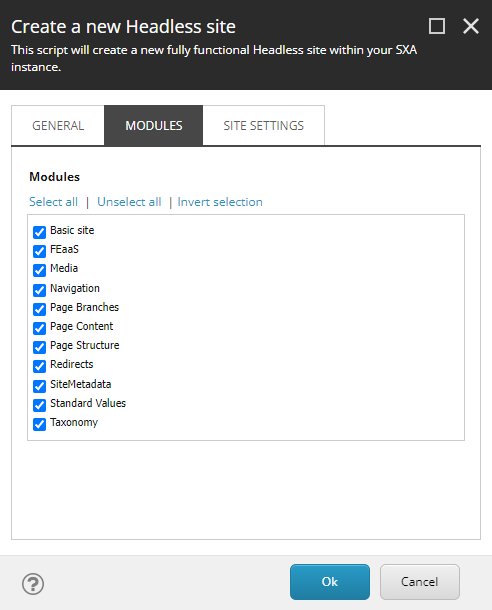
Select the modules- Note I selected the basic site module. This should add sample items to home page along with About page. You may choose not to select the basic site module.
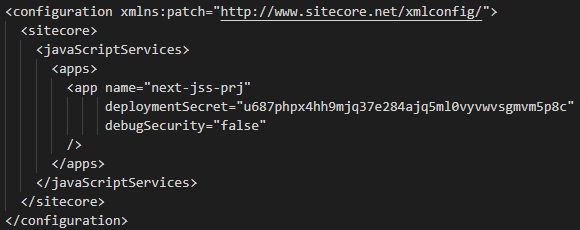
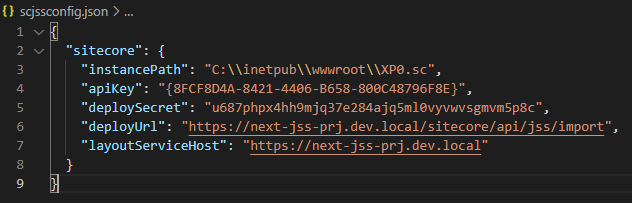
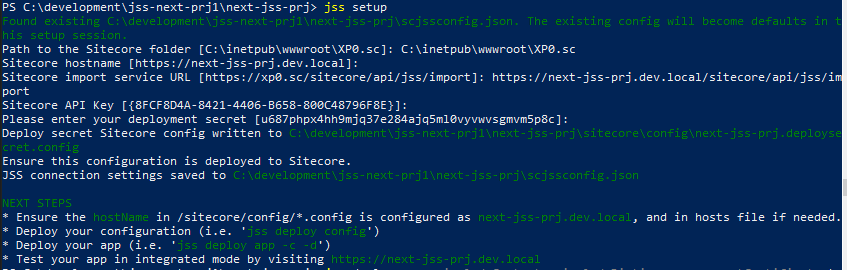
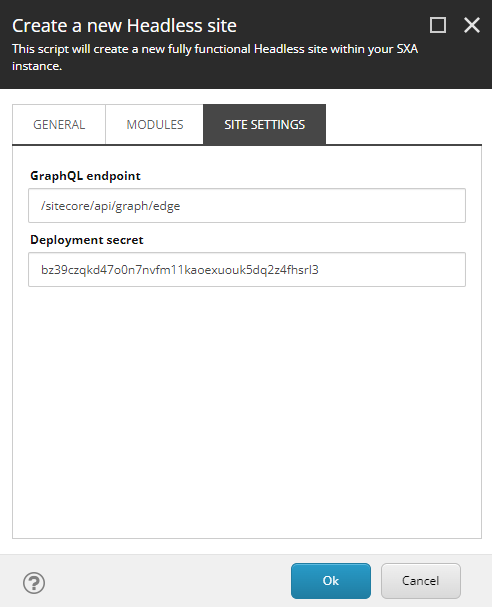
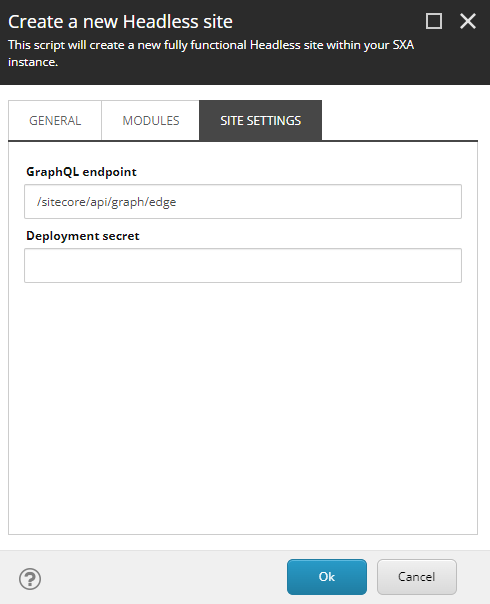
Enter the deployment secret created whilst setting up the JSS app
Site should now be created-
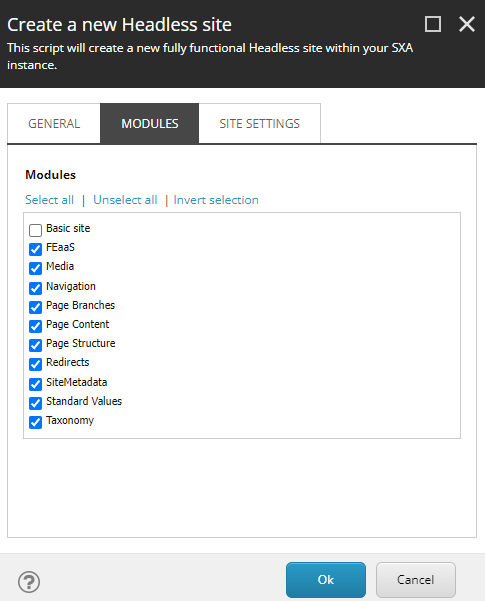
Site without Basic Site module-
Keep the Site Settings as is-
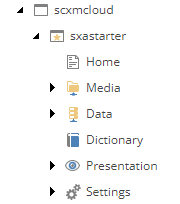
sxastarter site is created along with this the choosen mdoules are installed.
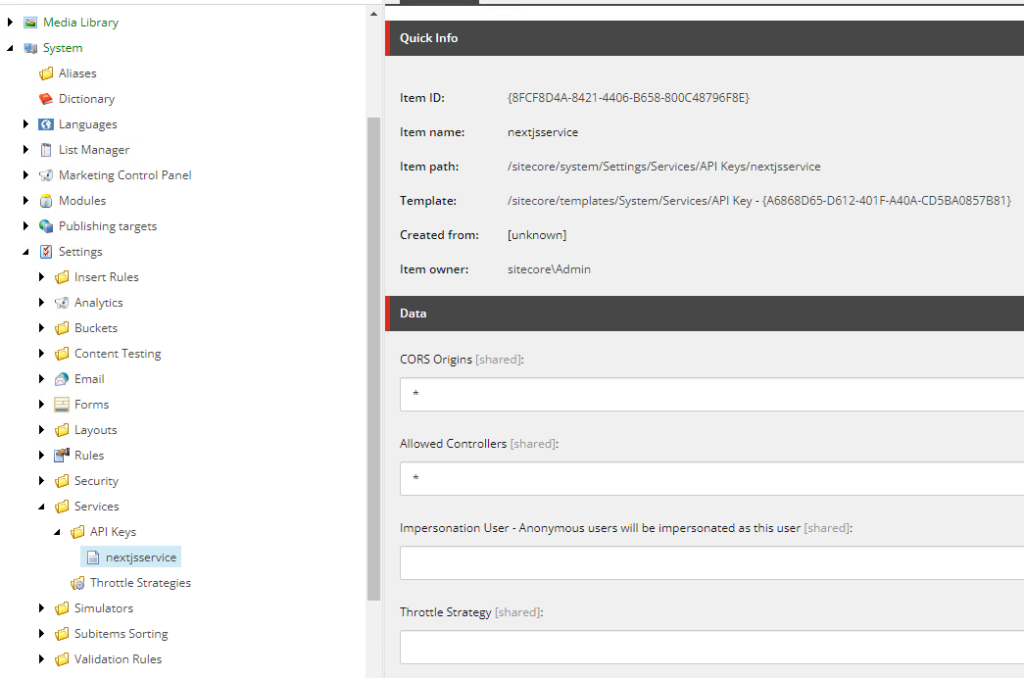
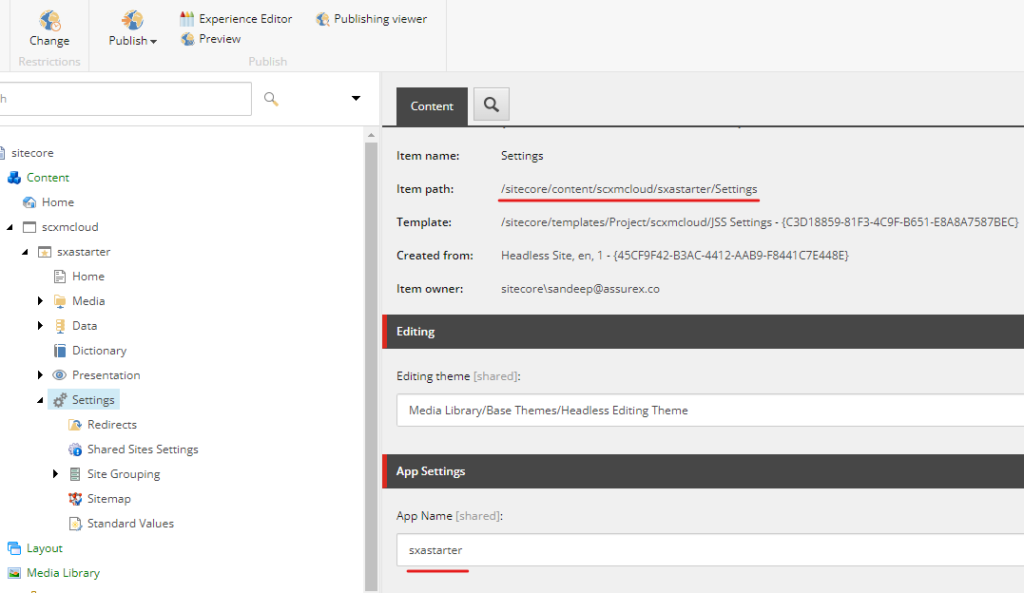
Once this is done ensure the app name in Settings is same as in package.config-
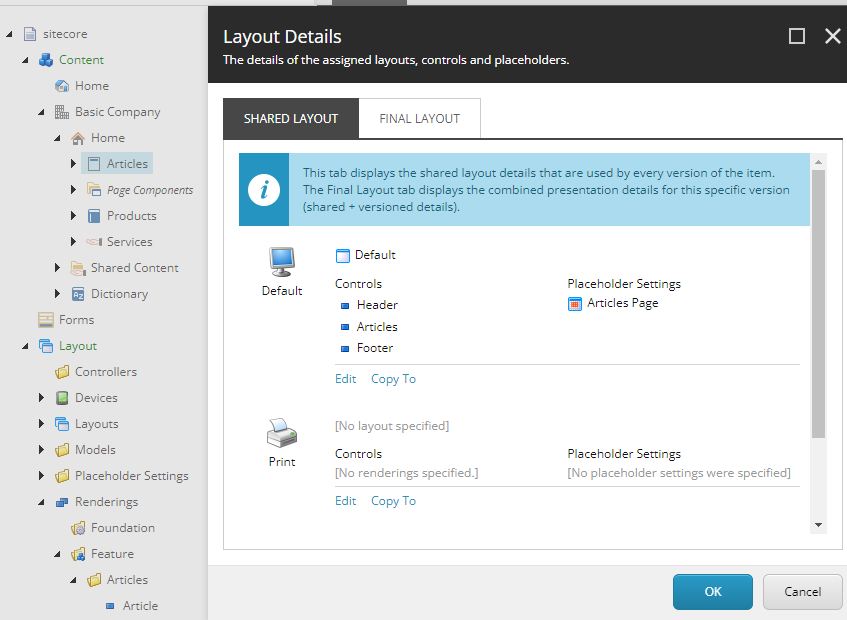
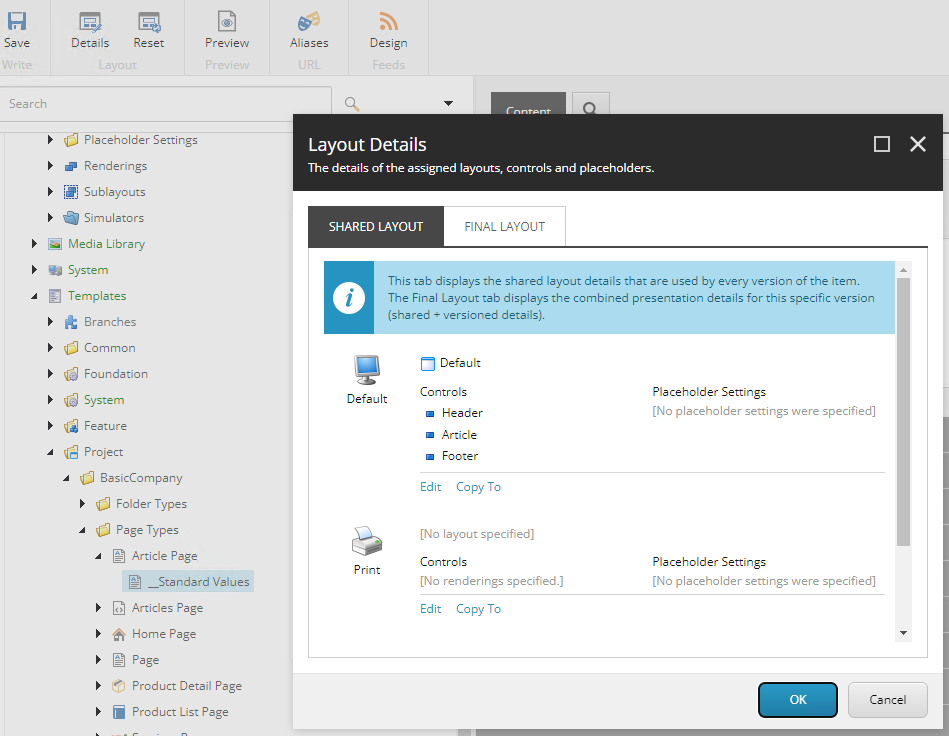
Open the experience editor and you should see the blank page-
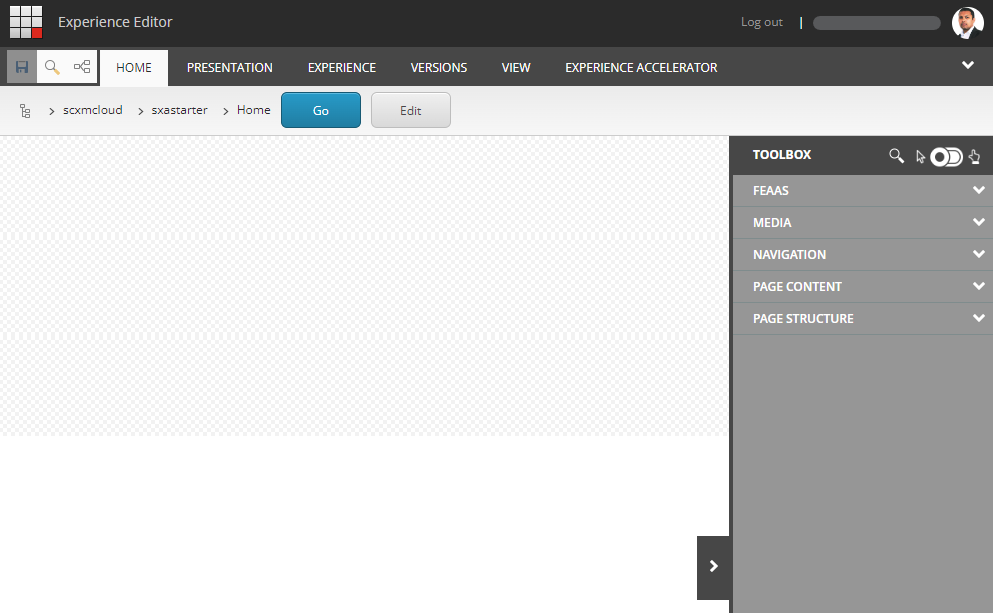
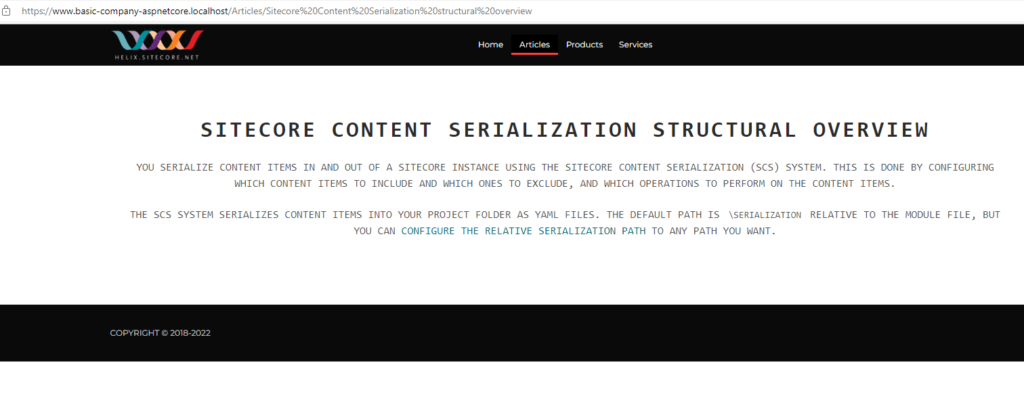
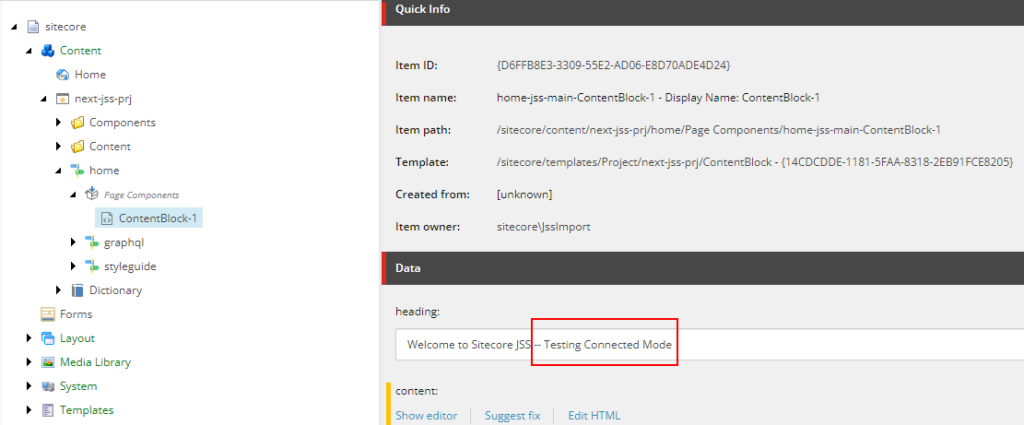
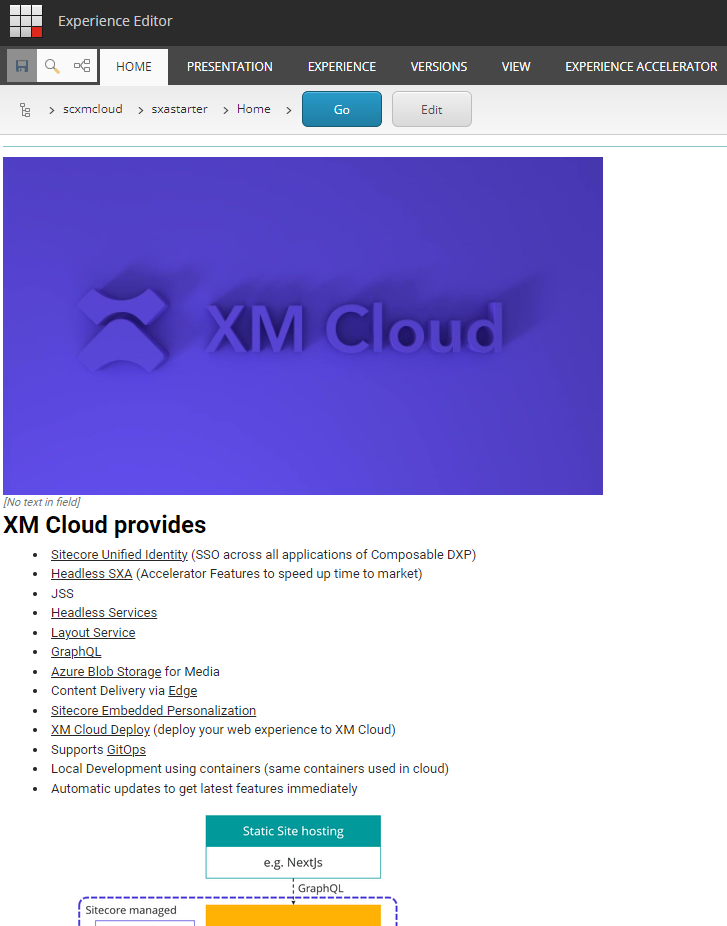
Lets add the Title component and images to see if the changes are reflecting in Experience Editor and FE.
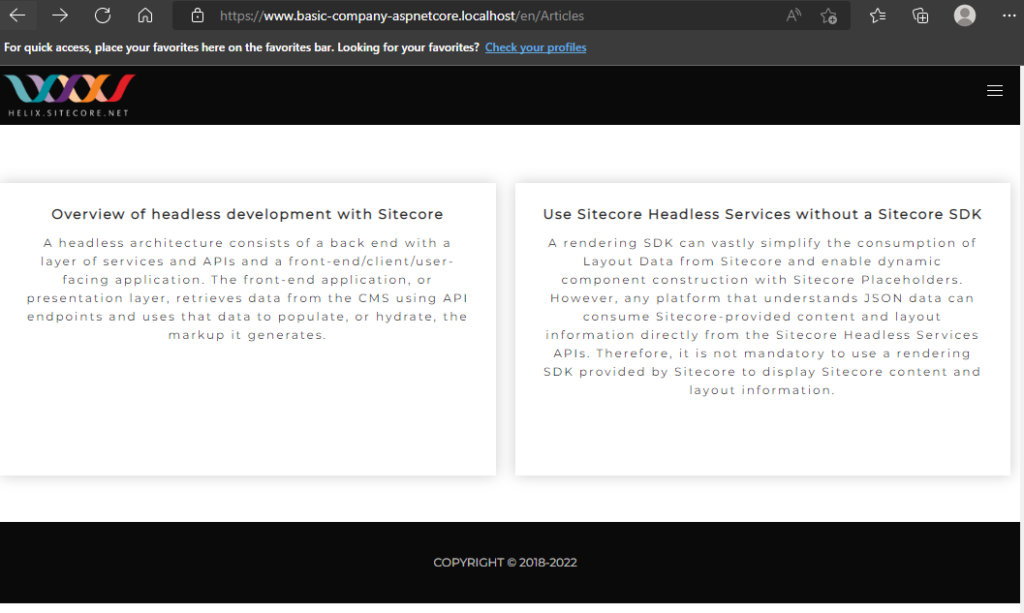
Visit the https://www.sxastarter.localhost/ and the images are not loading
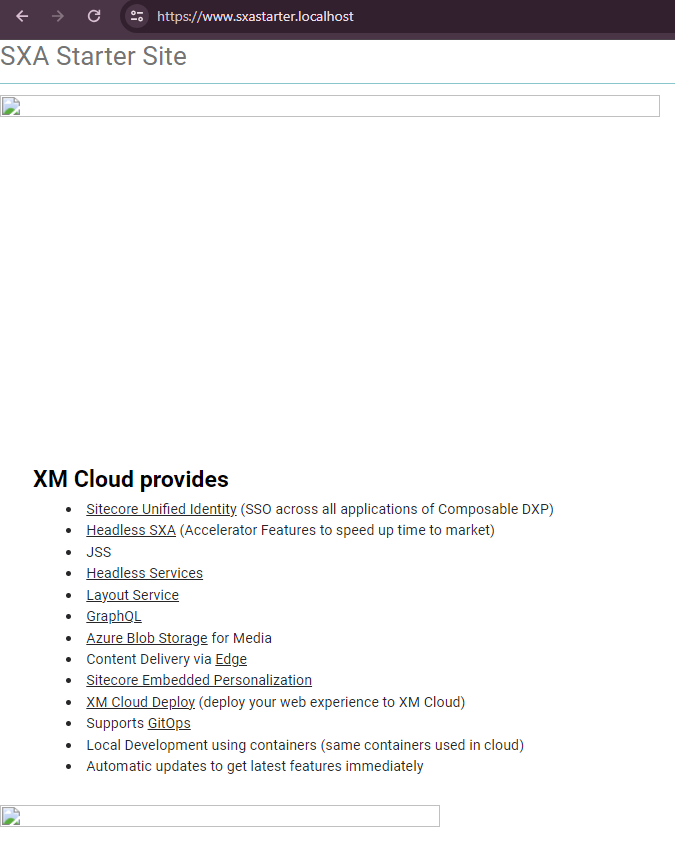
This is due to the local instance has relative media url for local instance.

Solution-
Patch the local instance to include – IncludeServerUrlInMediaUrls
<configuration xmlns:patch="http://www.sitecore.net/xmlconfig/" xmlns:set="http://www.sitecore.net/xmlconfig/set/" xmlns:env="http://www.sitecore.net/xmlconfig/env/">
<sitecore>
<layoutService env:require="Development">
<configurations>
<config name="sxa-jss">
<rendering>
<renderingContentsResolver>
<IncludeServerUrlInMediaUrls>false</IncludeServerUrlInMediaUrls>
</renderingContentsResolver>
</rendering>
</config>
</configurations>
</layoutService>
</sitecore>
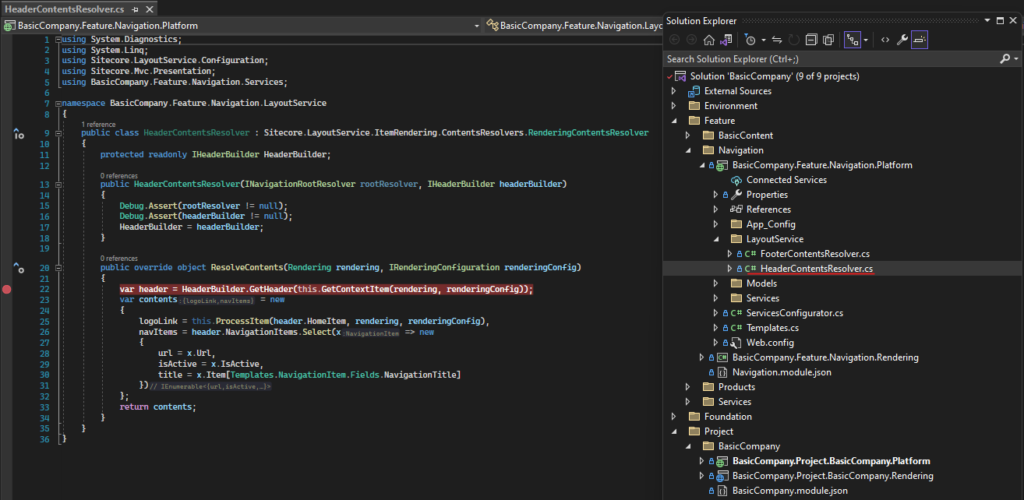
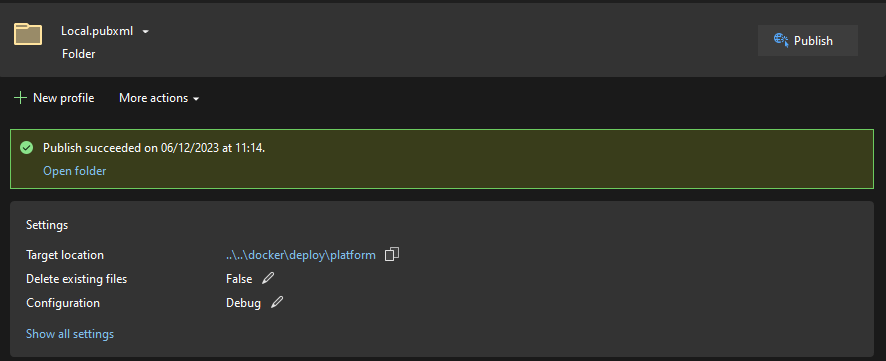
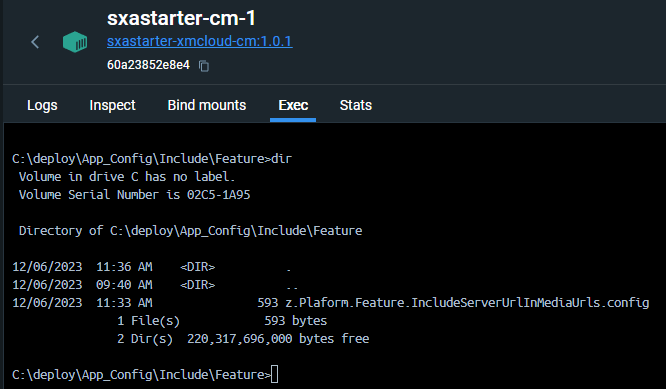
</configuration>I did this in VS, Platform project. Added the config file in App_Config/Include/Feature named z.Plaform.Feature.IncludeServerUrlInMediaUrls.config
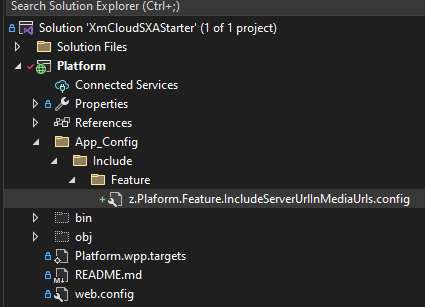
Publish the project and this file should be then deployed to CM container.
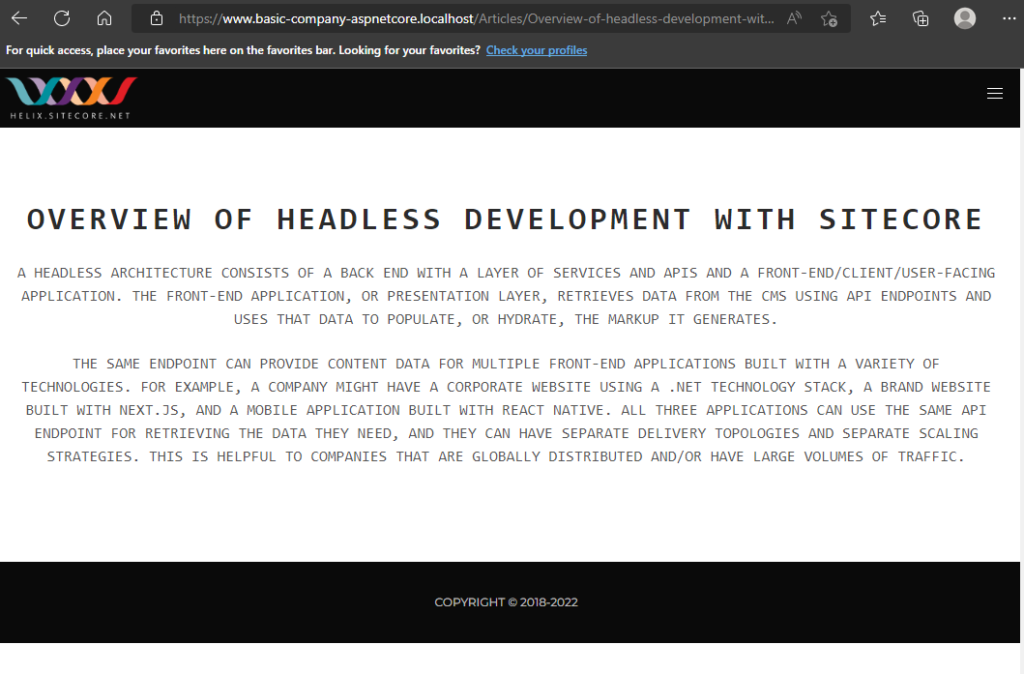
Now this should display the images-
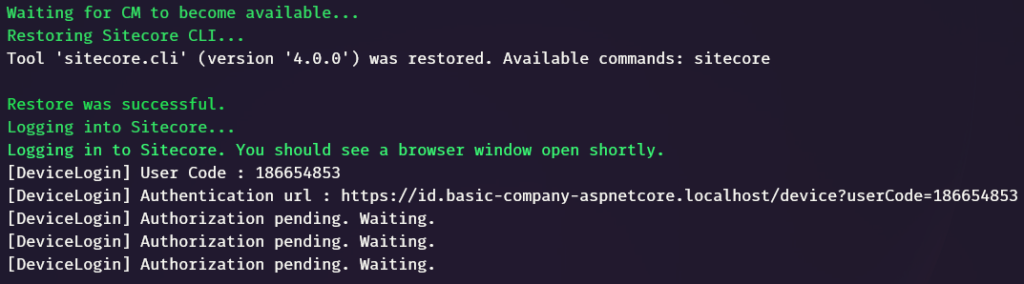
Testing GraphQL IDE for local environment
Try the graphql ide here on your local instance –
https://xmcloudcm.localhost/sitecore/api/graph/edge/ide
And the request for same should be sent to –
https://xmcloudcm.localhost/api/graphql/v1
We now have site ready to start developing components.
The newly added title in header, images should also be displayed-
This conculdes setting up the local environment with having Sitecore CM instance and the jss app (FE) running in docker. JSS app is runing in container.
In next blog post we will how to setup the FE without having Sitecore local instance and connect to XM Cloud.
But before that we need to setup the XM Cloud project and environments, for that we will configure the Sietcore Content Serilization to push the changes made in local to XM Cloud. Coming in next blog.
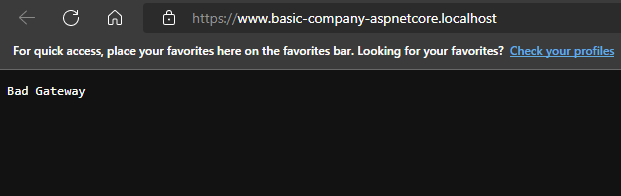
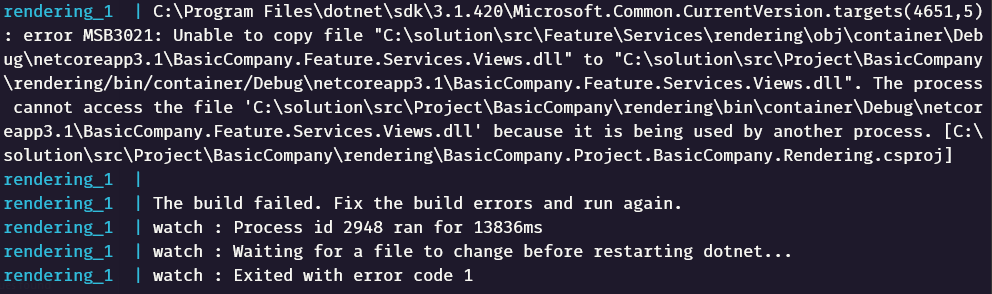
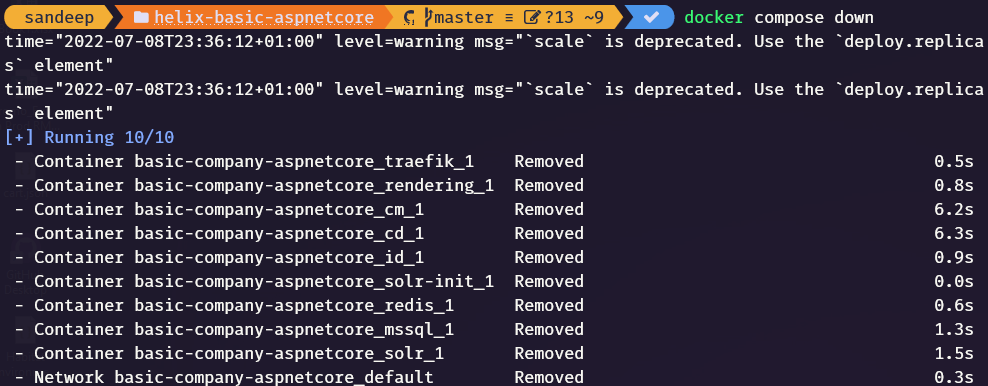
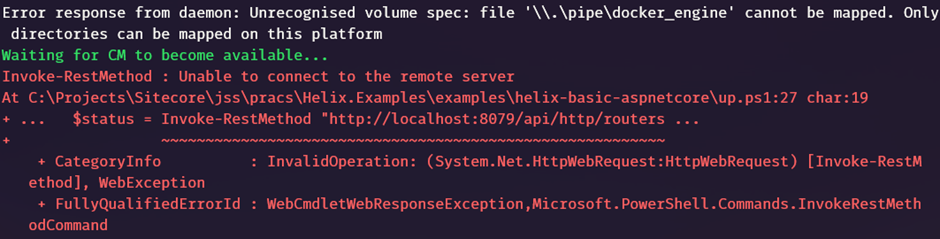
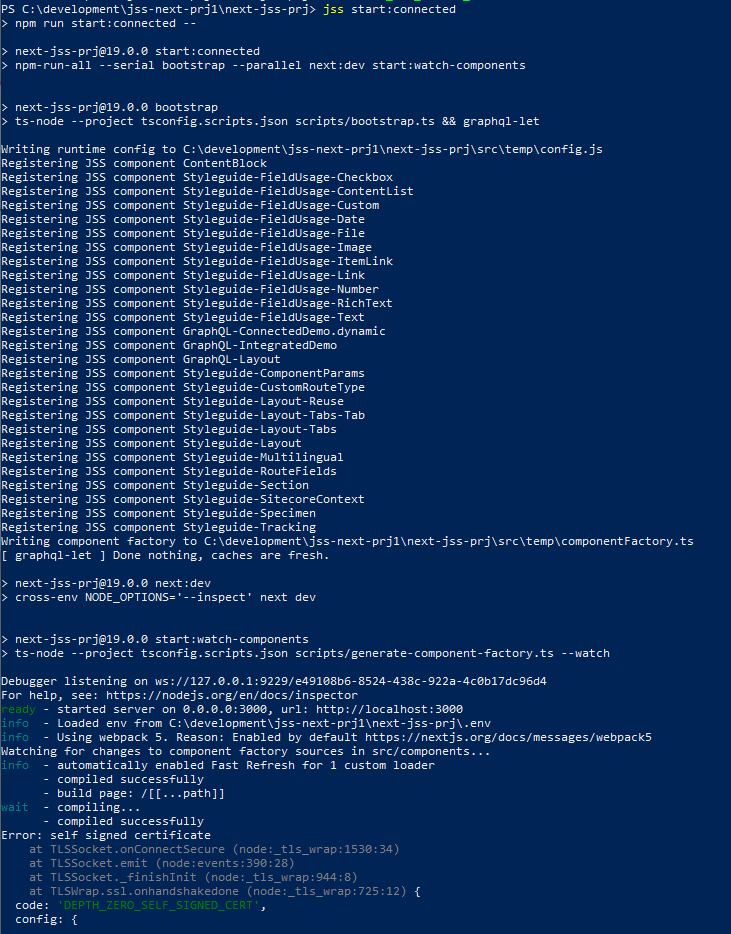
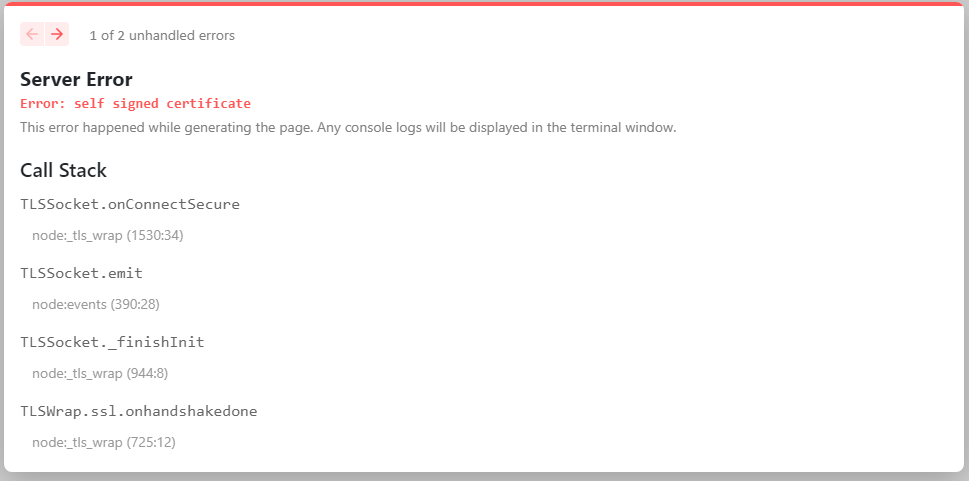
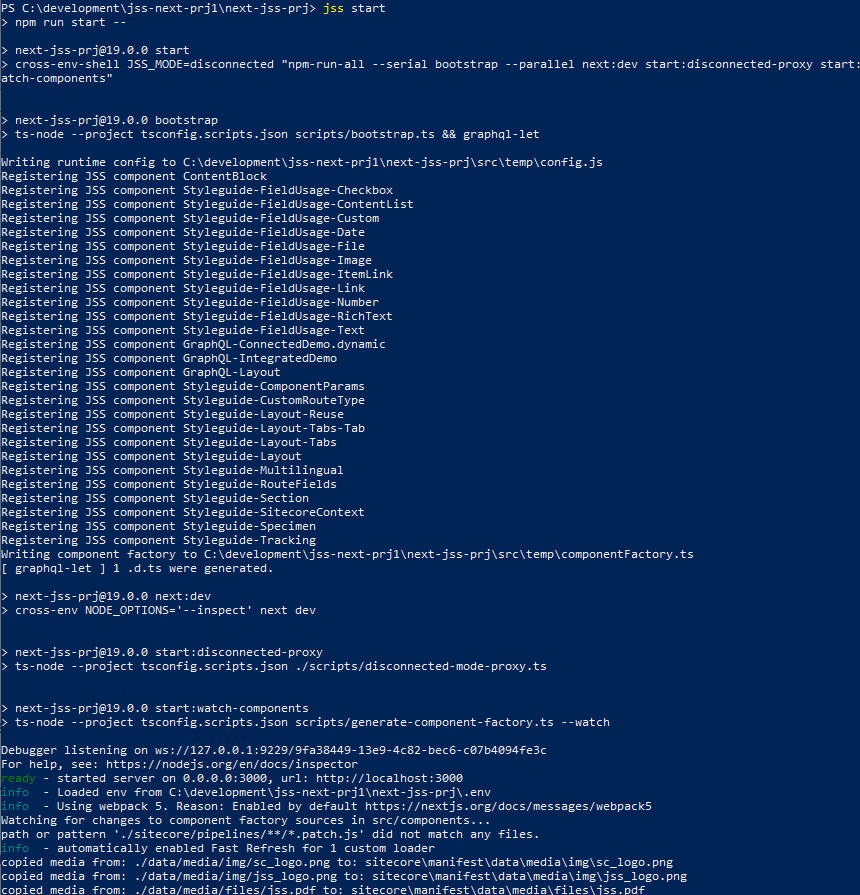
Errors-
sxastarter site hosted in docker throws below error.
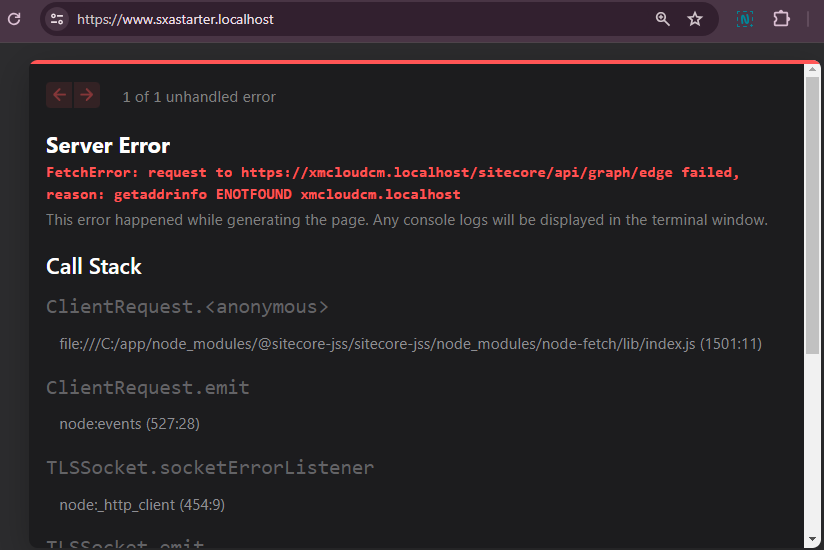
Solution–
See the resolution for this error here
https://sitecore.stackexchange.com/questions/35307/sitecore-xm-cloud-local-setup-error-with-node-js
I updated the rendering Dockerfile –> Entrypoint to clean and install the npm
npm ci && npm run start:connected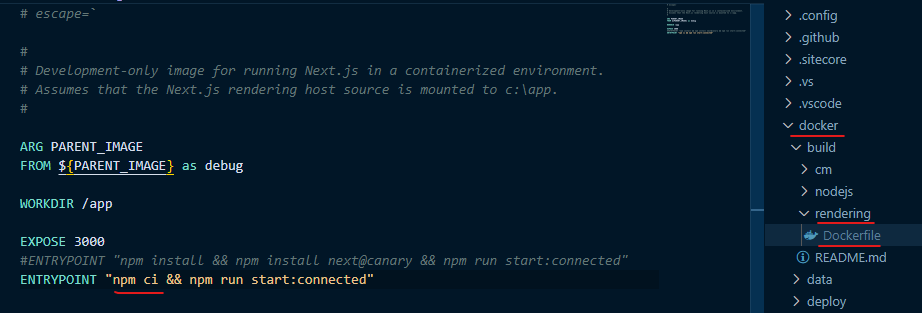
This should resolve the issue. Hope this helps.
![]()