Welcome! This is my personal blog about Web technologies, software development, open source and other related topics
The ideas and opinions expressed here are solely mine and don't represent those of others, either individuals or companies.The code snippets or references to software products or analogous are to be used without any warranty of any kind. If you enjoy the content, feel free to share it and re-use it as long as you provide a link to the original post.
In this blog will creata a new component name Article in the Helix Examples Solution to demonstrate how to configure and use Sitecore Content Serlialization (SCS).
Assuming the Sitecore CLI is installed along with Sitecore.DevEx.Extensibility.Serialization, Sitecore.DevEx.Extensibility.Publishing plugins are installed.
For more details on the plugin installation please see this link- https://doc.sitecore.com/xp/en/developers/101/developer-tools/install-sitecore-command-line-interface.html
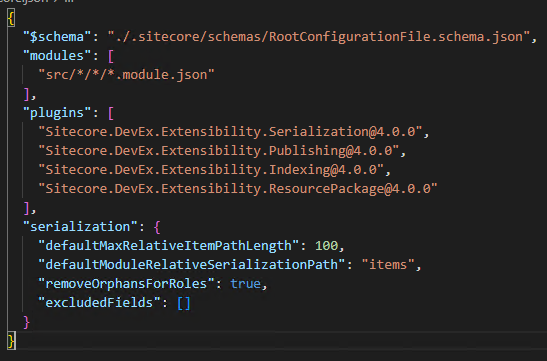
Open the helix-basic-aspnetcore folder in Visual Studio and see Sitecore.json file. This file has the configuration settings for SCS.
modules – willl look into the src folder for *.module.json file for any component specific configuration the items that need to be serialized.
So lets create a new module or rendering feature named “Articles”. Just a folder and not a project itself
1. Create a module json for serlialization configuration
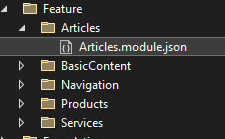
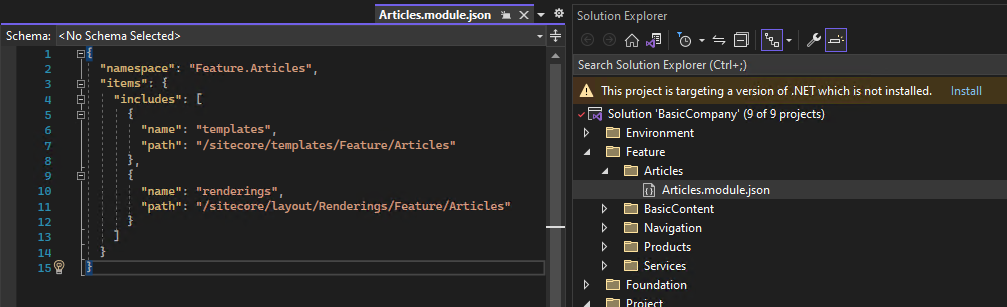
IMP – Create Articles.module.json file in the project root folder
Here the items that will be serliazed are templates and rendering from the given path in Sitecore to the local Solution Folder configured in Sitecore.json file the path mentioned in defaultModuleRelativeSerializationPath property. See step 1
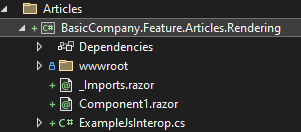
IMP- Ensure the module file is in Articles folder. Your project folder should looks like this-
2. Create a Sitecore Template and Rendering for Articles
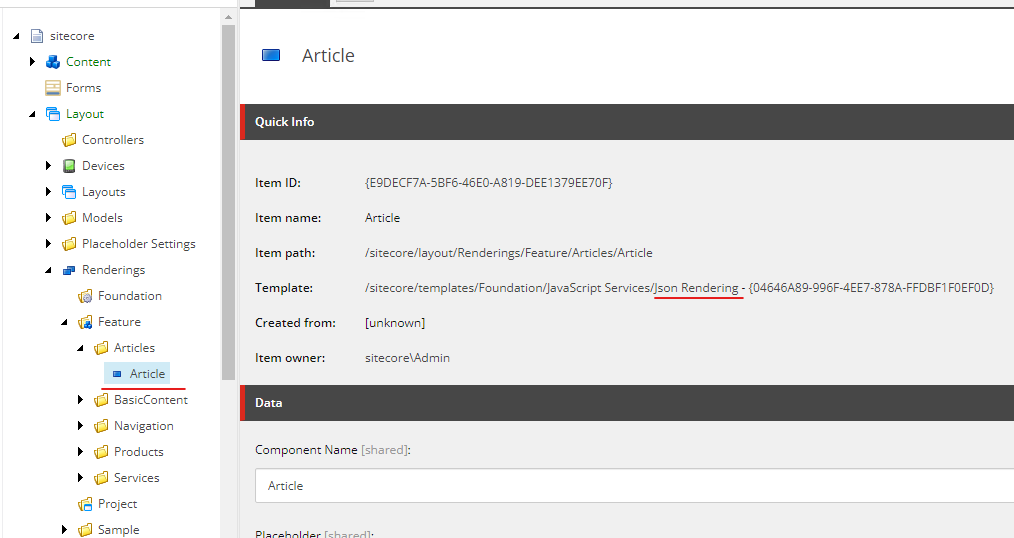
Create a Json Rendering for now(fill in the details later)
3. Sync the items(manual)
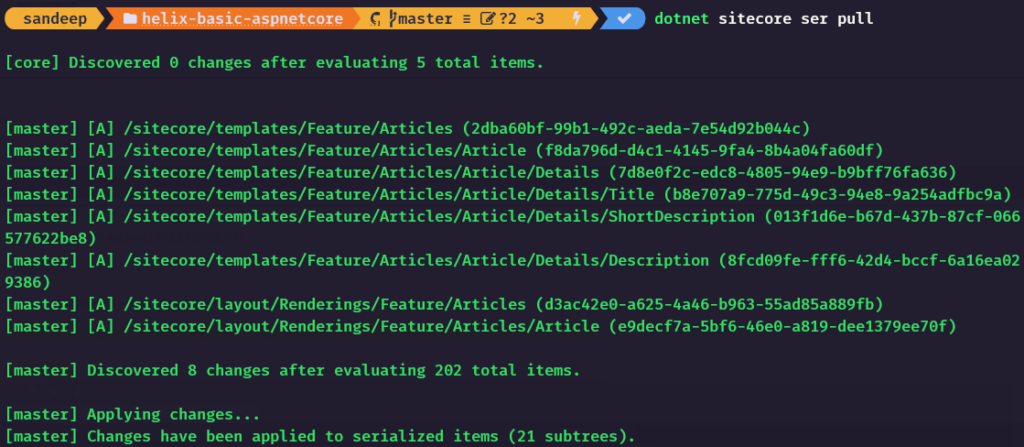
Execute following command to serlaize the items for Articles-
dotnet sitecore ser pull
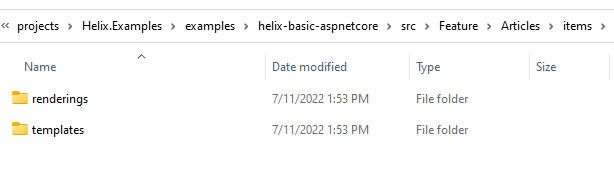
Project folder should now have items folder with templates and rendering-
Thats it any Templates and rendering created for Articles (new component) should be serliazed.
Refer BasicCompany.module.json for any placeholders, layouts etc serlization at the project level.
In this blog will create a simple rendering uing Asp.Net Rendering SDK in Helix Examples Solution
Please refer the blog to create a rendering folder and configure the SCS before proceeding this blog.
So lets create a new module or rendering feature named “Articles”.
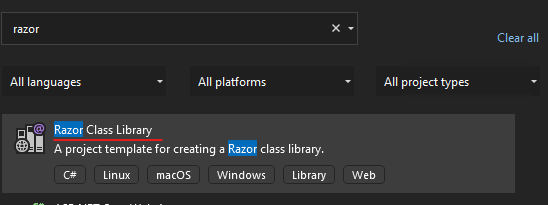
1. Create a Feature project using Razor Class Library
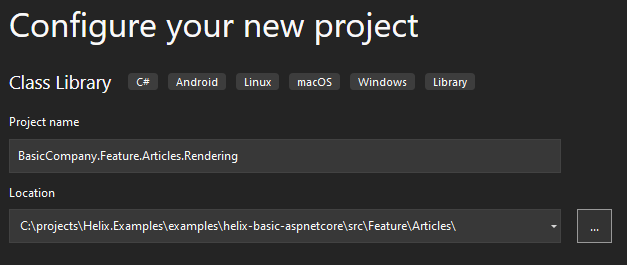
Project Name – BasicCompany.Feature.Articles.Rendering
Notice the project path
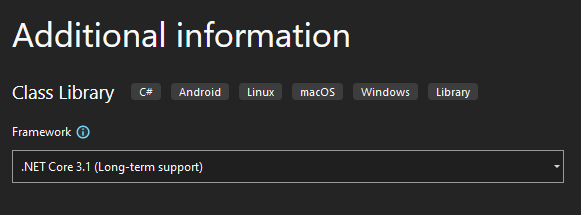
Choose .Net Core 3.1 Framework-
Delete any exisitng files and folders under this project-
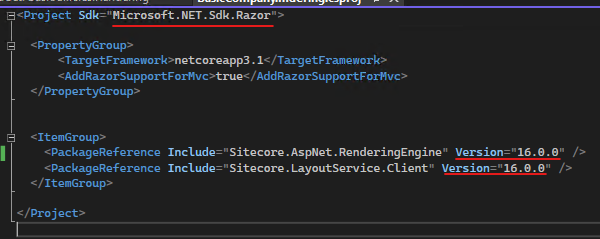
Edit the project to use netcoreapp3.1 and AddRazorSupportForMvc to true
Rename helix-basic-aspnetcore\src\Feature\Articles\BasicCompany.Feature.Articles.Rendering to rendering. Just to follow other feature fodler structure.
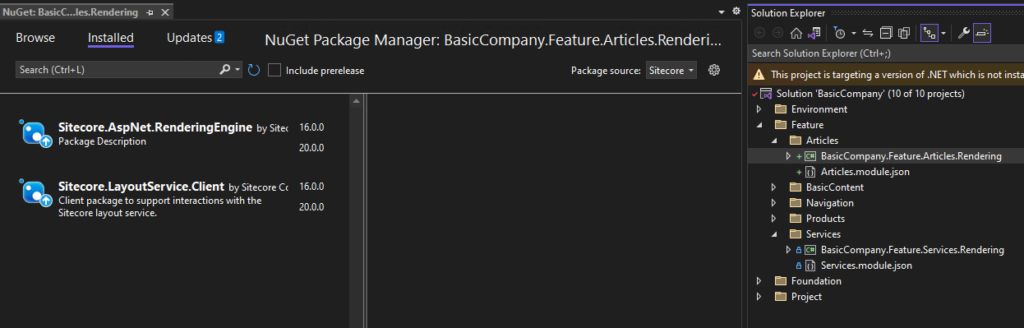
2. Install Sitecore packages
Sitecore.AspNet.RenderingEngine
Sitecore.LayoutService.Client
I have installed verions 16 just to be in sync with other projects. You may install the latest.
New rendering project should have these packages installed-
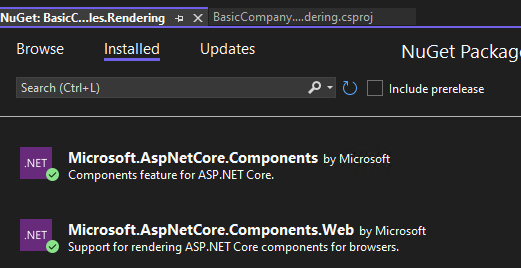
Remove these packages as this may be not required at thi point of time or downgrade this to 3.1.1
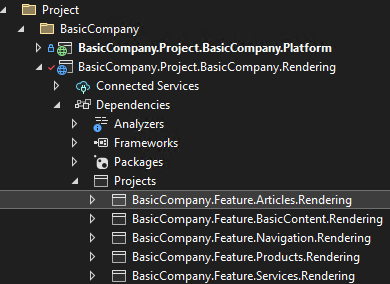
Refer the new created rendering project to BasicCompany.Project.BasicCompany.Rendering
When the solution is build you may see this error-
Severity Code Description Project File Line Suppression State Error The package reference ‘Sitecore.AspNet.RenderingEngine’ should not specify a version. Please specify the version in ‘C:\projects\Helix.Examples\examples\helix-basic-aspnetcore\Packages.props’ or set VersionOverride to override the centrally defined version. BasicCompany.Feature.Articles.Rendering C:\projects\Helix.Examples\examples\helix-basic-aspnetcore\src\Feature\Articles\rendering\BasicCompany.Feature.Articles.Rendering.csproj
Solution– Remove the version for the plugin fropm project file
Edit the project file and remove version from the PackageReference-
Solution should build successully.
3. Ensure Articles.modules.json file in Feature folder
Please see this blog <<Enter blog url here>> how to create a module.json file to serliaze the Sitecore items for new Feature.
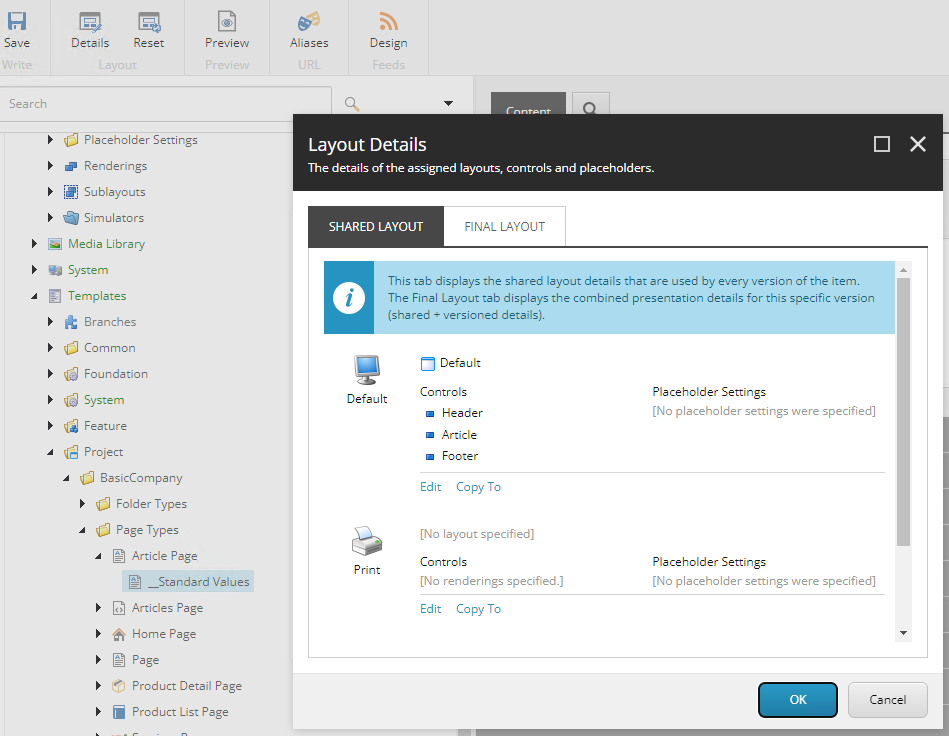
4. Create required Sitecore Templates, content, renderings and Placeholder Settings
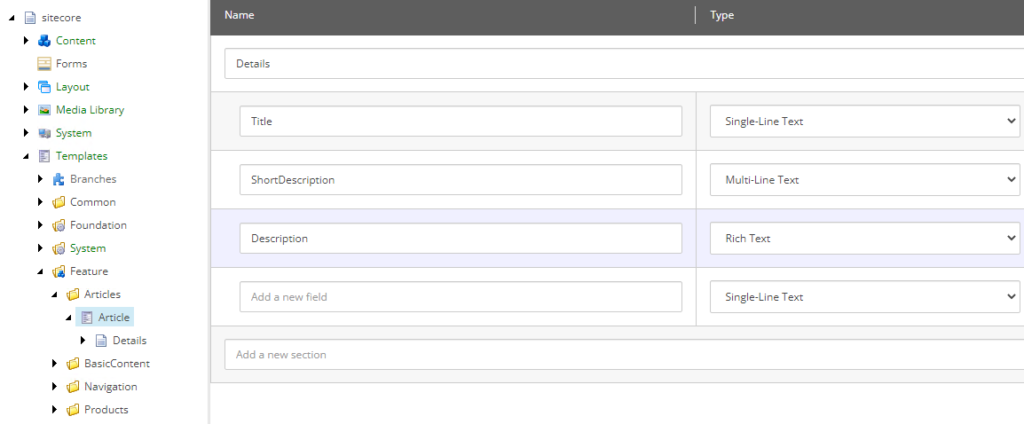
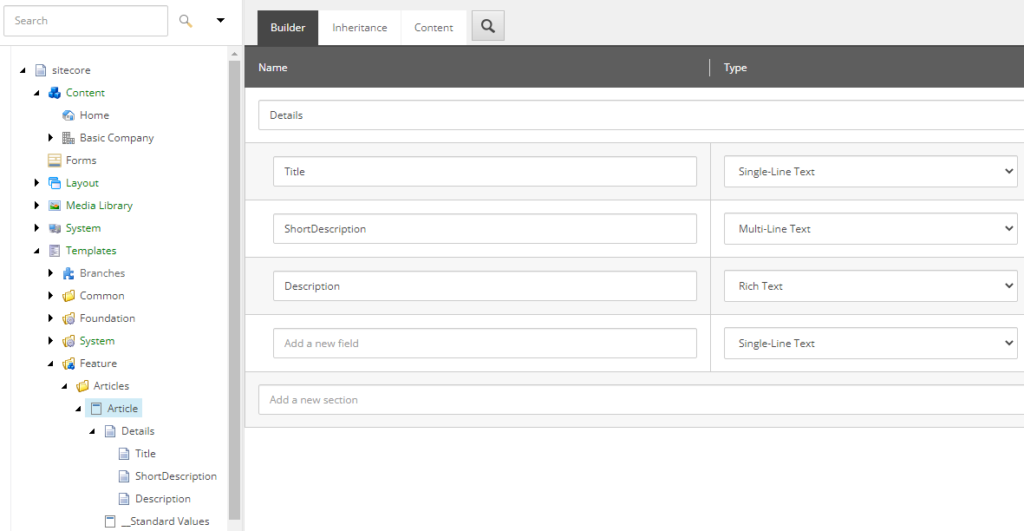
Template – Article in following path- /sitecore/templates/Feature/Articles
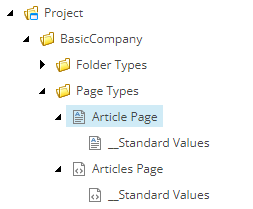
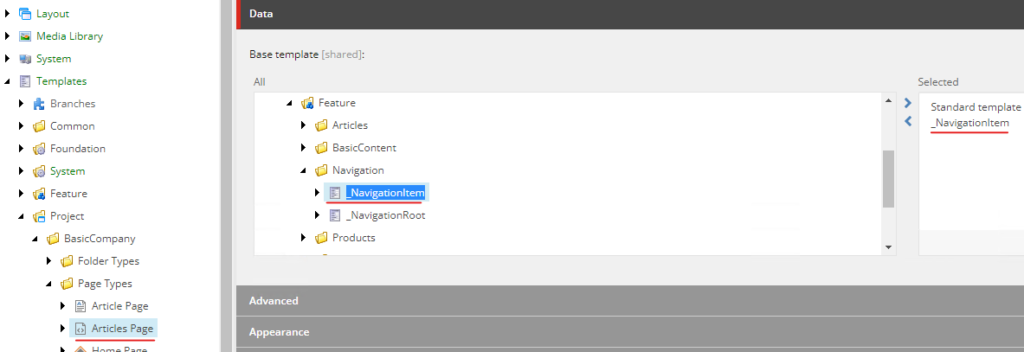
Page Type Template – Create 2 page type templates “Articles” and “Article” page as below.
Add any required Insert Options where necessary.
IMP- inherit from _NavigationItem to display the Articles as Navigation option
Enter Navigation Title for Articles page-
Content
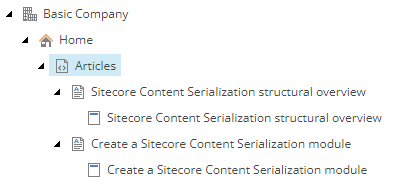
Create content in Home page based on the Article templates created.
Rendering
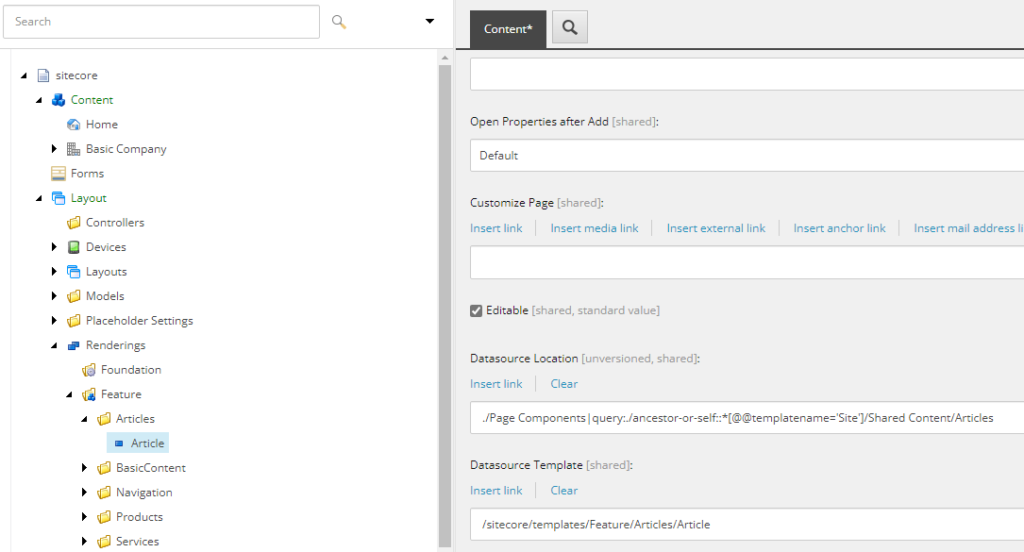
Create a new Json Rendering Article. See previous post
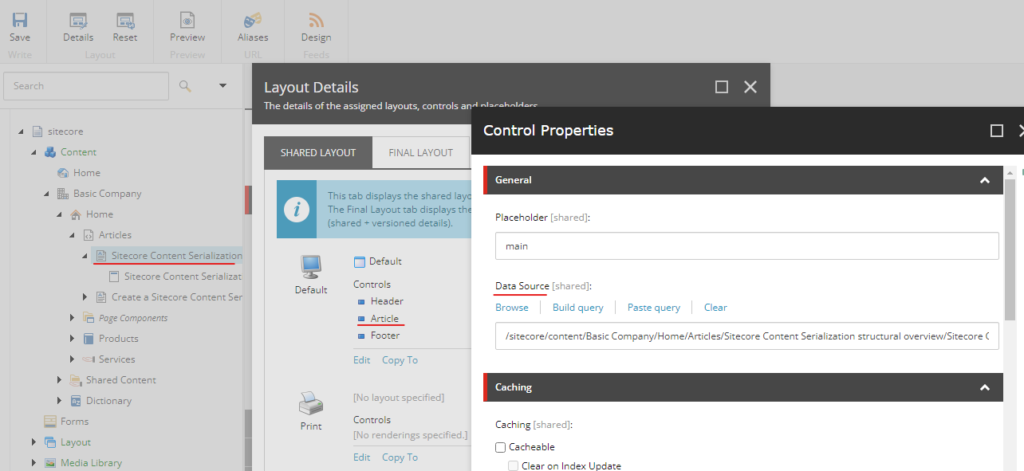
Set Datasource Location- ./Page Components|query:./ancestor-or-self::*[@@templatename=’Site’]/Shared Content/Articles
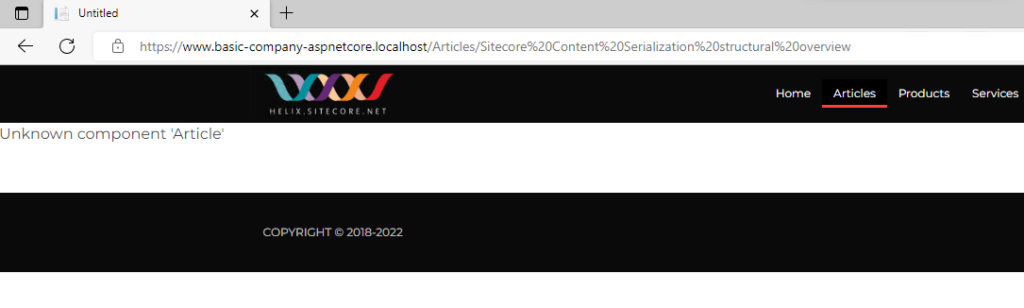
There is a error – “Unknown component ‘Article'”. This is because we havent yet created view for this component.
Create Model in BasicCompany.Feature.Articles.Rendering project for rendering Article component
Note the propeties are using Sitecore.LayoutService.Client.Response.Model.Fields
using Sitecore.LayoutService.Client.Response.Model.Fields;
using System;
using System.Collections.Generic;
using System.Text;

namespace BasicCompany.Feature.Articles.Rendering.Models
{
    public class Article
    {
        public TextField Title { get; set; }

        public RichTextField Description { get; set; }

        public TextField ShortDescription { get; set; }
    }
}
Create View in BasicCompany.Feature.Articles.Rendering project for rendering Article component
Create Article.cshtml file under Views/Shared/Components/SitecoreComponent
Add Extensions for registering the ModelBoundView. This is a static class and will be used in Project Rendering on application startup (BasicCompany.Project.BasicCompany.Rendering).
using BasicCompany.Feature.Articles.Rendering.Models;
using Sitecore.AspNet.RenderingEngine.Configuration;
using Sitecore.AspNet.RenderingEngine.Extensions;
namespace BasicCompany.Feature.Articles.Extensions
{
public static class RenderingEngineOptionsExtensions
{
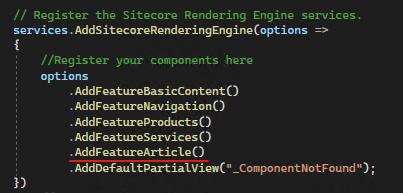
public static RenderingEngineOptions AddFeatureArticle(this RenderingEngineOptions options)
{
options
.AddModelBoundView<Article>("Article");
return options;
}
}
}
In BasicCompany.Project.BasicCompany.Rendering project, Startup.cs register the component-