


Last Updated on February 1, 2025 by sandeeppote

Follow these steps to install Sitecore Commerce 10 On Premise. To successfully install refer to Installation Guide provided by Sitecore.
Login to Sitecore before starting download.
Before installing Sitecore Commerce install Sitecore XP 10. See this blog to install Sitecore XP 10 using SIA. Say the XP site name is- sc10.sc.dev.local
Hosting Environment Requirements/ Download and Install following software-
- OS – Windows Server 2019/2016 or Windows 10 Pro(64-bit)
- Redis (Windows): 3.0.504
- .Net Framework – ASP.Net Core runtime 3.1.6 (Recommend to install v3.1.7 it has a security patch)
- Database – Microsoft SQL Server 2017 Express Edition (This should be already installed as a part of XP 10)
- Install Microsoft Web Deploy 3.6 if not already installed
- Install URL Rewrite using Web Platform Installer
- SOLR 8.4.0 (This should have already installed as a part of XP 10 install)
- Install PowerShell 6.0 or later is not already installed
- Web Platform Transformer (Download nuget package)
Download following Sitecore Software before XC installation–
Require login before downloading the Sitecore Softwares
Sitecore Experience Platform 10.0
Sitecore Experience Accelerator (SXA) 10.0
Sitecore PowerShell Extensions 6.0 for Sitecore 10.0
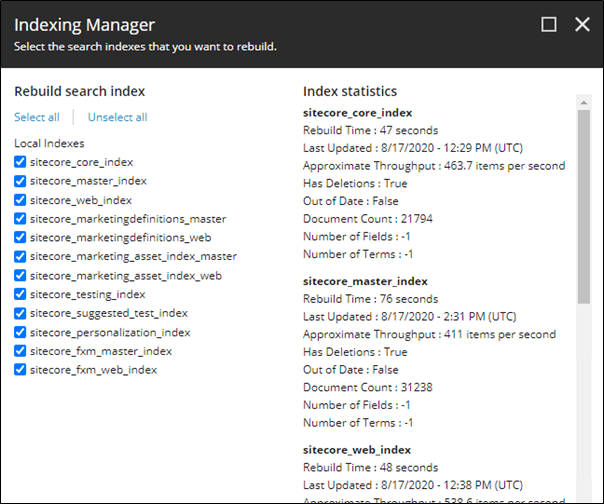
Before starting the installation ensure XP 10 instance is working and indexed. If not indexed rebuild all search indexes-
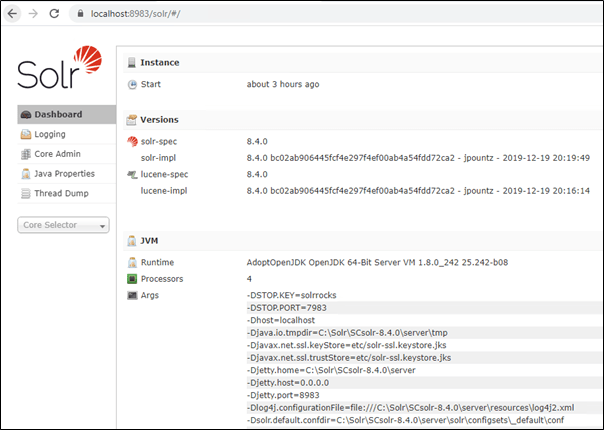
Also check if the SOLR is working and running on https-
Step-by-step installation process-
- Create a installation folder for XC – xcinstall for e.g.:- c:\scinstall
- Copy Sitecore.Commerce.WDP.2020.08-6.0.238.zip file to c:\scinstall folder
- Extract and copy all extracted files to the c:\scinstall folder
- Copy Sitecore Experience Accelerator. Copy Sitecore Experience Accelerator 10.0.0.3138.zip file c:\scinstall folder
- Copy Sitecore.PowerShell.Extensions. Copy Sitecore.PowerShell.Extensions-6.1.1.zip file to c:\scinstall folder
- Extract Web Platform Transfomer nuget package and copy Microsoft.Web.XmlTransform.dll to c:\scinstall folder
- Extract SIF.Sitecore.Commerce.5.0.49 to c:\scinstall folder
- Folder structure should look like this-
- Open Deploy-Sitecore-Commerce.ps1 file to update the following-
- $SiteNamePrefix
- $SiteName
- $IdentityServerSiteName
- $SiteHostHeaderName
- $XConnectInstallDir
- $MergeToolFullPath – Path of the Microsoft.Web.XmlTransform.dll
- Update DB related configuration
- $SitecoreDbServer – In case of named instance ensure you set double slash between the server and instance name “SQLServerName\\SQLInstanceName”

- Update other DB related settings
- $SqlUser
- $SqlPass
- $CommerceServicesDbServer
- [Optional] Update Sitecore domain or keep it default-
- $SitecoreDomain
- $SitecoreUsername
- $SitecoreUserPassword
- Update SOLR details-
- $SolrUrl
- $SolrRoot
- $SolrService
- [Optional] Update local account details
- $UserDomain
- $UserName
- $UserPassword
- Create Commerce Engine Connect Client Secret for the Sitecore Identity Server
- Copy below script to file to scinstall/SIF.Sitecore.Commerce.5.0.49 folder example XC10SecretClientCertificate.ps1
- Execute the script and copy secret key

$bytes = New-Object Byte[] 32
$rand = [System.Security.Cryptography.RandomNumberGenerator]::Create()
$rand.GetBytes($bytes)
$rand.Dispose()
$newClientSecret = [System.Convert]::ToBase64String($bytes)

Write-Host $newClientSecret
16. Copy the secret key to update $CommerceEngineConnectClientSecret variable in Deploy-Sitecore-Commerce.ps1

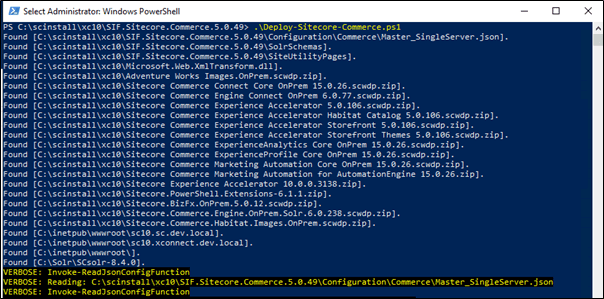
17. Execute Deploy-Sitecore-Commerce.ps1 script to install commerce
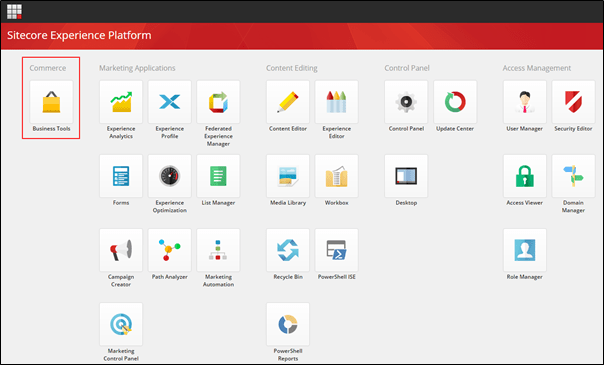
18. Once installed successfully login to Sitecore, you shall find the Business tool in Dashboard
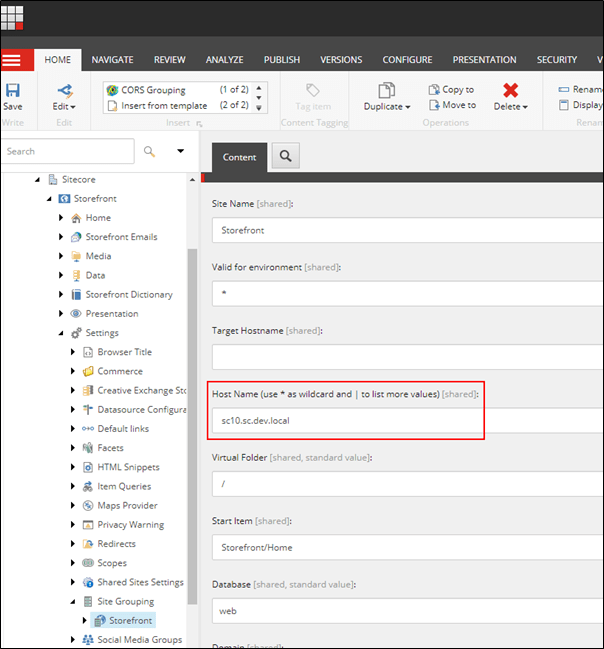
19. Goto content editor and navigate to item- /sitecore/content/Sitecore/Storefront/Settings/Site Grouping/Storefront to change Host Name
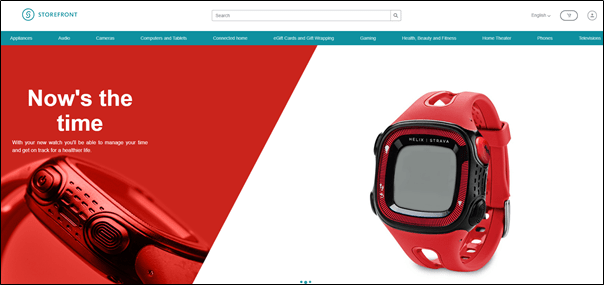
20. Visit site to check if the default store front site is loading
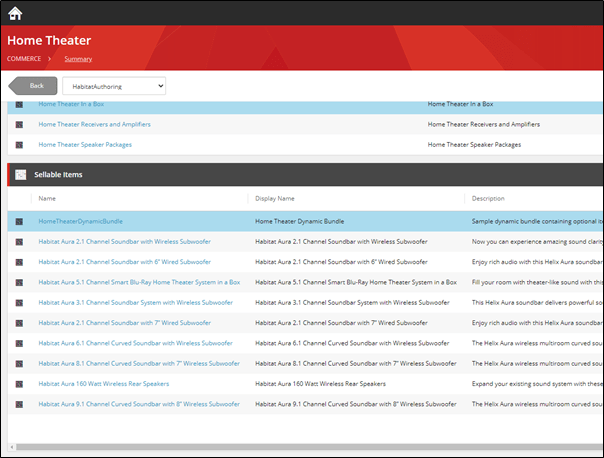
21. Login to Business Tools
Issues–
- Error connecting Identity Server. See this blog to resolve if you receive error
2. Error whilst bootstrapping commerce ops
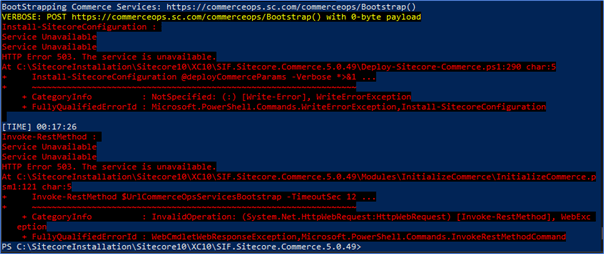
Resolution- Check or reset the service account credentials that are created for the app pools as part of deployment. You can find the credentials in installation script with variable name $UserName (CSFndRuntimeUser) and $Password. Try accessing the https://commerceops.sc.com site if there are any other errors.
September 16, 2020 at 8:26 am
Resolution- Check if the application identity user and password is correct in IIS. What does this mean? I am facing the bootstrap issue while installing
September 26, 2020 at 7:07 am
I have updated that resolution to be more specific. Also if you already have older version of commerce installed on your machine this is a typical problem as I believe the password for that user is changed in the script in Sitecore XC 10 installation script.