This blog post will guide you through the local environment setup for XM Cloud. You may refer this documentation to do this your own way. Althoug the documentation covers most of the setup, this blog post provides visual on the steps and errors with the resolution.
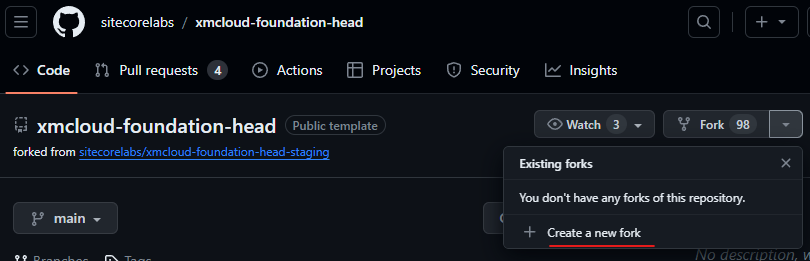
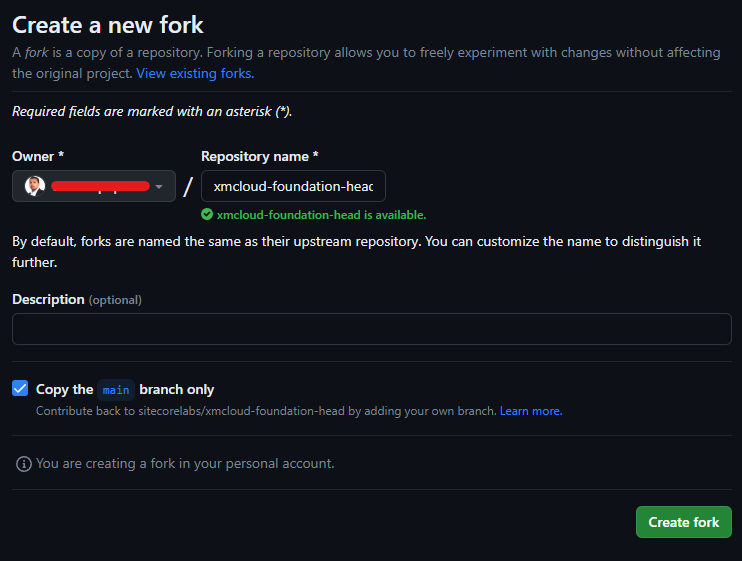
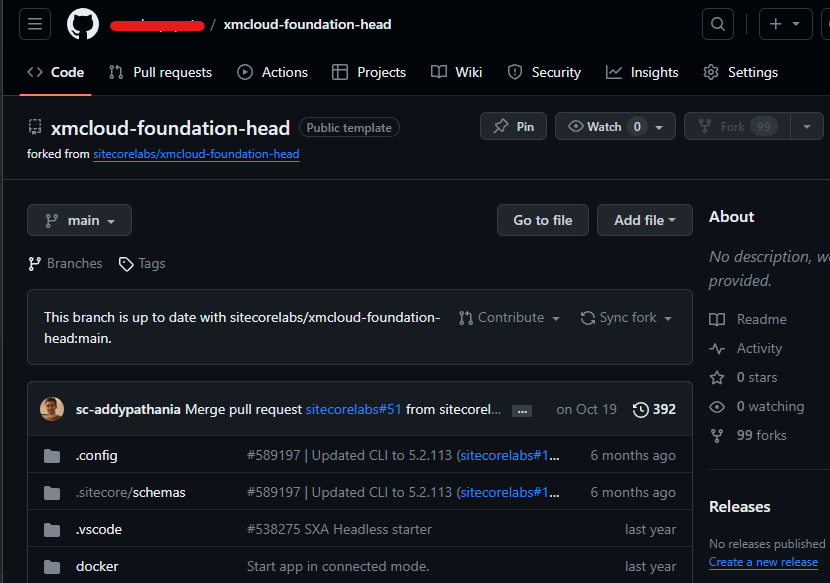
Once the Foundation Head from Sitecore Labs is forked s(se more details here) clone the copy to the local machine for creating a local instance required for XM Cloud development.
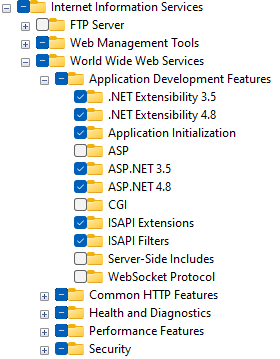
Pre-requisite –
You can find the pre-requisite in this documentation. Ensure your machine has this before setting the local development environment. Just noting down here-
- A valid Sitecore license file.
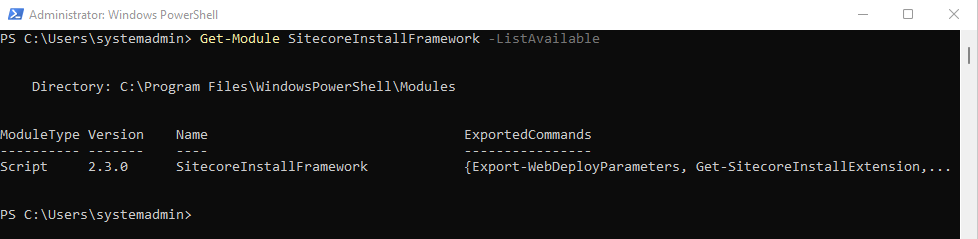
- Windows PowerShell 5.1. (PowerShell 7 is not supported at this time).
- The current long-term support (LTS) version of Node.js.
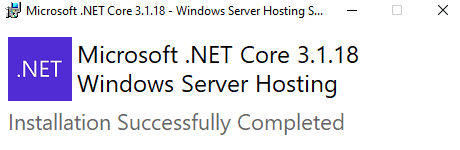
- .NET Core 6.0 SDK (check your installed version with the
dotnet --versioncommand). - .NET Framework 4.8 SDK (see the Microsoft procedure for checking .NET Framework versions).
- Visual Studio 2022.
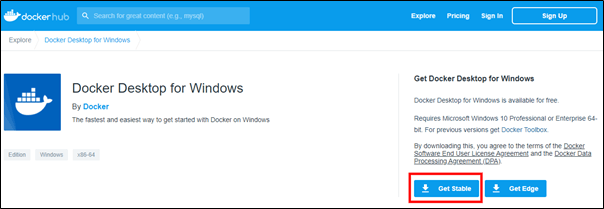
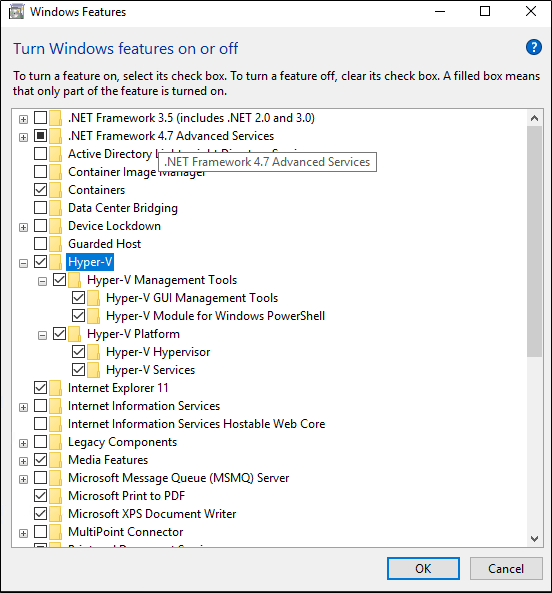
- Docker for Windows, with Windows Containers enabled.
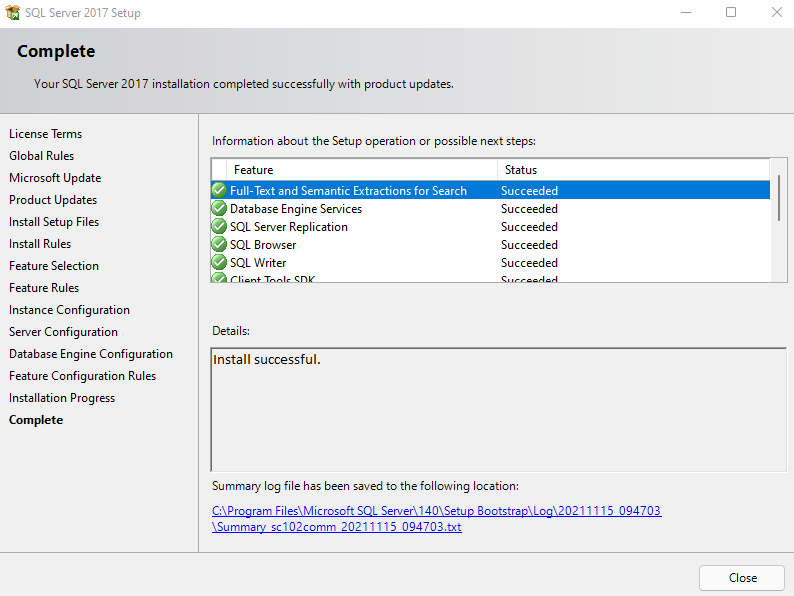
- Any required components for using Sitecore Containers.
Also make sure you are using Docker v.2, as explained here.
Access to XM Cloud – This blog post assumes you have admin access to XM Cloud where you should be able to craete/update/delete projects environments and deployment in your organisation.
I have this ready on my machine.
1. Clone the forked Foundation head repo.
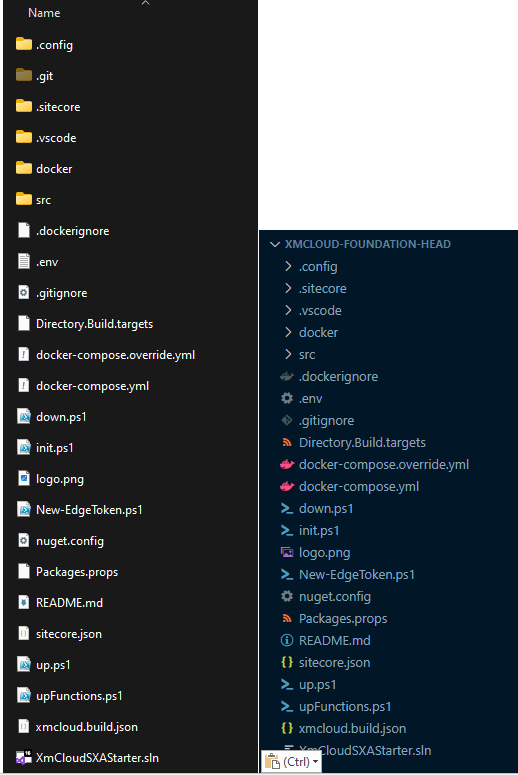
I named the folder same as the repo on my local machine i.e. xmcloud-foundation-head. the same will be refered thoruhg this post.
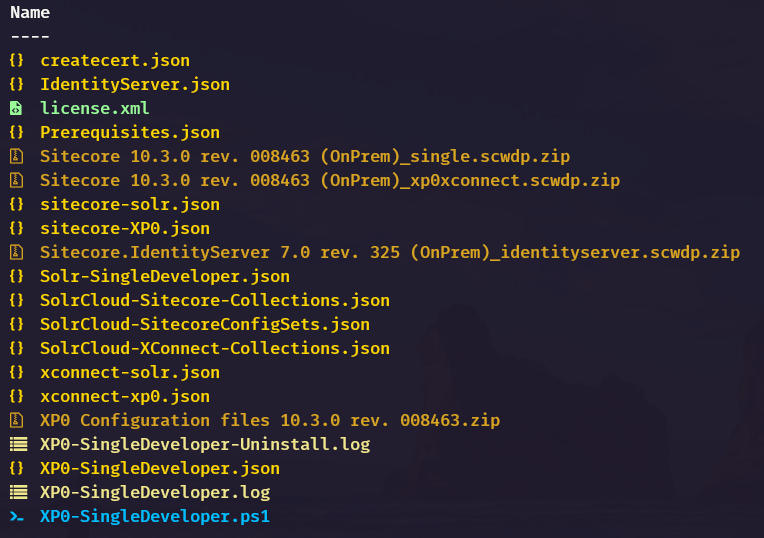
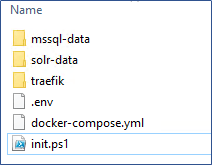
Will see the following folder structure after cloned.
I use Visual Studio Code to make any environment related changes. You may use either Visual Studio 2022 or your choice of editor.
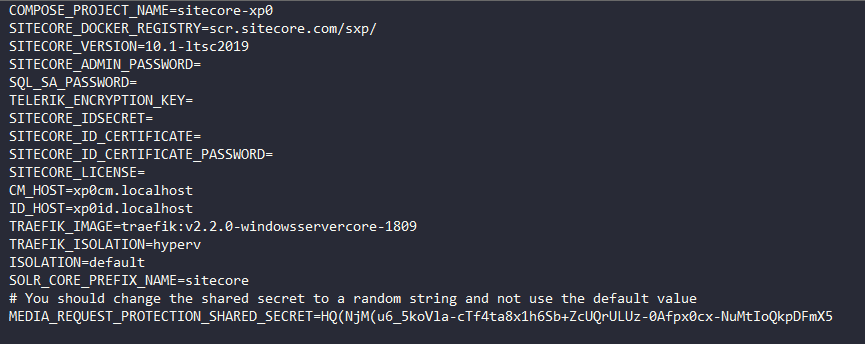
2. Open the .env at the root folder and you will see REPORTING_API_KEY, TELERIK_ENCRYPTION_KEY etc. empty.
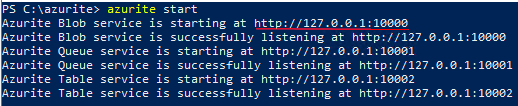
3. Start the containers.
Prepare the environment
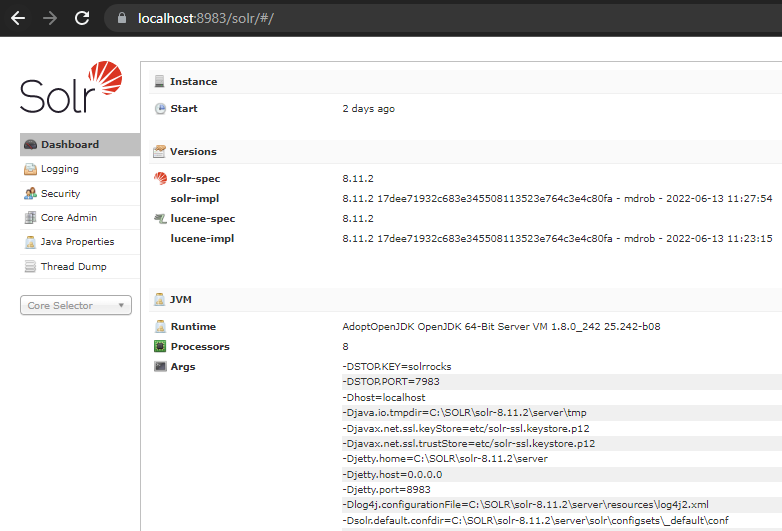
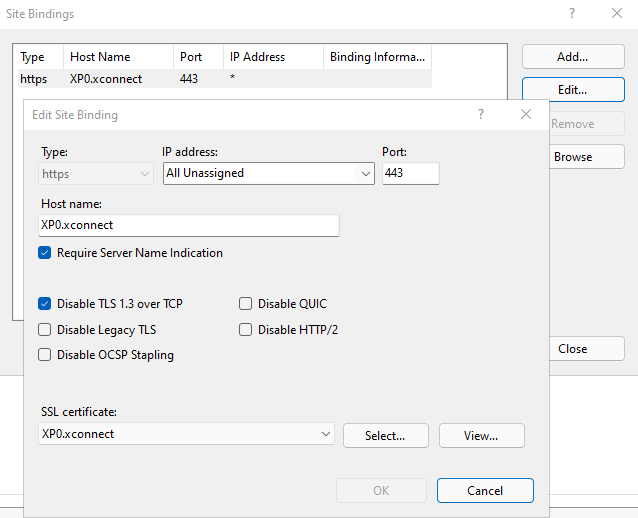
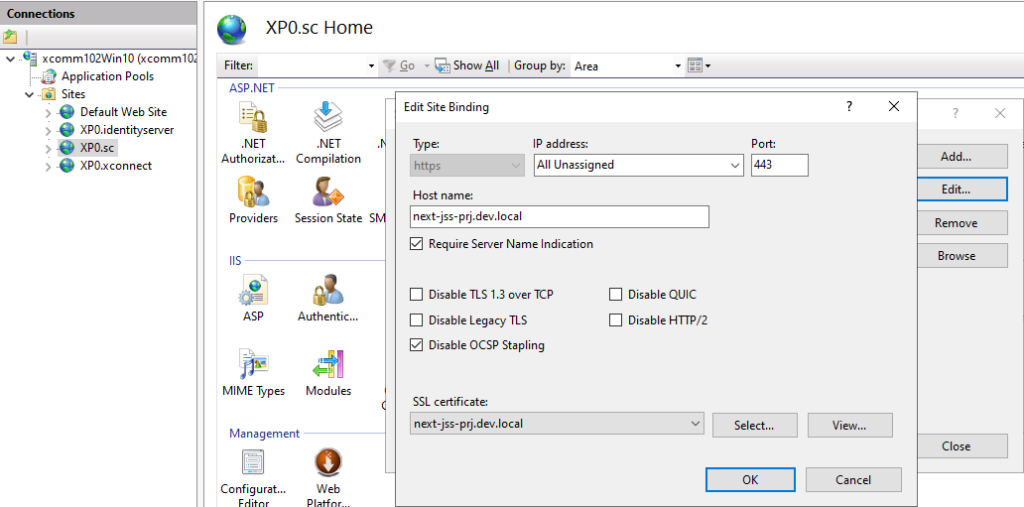
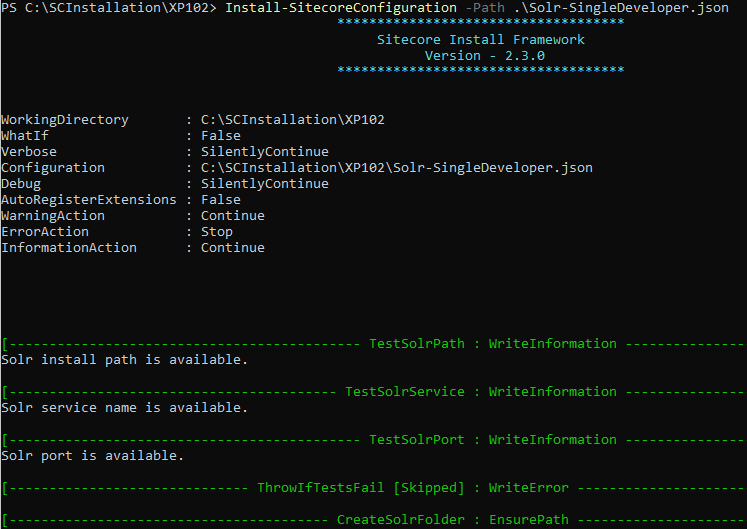
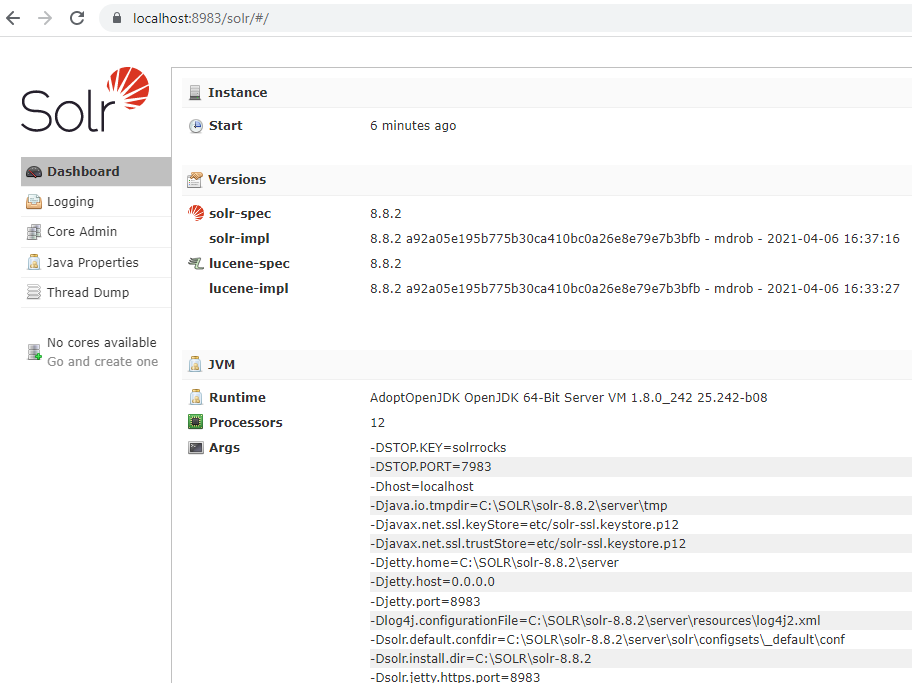
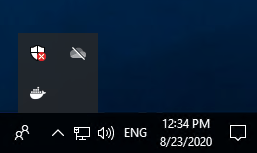
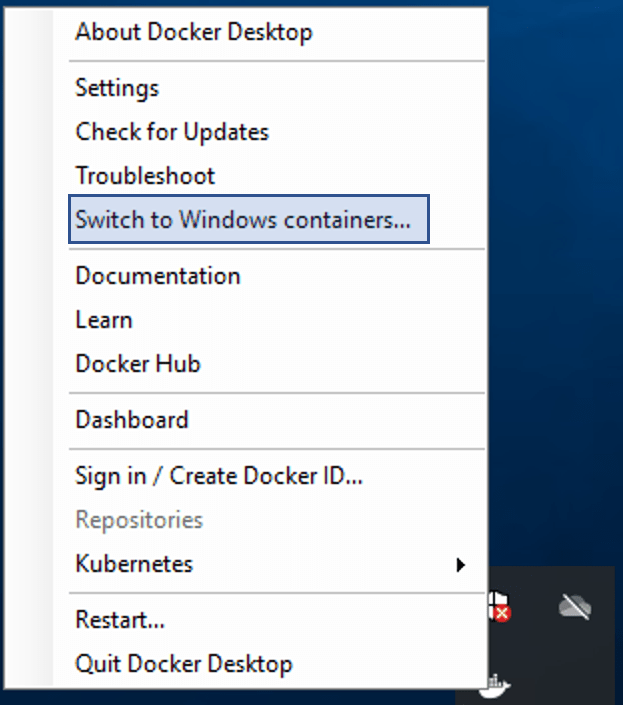
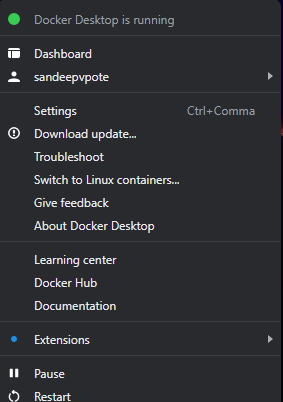
Before doing so make sure you stop the IIS and check if the port 443 (IIS Website) and 8984 (Solr service)is not used and the docker is running in Windows Containers mode. If not switch to Windows cotainers.
iisreset /stop
Get-Process -Id (Get-NetTCPConnection -LocalPort 443).OwningProcess
Get-Process -Id (Get-NetTCPConnection -LocalPort 8984).OwningProcess

Stop-Service -Name "<the name of your service>"
Copy the license file to c:\license folder. If you wish to have this in other folder you also have to change the HOST_LICENSE_FOLDER in .env(root folder) with the path where the license resides.

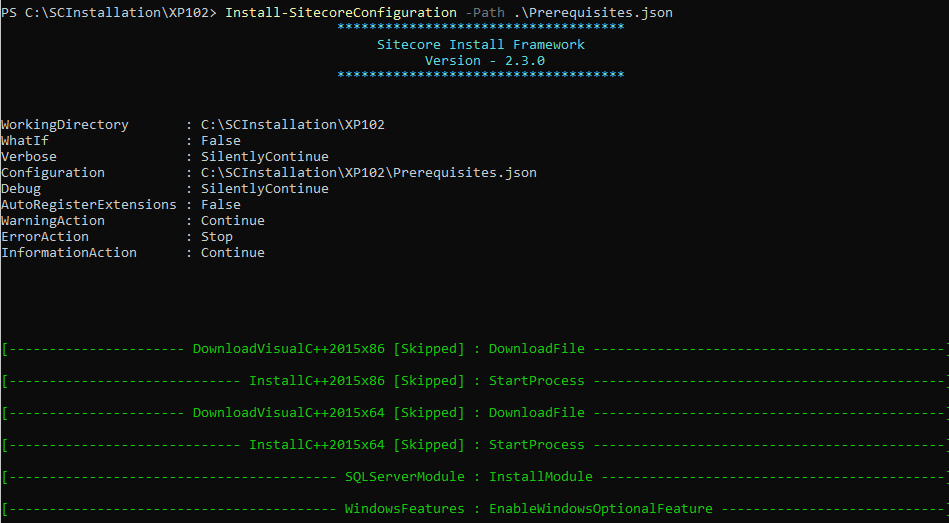
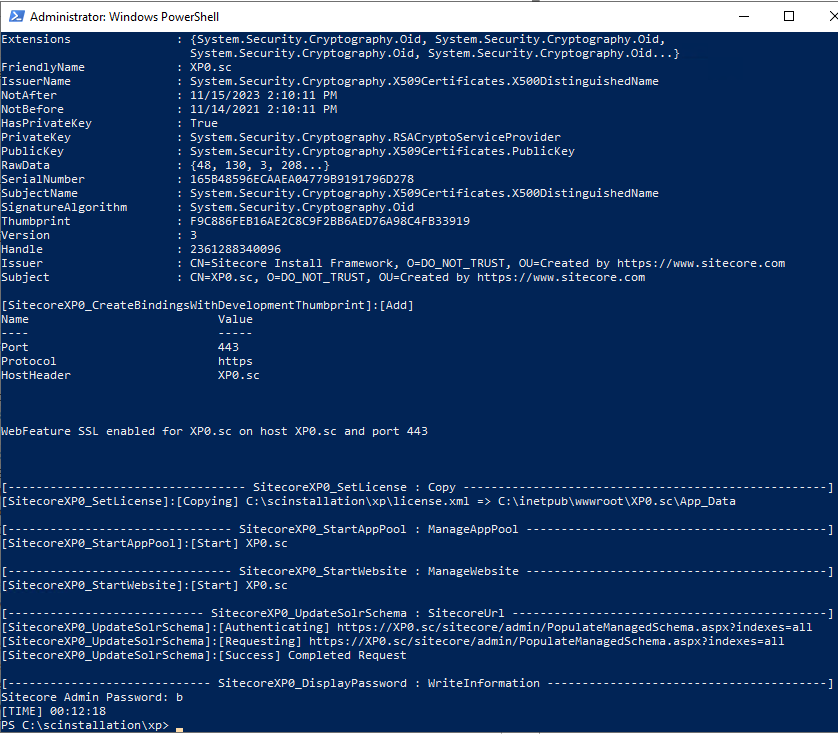
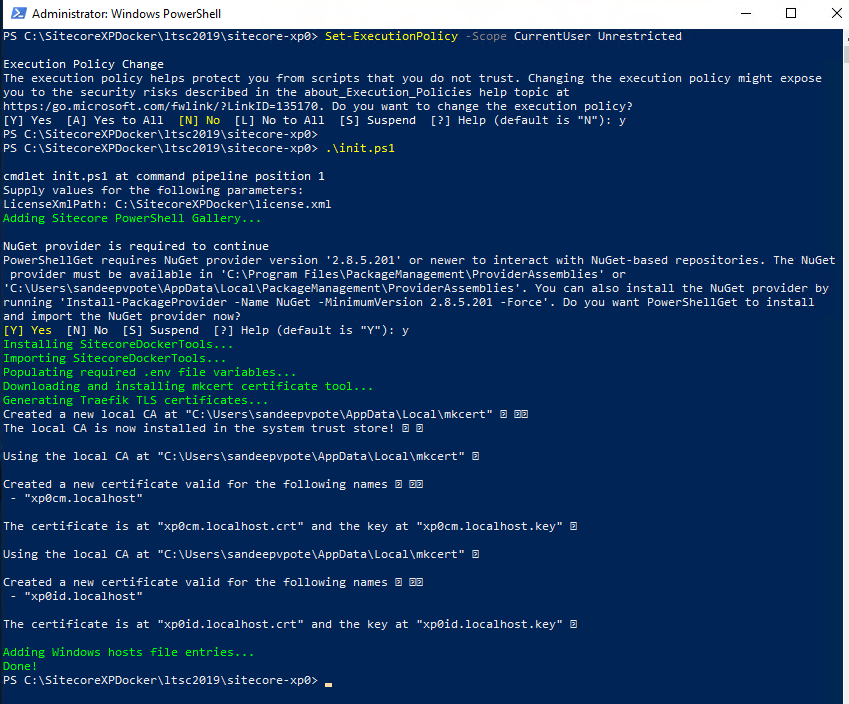
To prepare the Sitecore container environment, run the script init.ps1 from the root directory of the project along with the license path and desired passowrd for your instance. this form the root folder from the downloaded the repo.
.\init.ps1 -InitEnv -LicenseXmlPath "C:\license\license.xml" -AdminPassword "b"
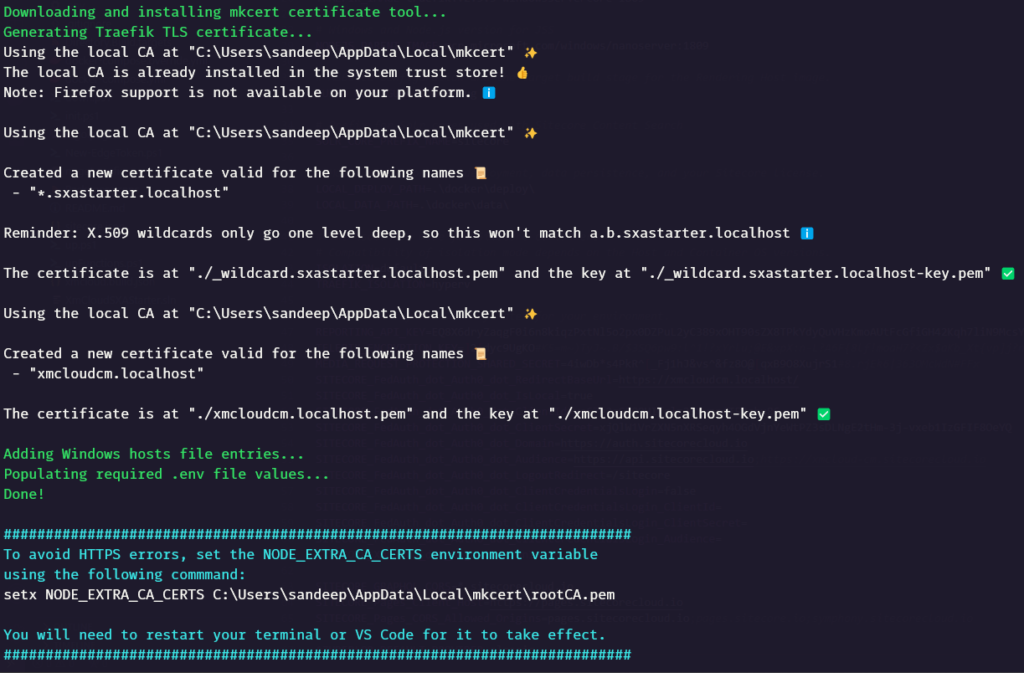
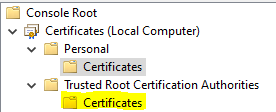
Required certificates added.
You may also noticed .env in root folder have added values in REPORTING_API_KEY, TELERIK_ENCRYPTION_KEY and MEDIA_REQUEST_PROTECTION_SHARED_SECRET, which was earlier empty.

Download the Sitecore Docker images, install and configure the containers and client application
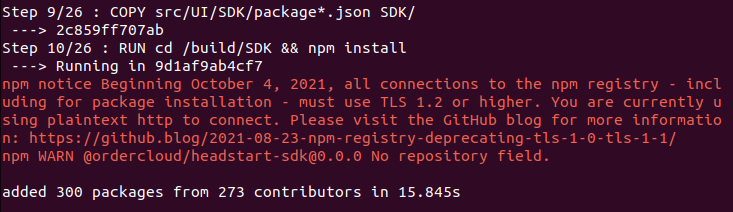
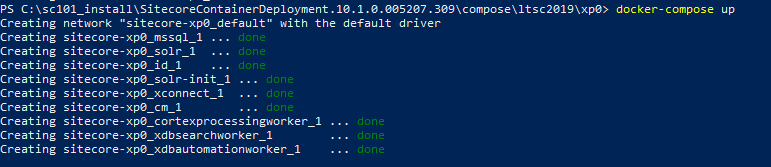
Run the up.ps1 to download and install containers and client application
.\up.ps1This is should download the images and start the containers
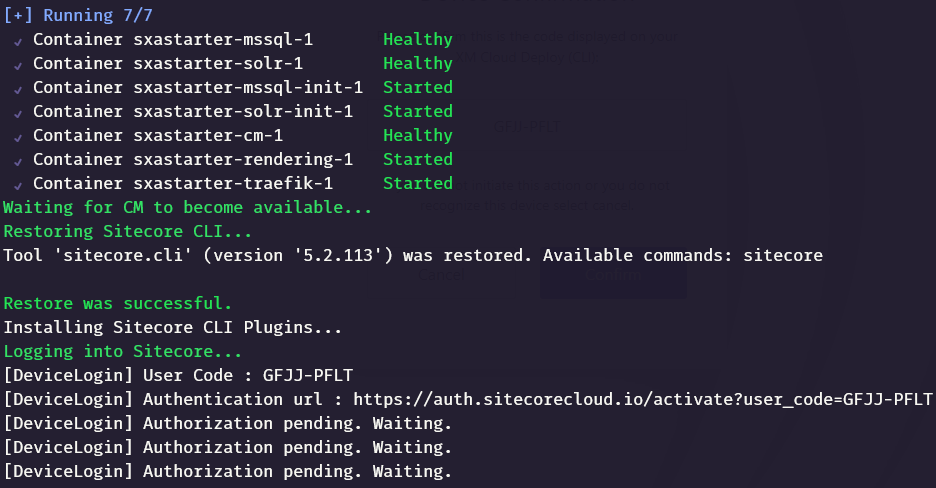
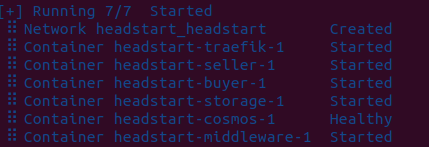
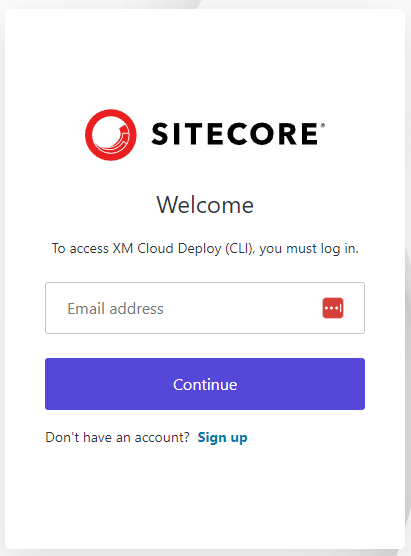
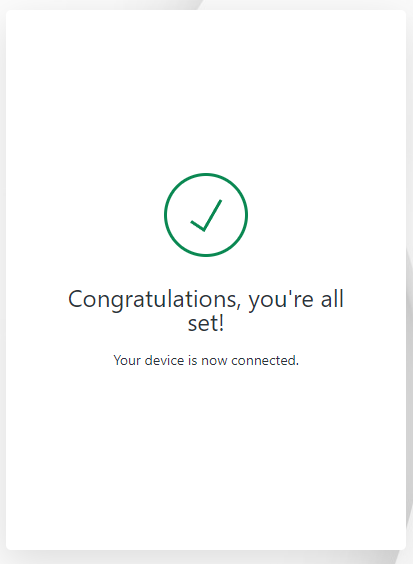
Once the containers are started, it should ask to confirm to login to Sitecore with the Device confirmation code. Confirm if this matches. It should also ask to login to XM Cloud isntance and confirm.

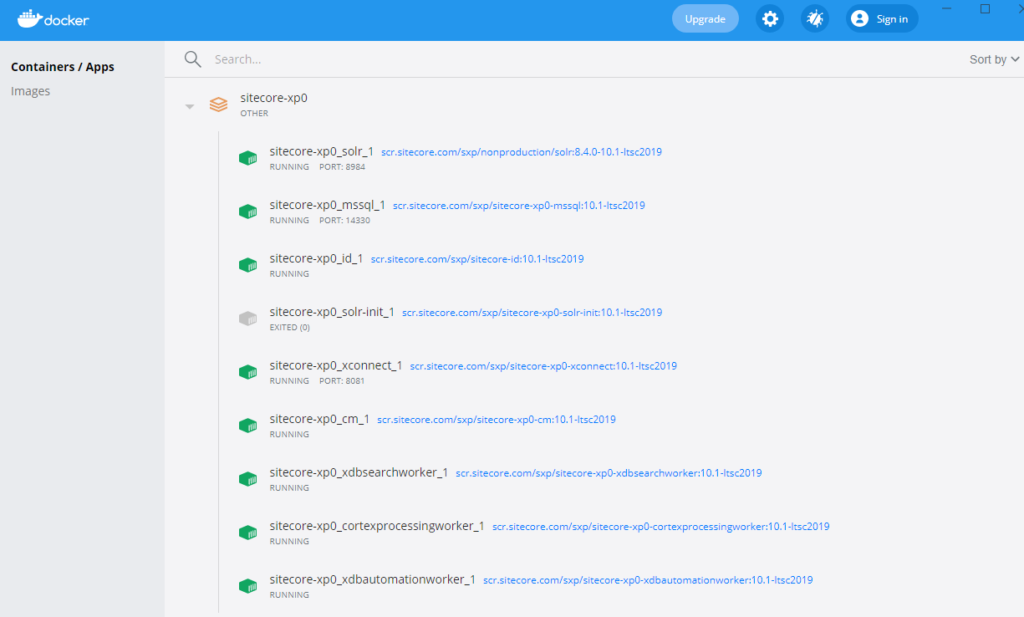
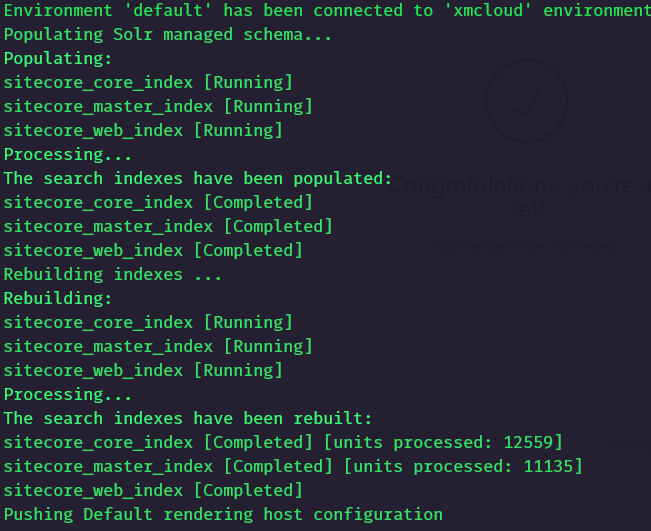
One this is done indexes will be rebuilt and the Sitecore instance should be up and running.
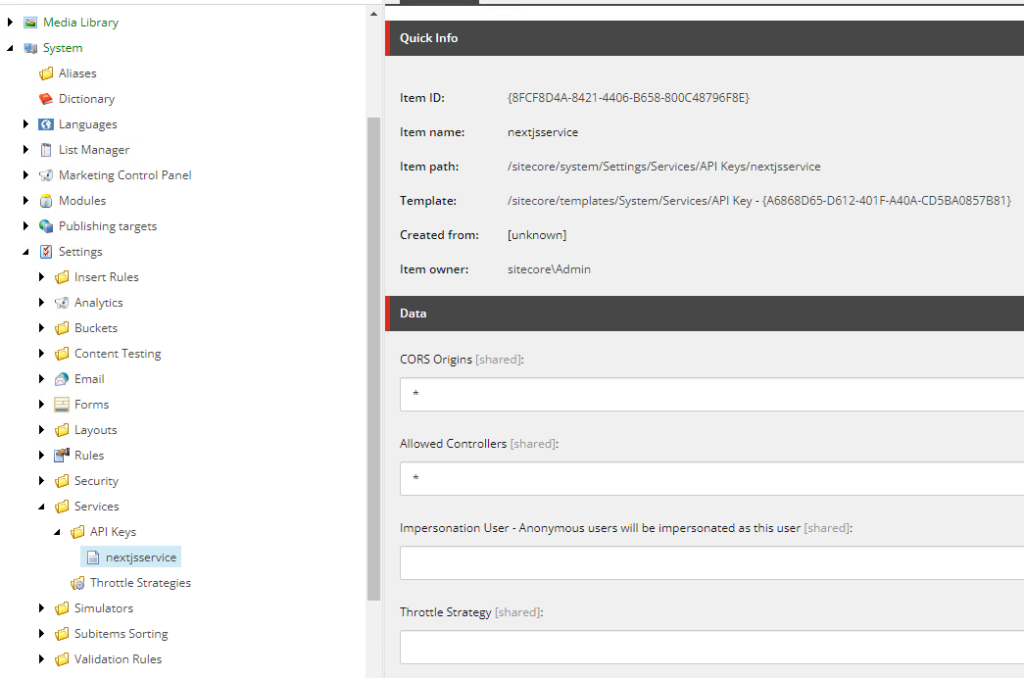
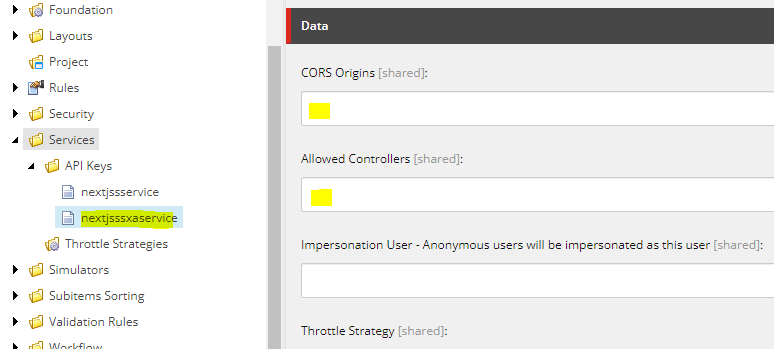
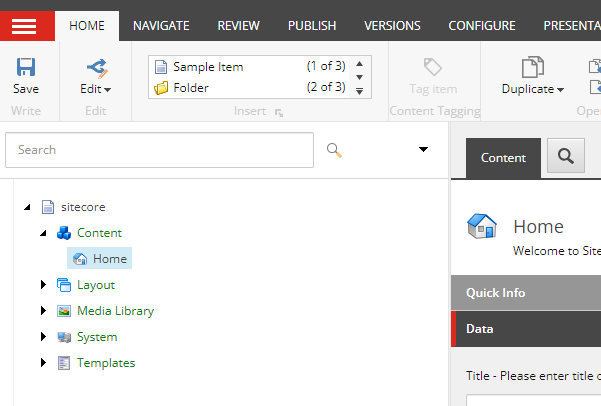
Also notice that any items in this case none is pushed to Sitecore instance and an api key is genereated with the name xmcloudpreview-

You may also notice a jss editing secret and SITECORE_API_KEY_xmcloudpreview are updated in .env fiel in root folder along with the Sitecore Admin password which was set whilst initialising the environment.


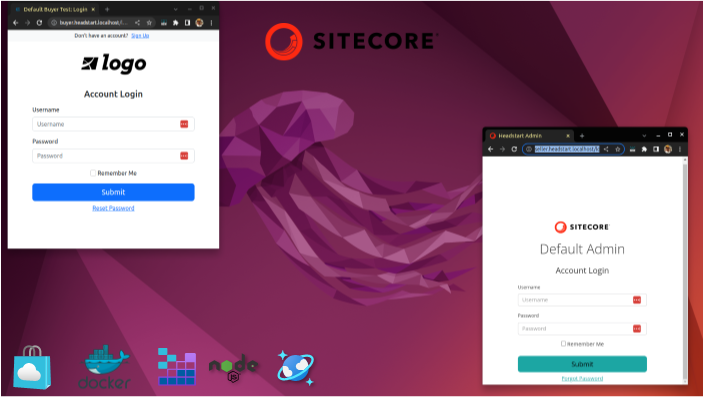
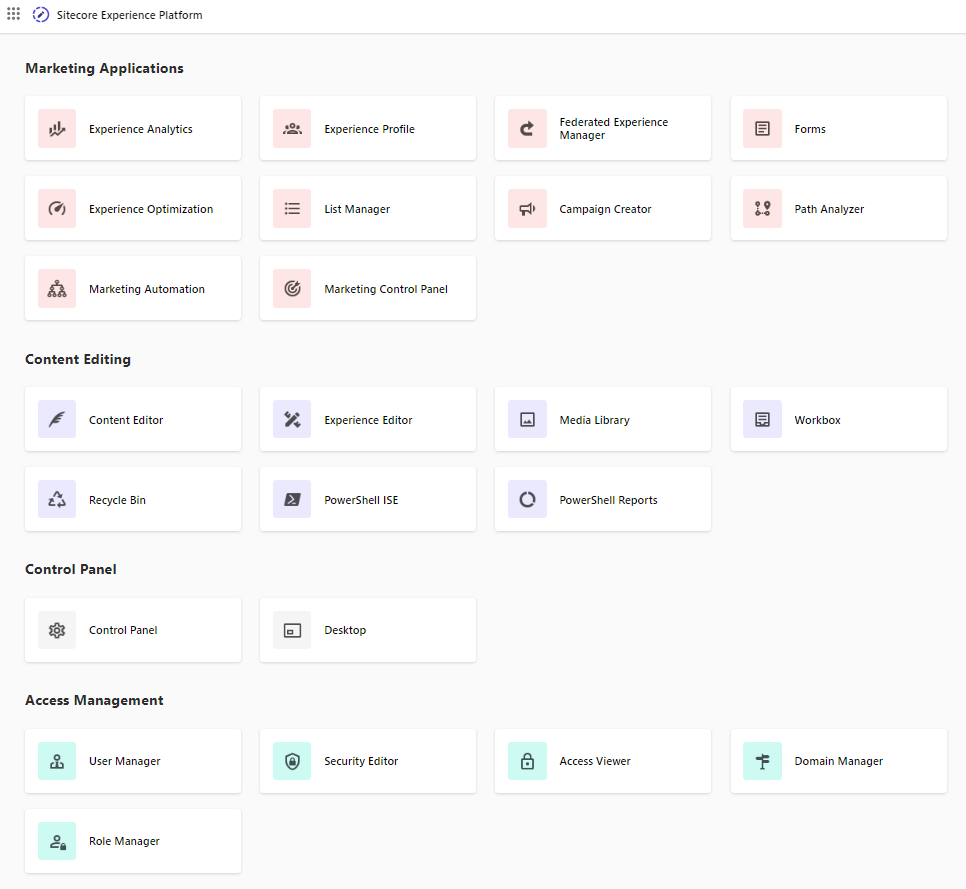
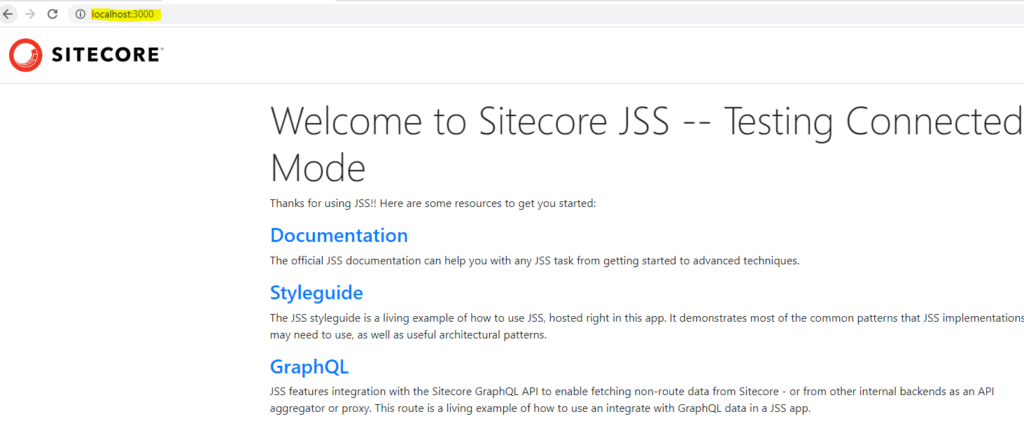
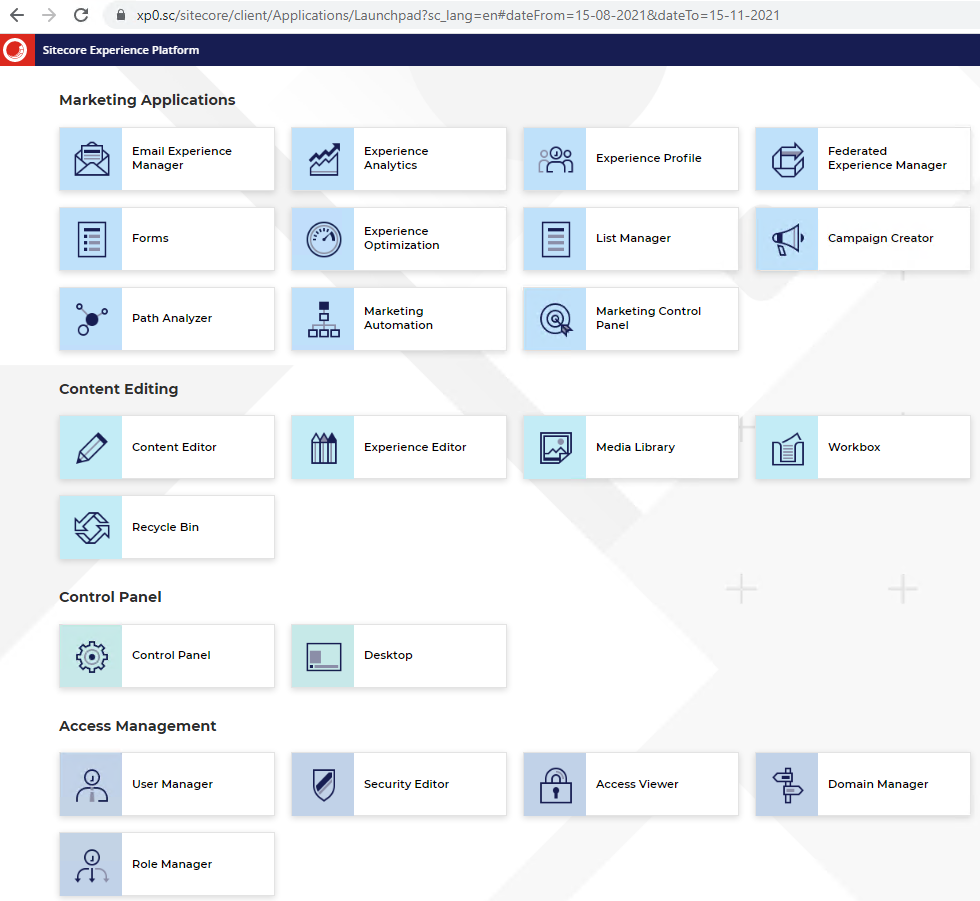
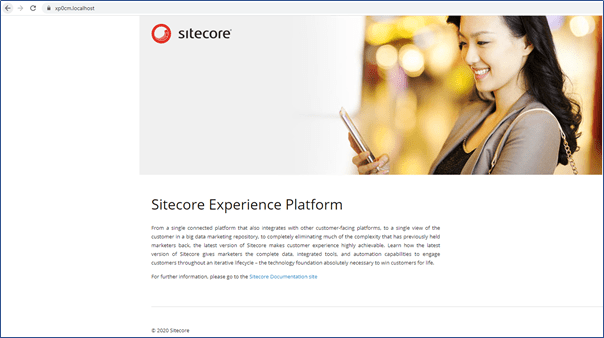
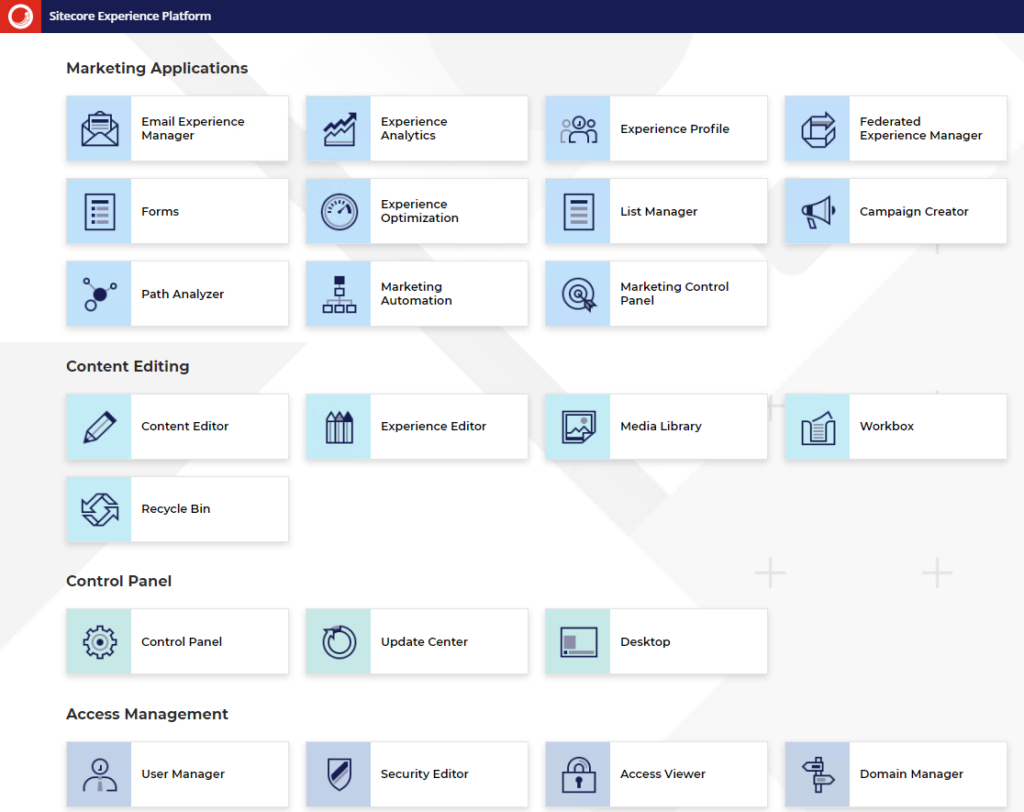
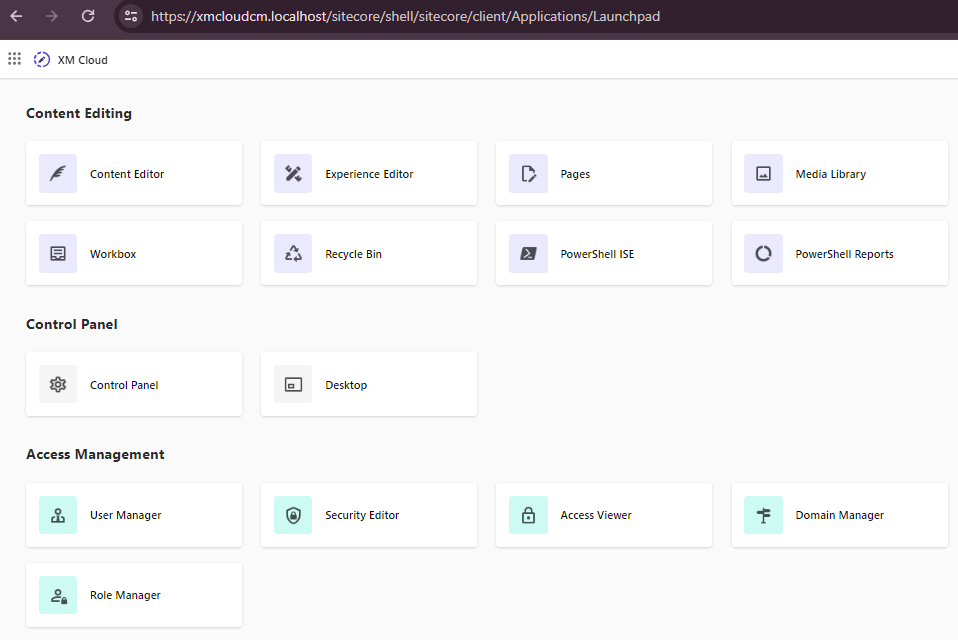
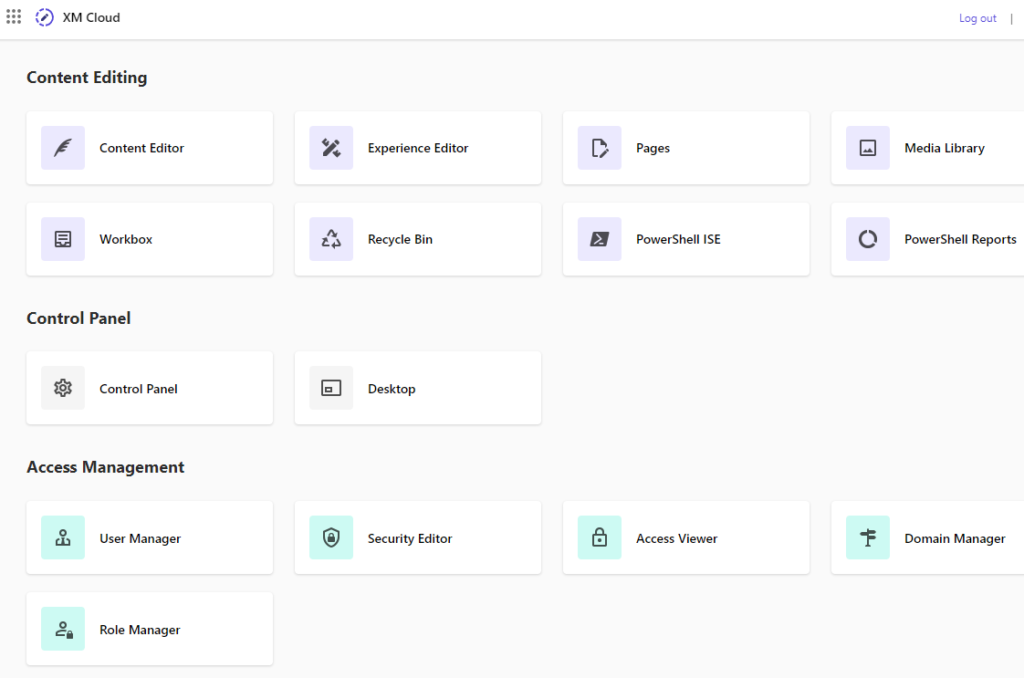
Your local instance should now be up and running-
https://xmcloudcm.localhost/sitecore/
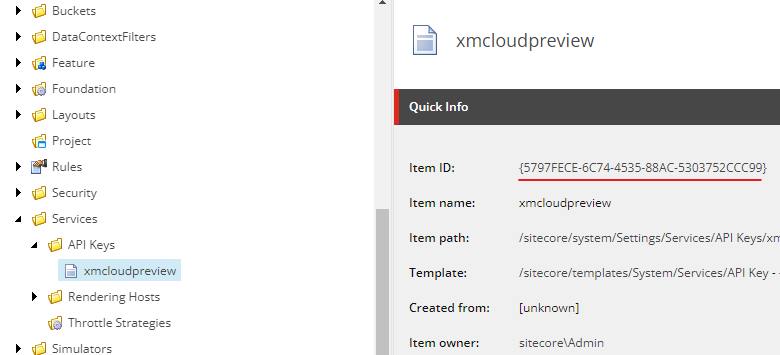
The highlighted key shoulld match the key while spinning up the containers.
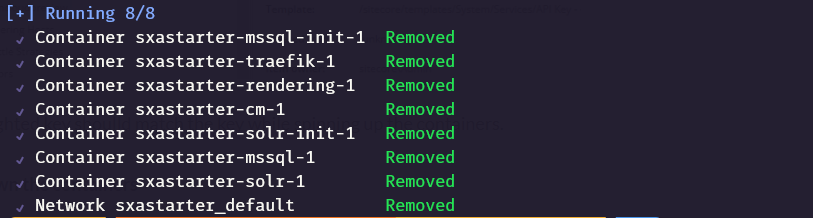
Taking down the containers
To take down the containers run the down.ps1 from the root folder.
.\down.ps1
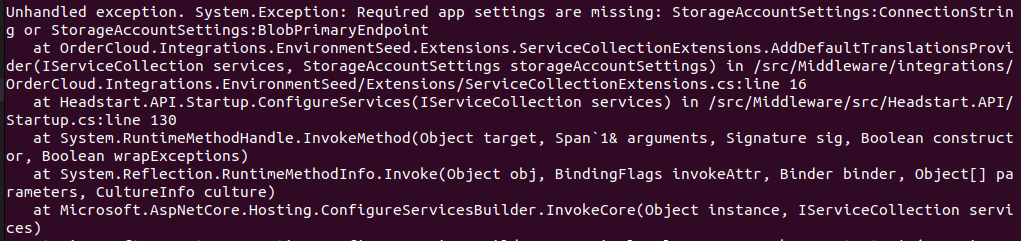
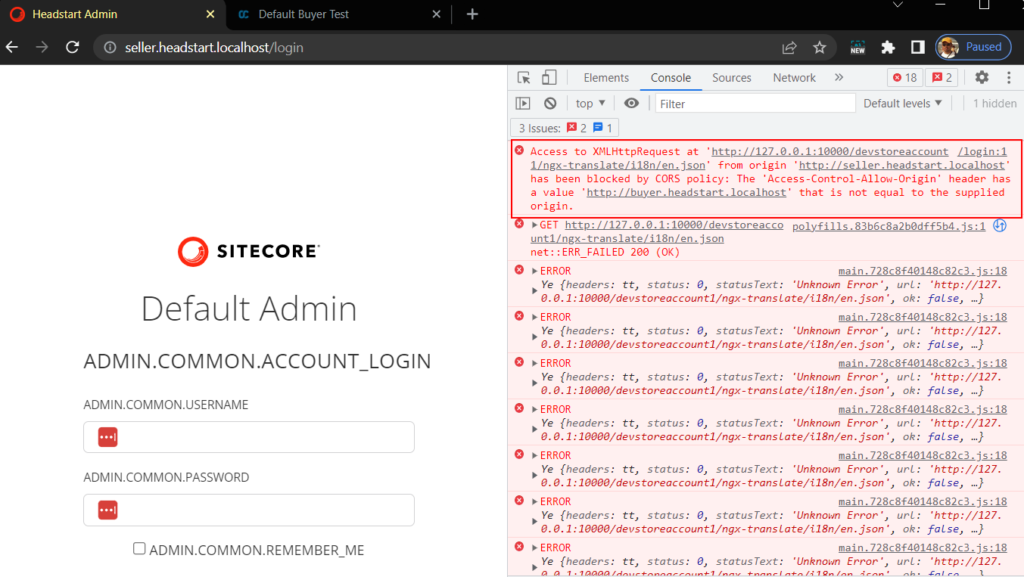
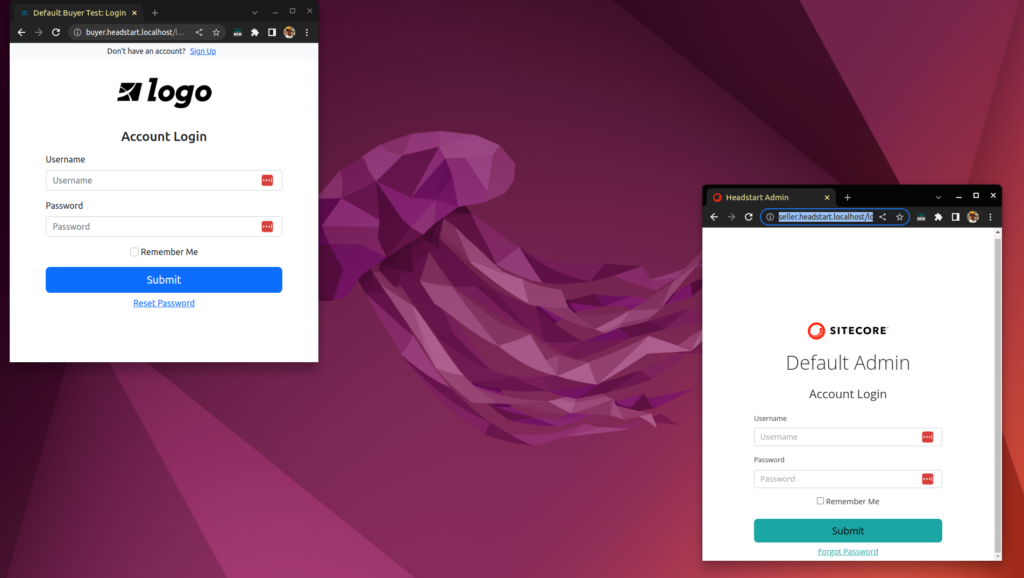
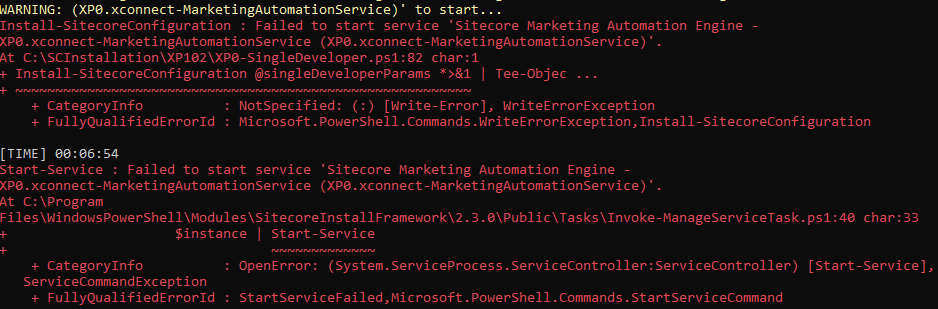
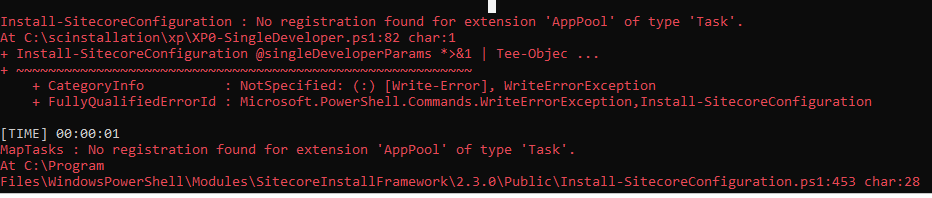
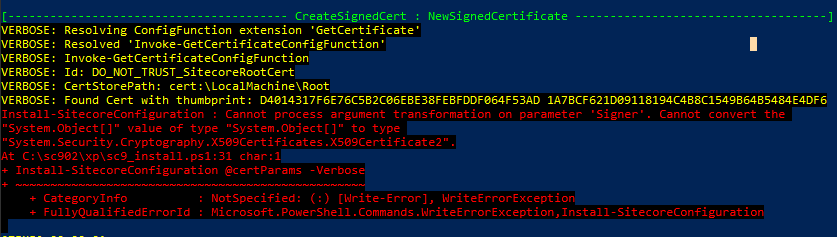
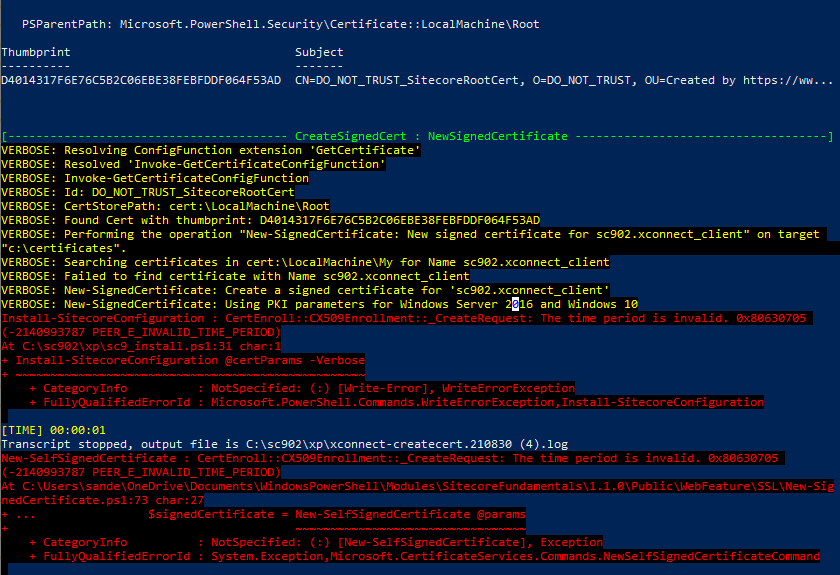
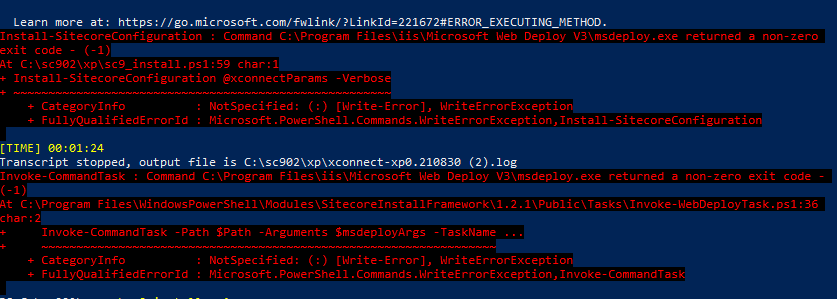
Errors
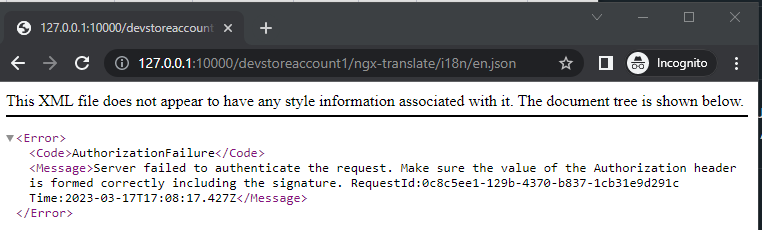
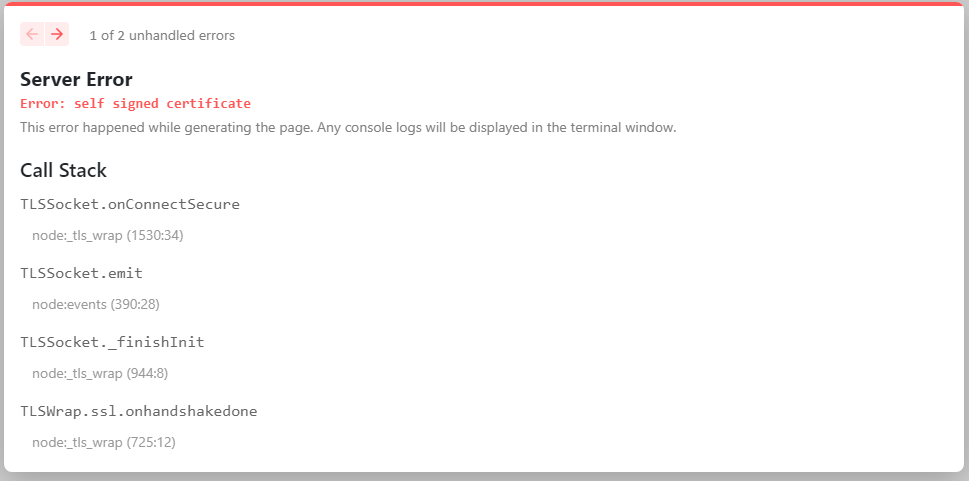
Invoke-RestMethod : Unable to connect to the remote server
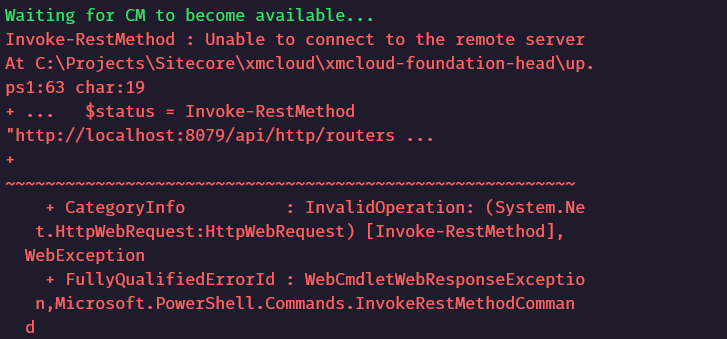
This should be ideally staright forward but if you see any issues whilst getting CM instance up and runing. take down the container with down.ps1 command and delete any docker network.
docker network prune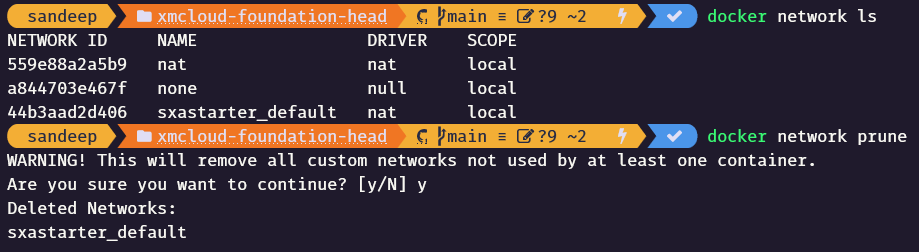
Hope this helps to setup local Sitecore instance for XM Cloud development.
![]()