Tag: Sitecore Commerce 10

Sitecore Commerce Business Tools Compatibility Table

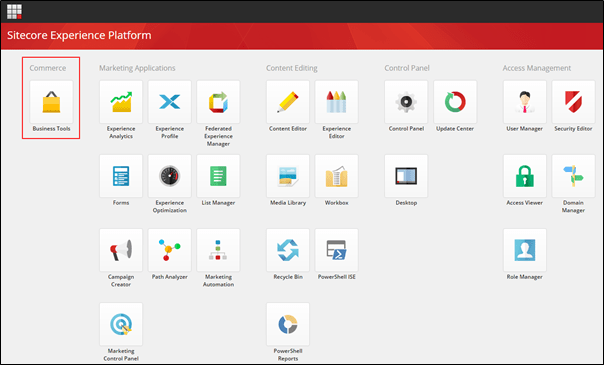
Sitecore Commerce installation package comes with Sitecore Business Tools SDK.

If you are planning to custommise Business Tools you might have to setup the development environment for Business Tools. You can find more information on how to setup the development environment here

For each version of Sitecore Commerce you need to install the specific version of Business Tools in you development environment.

See below the compatibility table for Business Tools with Sitecore commerce-

Package for the same can be found here

Sitecore Commerce (XC) VersionSitecore Business Tools VersionDownload Link
10.27.0.6https://sitecore.myget.org/feed/sc-npm-packages/package/npm/@sitecore/bizfx/7.0.6
10.16.0.6https://sitecore.myget.org/feed/sc-npm-packages/package/npm/@sitecore/bizfx/6.0.6
10.05.0.12https://sitecore.myget.org/feed/sc-npm-packages/package/npm/@sitecore/bizfx/5.0.12
9.34.0.8https://sitecore.myget.org/feed/sc-npm-packages/package/npm/@sitecore/bizfx/4.0.8
9.23.0.7https://sitecore.myget.org/feed/sc-npm-packages/package/npm/@sitecore/bizfx/3.0.7
9.12.0.3https://sitecore.myget.org/feed/sc-npm-packages/package/npm/@sitecore/bizfx/2.0.3
9.0.31.4.1https://sitecore.myget.org/feed/sc-npm-packages/package/npm/@sitecore/bizfx/1.4.1
9.0.21.2.19https://sitecore.myget.org/feed/sc-npm-packages/package/npm/@sitecore/bizfx/1.2.19
9.0.11.1.9https://sitecore.myget.org/feed/sc-npm-packages/package/npm/@sitecore/bizfx/1.1.9
9.0.01.0.572https://sitecore.myget.org/feed/sc-npm-packages/package/npm/@sitecore/bizfx/1.0.572

Sitecore XC 10 – code breaking changes

Sitecore Commerce 10

Sitecore Commerce supports integration to the third-part system and customization and extension to the OOTB entities. This can be achieved by custom plugins.

If you are migrating your code from XC 9.x version to XC 10 you will have to update the code to newest API’s provided with XC. Following is the list of breaking changes if migrating from older versions or good to know if you are starting with the new XC 10 solution.

Wrappers to PipelineBlock

Commerce Engine uses pipeline framework to support extensibility. Pipelines act as a containers for business logic. Commerce pipeline consists of a block which has a detailed business logic.

With Sitecore 10 PipelineBlock are now wrapped with AsyncPipeline and SyncPipeline. So if you have your code using PipelineBlock it should be using Run method to execute the block you may have injected to pipeline.

AsyncPipelineBlock

If block needs to be executed Asynchronously use AsyncPipelineBlock. Also the method name changes to RunAsync()
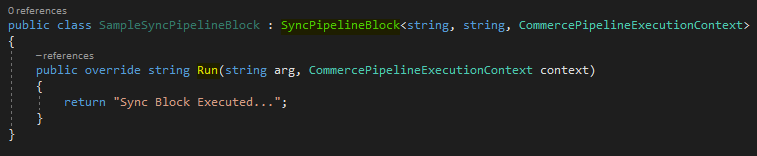
SyncPipelineBlock

If block needs to be executed Synchronously use SyncPipelineBlock. The method name used to execute block is Run()

ConfigureServiceApiBlock also now uses SyncPipelineBlock

2. IPipeline RunAsync() method

IPipeline interface method is changed from Run to RunAsync() which now makes sense as the method is asynchronous operation.

So where are the changes you might need to make, some of the pipelines that is used frequently and need change are listed below-

  1. IFindEntityPipeline
  2. IFindEntitiesInListPipeline
  3. IFindEntitiesPipeline
  4. IPersistEntityPipeline
  5. Any custom pipeline and list goes on…

Api Controller

Commerce api controller exposes the endpoint to communicate from FE or Commerce Connect to Commerce Engine. You can create custom endpoint and the api controller inherited from class CommerceController.

With XC 10.x the class file to inherit for same is CommerceODataController

See this link for more details – CommerceODataController

ODataActionParameters

ODataActionParameters should now be referenced from Microsoft.AspNet.OData namespace.

FileResultExecutorBase

FileResultExecutorBase should be referenced from Microsoft.AspNetCore.Mvc.Infrastructure

These are few of the breaking changes. There are more and I shall keep updating.

Sitecore Commerce 10- Setup Development Environment for Business Tools – Part 1

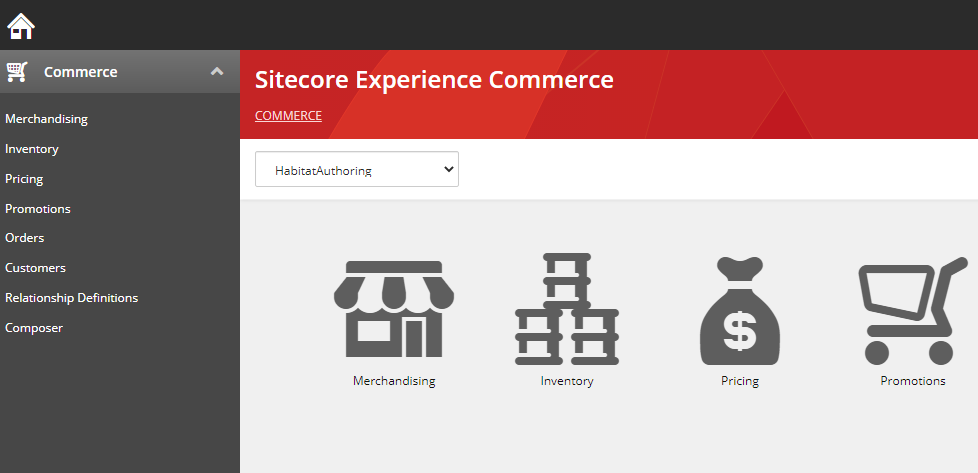
Business Tools is extensible using pluggable framework and can extend a UI using Entity Views. Although Business Tools offers a rich set of controls you might want to create your own custom control for the best business experience.

For this you need to first setup the development environment for business tools. Once the environment is setup you should be ready to develop custom control/customize the business tools.

Prerequisites

  1. Instance of Commerce Engine deployed in development environment
  2. Install Node.js Javascript runtime
  3. Install Angular CLI tool – npm install -g @angular/cli

NPM configuration to have NPM Packages from Sitecore public feed

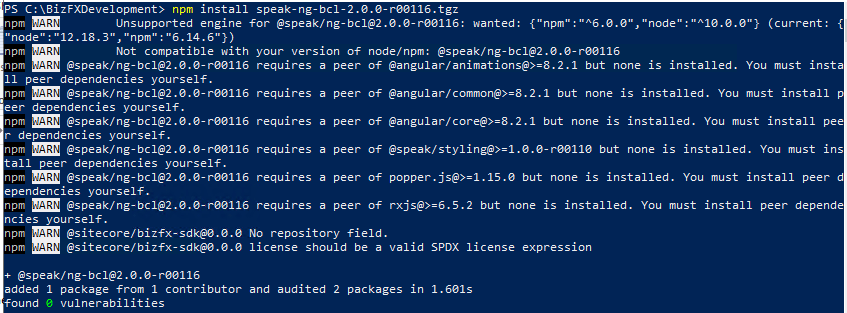
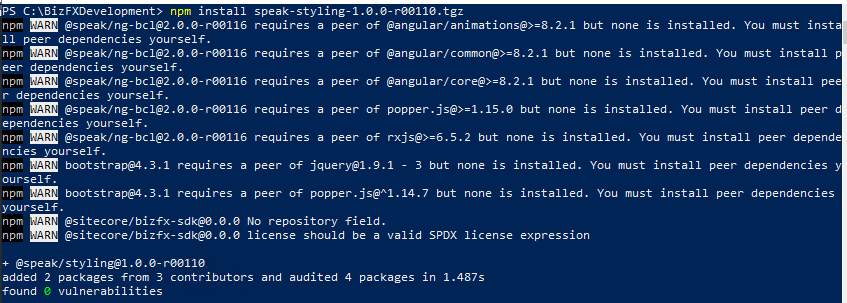
Sitecore BizFx SDK relies on NPM packages available on the Sitecore official public feed for NPM packages.

Open Poswershell as Administrator

Execute these 2 commands in powershell

npm config set @speak:registry=https://sitecore.myget.org/F/sc-npm-packages/npm/

npm config set @sitecore:registry=https://sitecore.myget.org/F/sc-npm-packages/npm/

This will add following line to–

C:\Users\[your user]\.npmrc

[Optional] – you may check if this lines are added

@speak:registry=https://sitecore.myget.org/F/sc-npm-packages/npm/
@sitecore:registry=https://sitecore.myget.org/F/sc-npm-packages/npm/

Setup and Install SPEAK and BizFx packages for development solution

Copy Sitecore.BizFX.SDK.4.0.8 folder to your development folder and extract the SDK zip file to folder e.g. c:\BizFXDevelopment\SitecoreBizFx

Copy below files to the folder SDK was extracted. You should find this files from the Sitecore XC release package.

  1. speak-icon-fonts-1.1.0.tgz
  2. speak-ng-bcl-2.0.0-r00116.tgz
  3. speak-styling-1.0.0-r00110.tgz

Execute the following commands where the above files were copied

​​​​​​​npm install speak-icon-fonts-1.1.0.tgz
​​​​​​​npm install speak-ng-bcl-2.0.0-r00116.tgz
npm install speak-styling-1.0.0-r00110.tgz
npm install @sitecore/bizfx

Run npm install. This should install required npm modules and add a folder node_modules

npm install

Setup the business tools config.json with your deployment configuration

Once the npm installed successfully open config.json file located in src\assets folder

Update the config to the same as the BizFx site instance except for BizFxUri. Note BizFxUri points to http in below config

{
  "EnvironmentName": "HabitatAuthoring",
  "EngineUri": "https://localhost:5000",
  "IdentityServerUri": "https://xp10.IdentityServer",
  "BizFxUri": "http://localhost:4200",
  "Language": "en",
  "ContentLanguage": "en",
  "Currency": "USD",
  "ShopName": "CommerceEngineDefaultStorefront",
  "LanguageCookieName": "selectedLanguage",
  "ContentLanguageCookieName": "selectedContentLanguage",
  "EnvironmentCookieName": "selectedEnvironment",
  "AutoCompleteTimeout_ms": 300,
  "AccessTokenUpdateInterval_ms": 300000
}

Run the development environment

Important!

Stop the SitecoreBizFx site as the site listens to 4200 port. Next step will help listen the site from the extracted SDK folder.

Execute following Powershell command –

ng server

Open browser on http://localhost:4200/ this should ask to enter the Sitecore client credentials, once provided it will throw an error

This site can’t provide a secure connection

The reason this error occurs the identity server is not configure to server BizFx site on http

Update the Sitecore Identity Server Configuration

Open the Sitecore.Commerce.Identity ServiceHost.xml from the installed Identity Server instance \wwwroot\Config\production

Add http://localhost:4200 to AllowedCorsOriginGroup1

<AllowedCorsOrigins>
<AllowedCorsOriginsGroup1>http://localhost:4200</AllowedCorsOriginsGroup1>
</AllowedCorsOrigins>

Update Commerce Engine configuration

  • Open config.json from wwwroot folder in CommerceAuthoring site
  • Update AllowedOrigins in AppSettings to have http://localhost:4200
  • Since the config is changed need to bootstrap so the changes are applied to authoring site
  • Restart IIS. Optionally you may just restart Commerce Authoring site

Run Business tool from development environment

Open browser on http://localhost:4200/

Business tools running on http and in developer mode.

References –

step-by-step instructions on how to setup and compile the Business Tools (BizFX) application using the ​Sitecore.BizFX.SDK

Stay tuned next blog will walk through on how to create a new custom control/component in Business Tools

This image has an empty alt attribute; its file name is image-43.png

Setup development environment for Sitecore Commerce Engine 10 and 10.2

Update: Below is applicable for Sitecore Commerce 10.2. Change the SDK version accordingly. Ignore the step mention for Content Hub

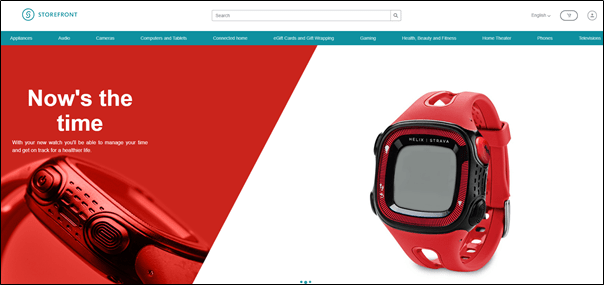
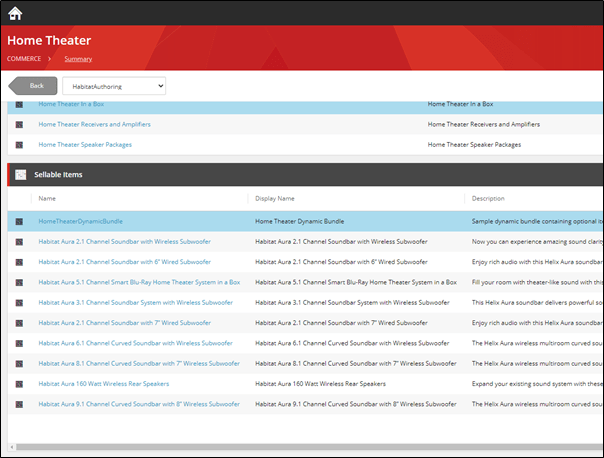
Sitecore Experience Commerce 10 has come up with great new features like Dynamic Bundles, Free gift with Purchase promotion and a sample Sitecore DAM to Commerce connector.

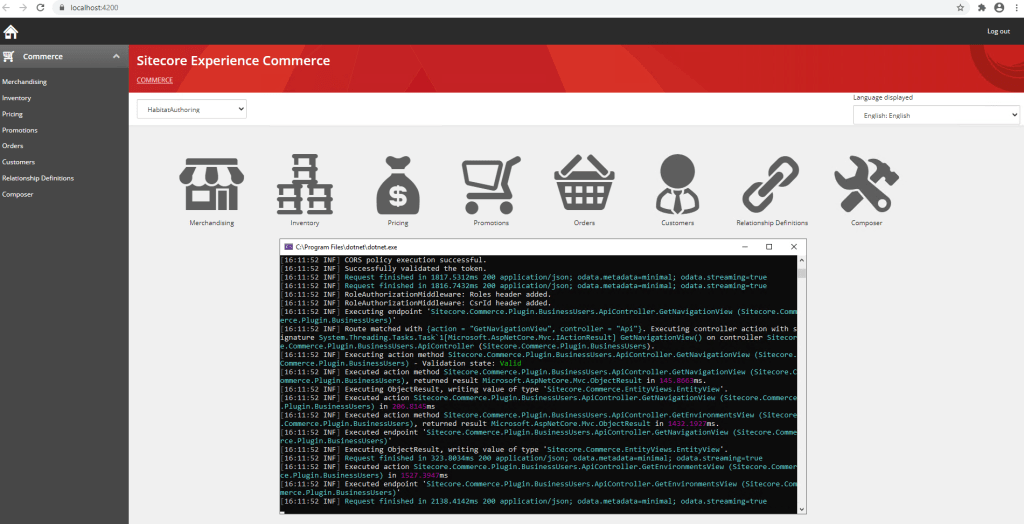
Before you start looking into this, it is important to setup the development environment to debug and test the changes you are making to engine.

Main changes I could see compared to previous versions are integration with Content Hub and Configuring the Commerce Engine using environment variables which not only helps for on-premise installation of Commerce Instance but also helps setup the Docker technology where XC solution is running in containers.

In this post I will walk you through on how to setup the development environment. This post assumes you have Sitecore Commerce Engine along with Visual Studio 2019 installed on developer workstation. If Commerce not installed no worries see this post on how to install Sitecore XC 10 step-by-step.

Step-by-step install Sitecore Commerce (XC) 10

For previous version of XC you may follow this blog post

Step-by-step – Setup development environment for Sitecore Commerce 9.3 Engine

Step 1- Extract Commerce Engine SDK

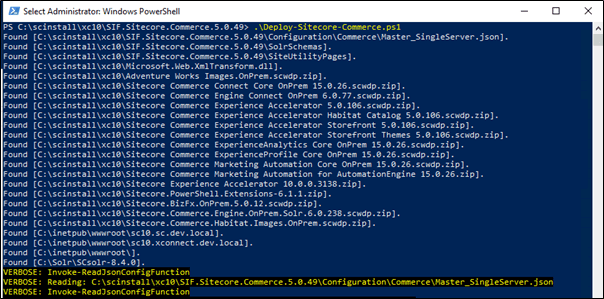
  • Copy the downloaded SDK Sitecore.Commerce.Engine.SDK.6.0.130.zip on your development folder. e.g: c:\development. Note– there is an update on 19th August where the external dependencies are removed. Download the package again if you have a version before this date.
  • If not available you may download Packages for On Premise WDP 2020.08-6.0.238. Login before you download the file.
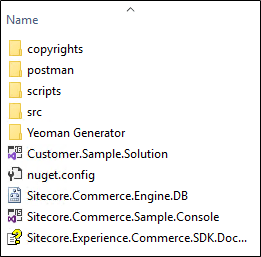
  • Extract the commerce package and then extract Sitecore.Commerce.Engine.SDK.6.0.130.zip in your development folder

Step 2 – Setup Visual Studio Solution

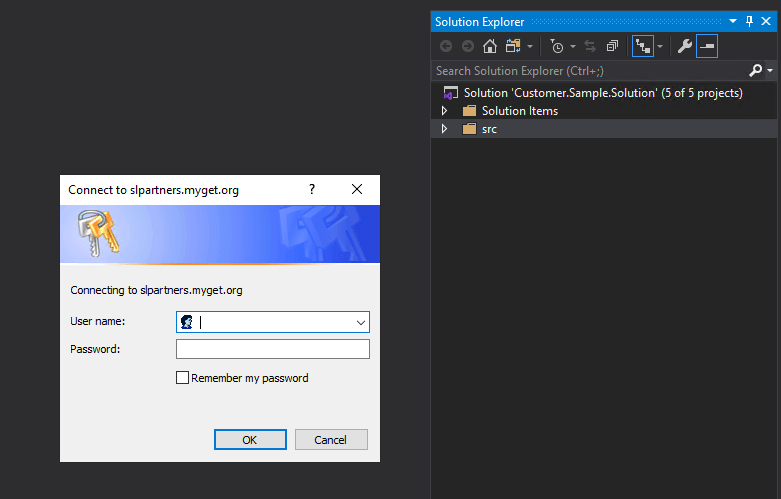
  • Open the Solution, by default this is Customer.Sample.Solution.sln
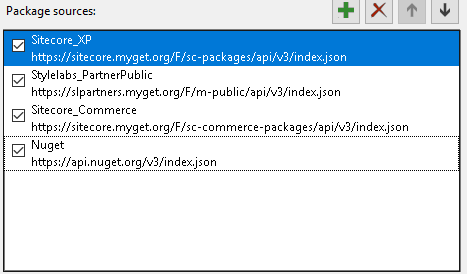
  • Ensure Package Source is configured for Commerce- https://sitecore.myget.org/F/sc-commerce-packages/api/v3/index.json
  • Whilst opening solution login from slpartners.myget.org will be prompted
  • Create an account on https://slpartner.myget.org/ and login here. You may unload Plugin.Sample.ContentHub project if you dont want to integrate ContentHub and the login should not require. Also note myget account has a trial for 14 days.
  • Build the Solution. It should restore the package and build successfully.
  • (optional)Rename the Solution name. In this case I have renamed to Retail.Commerce
  • (Optional) Create Foundation and Feature projects. Build the solution again.

Step 3- Important – Commerce Engine configuration

Sitecore.Commerce.Engine project should have a config.json file in wwwroot folder. Open this file you will see the placeholders that needs to be filled in.

Instead updating config file, you should update the launchSettings.json and the placeholders in config.json will be updated on launch on commerce engine.

Similarly Global.json you can find this in wwwroot/bootstrap folder of your Sitecore.Commerce.Engine project. Again this file has the Placeholders that will be populated from launchSettings.json,

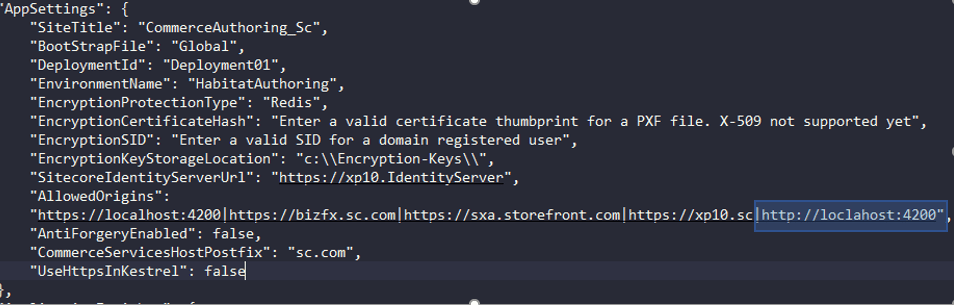
You need to update mainly following variables in launchSettings.json file for both config and global json. There are other variables apart from listed below, you may need to update those based on your site instance name etc.-

  1. COMMERCEENGINE_Caching__Redis__Options__Configuration
  2. COMMERCEENGINE_GlobalDatabaseServer
  3. COMMERCEENGINE_GlobalDatabaseUserName
  4. COMMERCEENGINE_GlobalDatabasePassword
  5. COMMERCEENGINE_SharedDatabaseServer
  6. COMMERCEENGINE_SharedDatabaseUserName
  7. COMMERCEENGINE_SharedDatabasePassword
  8. COMMERCEENGINE_AppSettings__SitecoreIdentityServerUrl
  9. COMMERCEENGINE_EngineAuthoringUrl
  10. COMMERCEENGINE_EngineShopsUrl
  11. COMMERCEENGINE_EngineMinionsUrl
  12. COMMERCEENGINE_EngineHealthCheckUrl
  13. COMMERCEENGINE_AppSettings__AllowedOrigins

Step 4 – Generate Development Certificate

Generate development certificate using script “New-DevelopmentCertificate”, so the localhost runs on SSL(https)

  1. Create a folder named “dev” in the root directory of SDK
  2. Create a folder named “Sitecore.Commerce.Engine_Dev” under “dev” folder
  3. Create a folder named “wwwroot” under “Sitecore.Commerce.Engine_Dev” folder
  4. Open powershell script and navigate to scripts folder.
  5. Change the Path($certificateOutputDirectory) if required. Certificate should be copied to \src\Project\Engine\code\wwwroot
  6. Execute New-DevelopmentCertificate script. This script should be available in script folder in SDK folder.

Step 5 – Update EngineUri in BizFx Site

  • Open config.json file. Should be in assets folder of your BizFx instance
  • Change EngineUri to https://localhost:5000
  • Change BizFxUri to https://localhost:4200
  • Restart BizFx site

Step 6- Run the Commerce Engine from Visual Studio

  • Set the Sitecore.Commerce.Engine project as Startup Project
  • Change the emulator to Engine
  • Stop the CommerceAuthoring_SC site hosted in IIS
  • Run the solution

Hope there should be nothing that should block to run the Business Tools requesting a call to Engine running from Visual Studio

Note: some places you may have to restart IIS also clear the browser cache before you start checking Business Tools is highly recommended.

Hope this post helps you setting your XC 10 development environment.

ISSUES

Request origin https://bizfx.sc.com does not have permission to access the resource

Resolution- Follow Step 5

Step-by-step install Sitecore Commerce (XC) 10

Follow these steps to install Sitecore Commerce 10 On Premise. To successfully install refer to Installation Guide provided by Sitecore.

Login to Sitecore before starting download.

Download Installation Guide

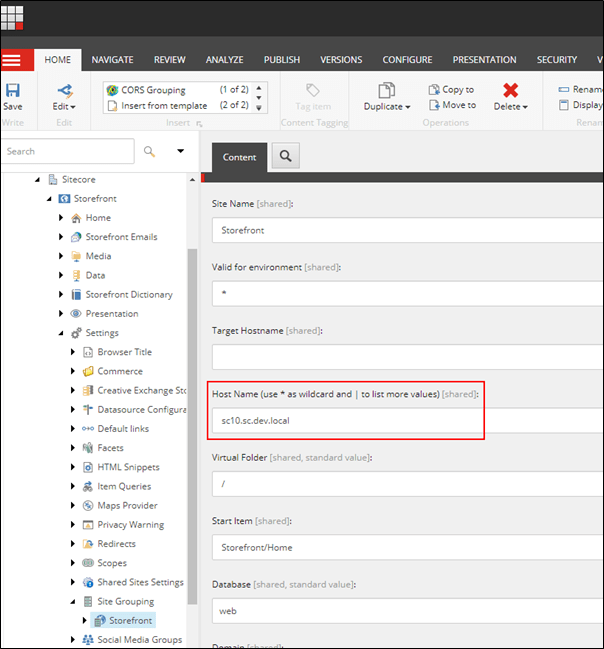
Before installing Sitecore Commerce install Sitecore XP 10. See this blog to install Sitecore XP 10 using SIA. Say the XP site name is- sc10.sc.dev.local

Hosting Environment Requirements/ Download and Install following software-

  1. OS – Windows Server 2019/2016 or Windows 10 Pro(64-bit)
  2. Redis (Windows): 3.0.504
  3. .Net Framework – ASP.Net Core runtime 3.1.6 (Recommend to install v3.1.7 it has a security patch)
  4. Database – Microsoft SQL Server 2017 Express Edition (This should be already installed as a part of XP 10)
  5. Install Microsoft Web Deploy 3.6 if not already installed
  6. Install URL Rewrite using Web Platform Installer
  7. SOLR 8.4.0 (This should have already installed as a part of XP 10 install)
  8. Install PowerShell 6.0 or later is not already installed
  9. Web Platform Transformer (Download nuget package)

Download following Sitecore Software before XC installation

Require login before downloading the Sitecore Softwares

Sitecore Experience Platform 10.0

Sitecore Experience Accelerator (SXA) 10.0

Sitecore PowerShell Extensions 6.0 for Sitecore 10.0

Before starting the installation ensure XP 10 instance is working and indexed. If not indexed rebuild all search indexes-

Also check if the SOLR is working and running on https-

Step-by-step installation process-

  1. Create a installation folder for XC – xcinstall for e.g.:- c:\scinstall
  2. Copy Sitecore.Commerce.WDP.2020.08-6.0.238.zip file to c:\scinstall folder
  3. Extract and copy all extracted files to the c:\scinstall folder
  4. Copy Sitecore Experience Accelerator. Copy Sitecore Experience Accelerator 10.0.0.3138.zip file c:\scinstall folder
  5. Copy Sitecore.PowerShell.Extensions. Copy Sitecore.PowerShell.Extensions-6.1.1.zip file to c:\scinstall folder
  6. Extract Web Platform Transfomer nuget package and copy Microsoft.Web.XmlTransform.dll to c:\scinstall folder
  7. Extract SIF.Sitecore.Commerce.5.0.49 to c:\scinstall folder
  8. Folder structure should look like this-
  9. Open Deploy-Sitecore-Commerce.ps1 file to update the following-
    1. $SiteNamePrefix
    2. $SiteName
    3. $IdentityServerSiteName
    4. $SiteHostHeaderName
    5. $XConnectInstallDir
    6. $MergeToolFullPath – Path of the Microsoft.Web.XmlTransform.dll
  10. Update DB related configuration
    1. $SitecoreDbServer – In case of named instance ensure you set double slash between the server and instance name “SQLServerName\\SQLInstanceName”
  11. Update other DB related settings
    1. $SqlUser
    2. $SqlPass
    3. $CommerceServicesDbServer
  12. [Optional] Update Sitecore domain or keep it default-
    1. $SitecoreDomain
    2. $SitecoreUsername
    3. $SitecoreUserPassword
  13. Update SOLR details-
    1. $SolrUrl
    2. $SolrRoot
    3. $SolrService
  14. [Optional] Update local account details
    1. $UserDomain
    2. $UserName
    3. $UserPassword
  15. Create Commerce Engine Connect Client Secret for the Sitecore Identity Server
    1. Copy below script to file to scinstall/SIF.Sitecore.Commerce.5.0.49 folder example XC10SecretClientCertificate.ps1
    2. Execute the script and copy secret key
$bytes = New-Object Byte[] 32
$rand = [System.Security.Cryptography.RandomNumberGenerator]::Create()
$rand.GetBytes($bytes)
$rand.Dispose()
$newClientSecret = [System.Convert]::ToBase64String($bytes)

Write-Host $newClientSecret

16. Copy the secret key to update $CommerceEngineConnectClientSecret variable in Deploy-Sitecore-Commerce.ps1

17. Execute Deploy-Sitecore-Commerce.ps1 script to install commerce

18. Once installed successfully login to Sitecore, you shall find the Business tool in Dashboard

19. Goto content editor and navigate to item- /sitecore/content/Sitecore/Storefront/Settings/Site Grouping/Storefront to change Host Name

20. Visit site to check if the default store front site is loading

21. Login to Business Tools

Issues

  1. Error connecting Identity Server. See this blog to resolve if you receive error

2. Error whilst bootstrapping commerce ops

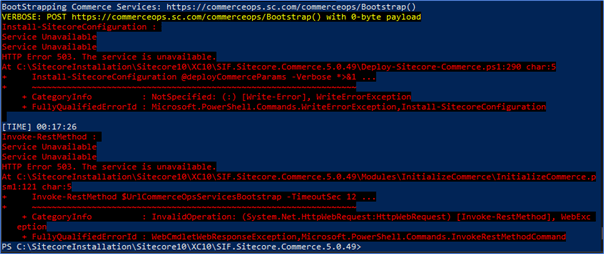
Resolution- Check or reset the service account credentials that are created for the app pools as part of deployment. You can find the credentials in installation script with variable name $UserName (CSFndRuntimeUser) and $Password. Try accessing the https://commerceops.sc.com site if there are any other errors.

Sitecore XP 10 identity server error – failed to start process with commandline ‘dotnet .\Sitecore.IdentityServer.Host.dll’

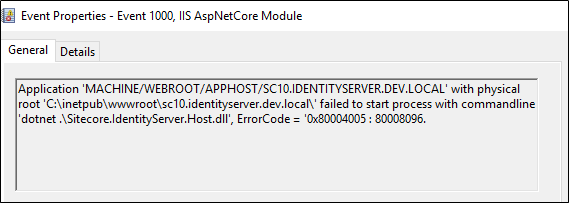
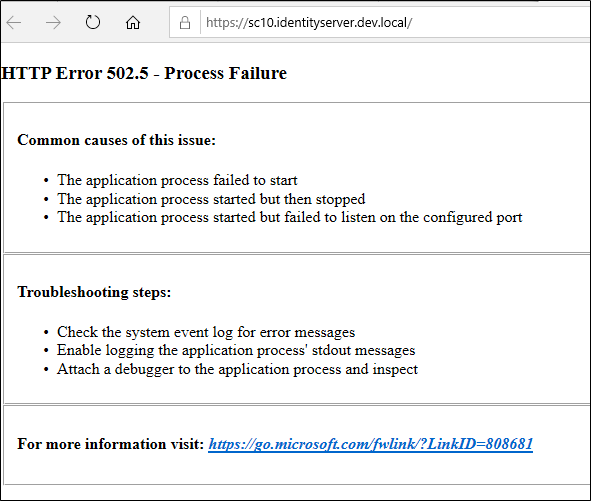
After installing Sitecore 10 using Sitecore Installation Assistant (see the blog here how to install Sitecore XP 10 usig SIA) you might find the Identity Server not working since it is not able to start the process with command line ‘dotnet .\Sitecore.IdentityServer.Host.dll’

You may see this error in Application logs.

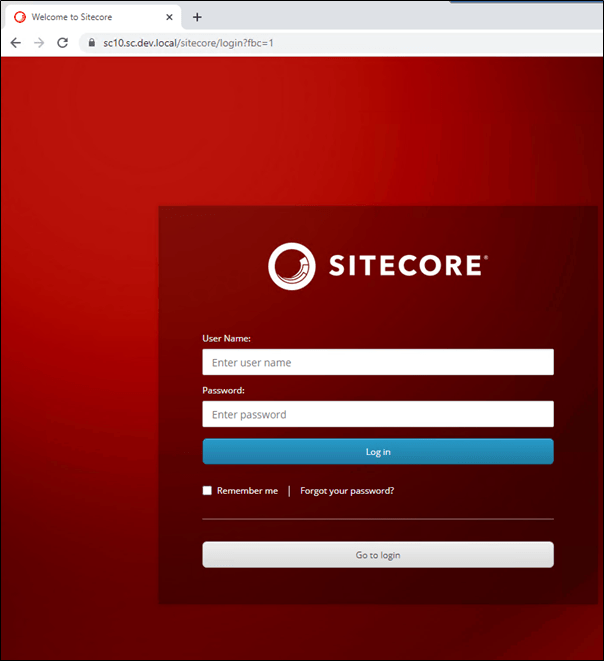
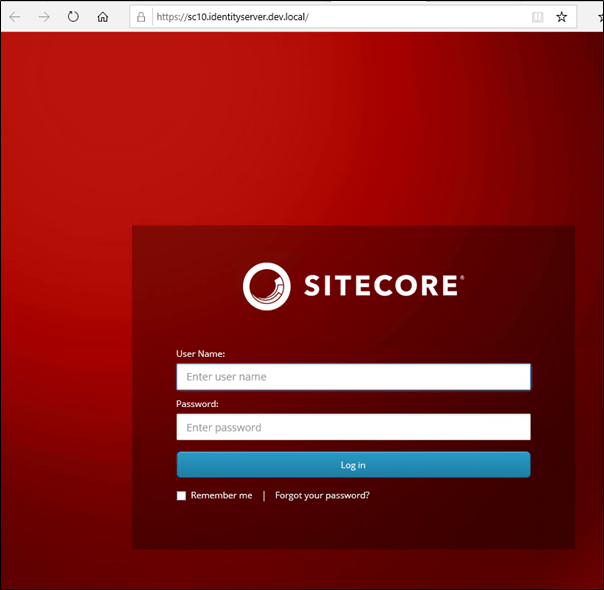
You may also see Sitecore login been not redirected to identity server site instead redirects to XP login page.

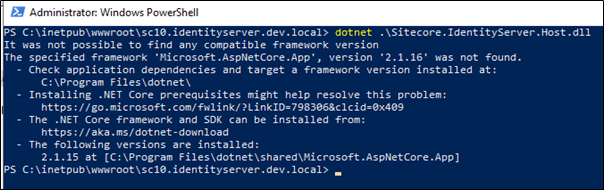
To identify the problem first try manually starting the process in powershell. You can find command to start the process in error.

Navigate to the identity server site physical folder and execute this command

dotnet .\Sitecore.IdentityServer.Host.dll

This should tell the solution to the issue i.e. it needs AspNetCore version 2.1.16 to be installed.

Install SDK 2.1.804 from here, this also install Runtime 2.1.16 – https://dotnet.microsoft.com/download/dotnet-core/2.1

Execute the command dotnet .\Sitecore.IdentityServer.Host.dll

This time the Identity Server should start.

Identity Server site is working now –

This will also help whilst installing the Sitecore Commerce 10.

Hope this helps.