


Last Updated on February 1, 2025 by sandeeppote
On a XC installed instance you might want to customize the XC by adding your own Entities, Components, Entity Views etc. In this topic I will describe how to setup your development environment to add your custom plugin.
This topic assumes a Sitecore CMS and Commerce engine version 9.3 are running under IIS. I am using Visual Studio 2019.
Steps to setup-
Step 1- Extract Commerce Engine SDK
- Copy the downloaded SDK Sitecore.Commerce.Engine.SDK.5.0.76.zip on your development folder.
- If not available you may download Packages for On Premise WDP 2020.01-5.0.145
- Extract the commerce package and then extract Sitecore.Commerce.Engine.SDK.5.0.76.zip
Step 2 – Setup Visual Studio Solution
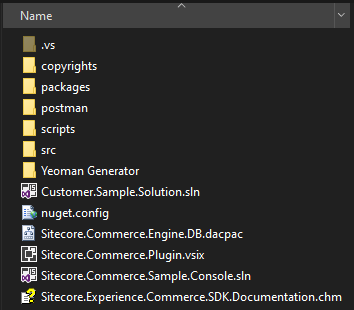
- Open the Solution, by default this is Customer.Sample.Solution.sln
- Ensure Package Source is configured for Commerce- https://sitecore.myget.org/F/sc-commerce-packages/api/v3/index.json
- Build the Solution. It should restore the package and build successfully.
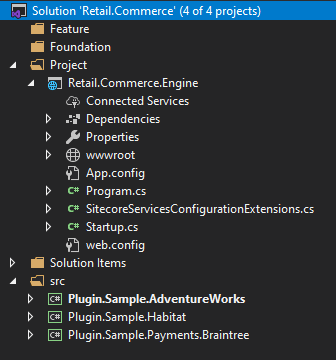
- (optional)Rename the Solution name. In this case I have renamed to Retail.Commerce
- (Optional) Create a solution folder “Project” and move Sitecore.Commerce.Engine project
- (Optional) Rename “Sitecore.Commerce.Engine” project to “Retail.Commerce.Engine”. Re reference AdventureWorks, Habitat and BrainTree projects if required. Adjust/rename namespace in classes.
- (Optional) Create Foundation and Feature projects. Build the solution again.
Step 3 – Generate Development Certificate
Generate development certificate using script “New-DevelopmentCertificate”, so the localhost runs on SSL(https)
- Open powershell script and navigate to scripts folder.
- Execute New-DevelopmentCertificate script
- Change the Path($certificateOutputDirectory) if required. Certificate should be copied to \src\Project\Engine\code\wwwroot


Step 4 – Update configuration
- Change environment in Engine project/wwwroot/config.json file to HabitatAuthoring
- Change “SitecoreIdentityServerUrl”: “https://storefront930.identityserver.local”,
- Add the site name in AllowedOrigins in config.json
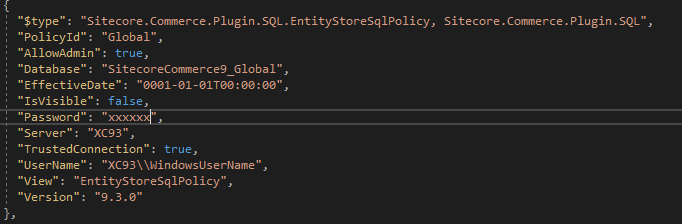
- Open Global.json in wwwroot/bootstrap folder in Engine project
- Update SQL Server, UserName and Password in EntityStoreSqlPolicy
- Check the database name
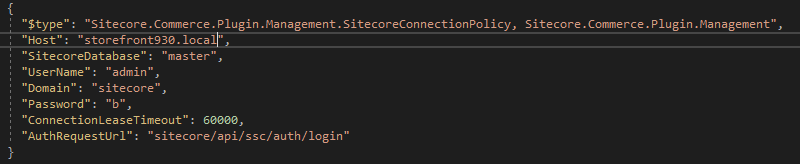
7. Update Host to your site host name in SitecoreConnectionPolicy
Note: You may copy the config.json and gloal.json file from Authoring Site hosted in IIS to your project, but to better understand the changes required I have noted the changes.
Step 5 – Update allowed origins in Identity Site
- Open Sitecore.Commerce.IdentityServer.Host.xml file. Should be in /config/production/Sitecore.Commerce.IdentityServer.Host.xml
- Navigate to section <CommerceEngineConnectClient><AllowedCorsOrigins>
- Add https://localhost:5000 to the
Step 6 – Ready for running the Engine
- Set Engine as your Startup Project
- Change the debug profile to “Engine” instead of “IIS Express”
- In IIS stop Authoring site. i.e. for your default instance it might be CommerceAuthoring_sc930 site
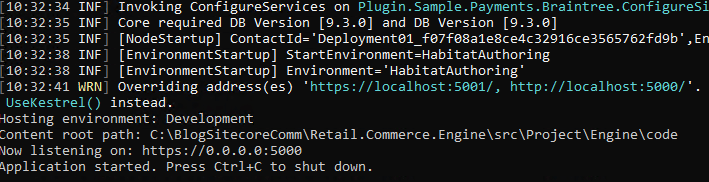
- Run the Engine from Visual Studio. This will open the console.
- Once the plugins are instantiated, it should listen to 5000 port. At this point you have configured Engine to run/debug from Visual Studio. Any calls from the business tool should be received by engine and console should be able to show the request that’s been received.

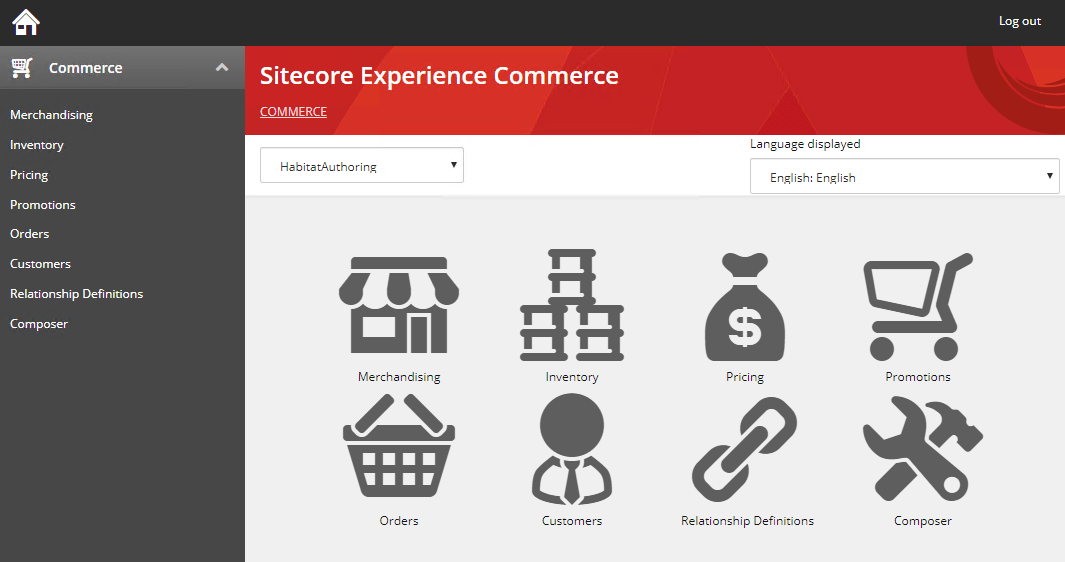
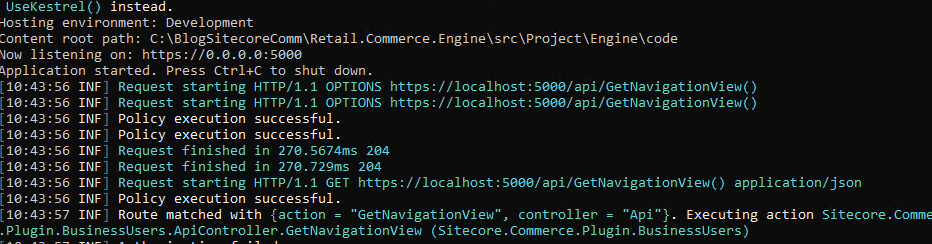
And here we have business tool sending request to engine running on Visual Studio, see GetNavigationView() been called in console-
0 Comments
2 Pingbacks