
Url for Sitecore 9.1 nuget feed is here-
https://sitecore.myget.org/gallery/sc-platform-9-1
It seems Sitecore is going to provide a seperate feed for each release and now does not contain NoReference dlls.
Sitecore Consultant. Sitecore MVP 2021 - 2026


Url for Sitecore 9.1 nuget feed is here-
https://sitecore.myget.org/gallery/sc-platform-9-1
It seems Sitecore is going to provide a seperate feed for each release and now does not contain NoReference dlls.
Sitecore supports mainly 3 search providers- Lucene, Solr and Azure, of this Solr comes default with the Sitecore 9x installation.
Azure is one of the search provider which is stable and easy to scale.
For more details on advantages and limitations see this -https://doc.sitecore.com/developers/91/platform-administration-and-architecture/en/sitecore-azure-search-overview.html
To configure Azure search for your Sitecore instance you may follow below steps-
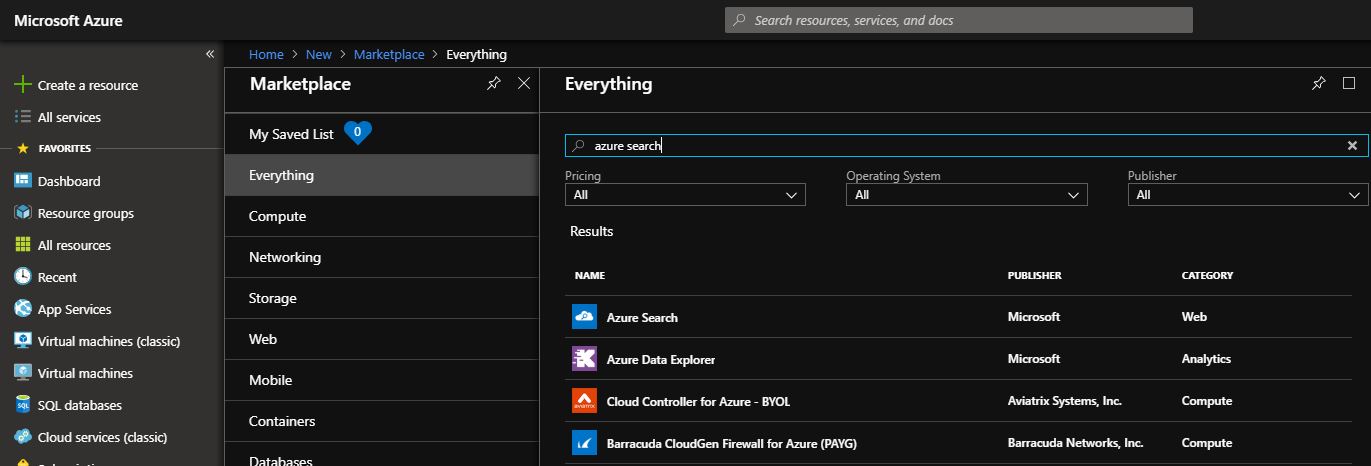
Azure search resource in market place-
1. Create a azure search resource
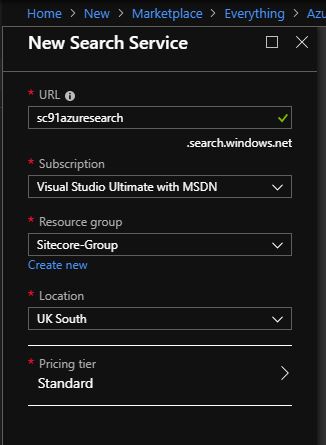
2. Create New Search Service
Provide a URL, Subscription, Resource Group, Location and Pricing Tier. Create a New Search Service
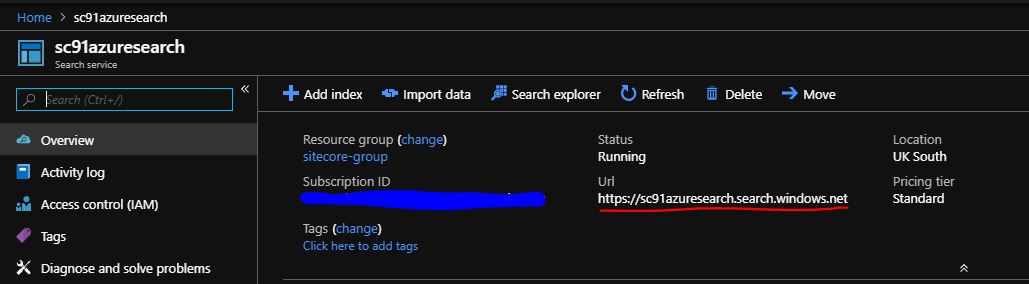
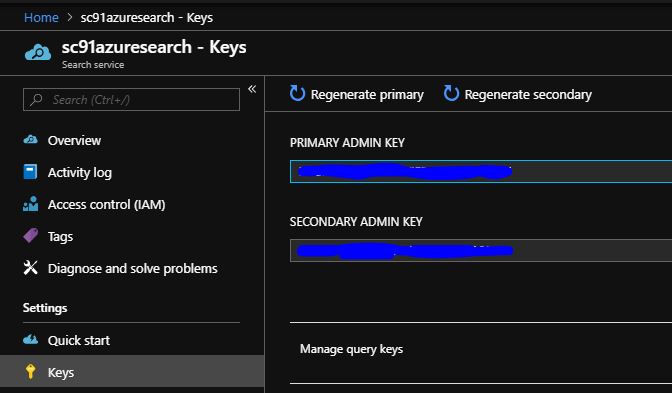
3. What to configure and where to find details?
Once a resource is created you see more details in Overview tab. To configure this in Sitecore- Url, Api version and key is required. API version can be seen in “Search explorer”
4. Sitecore configurations
Change search to Azure in web.config –
<add key=”search:define” value=”Azure” />
Add connection string cloud.search in connectionstring.config file-
<add name=”cloud.search” connectionString=”serviceUrl=https://sc91azuresearch.search.windows.net;apiVersion=2017-11-11;apiKey=<<apikey>>” />
Create a new search index, this is optional, as you may index master and web database. Configuration for same is available in App_Config/ContentSearch.Azure folder
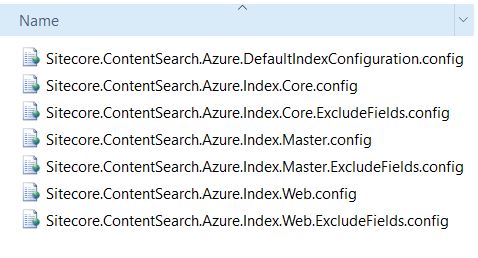
I created a new index by copying Sitecore.ContentSearch.Azure.Index.Web.config file named “sitecore_web_search_index”
5. Create Items and rebuild index
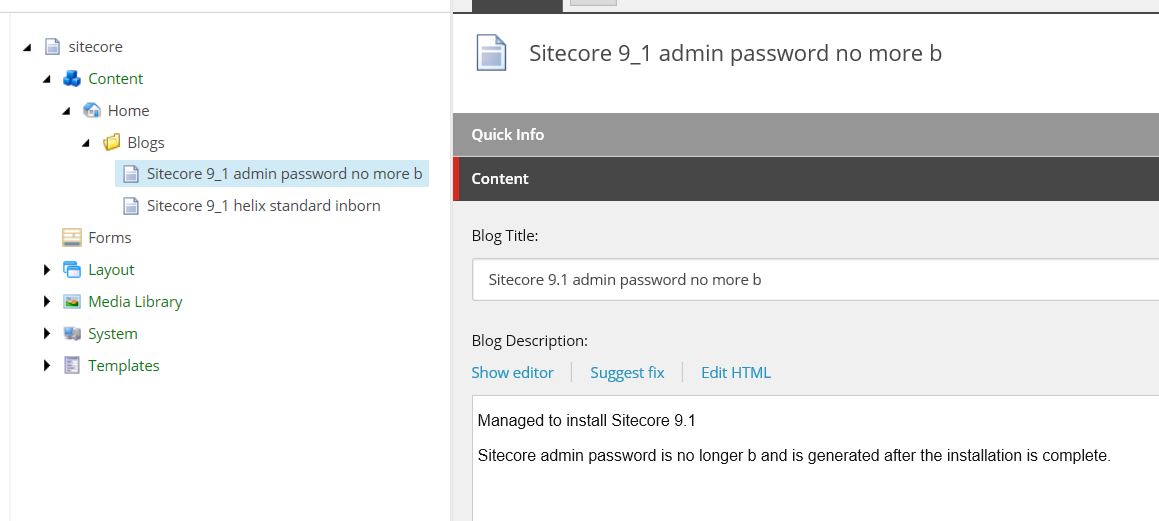
I have create a blog items and content for same.
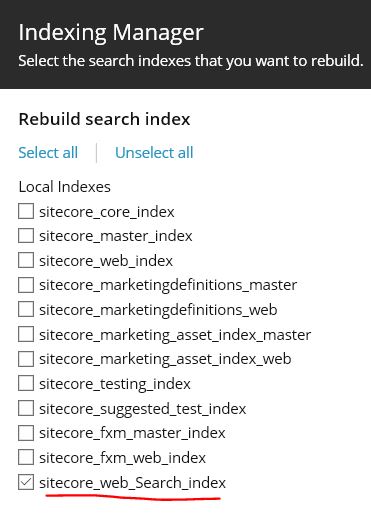
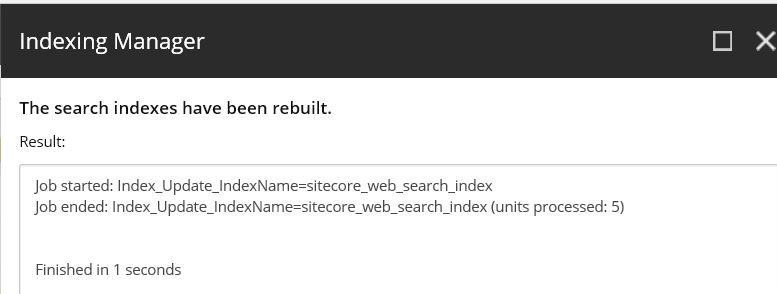
Goto Control Panel >> Indexing Manager and rebuild a newly created Index.
6. Indexes and items in Azure
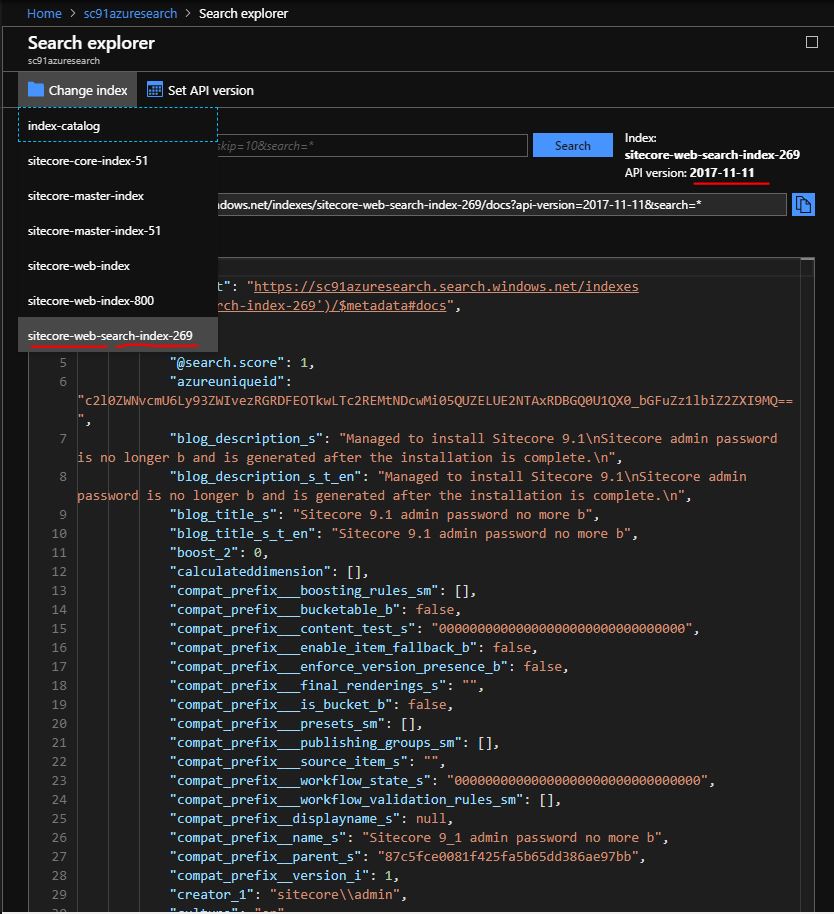
Goto Overview tab of newly created search service and open Search explorer
See the change index button and newly creaeted index can be seen along with api version and request url.
Click on Search button and the indexed items are now in there.
blog_title and blog_description fields are indexed.
Hope this helps in configuring the Azure search.
Next blog will be on creating a computed field and some considerations on indexing with Azure search.
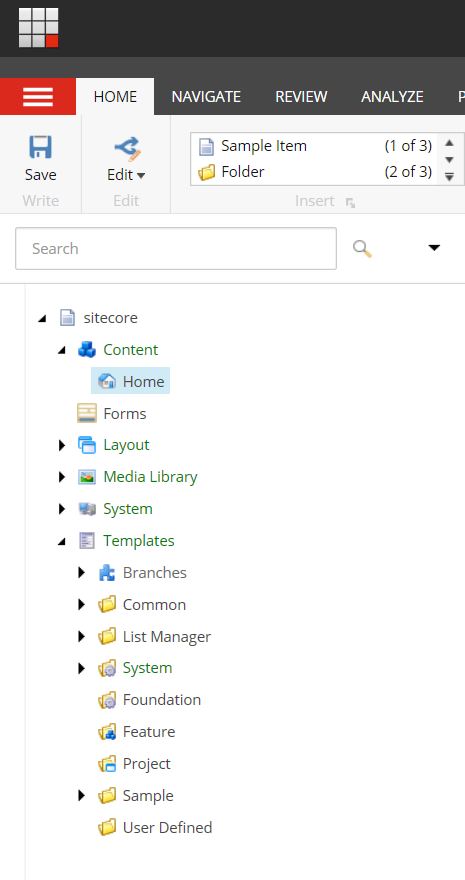
Sitecore 9.1 comes with the inbuilt Helix standards.
The folder structure i.e. Foundation, Feature, Project now comes with the Sitecore installation.
The folders are added in Layouts, Placeholder Settings, Renderings and Templates by default it seems.
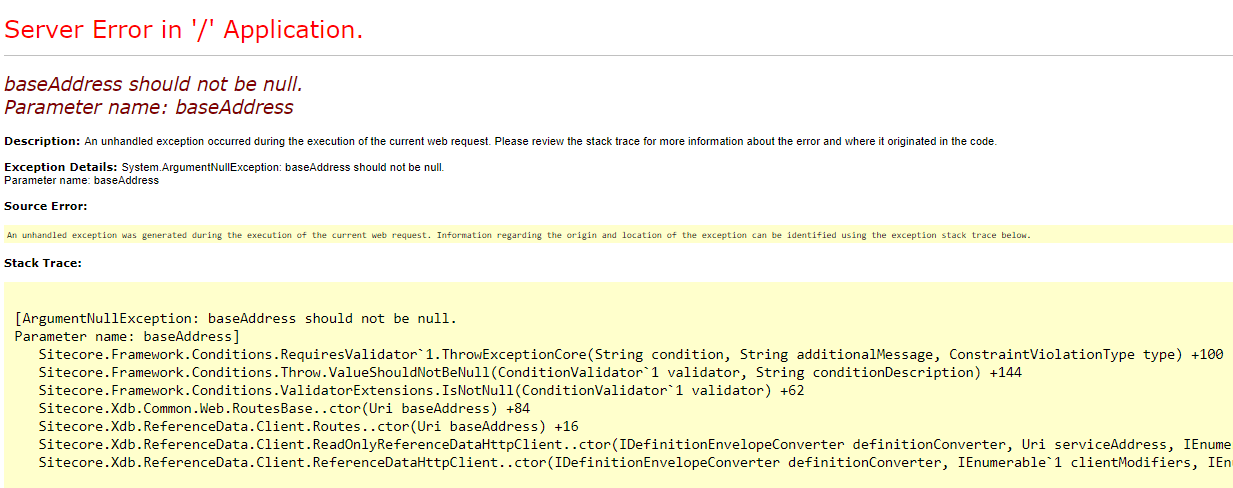
If you see error after installing Sitecore 9 –
baseAddress should not be null. Parameter name: baseAddress error
This error comes when xDB is enabled and if connectionstring for database aren’t set. Either install xDB or disable xDB.
To disable xDB change following in Sitecore.Xdb.config file, can be found in Marketing.xDB folder
<setting name=”Xdb.Enabled” value=”false” />
Managed to install Sitecore 9.1, highly recommend to use step-by-step installation guide here- https://buoctrenmay.com/2018/11/29/sitecore-xp-9-1-step-by-step-install-guide-on-your-machine/
Sitecore admin password is no longer b and is generated after the installation is complete.

So, remember to note down the auto generated password or reset password once logged in.
Enjoy Sitecore installation!!!
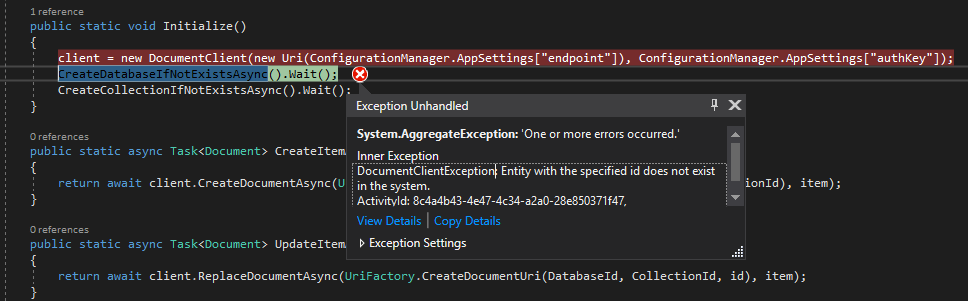
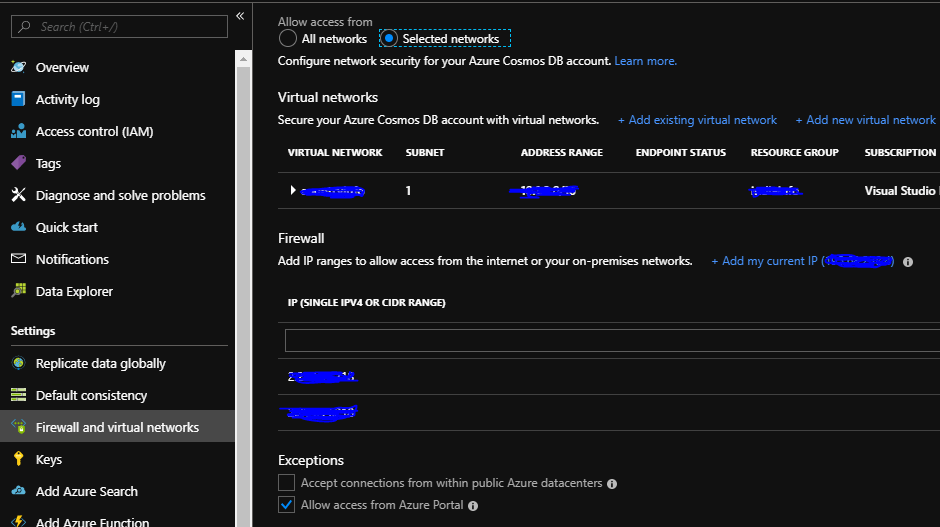
If you see following error whilst connecting to Cosmos DB, you must add your current IP address to firewall in Azure for the DB you are trying to connect to.
Referred from- https://learnsitecorebasics.wordpress.com/2018/06/28/install-sitecoreconfiguration-the-certificate-does-not-have-a-property-that-references-a-private-key/
Remove existing certificate. If you know the thumbprint use the below powershell command to remove certificate-
Get-ChildItem Cert:\LocalMachine\Root\<<thumbprint>> | Remove-Item
To list the existing certificates use following command-
Set-Location Cert:\LocalMachine\Root
Get-ChildItem | Format-Table Subject, FriendlyName, Thumbprint -AutoSize
Often question arises why we need build server and why not push the built code tested on dev to test environment.
Automation.
One of the keystone for having the build server is to have the software built automatically
To have the code built, packaged and released to the prod and non-prod environments we may use automation which contains mainly 2 things, a tool to build the code i.e. Jenkins, Team city or VSTS and tool to manage releases like Octopus etc.
Automation tasks may look like this-
Get code from source control (TFS/VSTS)
Build the Software (Jenkins, TC etc)
Package the files
Push the package to Release (Octopus)
Create the release
Removes the dev machine been the source of truth
Dev machine should not be the only place to prove the code been satisfactorily built. Build server helps integrate dev team work and compiled and build at central place. Sometimes devs dont know how things got working, build server helps answer that.
If you are using VIM press ESC and :wq or ESC and SHIFT + zz