Welcome! This is my personal blog about Web technologies, software development, open source and other related topics
The ideas and opinions expressed here are solely mine and don't represent those of others, either individuals or companies.The code snippets or references to software products or analogous are to be used without any warranty of any kind. If you enjoy the content, feel free to share it and re-use it as long as you provide a link to the original post.
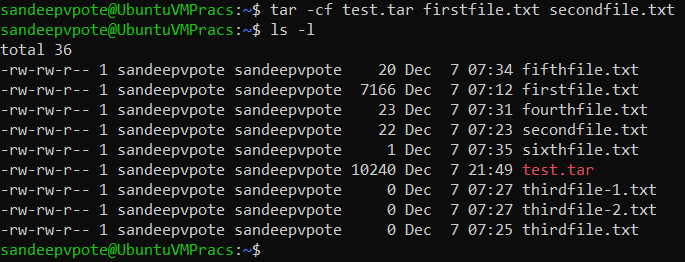
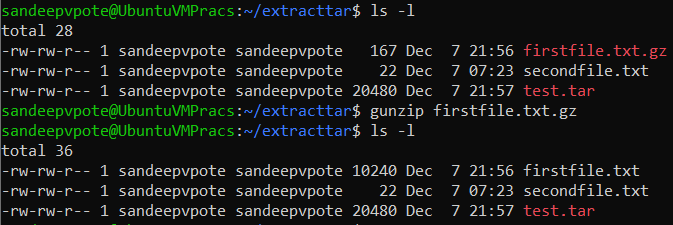
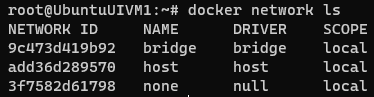
At times if you dont want to always pull the image from image registry which takes time to pull if the image’s are heavy, it makes sense to save the image and use it offline. This avoids to always pull the image from the registry.
Save the image once into tar file and reuse the images.
To Save image use follwoing command
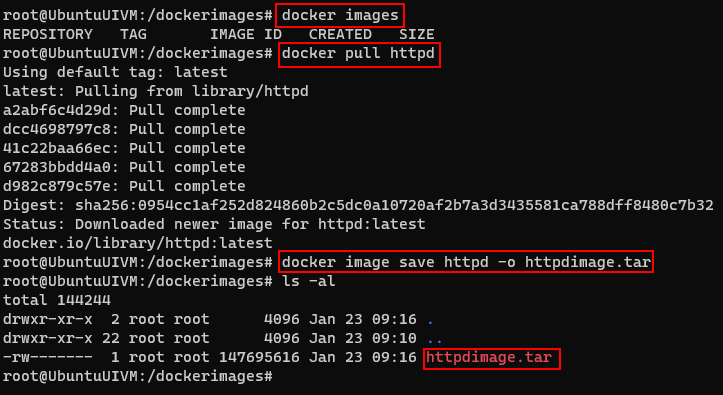
First pull the image from repository
docker pull httpd
docker image save httpd -o httpdimage.tar
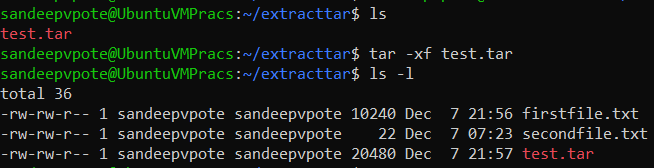
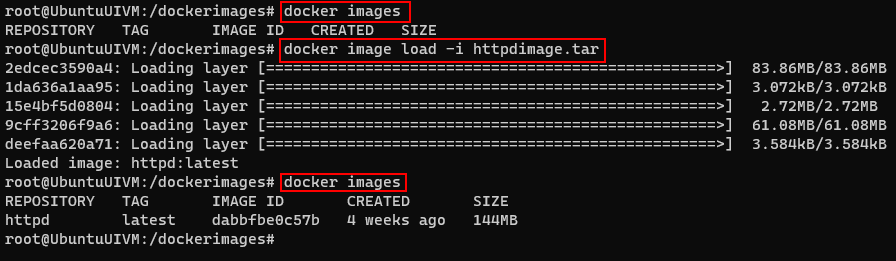
Get the image from the tar file instead pulling it from the registry
Step 4 – Setup the App Configuration either using appSettings or Azure App Configuration
Setup a App Configuration using appSettings.json
Use/Download the template here provided by Sitecore to setup the configuration
Create a json file on your local machine by copying the content in the template. In my case I have created OCHeadstartConfig.json. The template looks as below- Highlighted values are the minimum configuration required for Headstart project. Few of the configuration will come from the Seed step explained in Part-2 – Step 4 – Populate Ordercloud Markeplace with the seed request
Following configuration(highlighted) needs to be updated minimum to get the Headstart project working-
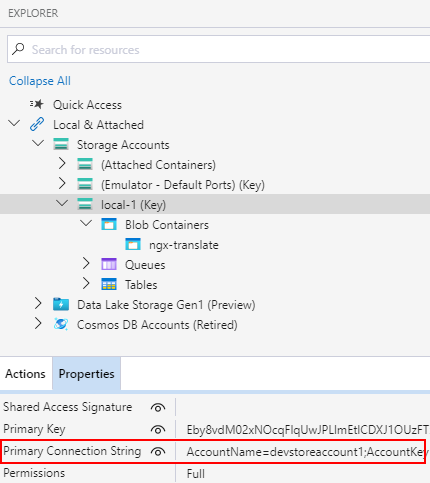
Get the StorageAccount.Settings.ConnectionString from Storage Explorer-
Create appSettings.json file and copy the above configuration in the file.
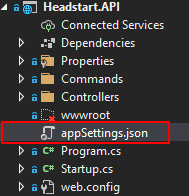
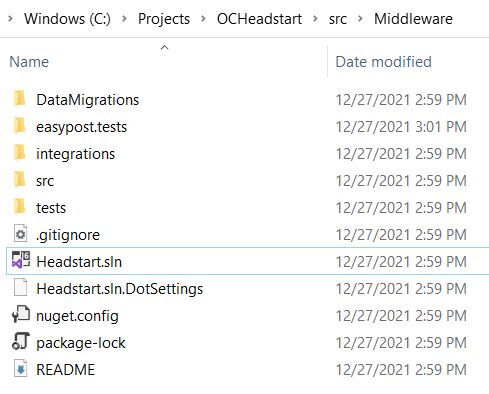
appSettings.json file should be in Headstart.API project-
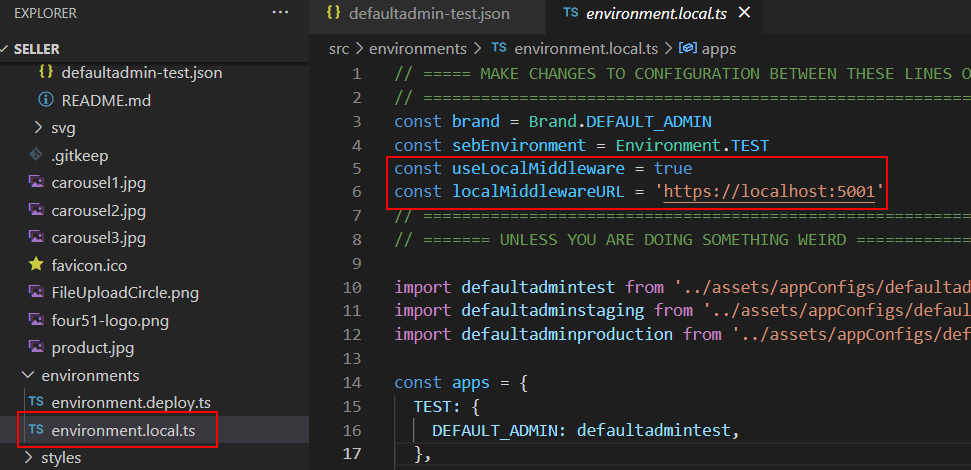
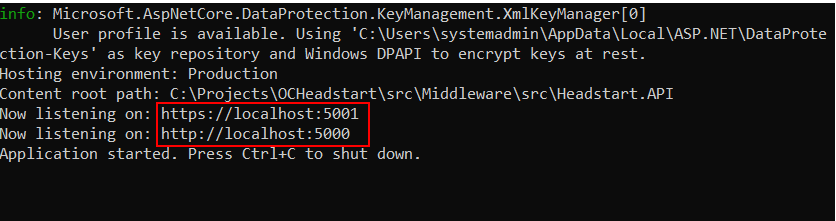
IMP – Check if the middleware applicaiton is running and listening to localhsot 5001 port. If not you should run the Headstart.Api before running UI application.
Setup a App Configuration using Azure App Configuration
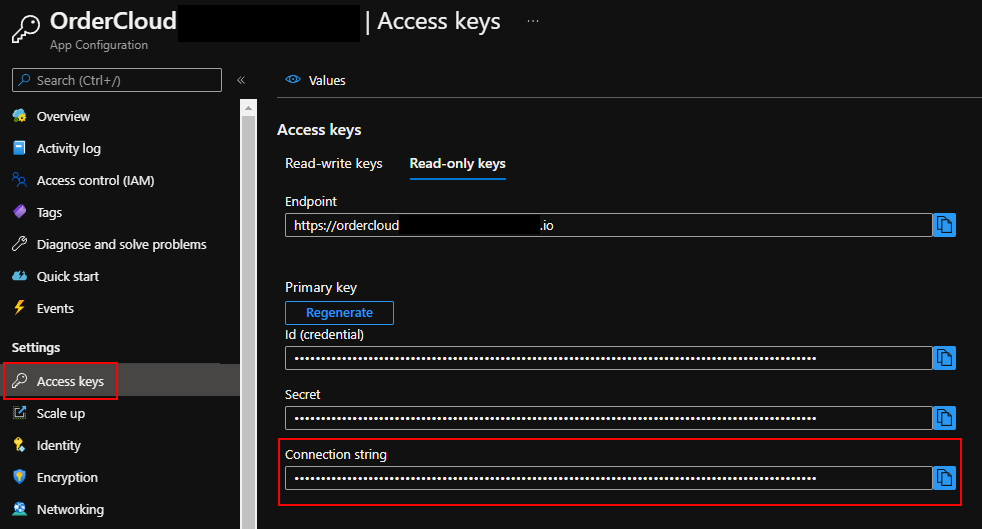
Get the configuration connection string
Goto the Access Keys – Read-only keys tab and copy the connection string
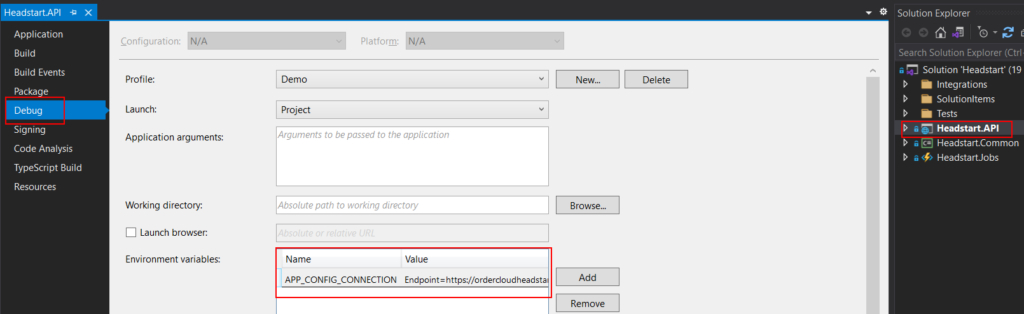
Add a new Environment Variable named – APP_CONFIG_CONNECTION and copy the connection string in the Value.
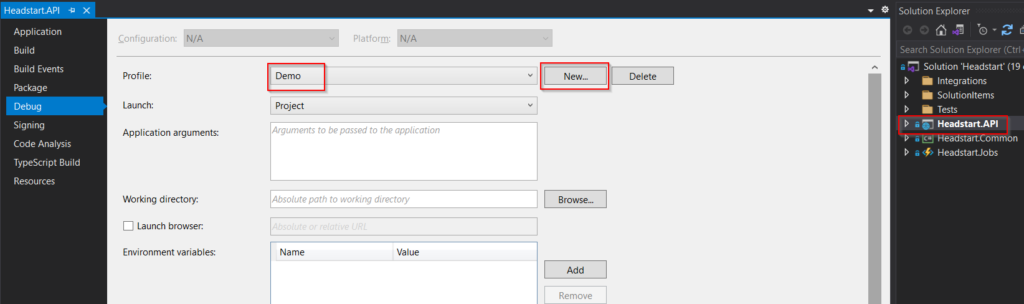
Run the middleware application with the Demo profile.
IMP – If you see compiler error’s whilst running the application. See this blog for the resolution.
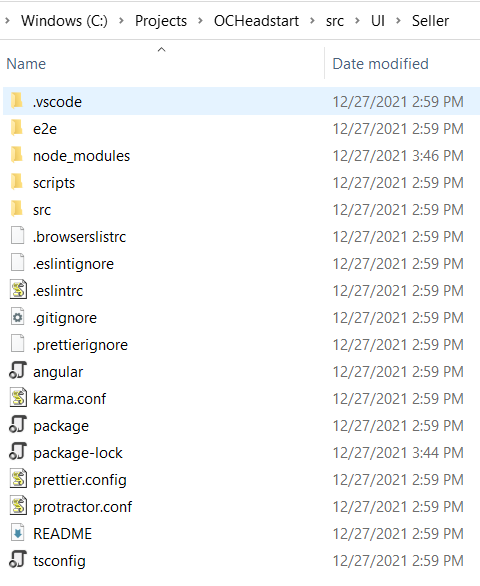
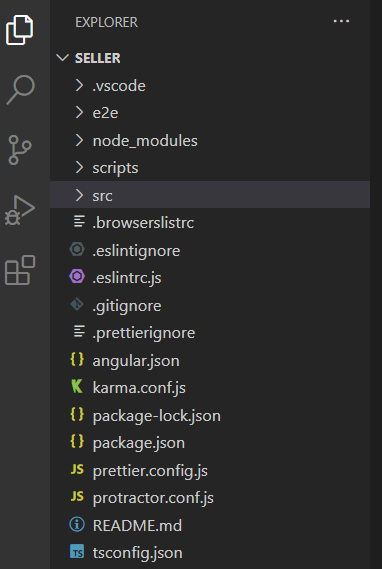
Step 5 – Run the Seller UI application
Now that we have all the required configuration checked and changed, time to run the Seller UI application
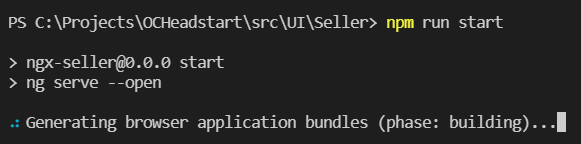
RUN – from the visual studio terminal or powershell
npm install
npm run start
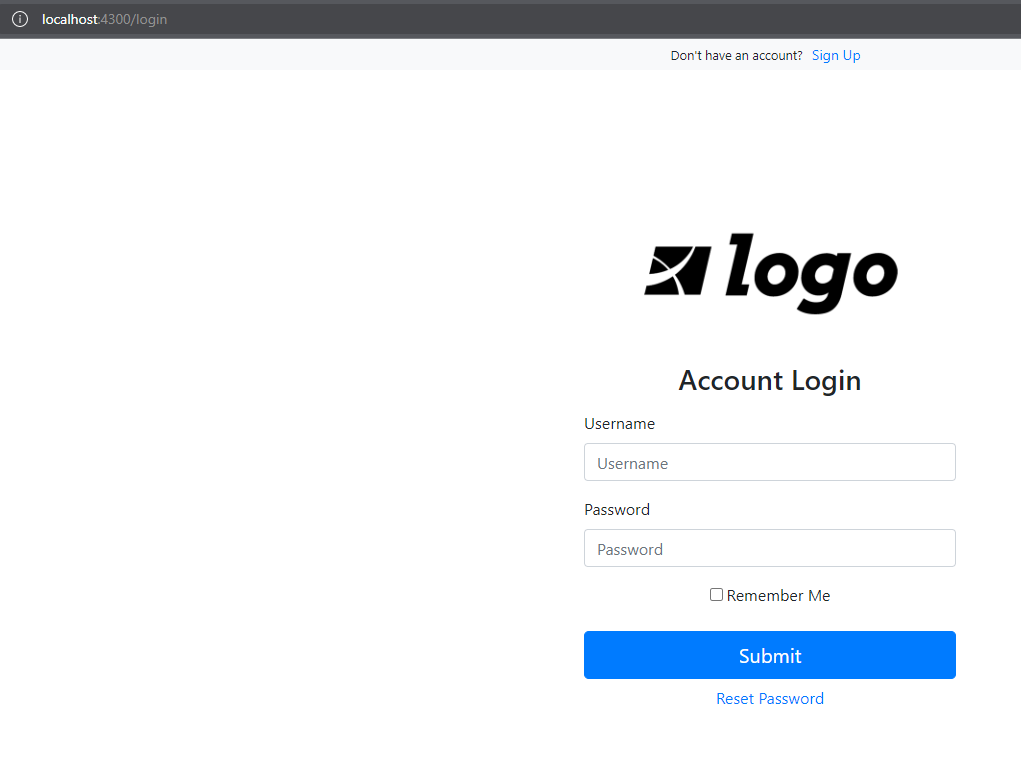
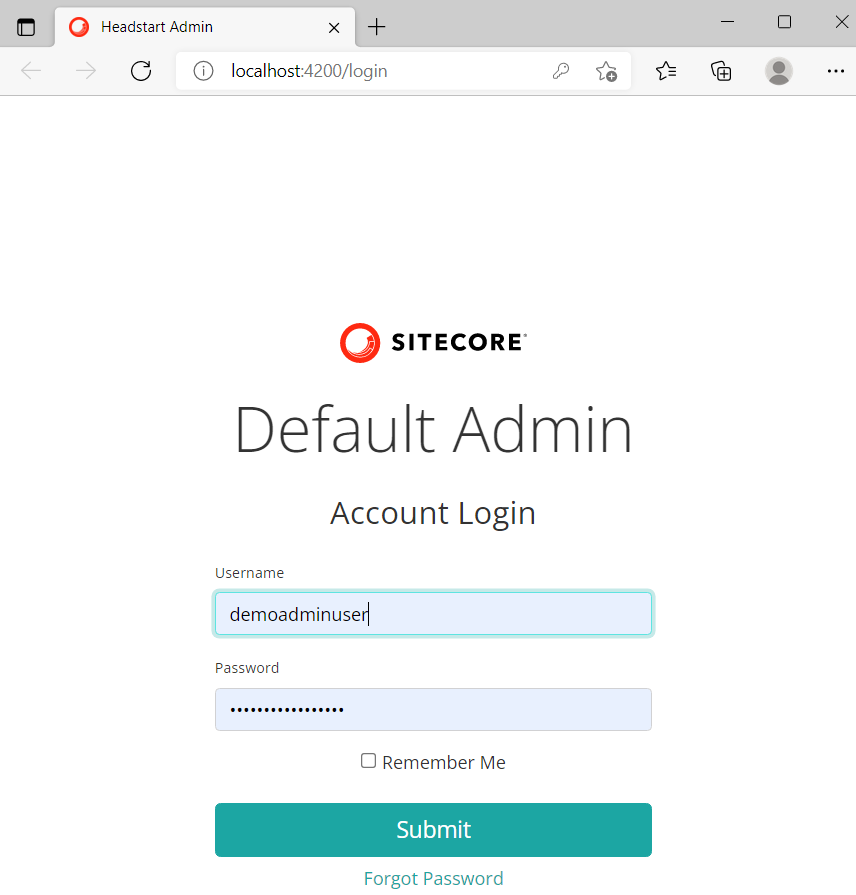
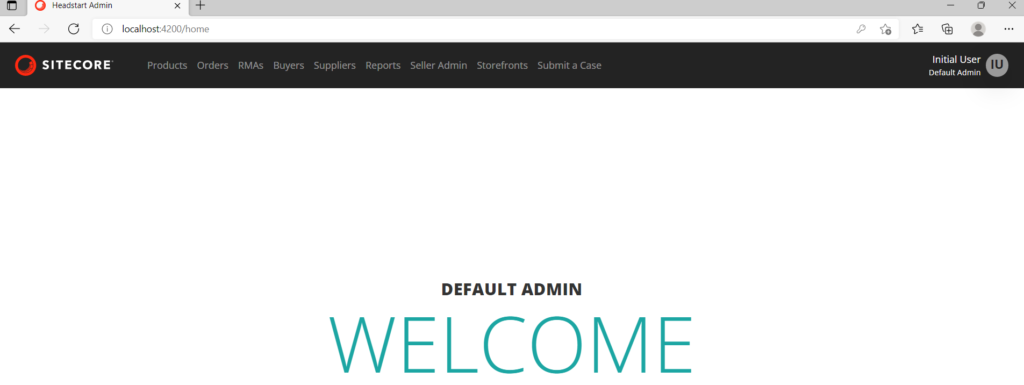
Now we have Seller application runing on localhost:4200 port
Provide Admin Username and Password as noted in Part -1 of the blog Step 3- Prepare Seed Request
After successful login-
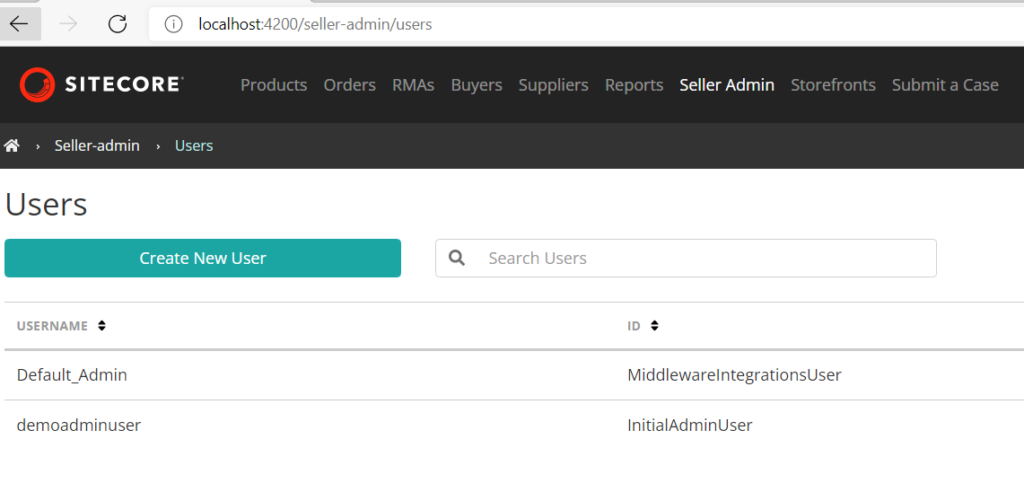
Also we can see the Seller Admin-
Hope you enjoyed setting Sitecore Ordercloud Headstart 🙂
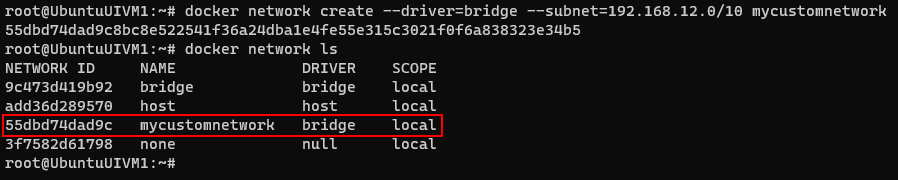
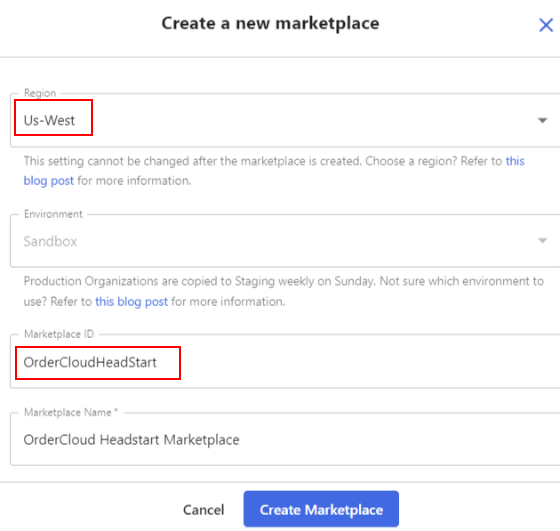
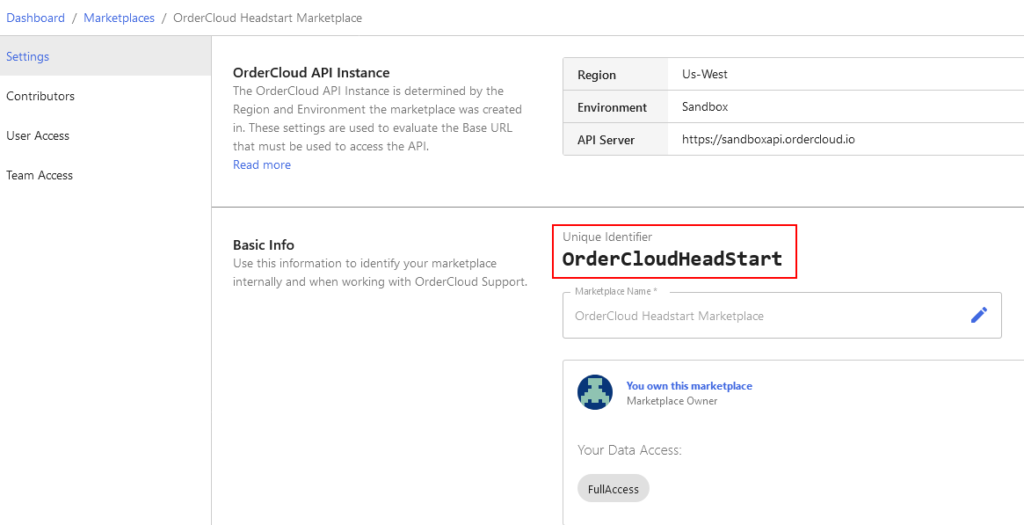
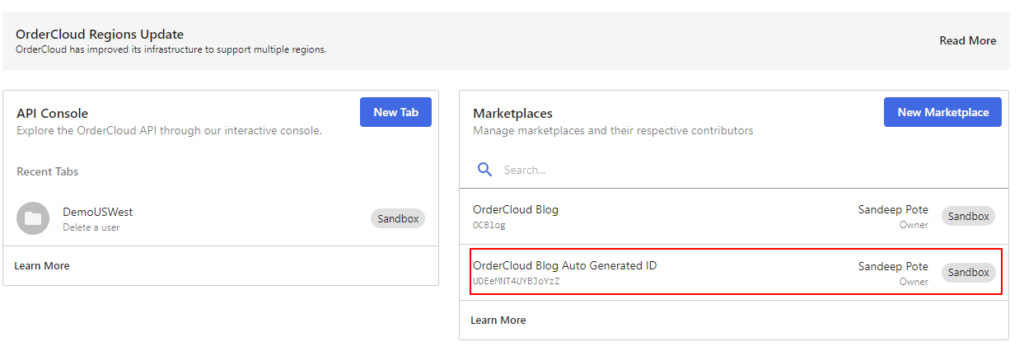
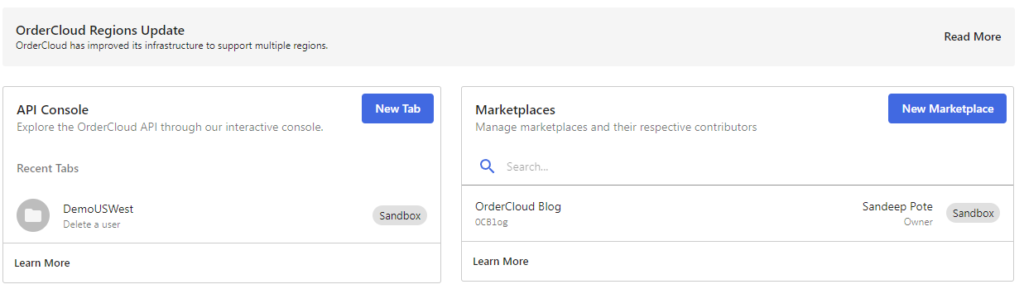
Create a new maketplace e.g.- OrderCloudHeadstart in Us-West region
IMP– At the time this blog was written looks like only Us-West region is supported when a seed request is sent. This may change in future but connect to OrderCloud team is you want this to be in region other than Us-West
Note the newly created Marketplace ID – in my case it is – OrderCloudHeadstart
If you havent provided the Marketplace ID whilst creating the OrederCloud will create once for you. You can find the same in the Marketplace.
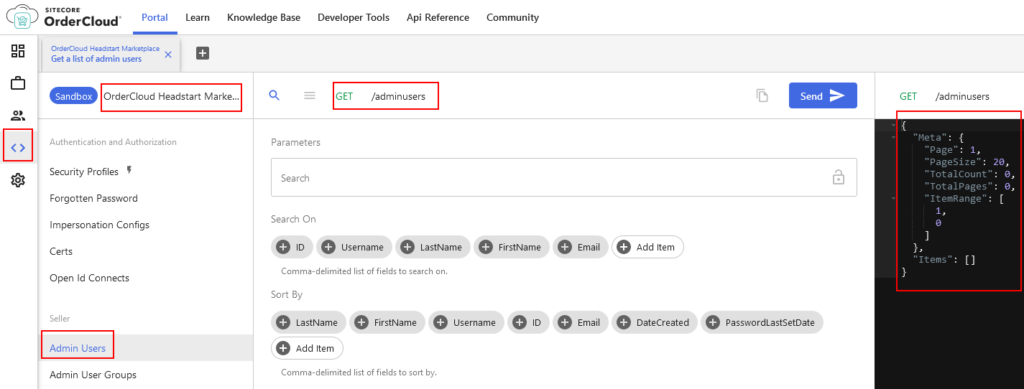
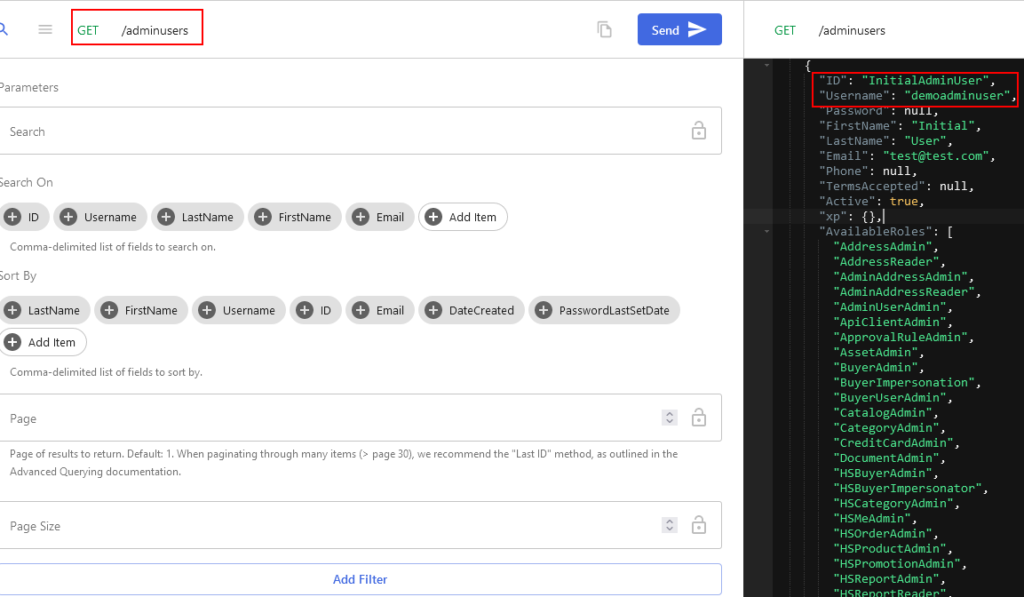
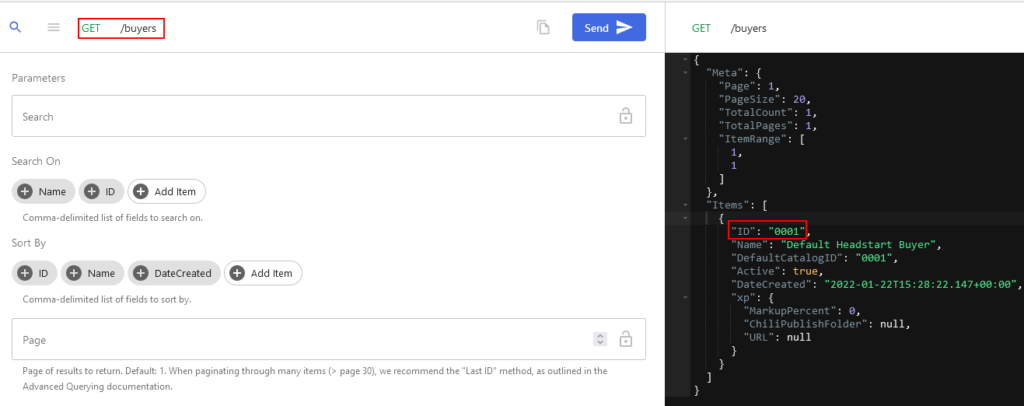
Navigate to API Console and Get the Admin User, as you see there are no Admin users. You may also check other endpoints.
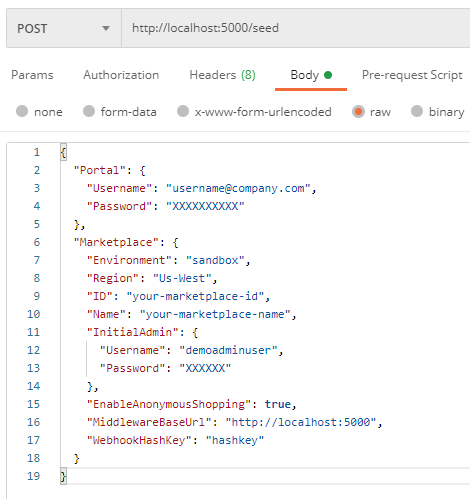
PortalUsername – enter the portal username you used to create a marketplace
PortalPassword – enter the portal password you used to create a marketplace
InitialAdminUsername – this request will create a admin user. Enter the admin username you wish to create
InitialAdminPassword – enter the admin password you want to set
MiddlewareBaseUrl – this is not required for local build
MarketplaceID – Enter the Marketplace ID you created in Step 1
Marketplace.Region– enter this to be sandbox in this case. For the other environments you might want to user different values for Staging and Production
WebhookHashKey – Set the webhook haskey to secure your webhook request.
Postman request should look like this –
STEP 4 – Setup a App Configuration using appSettings.json
Use/Download the template here provided by Sitecore to setup the configuration
Create a json file on your local machine by copying the content in the template. In my case I have created OCHeadstartConfig.json. The template looks as below- Highlighted values are the minimum configuration required for Headstart project.
Following configuration(highlighted) needs to be updated minimum to send the seed request working-
Get the StorageAccount.Settings.ConnectionString from Storage Explorer-
Create appSettings.json file and copy the above configuration in the file.
appSettings.json file should be in Headstart.API project-
IMP – Check if the middleware applicaiton is running and listening to localhsot 5001 port. If not you should run the Headstart.Api before running UI application.
Step 5 – Send the seed request to Ordercloud Markeplace
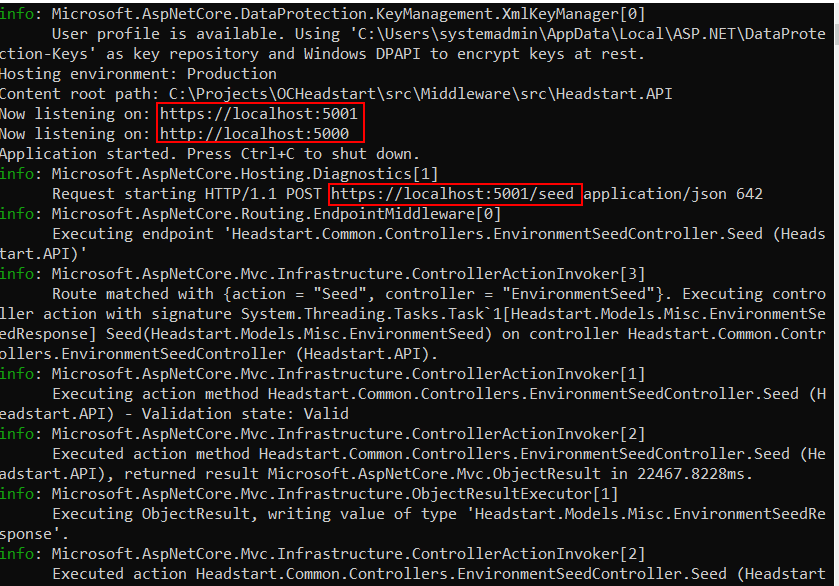
Ensure the Headstart Api is running and listening to 5001 port as mentioned in Step 2
Send the seed request
You can see the same in application that is listening to 5001 port the request was sent to-
If you have set the request correctly you should receive the success response-
IMP – Note the below response and the request that was sent specifically Admin Username and Password as this will be required later when configuring the UI application
{
    "Comments": "Success! Your environment is now seeded. The following clientIDs & secrets should be used to finalize the configuration of your application. The initial admin username and password can be used to sign into your admin application",
    "MarketplaceName": "ocdockertest",
    "MarketplaceID": "ocdockertest",
    "OrderCloudEnvironment": "Sandbox",
    "ApiClients": {
        "Middleware": {
            "ClientID": "1141E496-8517-4953-809B-XXXXXXXXX",
            "ClientSecret": "XXXXXXXXXXXXXXXXXXXXXXXXXXXXXXXXXXXX"
        },
        "Seller": {
            "ClientID": "6E98D7A1-35E9-4156-B60B-XXXXXXXXXX"
        },
        "Buyer": {
            "ClientID": "E1EBE13C-CC74-4021-B4A9-XXXXXXXXXX"
        }
    },
    "Success": true,
    "Exception": null
}
Comments – seed response comments
MarketplaceName – gets the Marketplace name that was configured in Step 1
MarketplaceID – UniqueId that was sent as part of request and the data seeded in this Marketplace
OrderCloudEnvironment – Environment where the request was sent
ApiClients.Middleware.ClientID – Note down Middleware ClientID
ApiClients.Middleware. ClientSecret – Note down Middleware ClientSecret
ApiClients.Seller.ClientID – Note down the Seller ClientID
ApiClients.Buyer.ClientID – Note down the Buyer ClientID
Step 5- Check the Marketplace for the data been puplated
In Step 1- we saw there was not admin user created. After the seed request you can see the Admin User is created with the name mentioned in request.
Admin User
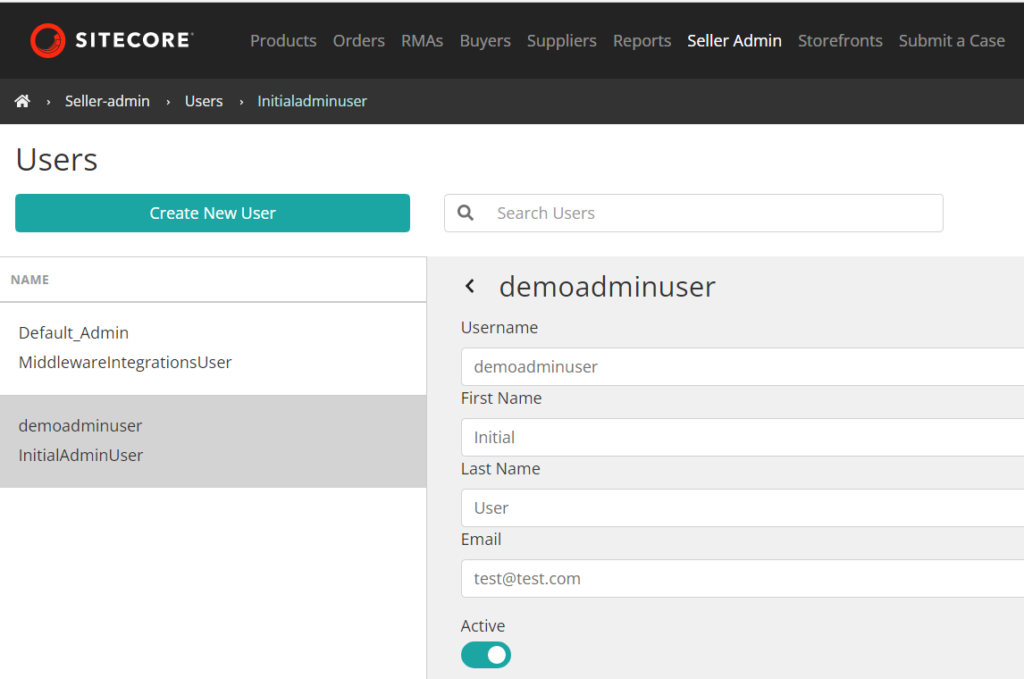
InitialAdminUser with the username provided in request is created
Also the MiddlewareIntegrationsUser is created
Buyer User
Buyer User is created-
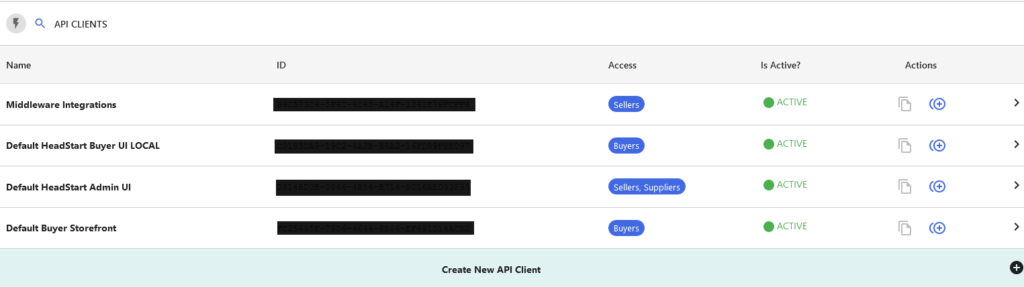
Api Clients
Api clients created and the same was sent as response. This is used so each client have a different Id’s that helps any application to connect.
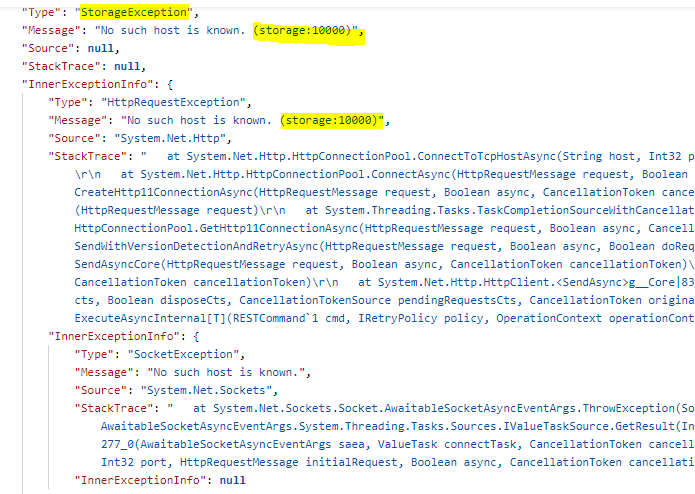
Errors-
Ensure the StorageAccountSettings:HostUrl and ConnectionString is configured correctly.
Thats it in this blog. Hope you are enjoying setting your Ordercloud Headstart project.
Since we will be now setup a backend application (i.e. admin etc) the Client IDs and Client Secret that was create in Step 5 needs to be secured. This can be condifured in Azure App Configuration. See the link on how to setup this.
Use/Download the template here provided by Sitecore to setup the configuration
Create a json file on your local machine by copying the content in the template. In my case I have created OCHeadstartConfig.json. The template looks as below-
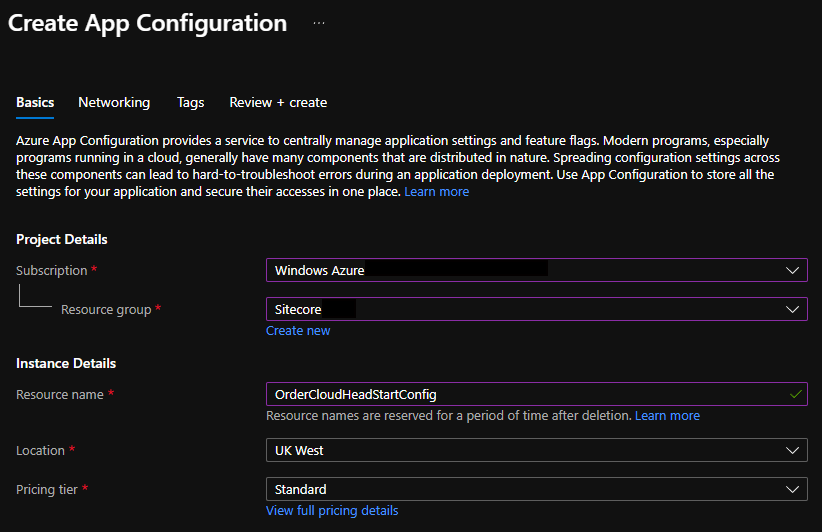
Provide the Resource name in this case I have used OrderCloudHeadStartConfig
Select Location and Pricing tier.
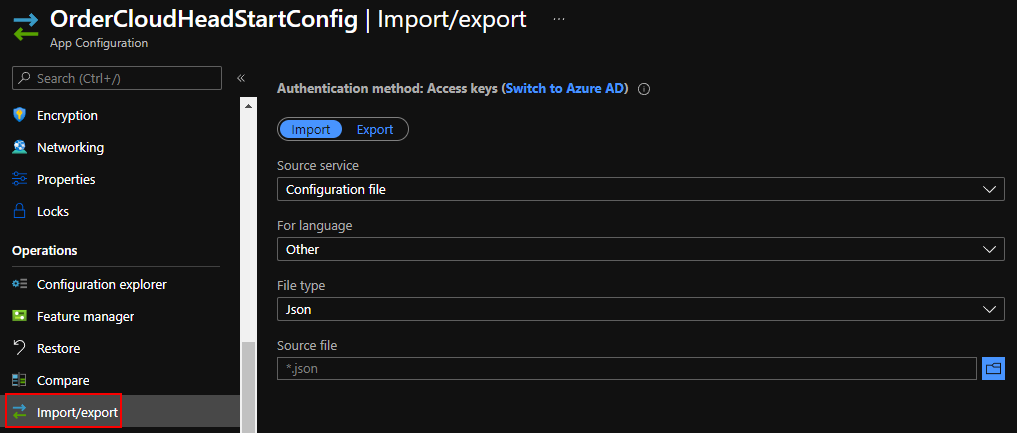
Once the resource is created in the Import/Export option select –
Source service – Configuration file
For language – Other
File type- Json
Source file – *.json (auto selected)
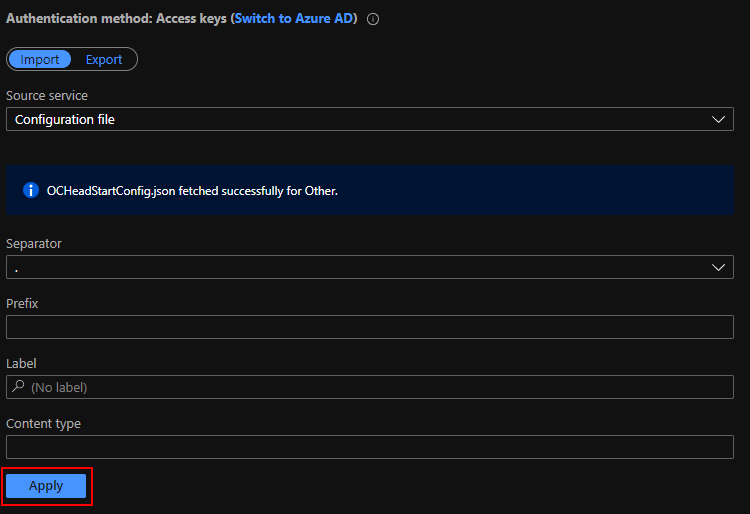
Select the folder icon in Source file option and click Apply to import the configuration.
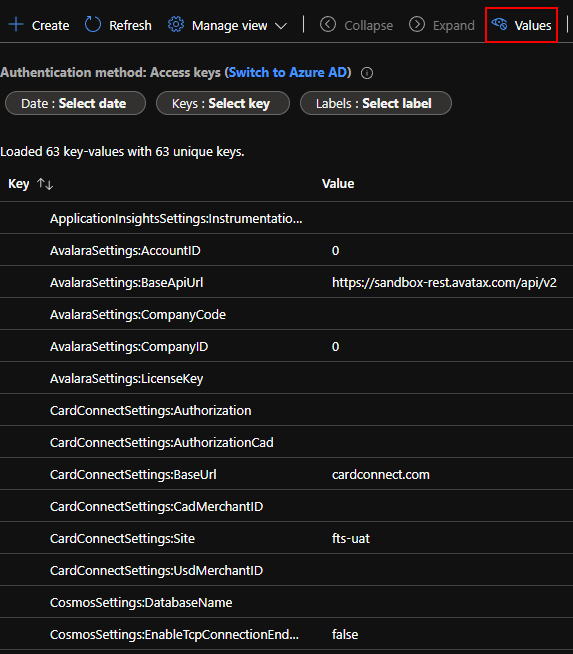
After the config file is imported navigate to “Configuration Explorer”. There are 63 config key values are imported but in template there are 64.
“SendgridSettings:OrderApprovalTemplateID”: “”, is not imported for due to some reason. Create a new manually if required. For the Demo this is not required.
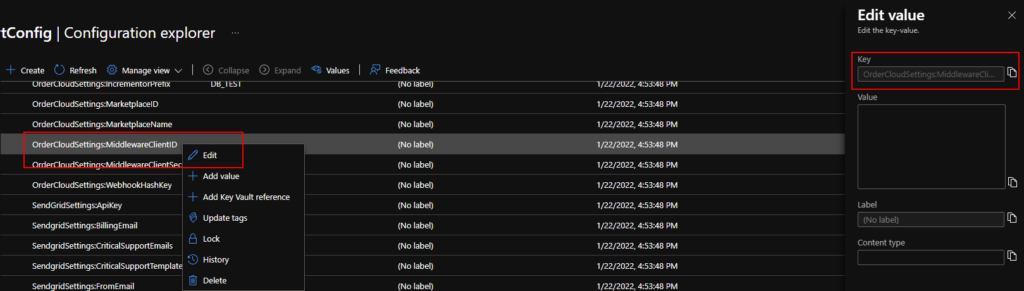
Click on the values to see the values of the key that was imported-
Set the following values by Right clicking the keys. Copy this from Step 4 where the response was received from seed request-
OrderCloudSettings:MiddlewareClientID
OrderCloudSettings:MiddlewareClientSecret
OrderCloudSettings:MarketplaceID
OrderCloudSettings:MarketplaceName
Continue updating config in next section for Storage Account.
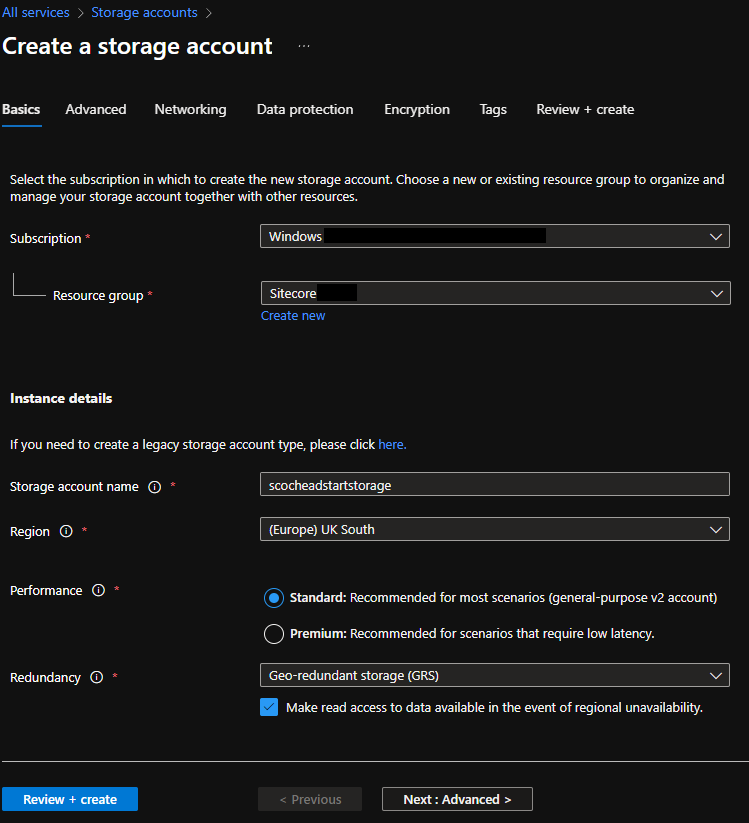
Step 2- Create a Azure Storage Account (if you already don’t have)
Create a Azure Storage Account
Follow the steps and set the configuration as per your requirements
Copy the storage account name and Storage connection string
Set StorageAccountSettings:BlobPrimaryEndpoint – https://yourstorageaccount.blob.core.windows.net/occontainer
Set StorageAccountSettings:ConnectionString
Thats in in this blog. In next blog will cover setting up the UI project.
Hope you are enjoying setting your Ordercloud Headstart project.
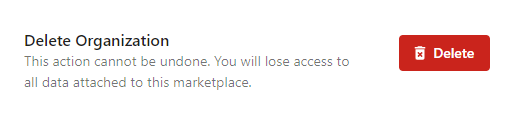
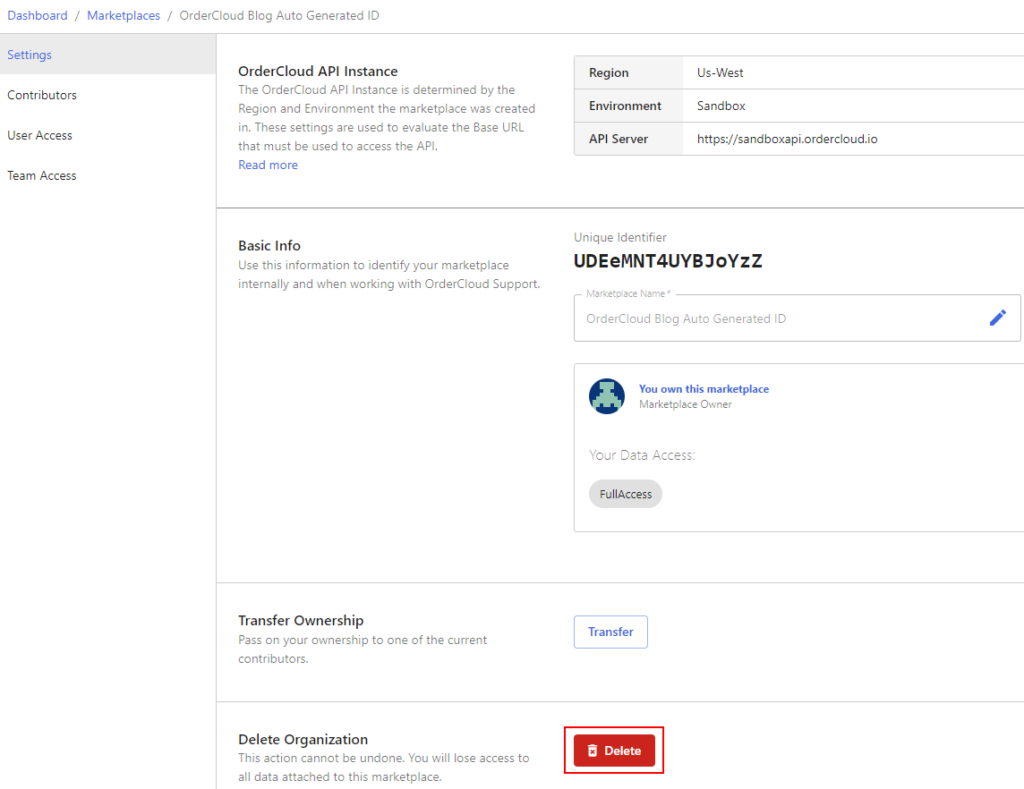
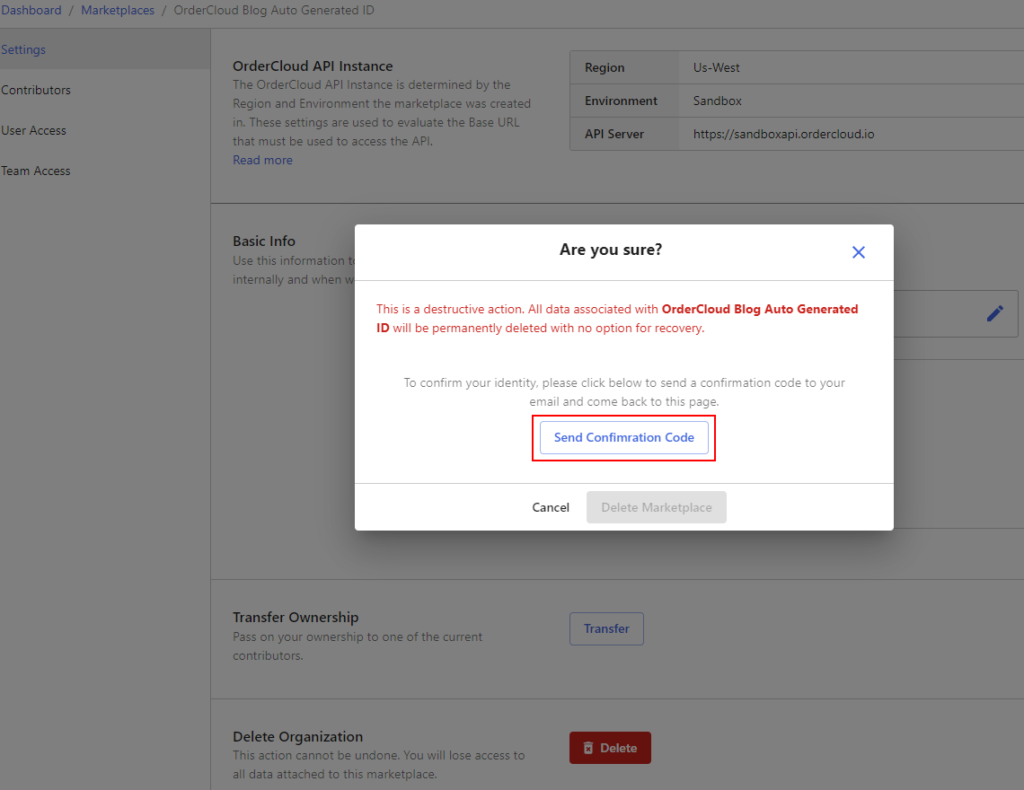
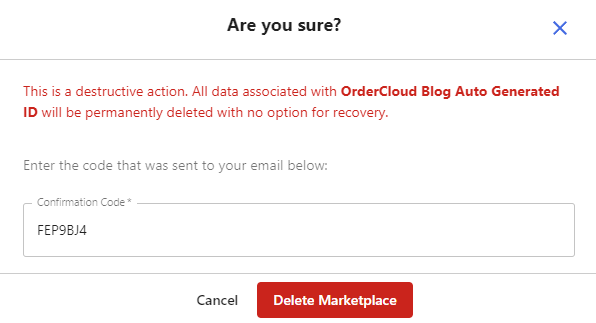
Admin User who created the Marketplace can delete and Transfer the Ownership of the Account. Where the ownership is transfered to the users cannot delete the Marketplace.
To delete the Marketplace you should have first created a Marketplace and login to the portal as Admin User having Full Access.