Welcome! This is my personal blog about Web technologies, software development, open source and other related topics
The ideas and opinions expressed here are solely mine and don't represent those of others, either individuals or companies.The code snippets or references to software products or analogous are to be used without any warranty of any kind. If you enjoy the content, feel free to share it and re-use it as long as you provide a link to the original post.
In this blog will creata a new component name Article in the Helix Examples Solution to demonstrate how to configure and use Sitecore Content Serlialization (SCS).
Assuming the Sitecore CLI is installed along with Sitecore.DevEx.Extensibility.Serialization, Sitecore.DevEx.Extensibility.Publishing plugins are installed.
For more details on the plugin installation please see this link- https://doc.sitecore.com/xp/en/developers/101/developer-tools/install-sitecore-command-line-interface.html
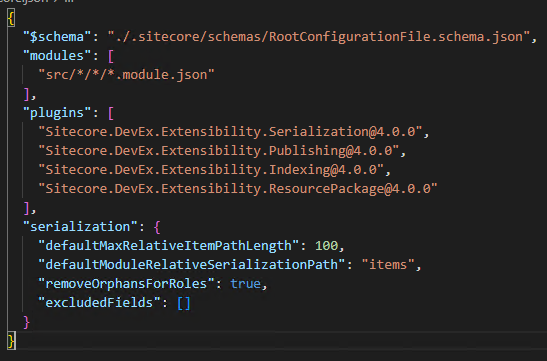
Open the helix-basic-aspnetcore folder in Visual Studio and see Sitecore.json file. This file has the configuration settings for SCS.
modules – willl look into the src folder for *.module.json file for any component specific configuration the items that need to be serialized.
So lets create a new module or rendering feature named “Articles”. Just a folder and not a project itself
1. Create a module json for serlialization configuration
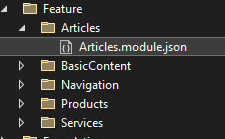
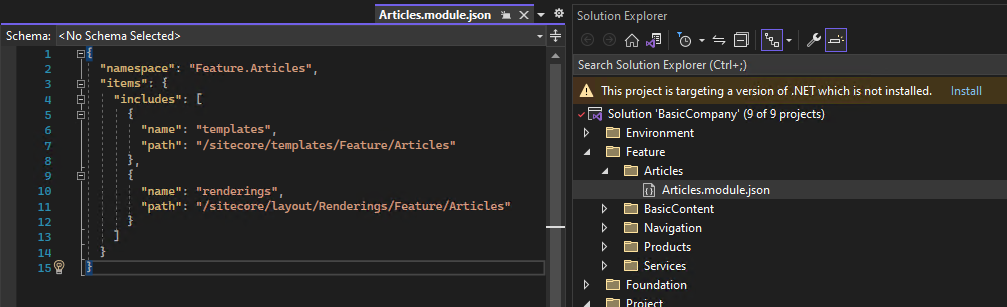
IMP – Create Articles.module.json file in the project root folder
Here the items that will be serliazed are templates and rendering from the given path in Sitecore to the local Solution Folder configured in Sitecore.json file the path mentioned in defaultModuleRelativeSerializationPath property. See step 1
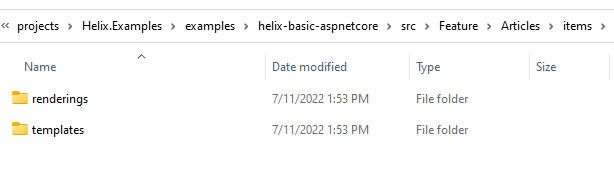
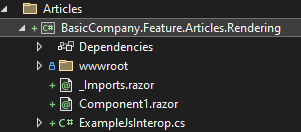
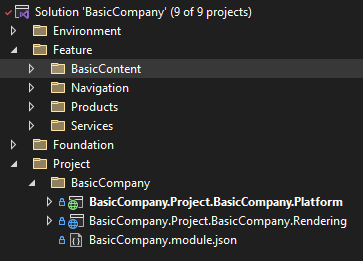
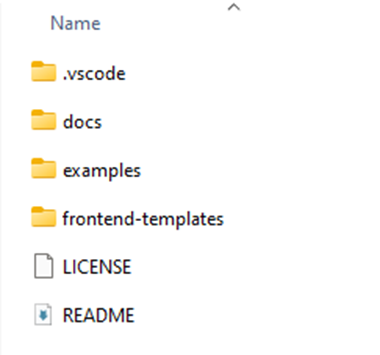
IMP- Ensure the module file is in Articles folder. Your project folder should looks like this-
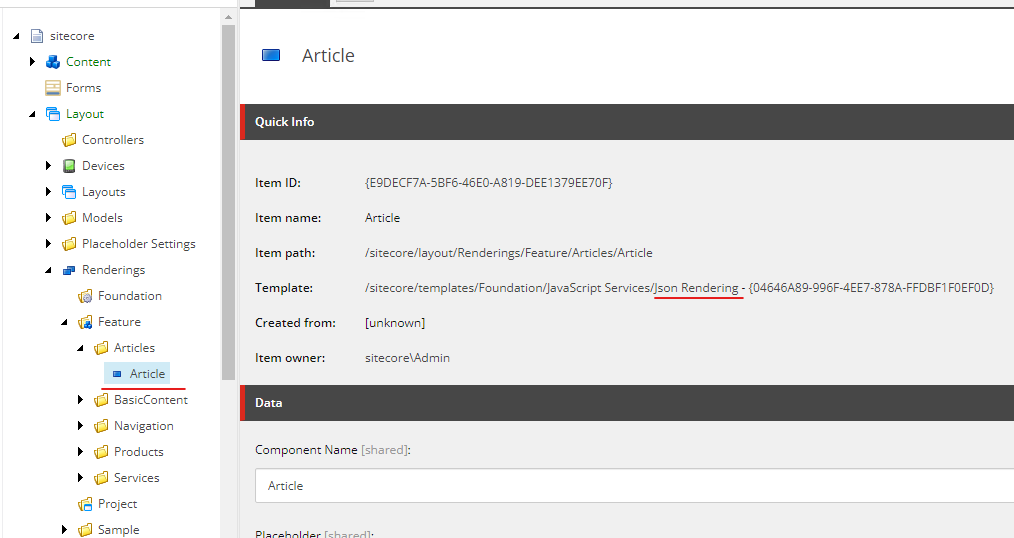
2. Create a Sitecore Template and Rendering for Articles
Create a Json Rendering for now(fill in the details later)
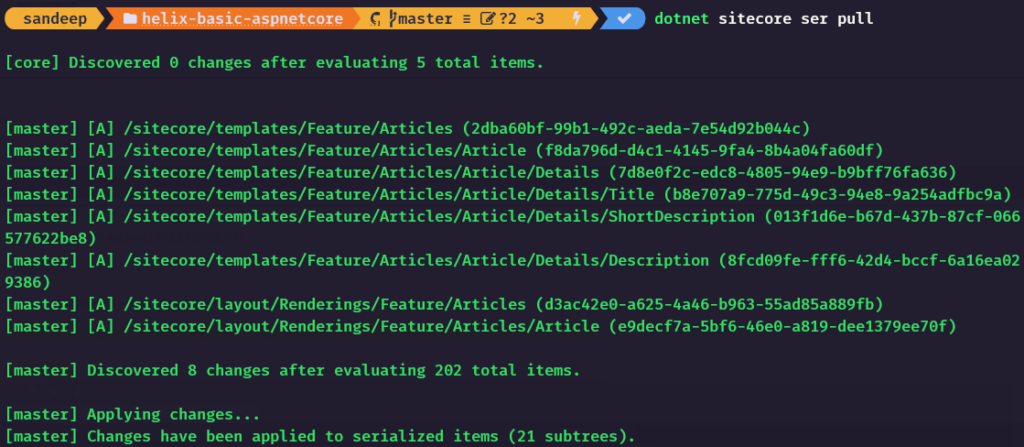
3. Sync the items(manual)
Execute following command to serlaize the items for Articles-
dotnet sitecore ser pull
Project folder should now have items folder with templates and rendering-
Thats it any Templates and rendering created for Articles (new component) should be serliazed.
Refer BasicCompany.module.json for any placeholders, layouts etc serlization at the project level.
In this blog will create a simple rendering uing Asp.Net Rendering SDK in Helix Examples Solution
Please refer the blog to create a rendering folder and configure the SCS before proceeding this blog.
So lets create a new module or rendering feature named “Articles”.
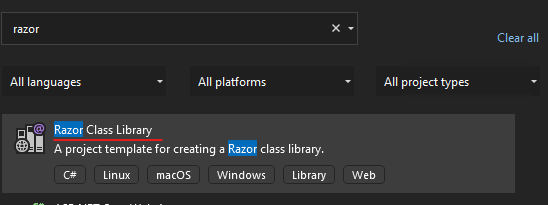
1. Create a Feature project using Razor Class Library
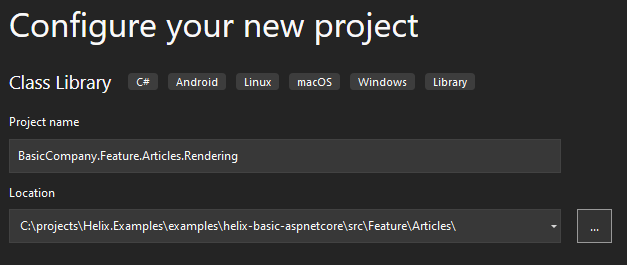
Project Name – BasicCompany.Feature.Articles.Rendering
Notice the project path
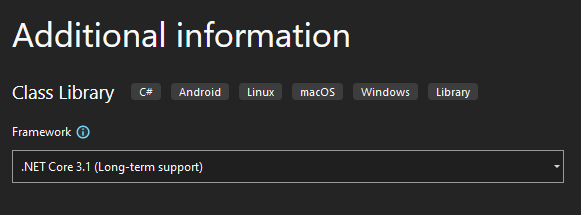
Choose .Net Core 3.1 Framework-
Delete any exisitng files and folders under this project-
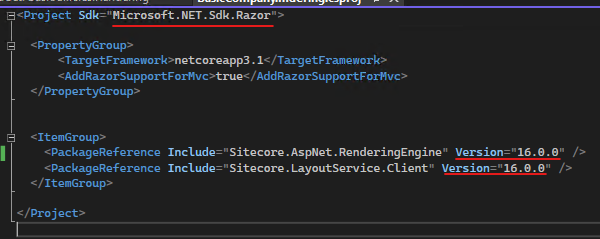
Edit the project to use netcoreapp3.1 and AddRazorSupportForMvc to true
Rename helix-basic-aspnetcore\src\Feature\Articles\BasicCompany.Feature.Articles.Rendering to rendering. Just to follow other feature fodler structure.
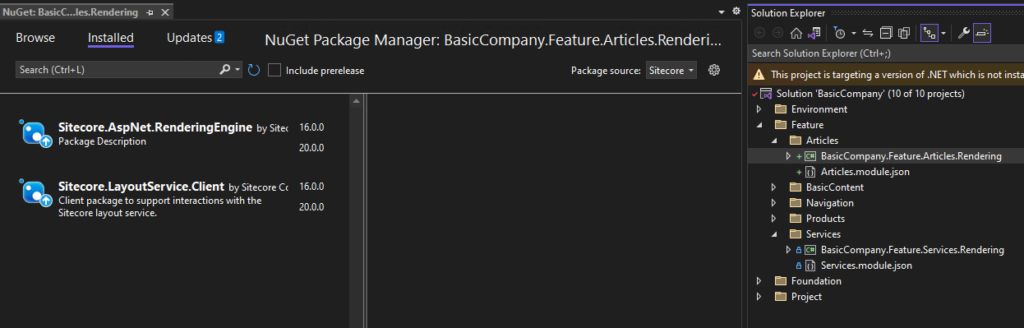
2. Install Sitecore packages
Sitecore.AspNet.RenderingEngine
Sitecore.LayoutService.Client
I have installed verions 16 just to be in sync with other projects. You may install the latest.
New rendering project should have these packages installed-
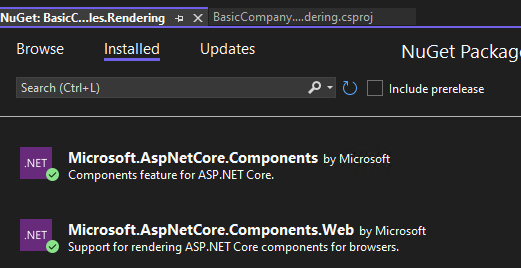
Remove these packages as this may be not required at thi point of time or downgrade this to 3.1.1
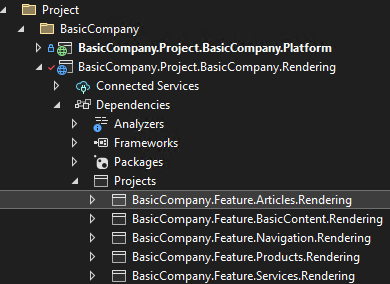
Refer the new created rendering project to BasicCompany.Project.BasicCompany.Rendering
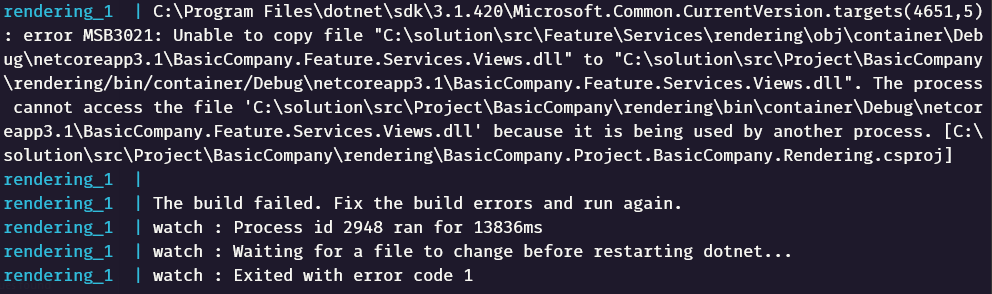
When the solution is build you may see this error-
Severity Code Description Project File Line Suppression State Error The package reference ‘Sitecore.AspNet.RenderingEngine’ should not specify a version. Please specify the version in ‘C:\projects\Helix.Examples\examples\helix-basic-aspnetcore\Packages.props’ or set VersionOverride to override the centrally defined version. BasicCompany.Feature.Articles.Rendering C:\projects\Helix.Examples\examples\helix-basic-aspnetcore\src\Feature\Articles\rendering\BasicCompany.Feature.Articles.Rendering.csproj
Solution– Remove the version for the plugin fropm project file
Edit the project file and remove version from the PackageReference-
Solution should build successully.
3. Ensure Articles.modules.json file in Feature folder
Please see this blog <<Enter blog url here>> how to create a module.json file to serliaze the Sitecore items for new Feature.
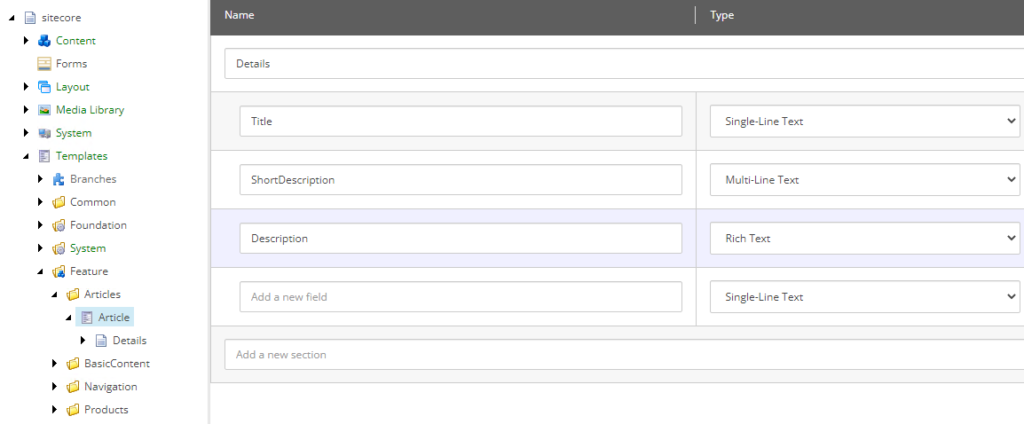
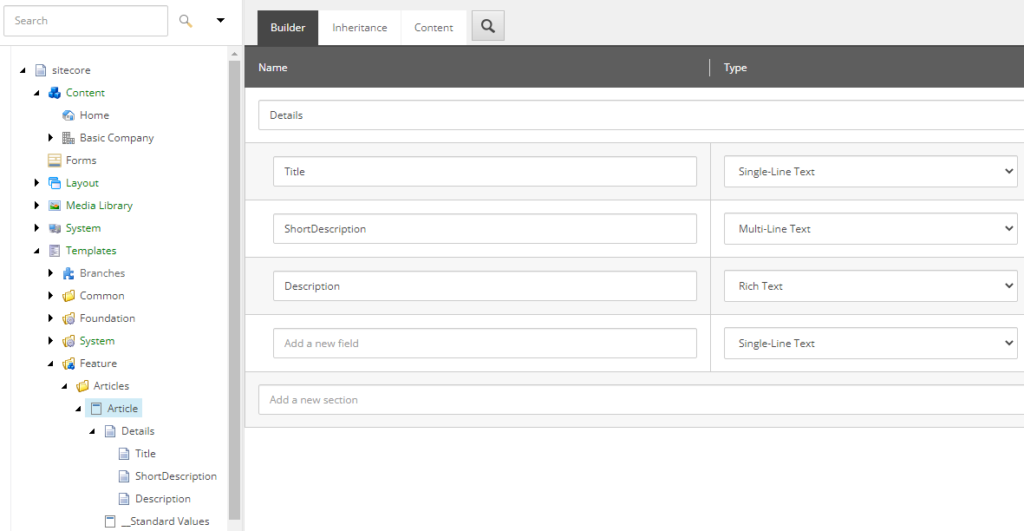
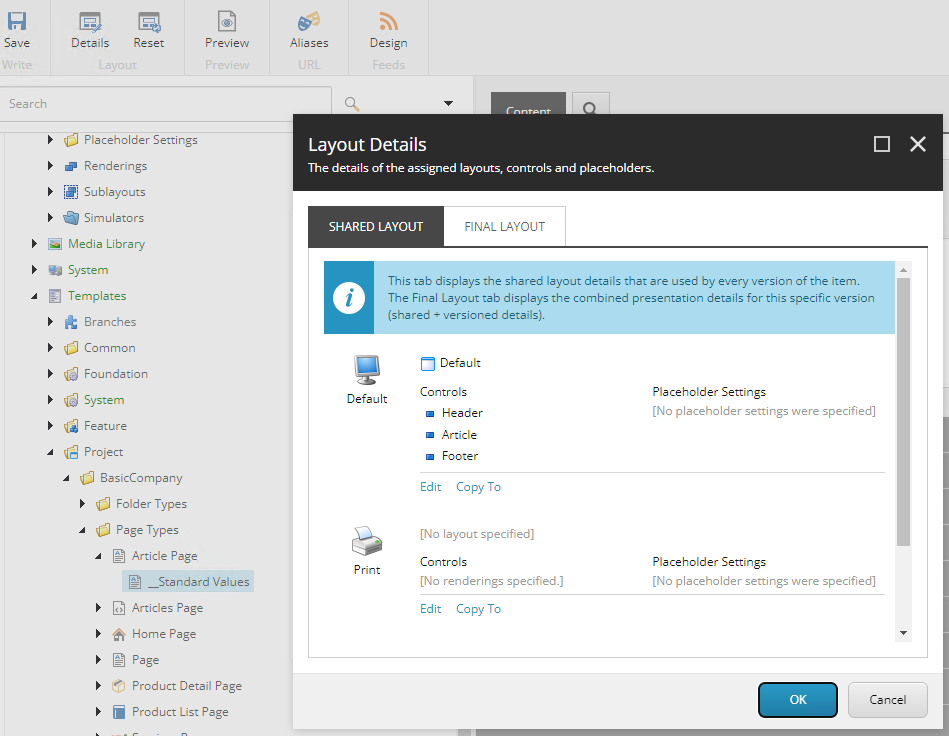
4. Create required Sitecore Templates, content, renderings and Placeholder Settings
Template – Article in following path- /sitecore/templates/Feature/Articles
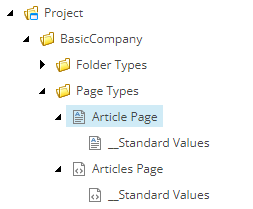
Page Type Template – Create 2 page type templates “Articles” and “Article” page as below.
Add any required Insert Options where necessary.
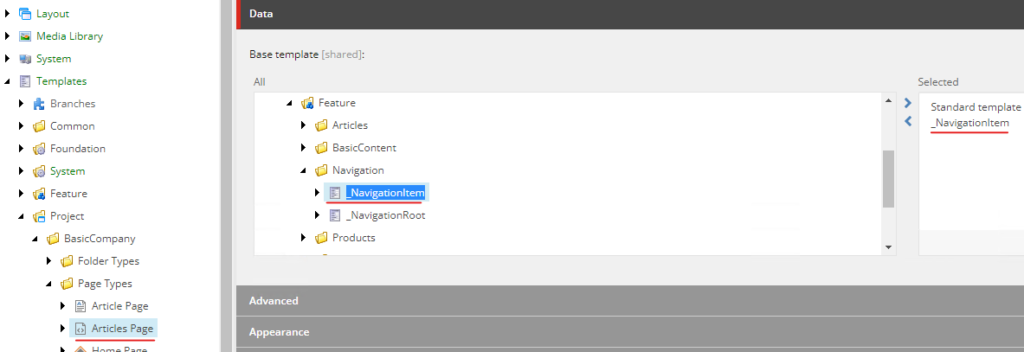
IMP- inherit from _NavigationItem to display the Articles as Navigation option
Enter Navigation Title for Articles page-
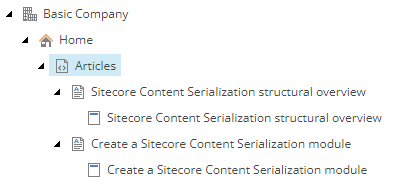
Content
Create content in Home page based on the Article templates created.
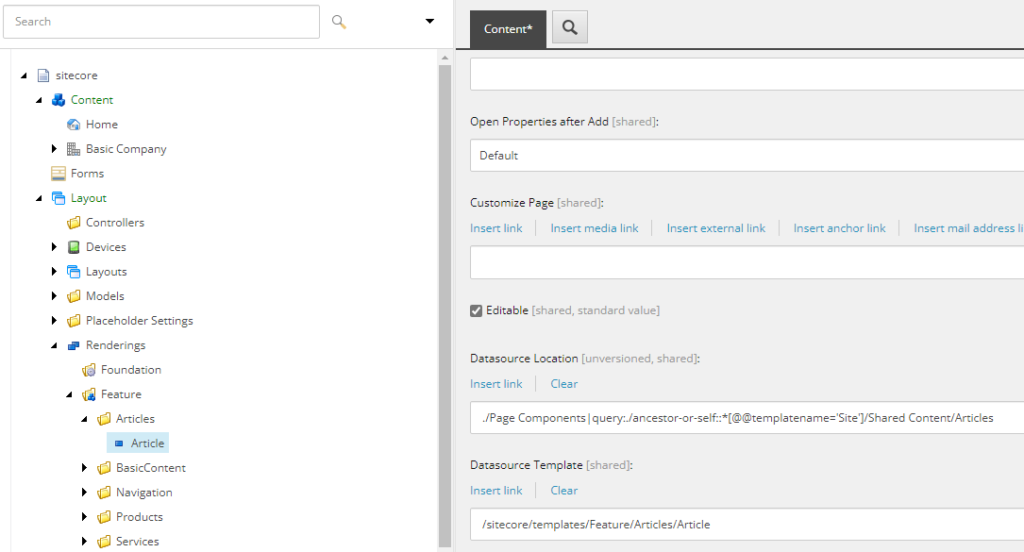
Rendering
Create a new Json Rendering Article. See previous post
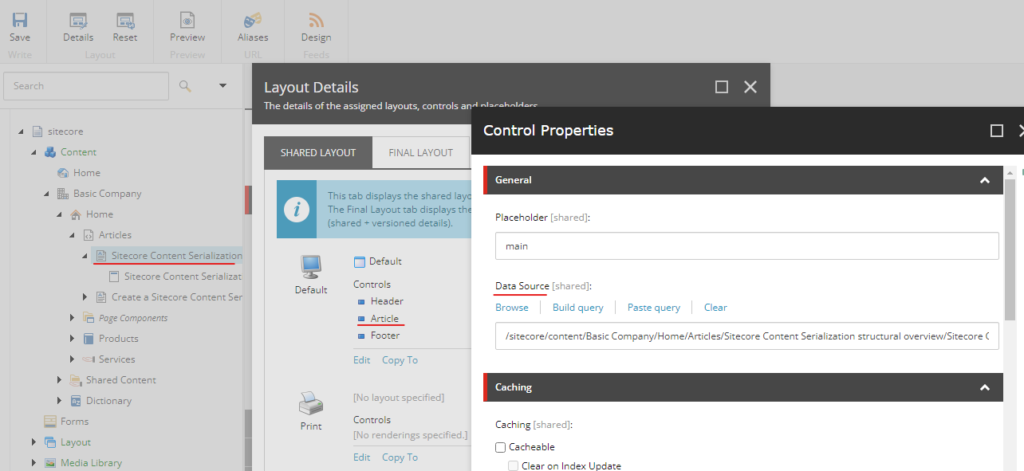
Set Datasource Location- ./Page Components|query:./ancestor-or-self::*[@@templatename=’Site’]/Shared Content/Articles
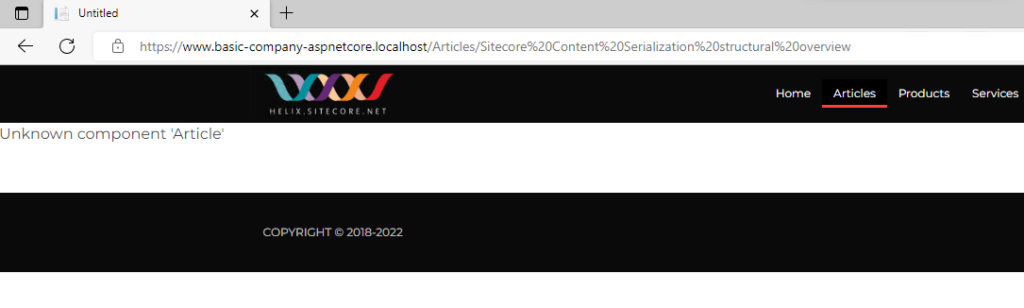
There is a error – “Unknown component ‘Article'”. This is because we havent yet created view for this component.
Create Model in BasicCompany.Feature.Articles.Rendering project for rendering Article component
Note the propeties are using Sitecore.LayoutService.Client.Response.Model.Fields
using Sitecore.LayoutService.Client.Response.Model.Fields;
using System;
using System.Collections.Generic;
using System.Text;

namespace BasicCompany.Feature.Articles.Rendering.Models
{
    public class Article
    {
        public TextField Title { get; set; }

        public RichTextField Description { get; set; }

        public TextField ShortDescription { get; set; }
    }
}
Create View in BasicCompany.Feature.Articles.Rendering project for rendering Article component
Create Article.cshtml file under Views/Shared/Components/SitecoreComponent
Add Extensions for registering the ModelBoundView. This is a static class and will be used in Project Rendering on application startup (BasicCompany.Project.BasicCompany.Rendering).
using BasicCompany.Feature.Articles.Rendering.Models;
using Sitecore.AspNet.RenderingEngine.Configuration;
using Sitecore.AspNet.RenderingEngine.Extensions;

namespace BasicCompany.Feature.Articles.Extensions
{
    public  static class RenderingEngineOptionsExtensions
    {
        public static RenderingEngineOptions AddFeatureArticle(this RenderingEngineOptions options)
        {
            options
                .AddModelBoundView<Article>("Article");
            return options;
        }
    }
}
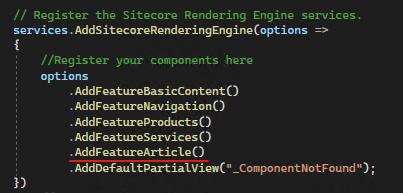
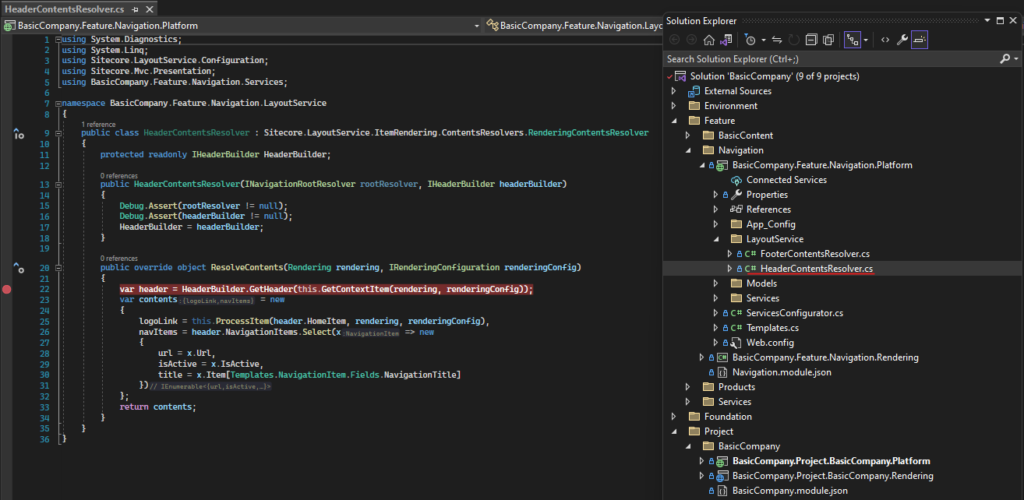
In BasicCompany.Project.BasicCompany.Rendering project, Startup.cs register the component-
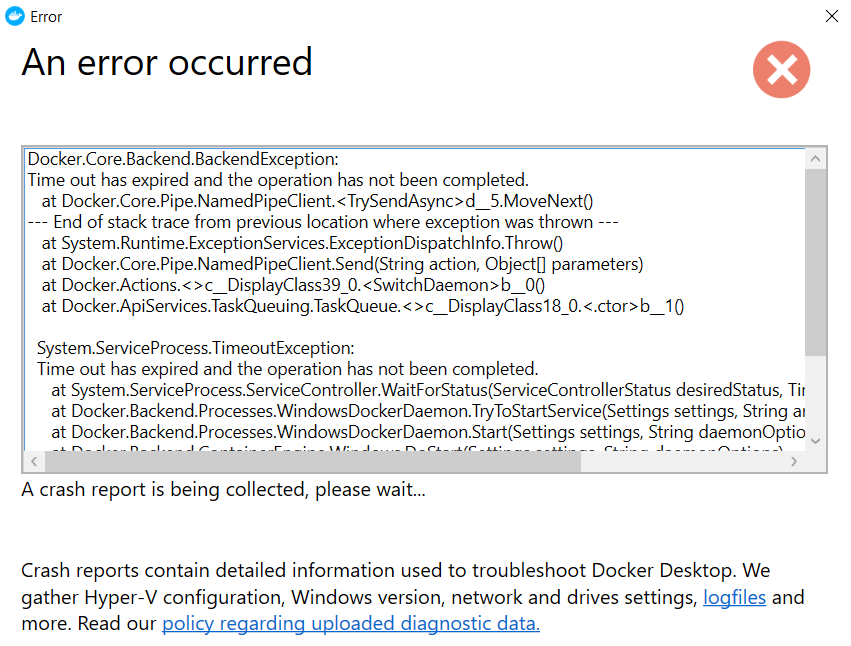
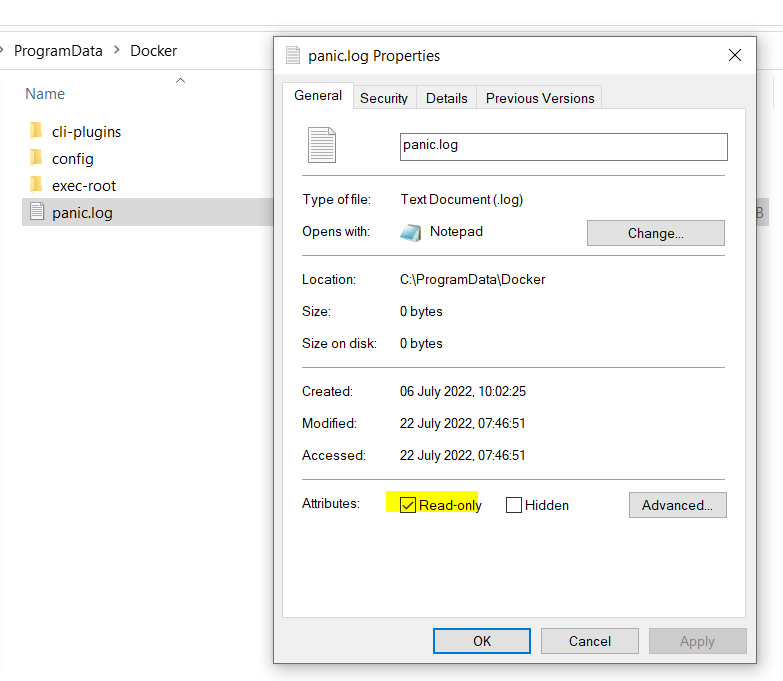
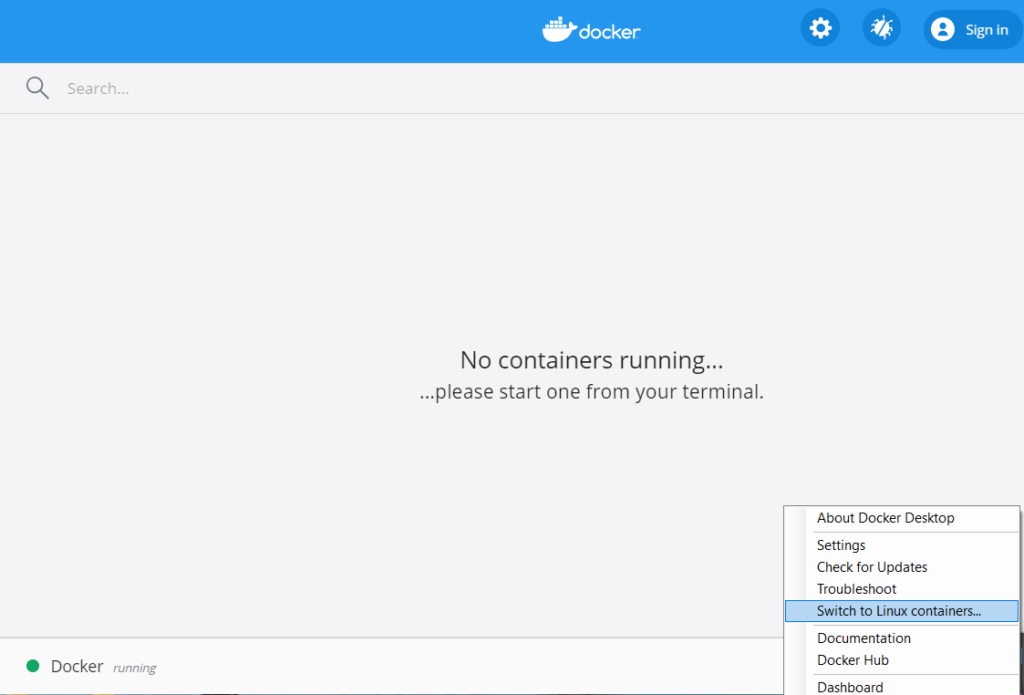
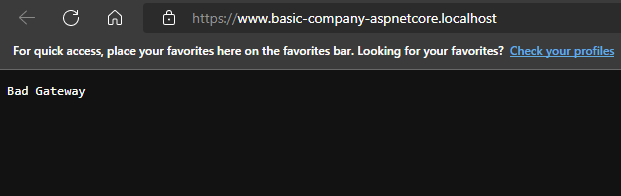
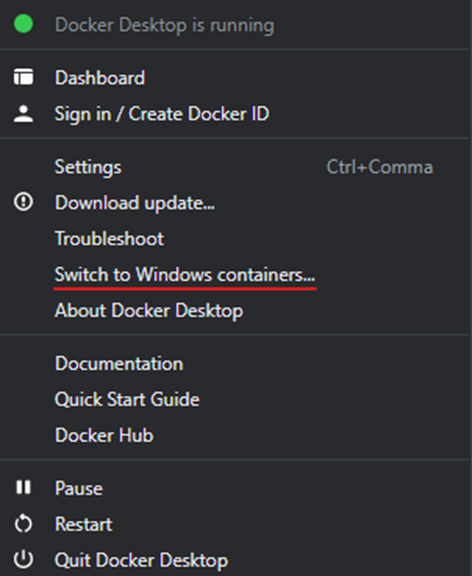
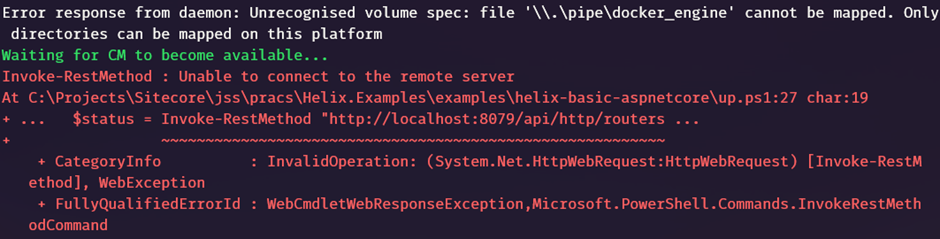
Time out error when switching to Docker Desktop Windows Containers.
Solution-
If you see this error whilst switching to the Windows Continaners. Head to the C:\ProgramData\Docker folder and remove the readonly access of panic.log file.
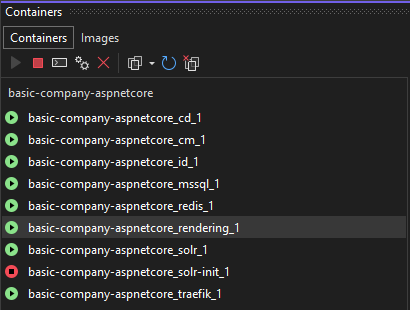
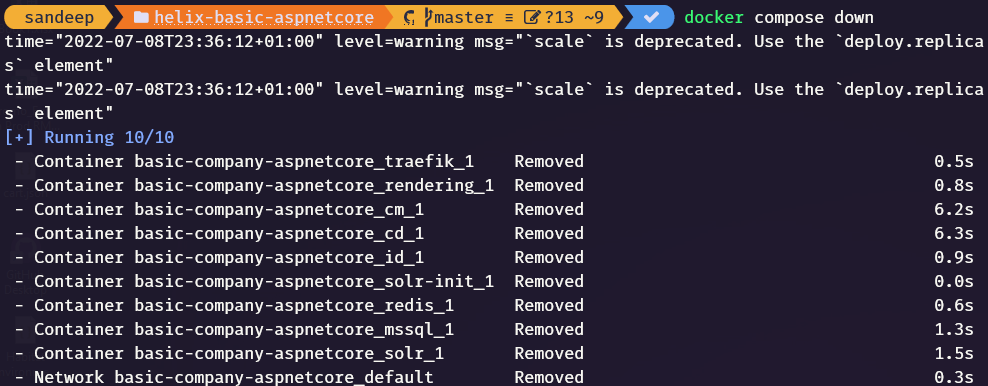
This blog will give a quick overview of setting development environment for Headless Development with ASP.Net Rendering SDK using the Helix Examples and the docker.
Although there are videos and blogs around same I will do a quick walk through on setting Helix Examples and any errors I faced whilst setting up the environment.
Refer the following for same – https://github.com/Sitecore/Helix.Examples/tree/master/examples/helix-basic-aspnetcore
Install .Net core 3.1 on your machine and this is required to create any rendering or platform projects later to extend the Helix Examples Solution or compiling the existing code.
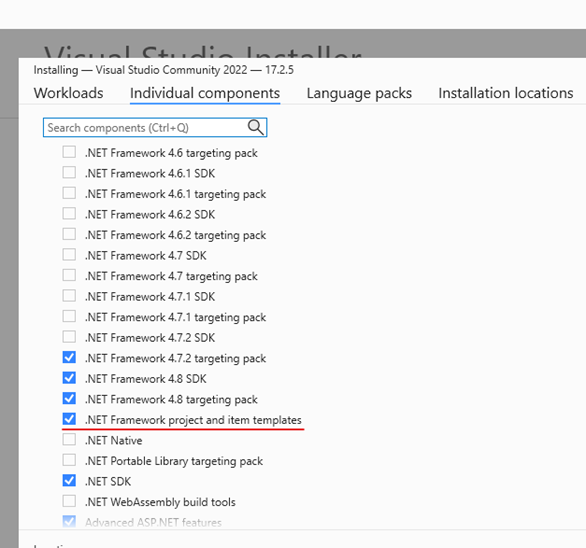
Whilst installing Visual Studio 2022 select the .Net Framework project and templates option as the platform projects uses .Net Framework 4.8 version. This will also help further if you want to extend the solution.
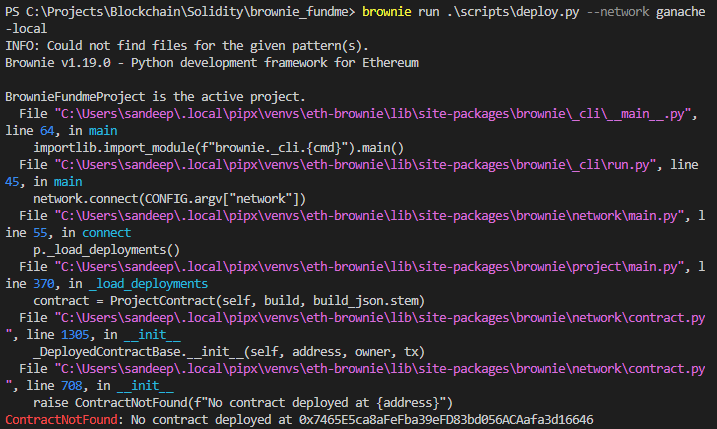
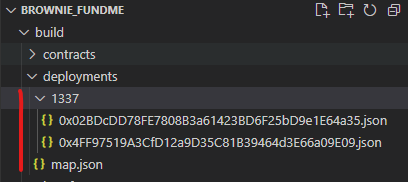
At time when the Ganache tool is re-opened all the Transactions and Constracts are reset. Whilst deploying contract you might see the error –
ContractNotFound: No contract deployed at{address}
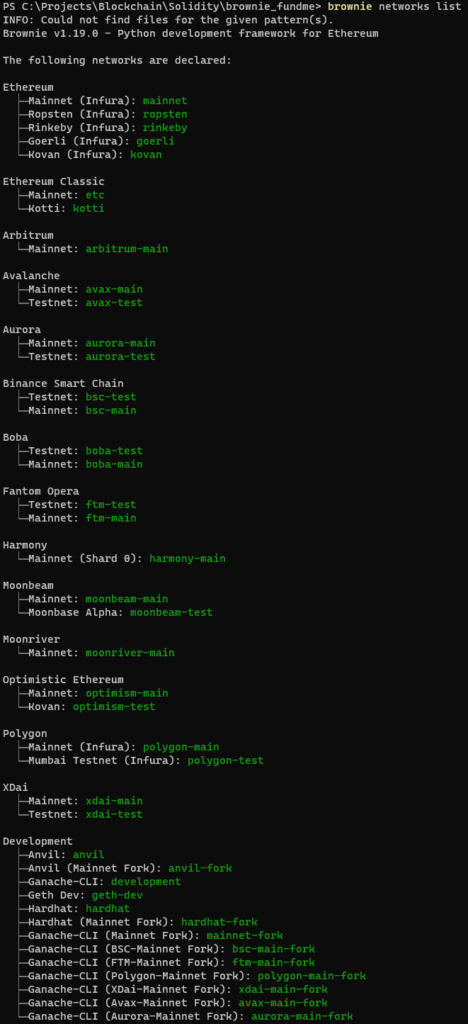
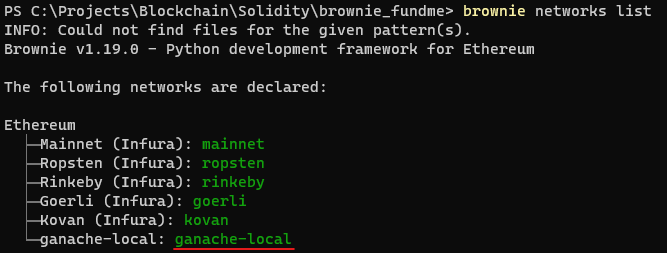
PS C:\Projects\Blockchain\Solidity\brownie_fundme> brownie run .\scripts\deploy.py --network ganache-local
INFO: Could not find files for the given pattern(s).
Brownie v1.19.0 - Python development framework for Ethereum

BrownieFundmeProject is the active project.
  File "C:\Users\sandeep\.local\pipx\venvs\eth-brownie\lib\site-packages\brownie\_cli\__main__.py", line 64, in main
    importlib.import_module(f"brownie._cli.{cmd}").main()
  File "C:\Users\sandeep\.local\pipx\venvs\eth-brownie\lib\site-packages\brownie\_cli\run.py", line 45, in main
    network.connect(CONFIG.argv["network"])
  File "C:\Users\sandeep\.local\pipx\venvs\eth-brownie\lib\site-packages\brownie\network\main.py", line 55, in connect
    p._load_deployments()
  File "C:\Users\sandeep\.local\pipx\venvs\eth-brownie\lib\site-packages\brownie\project\main.py", line 370, in _load_deployments
    contract = ProjectContract(self, build, build_json.stem)
  File "C:\Users\sandeep\.local\pipx\venvs\eth-brownie\lib\site-packages\brownie\network\contract.py", line 1305, in __init__
    _DeployedContractBase.__init__(self, address, owner, tx)
  File "C:\Users\sandeep\.local\pipx\venvs\eth-brownie\lib\site-packages\brownie\network\contract.py", line 708, in __init__
    raise ContractNotFound(f"No contract deployed at {address}")
ContractNotFound: No contract deployed at 0x7465E5ca8aFeFba39eFD83bd056ACAafa3d16646
Solution-
Delete all the files and folders in Deployment folder as closing the Ganache tool will reset contracts etc. the deployment folder has references to old contract.
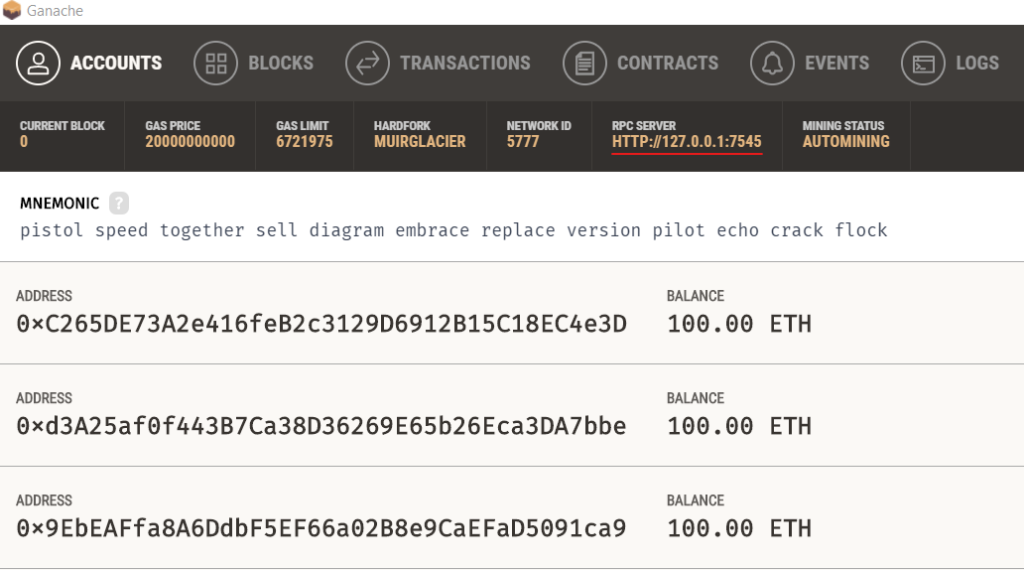
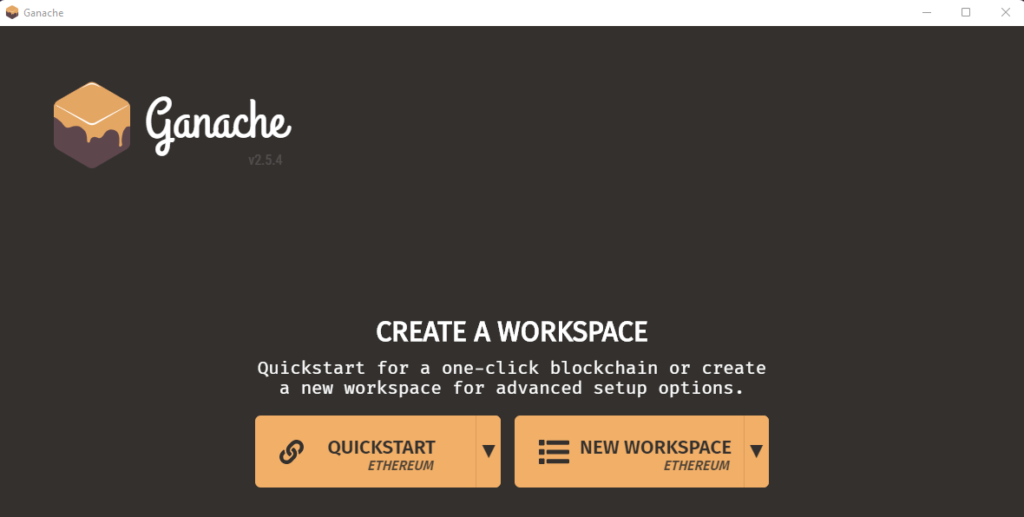
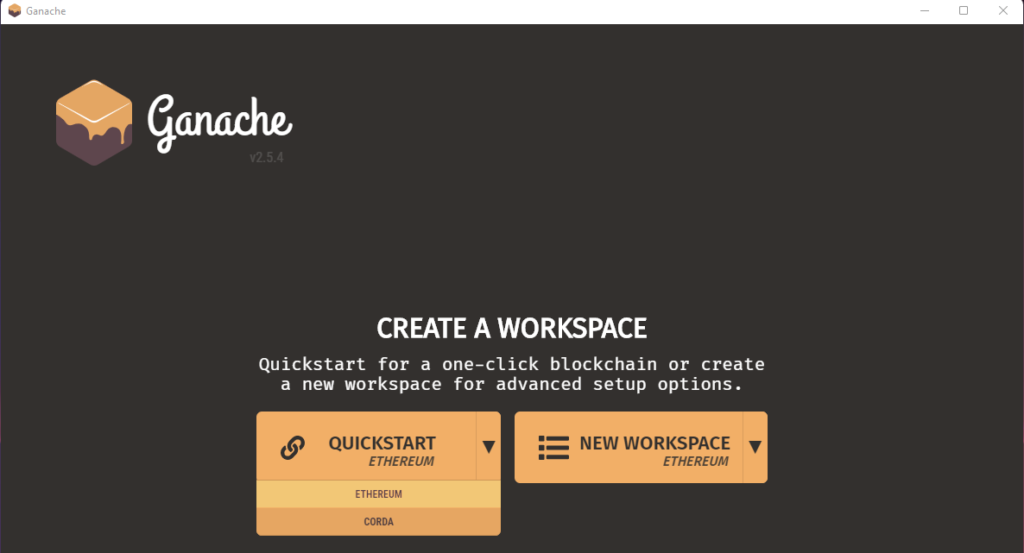
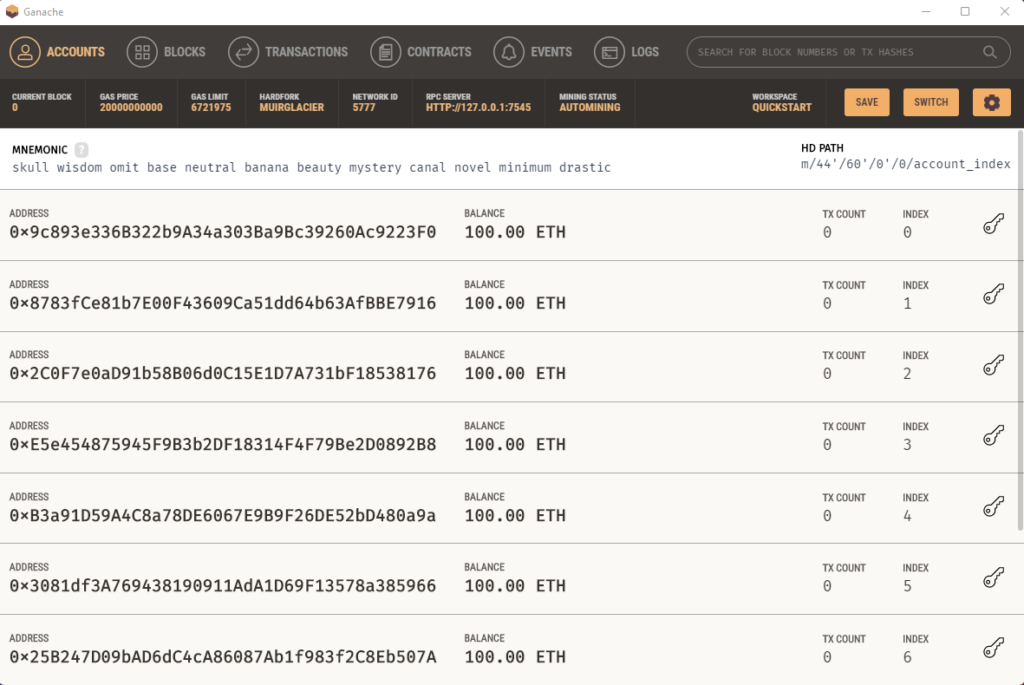
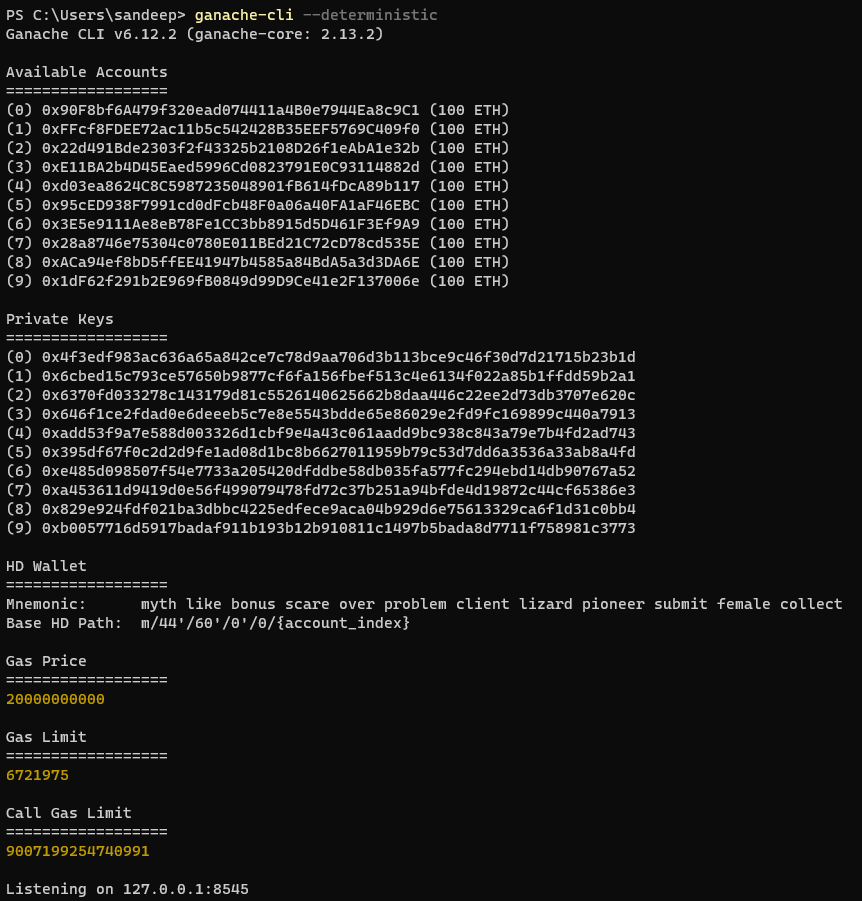
Ganache is the development tool used to run local blockchain for Ethereum development.
Ganache can be used to deploy the contract to local Blockchain. Its a simutated environemnt like Javascript VM when developing on Remix. It helps spin up a local Blockchain.
Decentralised – Having no single point of authority
Transperancy and Flexibility
Speed and Effeciency
Security and Immutability
Removal of counterparty risk
Trust minimised agreements
Hybrid smart conrtract with Chain Link (Oracle)
Terms and Abbrevations used in Blockchain-
DAO’s – Decentralised Autonomous Organization’s
Testnet – are free and for testing smart contracts
Mainnet – cost money and are considered “live”
Faucet – is and application that gives us free test token, like free test Rinkeby Ethereum
Block Explorer – an application that allows us to “view” transactions that happen on a blockchain.
Gas – is a unit of computational measure. The more computation a transaction uses the more “gas” you have to pay for.
Every transaction that happens on-chain pays a “gas fee” to node operators.
The amount of “gas” used and how much you pay depends on how “computationally expensive” your transaction is.
Sending ETH to 1 address would be “cheaper” than sending ETH to 1,000 addresses.
Gwei (giga-wei) – denomination or a small unit of Ether 1 Ether is 1 billion Gwei. It is used to measure cost of transaction i.e. used in the Ethereum network to but and sell goods and services.
Gas – Measure of computation use
Gas Price – How much it costs per unit of gas.
Gas Limit – Max amount of gas in a transaction
Transaction Fee – Gas used X Gas Price i.e. 21,000 gas @ 1GWEI per gas =21,000 GWEI
Gas Price of Ehtereum fluctuates based on the demand of the blockchain. More perople using or want to make transactions, the higher the gas price and therefore the higher the transaction fees.
Gnesis Block – First block in a blockchain
Hash – Unique fixed length string to identify a piece of data
Hash Algorithm – A function or algorithm that computes data into a unique hash.
Mining – The precess of finding the “solution” to the blockchain “problem”. Node get paid for mining blocks.
Block – A list of transactions mined together
Nonce – A “number used once” to find the “solution” to the blockchain problem. It’s also used to define the transaction number for an account/address.
Public Key – Is derived from your private key. Anyone can “see” it, and user it, and user it to verify that a transaction came from you.
Private key – Only know to the keyholder, its used to “sign” transactions.
Elliptic Curve Digital Signature Algorithm (ECDSA) – generates public key using private key.
Signing Transactions – A “one way” process. Someone with a private key signs a transaction by their private key being hashed with their transaction data. Anyone can then verify this new transaction hash with your public key.
Node: Single instance in a decentralized network. Anyone can join the network. Blockchains are resilient. Blockchain nodes keep lists of the transactions that occur. They are immutable- nothing can corrupt them.
—Consensus – is the mechanism used to agree on the state of a blockchain.
Broken into 2 :-
— Chain Selection –
— Sybil Resistance – Proof of work. Block Author, defends on fake blockchains
— — PoW – Minners. Uses lot of electricity and is hence costly.
-Transaction Fees and Block Reward.- compete each other to find the answer to the problems. Whoever finds first get the transaction fees.
Sybil Attack – creates fake accounts to influence the network
51% attack –
Longest Chain Rule
– — PoS — Validators – nodes put up collateral as a sybil resistance mechanism. Uses less energy. Slightly less decentralised.
ABI– ApplicationBinary Interface- tells Solidity how it can interact with another contract. What functions can be called from the contract. Interfaces compile down to ABI.