If you are looking for upgrade to Sitecore 10, below are the various options you are able to install Sitecore 10.
Sitecore XP 10
Sitecore Installation Assistant (SIA)
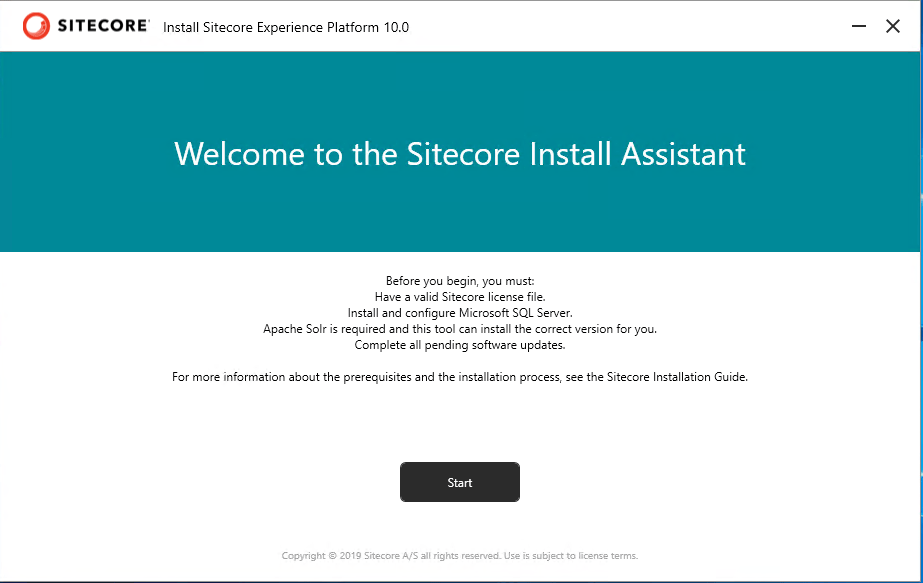
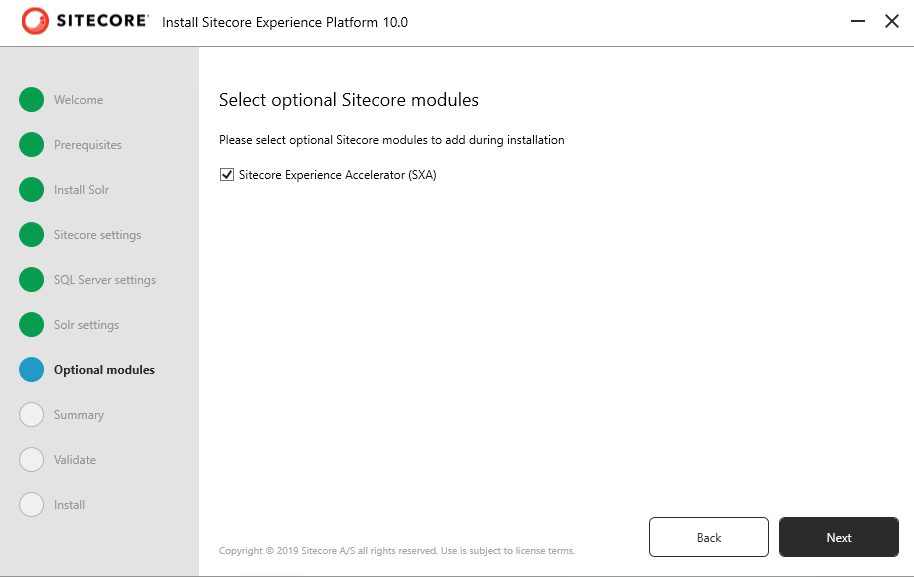
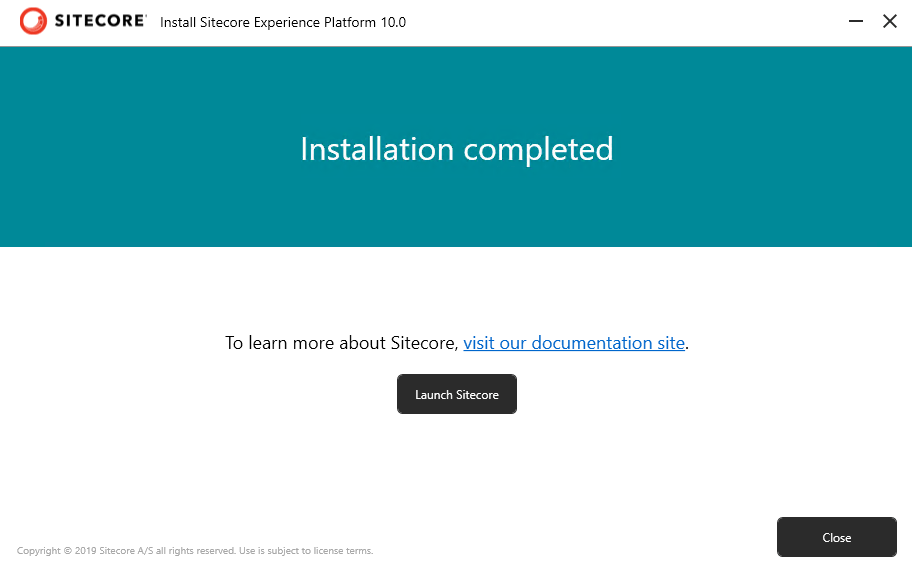
Sitecore Installation Assistant helps guides you through the Sitecore XP Developer Workstation installation. Use this option to review system requirements, install prerequisites and complete the entire installation process. With Sitecore 10 you have a option to also install SXA with SIA.
To install Sitecore 10 using SIA follow this post- Step-by-step how to install Sitecore 10 using SIA
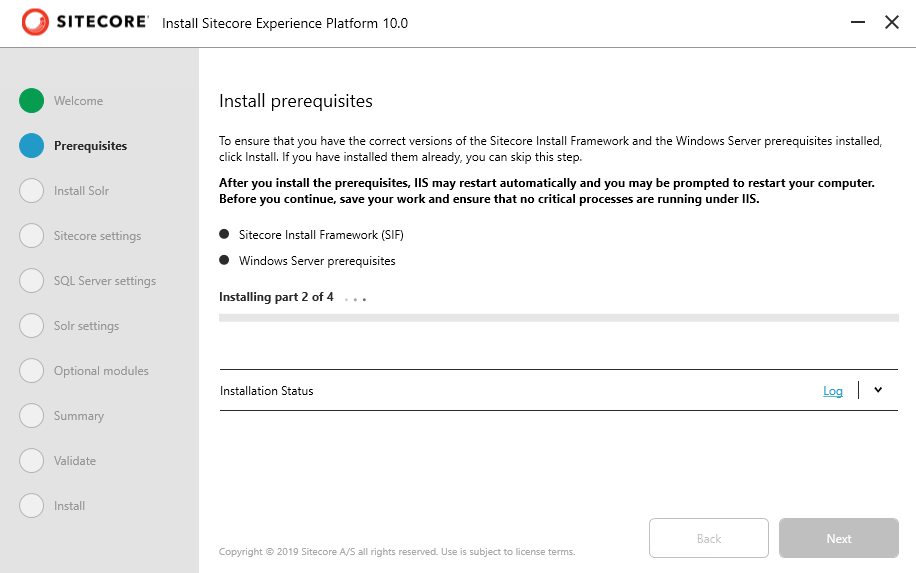
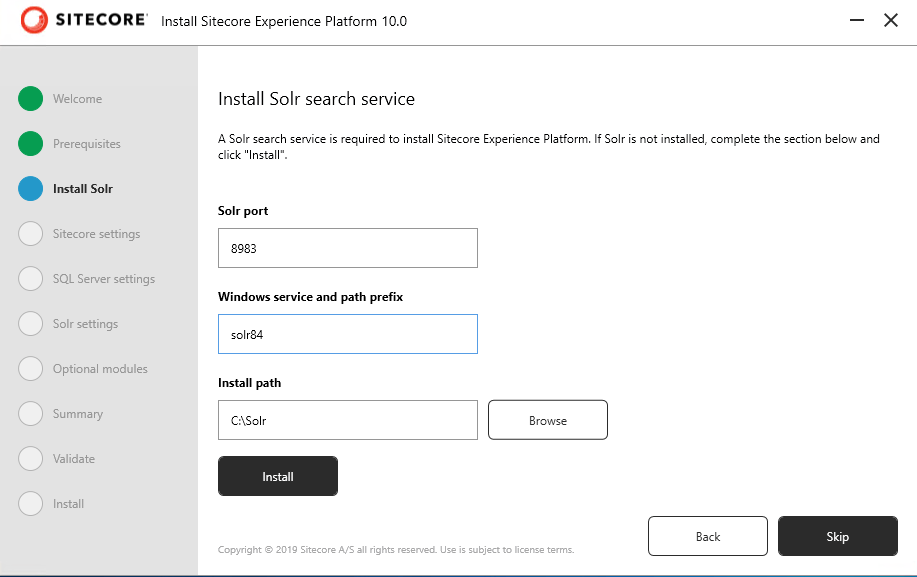
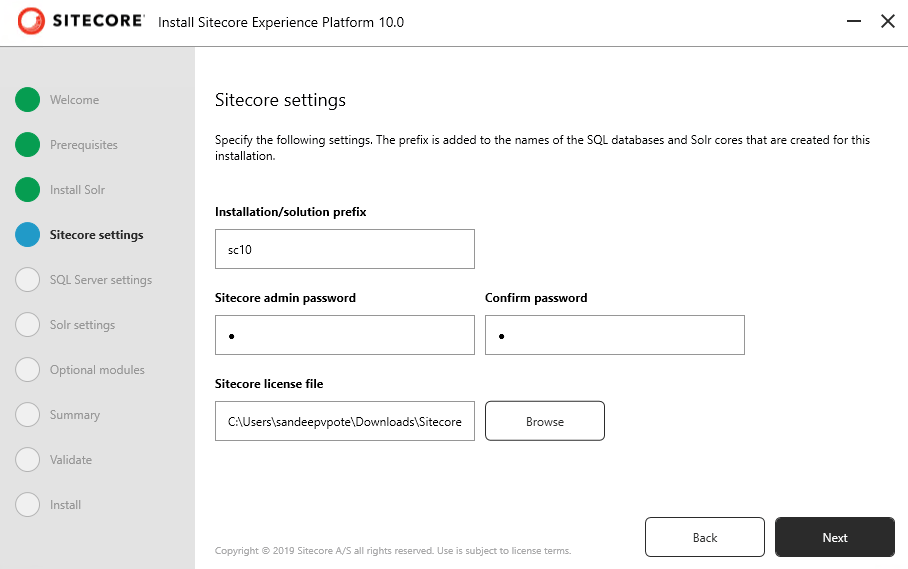
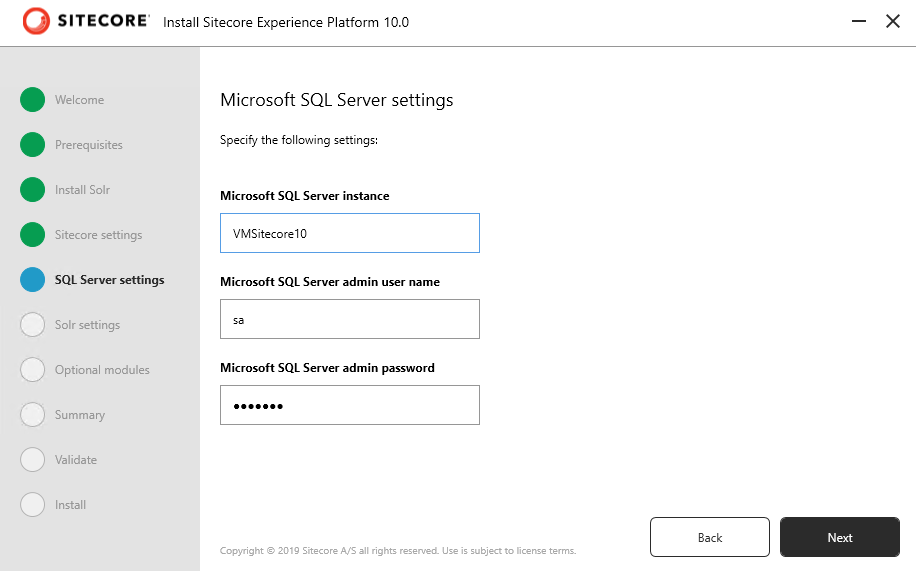
Sitecore Installation Framework On-Premises (SIF)

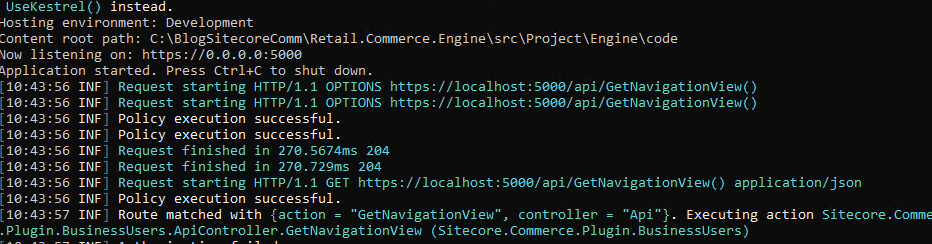
Sitecore Install Framework (SIF) is a Microsoft PowerShell module that supports local and remote installations of Sitecore Experience Platform.
SIF deploys Web Deploy Packages (WDP) by passing parameters to SIF configuration through a Microsoft PowerShell module and is fully extensible.
The Sitecore Experience Platform is designed to be secure-by-default. For developer environments all the required self-signed certificates are created automatically if you do not provide any.
In a production environment, you can provide your own certificates In a non-production environment, you can choose to have the module generate the certificates for you.
You must set up SIF before you can install Sitecore Experience Platform
To install Sitecore XP 10 using SIF follow this post – Step-by-step install Sitecore XP 10 using Sitecore Installation Framework (SIF)
Sitecore Containers
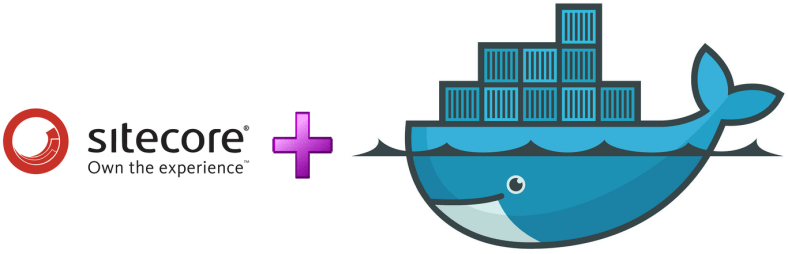
Sitecore Containers support rapid deployment and more efficient solution and team onboarding with modern Docker and Kubernetes technology.
Sitecore Experience Platform 10.0.0 uses Docker Compose as the container
orchestrator on developer workstations. Docker Compose is a simple containerdeployment tool that is bundled with Docker for Windows. Sitecore container images can be deployed with other tools but we recommend that you use Docker Compose to deploy the containers that form the Sitecore Experience Platform.
To install Sitecore XP 10 using Sitecore Containers with Docker Compose- Step-by-step install Sitecore XP 10 to developer workstation using Sitecore Containers with Docker Compose
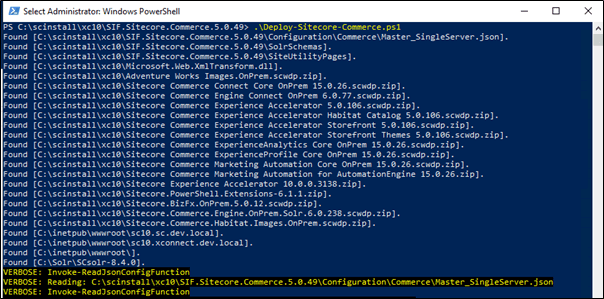
Sitecore XC 10
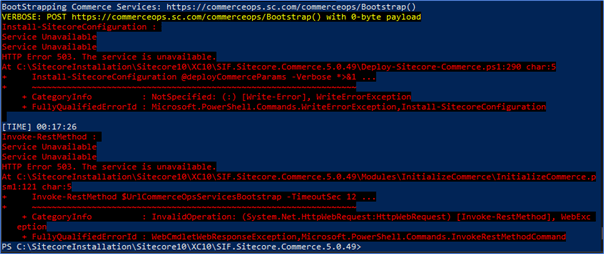
Sitecore Installation Framework (SIF)
Sitecore Install Framework (SIF) is a Microsoft PowerShell module that supports local and remote installations of Sitecore Experience Platform.
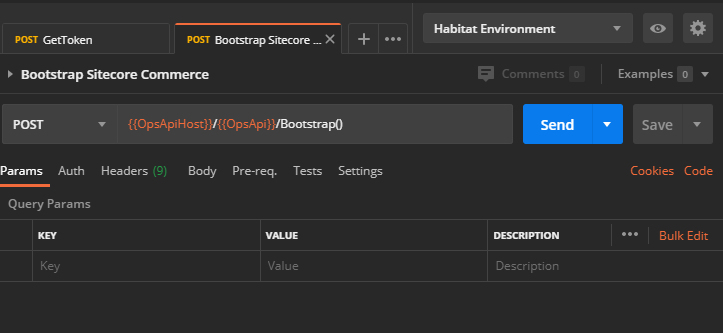
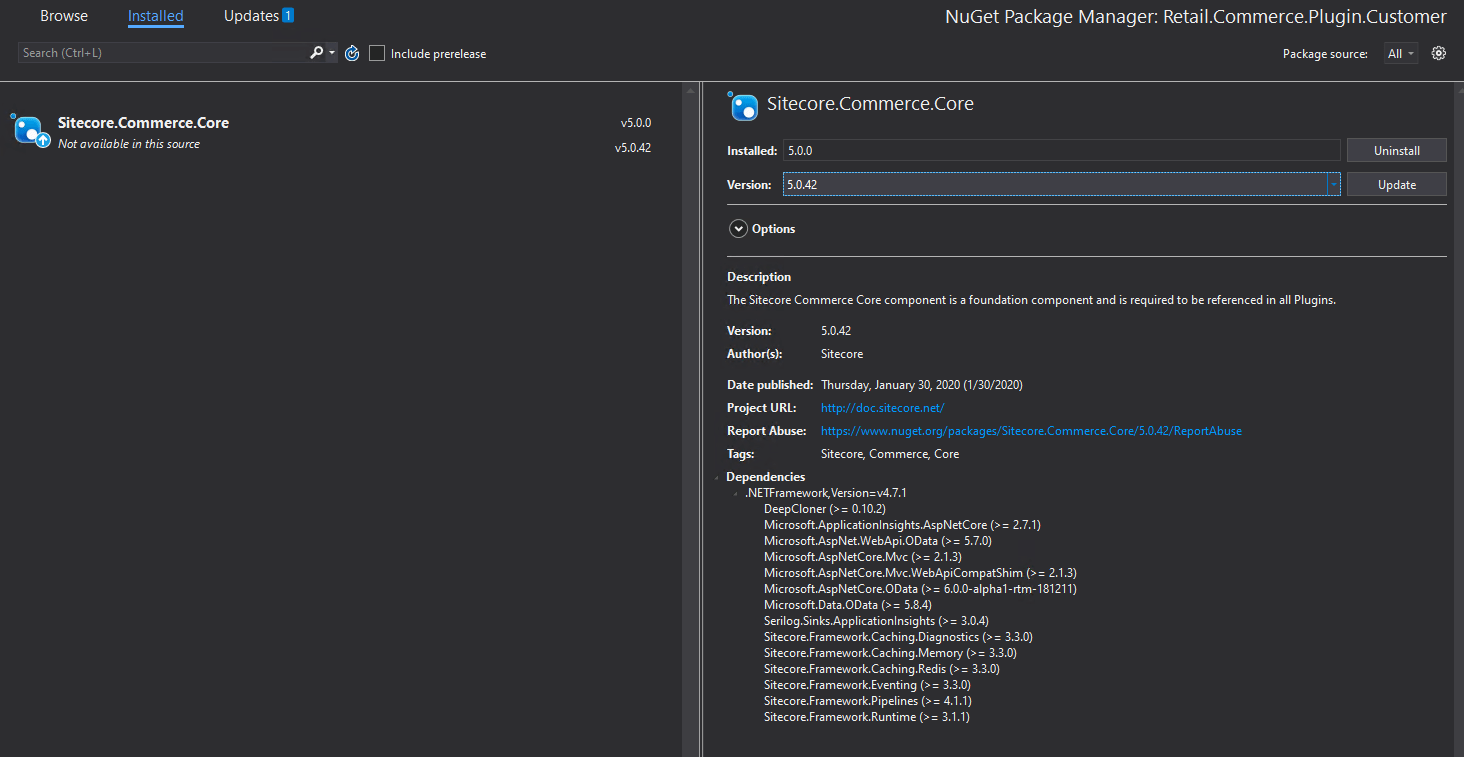
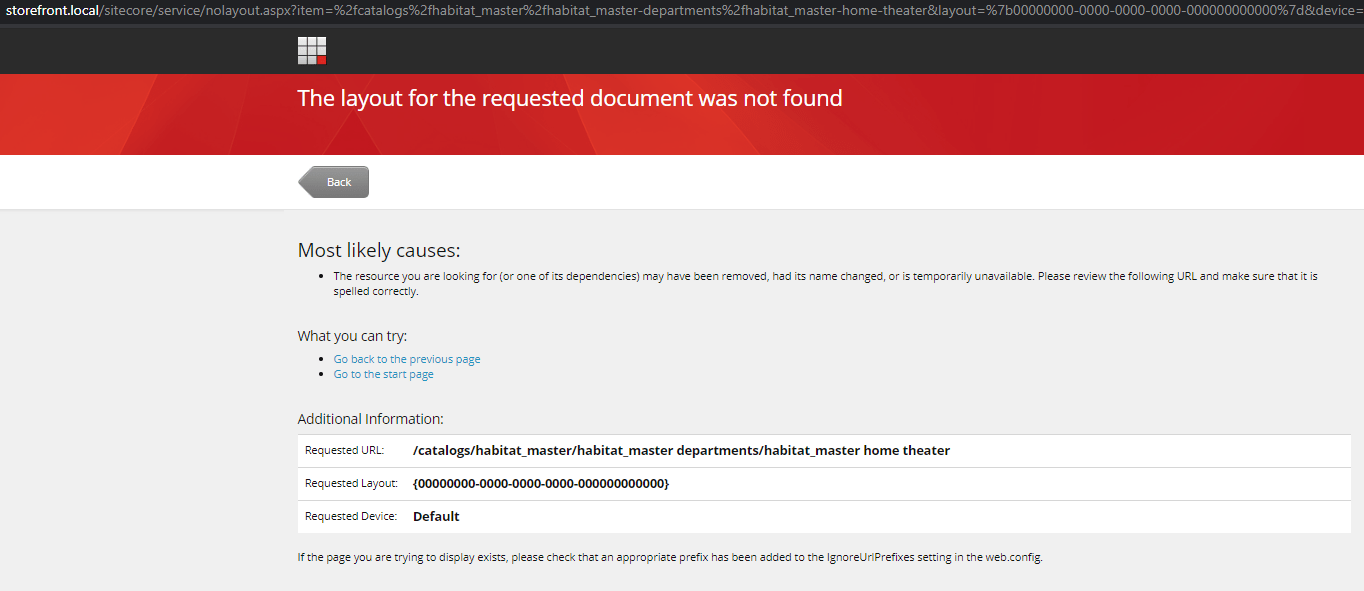
The SIF.Sitecore.Commerce package contains Sitecore Installation Framework scripts and Web Deployment Packages (WDP).