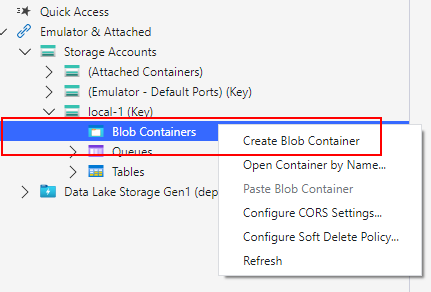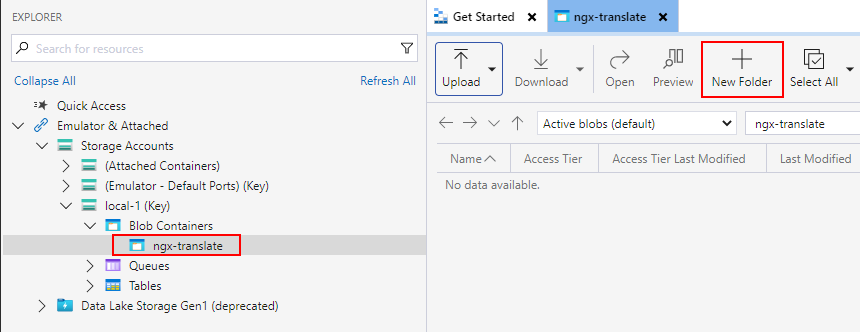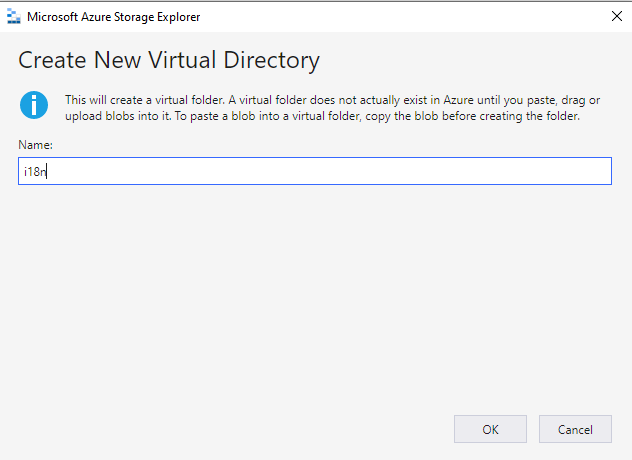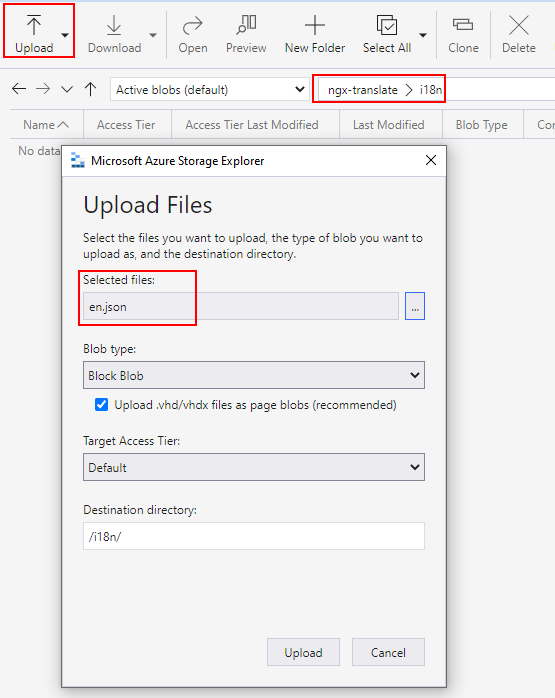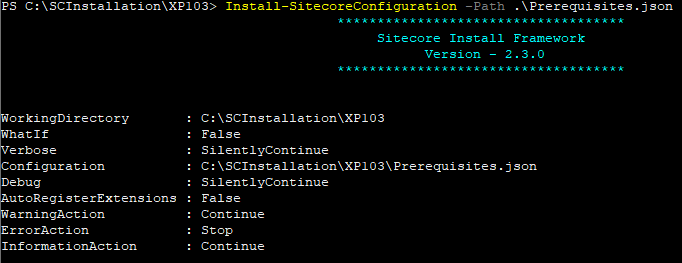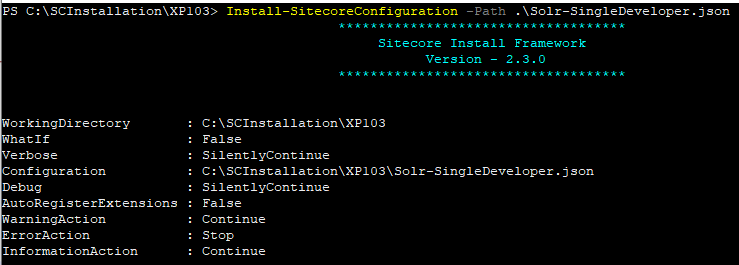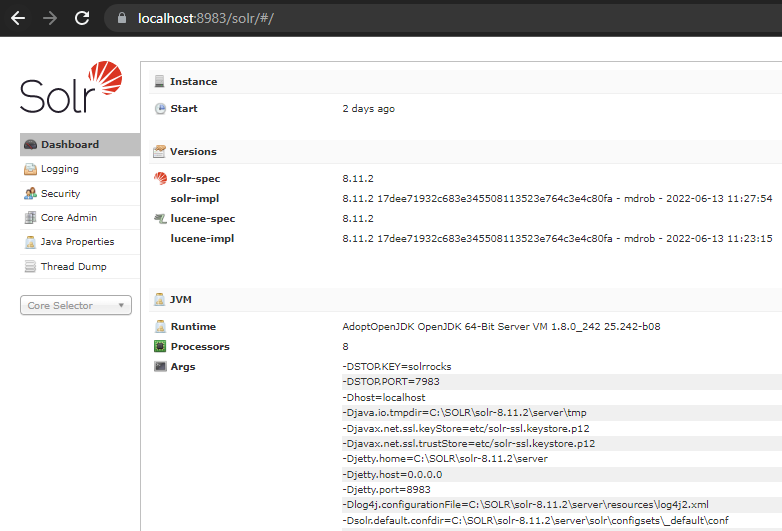
There is quite a lot todo to setup, lets start-
Clone OrderCloud repository for Headstart
Clone the repository for HeadStart from here – https://github.com/ordercloud-api/headstart
Setup/Install Docker
Install Docker Desktop from here – https://docs.docker.com/desktop/
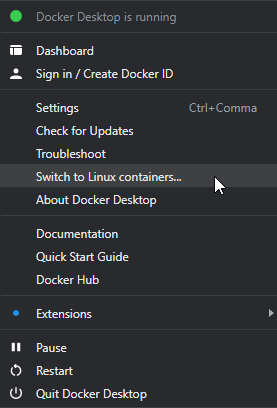
Switch to Linux containers
Stop IIS
Ensure you dont’ have Azurite insalled and listening to 10000, 10001 and 10002 ports
Ensure you dont have Azure Cosmos DB Emulator running on the machine as this will use 8081 port which will also be exposed by cosmos container.
Copy .env.template and save as .env (Will fill in the required details in .env file one by one)
Add the following records to your Hosts file
127.0.0.1 buyer.headstart.localhost
127.0.0.1 seller.headstart.localhost
127.0.0.1 api.headstart.localhost
As this is set in .env file (you may change as per your requirement)

There will be quite a few issues coming our way and will try to note it here one by one and the solution for same-
Execute docker compose
Navigate to the working directory and execute following command-
docker compose up -dFollowing images and containers will be created as part of the headstart setup-
Cosmos DB
Storage (Azurite)
Middleware
Seller App
Buyer App
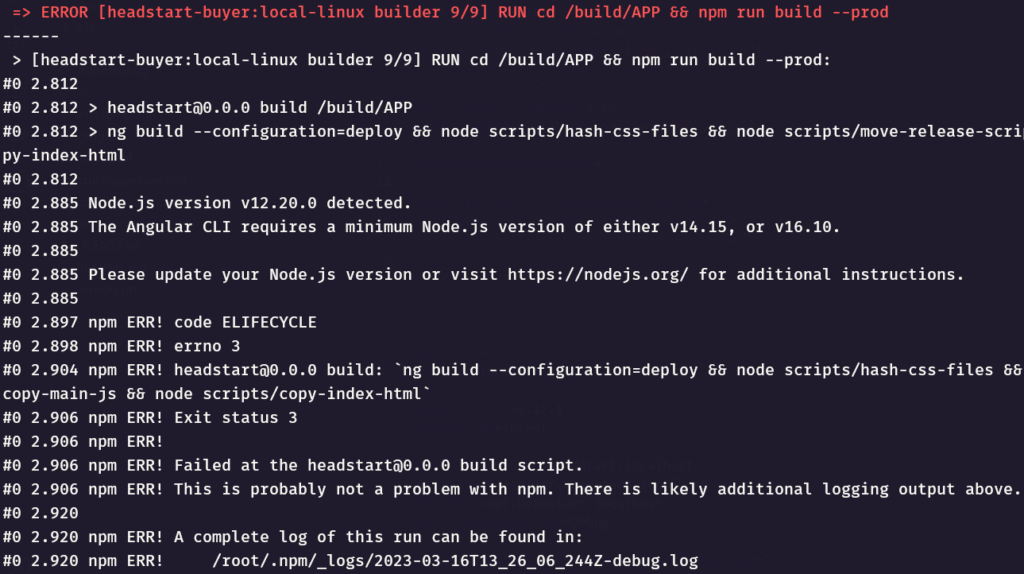
Error 1- Uncompatible node version
0 2.885 Node.js version v12.20.0 detected.

0 2.885 The Angular CLI requires a minimum Node.js version of either v14.15, or v16.10.
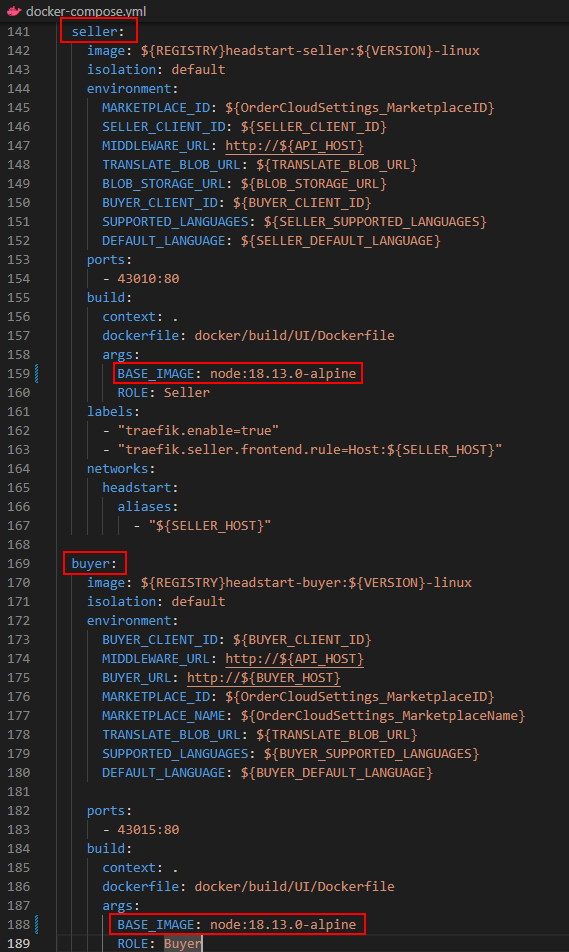
See here how I resolved this error- Uncompatible node version
Error 2- Package installation must use TLS 1.2 or higher and Cannot read properties of null (reading ‘pickAlgorithm’)
0 47.60 npm notice Beginning October 4, 2021, all connections to the npm registry - including for package installation - must use TLS 1.2 or higher. You are currently using plaintext http to connect. Please visit the GitHub blog for more information: https://github.blog/2021-08-23-npm-registry-deprecating-tls-1-0-tls-1-1/

0 114.7 npm ERR! Cannot read properties of null (reading 'pickAlgorithm')
See here how I resolved this error- Package installation must use TLS 1.2 or higher
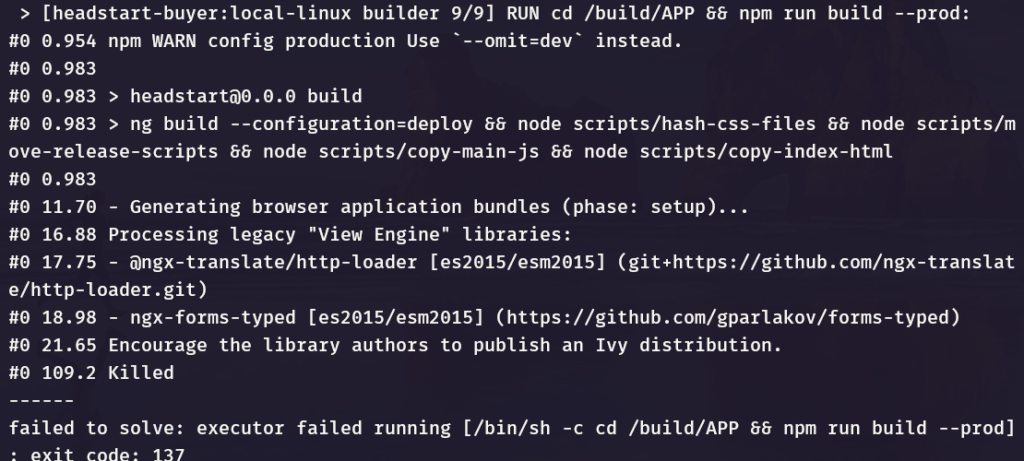
Errror 3-
#0 2.885 Node.js version v12.20.0 detected.
#0 2.885 The Angular CLI requires a minimum Node.js version of either v14.15, or v16.10.


 > [headstart-buyer:local-linux builder 9/9] RUN cd /build/APP && npm run build --prod:
#0 0.954 npm WARN config production Use `--omit=dev` instead.
#0 0.983
#0 0.983 > headstart@0.0.0 build
#0 0.983 > ng build --configuration=deploy && node scripts/hash-css-files && node scripts/move-release-scripts && node scripts/copy-main-js && node scripts/copy-index-html
#0 0.983
#0 11.70 - Generating browser application bundles (phase: setup)...
#0 16.88 Processing legacy "View Engine" libraries:
#0 17.75 - @ngx-translate/http-loader [es2015/esm2015] (git+https://github.com/ngx-translate/http-loader.git)
#0 18.98 - ngx-forms-typed [es2015/esm2015] (https://github.com/gparlakov/forms-typed)
#0 21.65 Encourage the library authors to publish an Ivy distribution.
#0 109.2 Killed
------
failed to solve: executor failed running [/bin/sh -c cd /build/APP && npm run build --prod]: exit code: 137
Not sure why this error but I ran following command instead-
docker-compose build --no-cacheError 4 –
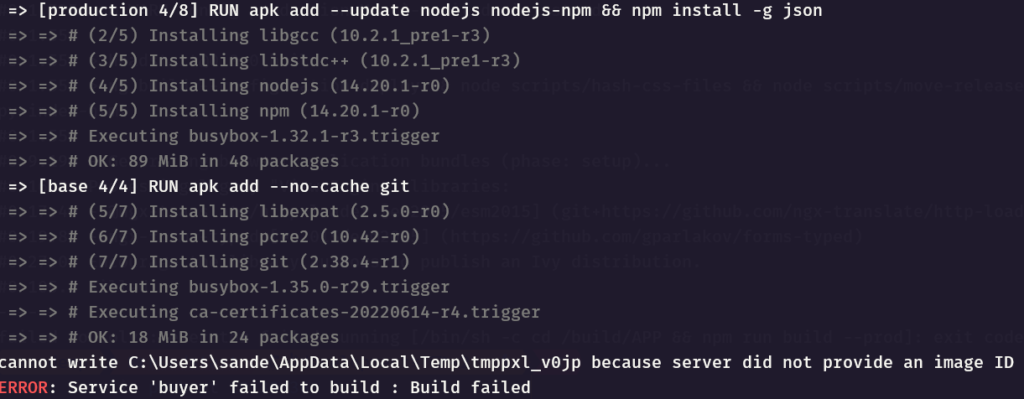
cannot write C:\Users\sande\AppData\Local\Temp\tmppxl_v0jp because server did not provide an image ID
ERROR: Service 'buyer' failed to build : Build failed
Solution-
Set the latest nginx alpine base image in the Dockerfile as nginx:1.23.3-alpine. See the latest availabel bae image here – https://hub.docker.com/_/nginx
Change Dockerfile in this location headstart\docker\build\UI
Update nodejs-npm to just npm in the Dockerfile
Dockerfile should look like this-
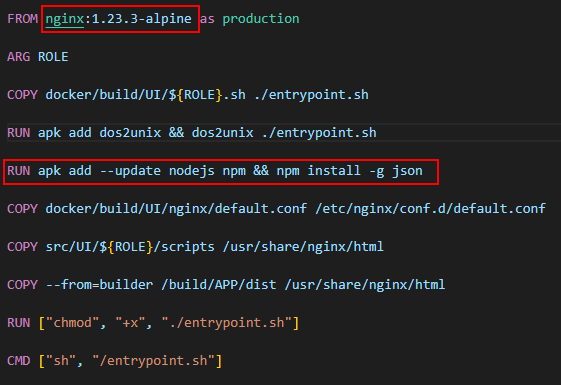
Sometimes you may have to restart Docker Desktop
Error 5-
Error response from daemon: Ports are not available: exposing port TCP 0.0.0.0:80 -> 0.0.0.0:0: listen tcp 0.0.0.0:80: bind: An attempt was made to access a socket in a way forbidden by its The said port might be in use. This is mostly when IIS is running. Stop IIS.
Once you get thhrough these errors, should have following images downloaded and containers created-
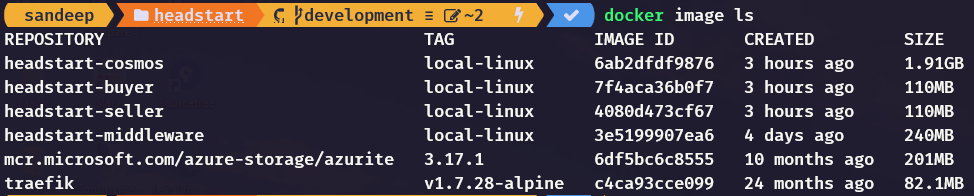
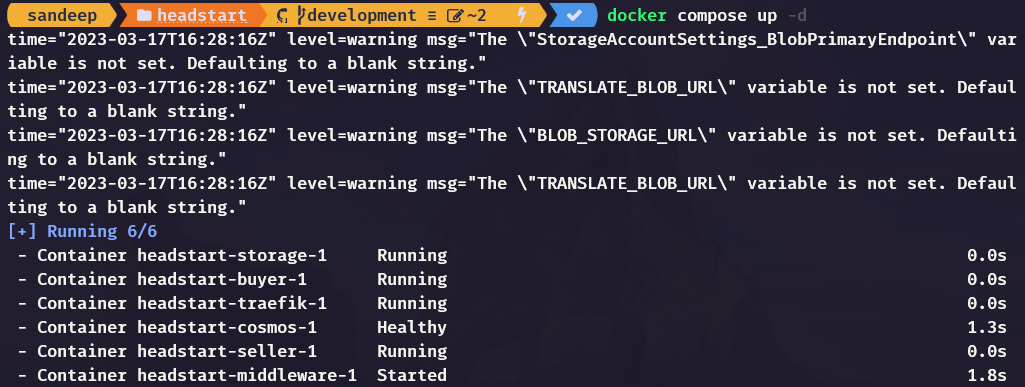
Here you can see the warnings compalining few env variable values not set. This is next we are going to setup.
Unable to start Middleware container due to erros-
Also the middleware container has errors- (docker log <<middleware container>>
Unhandled exception. System.Exception: Required app settings are missing: StorageAccountSettings:ConnectionString or StorageAccountSettings:BlobPrimaryEndpoint
2023-03-17 16:28:21    at OrderCloud.Integrations.EnvironmentSeed.Extensions.ServiceCollectionExtensions.AddDefaultTranslationsProvider(IServiceCollection services, StorageAccountSettings storageAccountSettings) in /src/Middleware/integrations/OrderCloud.Integrations.EnvironmentSeed/Extensions/ServiceCollectionExtensions.cs:line 16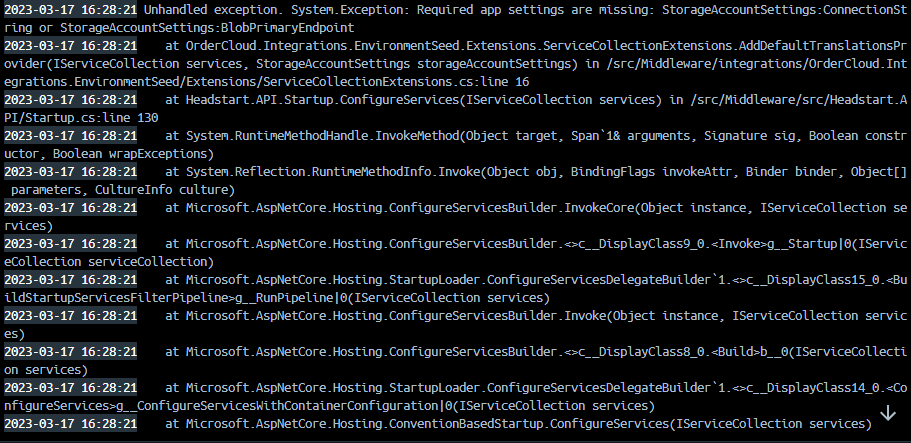
Check the Cosmos DB if its working on http://127.0.0.1:8081/_explorer/index.html
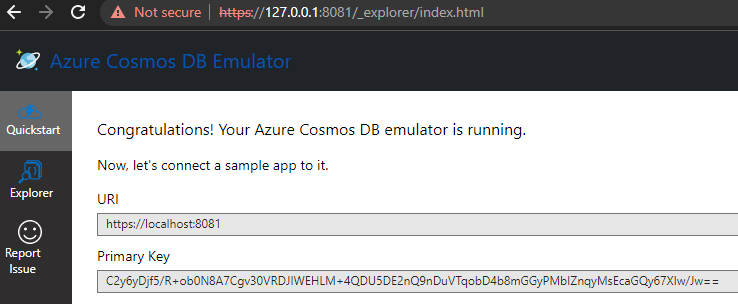
Error 6- Check the COMOS DB evaluation period-

Stop and delete the COSMOS DB container and delete the image
Compose the containers again and should pull the image and start the COSMOS DB container again.
Error 7-
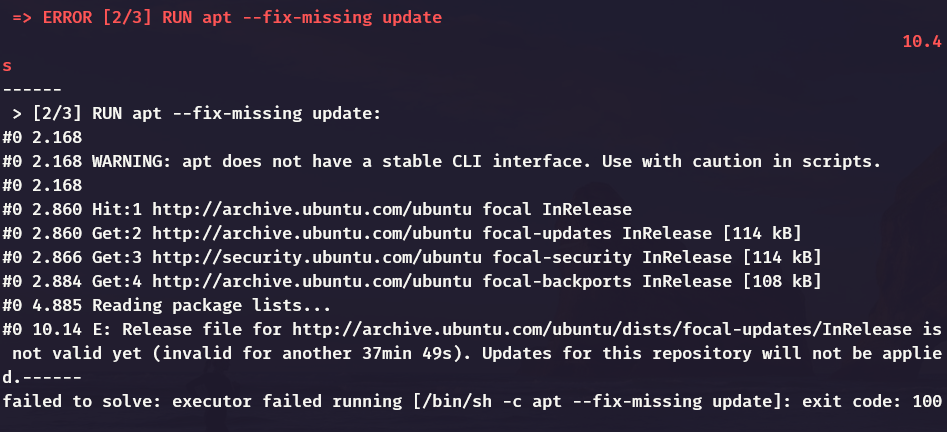
This is a timezone issue. Check this form ore detials-
https://askubuntu.com/questions/1096930/sudo-apt-update-error-release-file-is-not-yet-valid
Error 8-
failed to solve: process "/bin/sh -c apk add --update nodejs nodejs-npm && npm install -g json" did not complete successfully: exit code: 1Update docker to use this command instead-
RUN apk add --update nodejs npm && npm install -g json
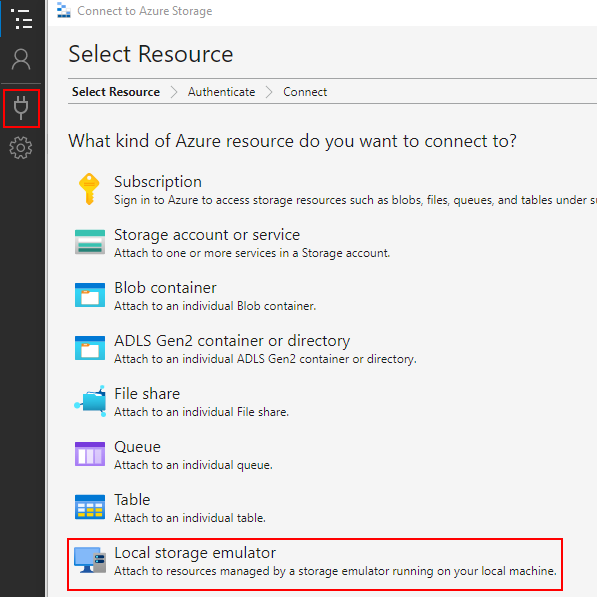
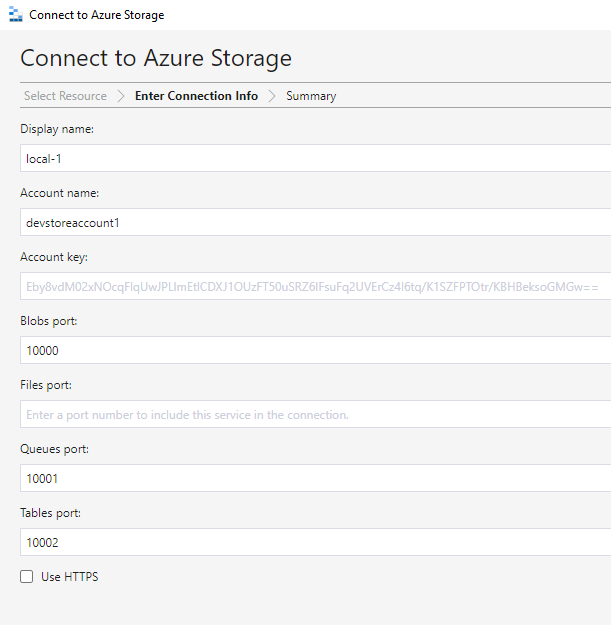
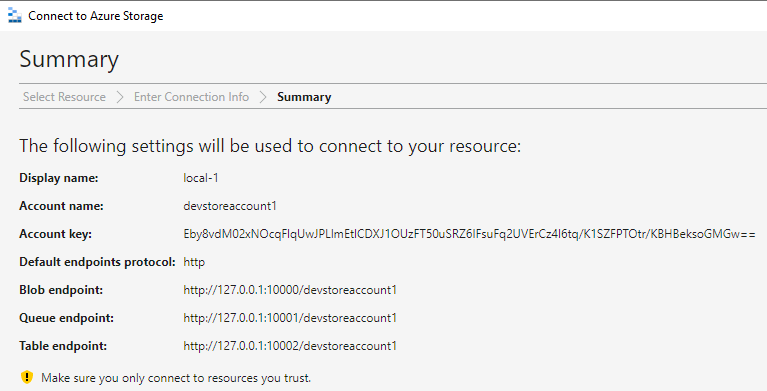
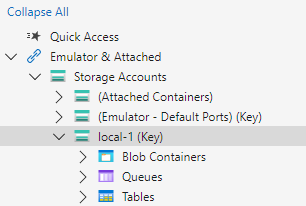
Install and Setup Account in Microsoft Azure Storage Explorer
See blof here – How to setup Storage Explorer for Sitecore OrderCloud Headstart Docker
Update the .env file-
Update StorageAccountSettings_ConnectionString to –
change storage to 127.0.0.1 in the connections tring
DefaultEndpointsProtocol=http;AccountName=devstoreaccount1;AccountKey=Eby8vdM02xNOcqFlqUwJPLlmEtlCDXJ1OUzFT50uSRZ6IFsuFq2UVErCz4I6tq/K1SZFPTOtr/KBHBeksoGMGw==;BlobEndpoint=http://127.0.0.1:10000/devstoreaccount1;QueueEndpoint=http://127.0.0.1:10001/devstoreaccount1;Update StorageAccountSettings_HostUrl to –
http://127.0.0.1:10000/devstoreaccount1Ensure the StorageAccountSettings_Key is correct –
Eby8vdM02xNOcqFlqUwJPLlmEtlCDXJ1OUzFT50uSRZ6IFsuFq2UVErCz4I6tq/K1SZFPTOtr/KBHBeksoGMGw==For any environment changes use “docker compose down” and then “docker compose up -d”
Compile/Build the Headstart.sln
In the ServiceCollectionExtensions.cs file in OrderCloud.Integrations.EnvironmentSeed project
remove the condition for checking the BlobPrimaryEndpoint as it is not used and hence not required.
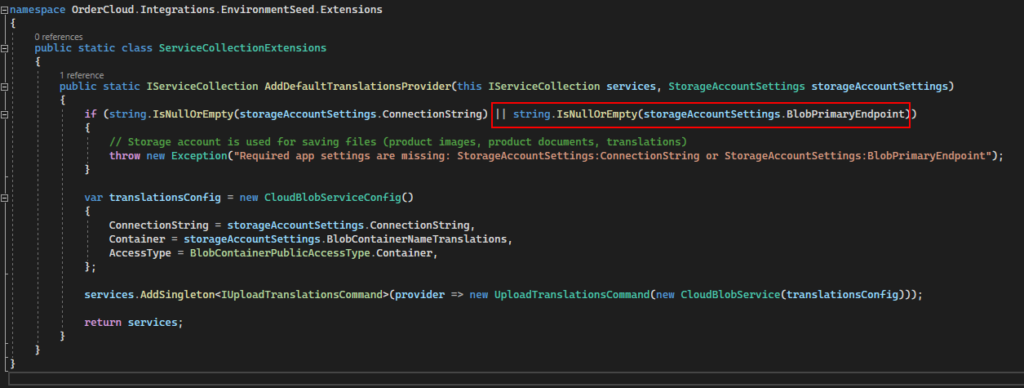
Same way if you are not using ExchangeRates, Tax Provider, payment Provider etc remove the values from .env file to avoid such errors. Following I have removed, you can add this later as and when required. Make the values for this variables empty
EnvironmentSettings_AddressValidationProvider=""
EnvironmentSettings_CurrencyConversionProvider=""
EnvironmentSettings_EmailServiceProvider=""
EnvironmentSettings_PaymentProvider=""
EnvironmentSettings_ShippingProvider=""
EnvironmentSettings_TaxProvider=""
EnvironmentSettings_OMSProvider=""
Recreate the middleware and container again. Delete the middleware image as the code is changes. We dont have the volume mounted hence for setup this way 🙂
docker rmi <<middleware image id>>

docker compose up -d
More errors-
Connection to Comos DB is failing-
2023-03-17 18:16:43 Application startup exception: System.AggregateException: One or more errors occurred. (Connection refused (127.0.0.1:8081))
2023-03-17 18:16:43  ---> System.Net.Http.HttpRequestException: Connection refused (127.0.0.1:8081)
2023-03-17 18:16:43  ---> System.Net.Sockets.SocketException (111): Connection refused
Change CosmosSettings_EndpointUri in .env from “http://127.0.0.1:8081” to use localhost i.e.- change to –
CosmosSettings_EndpointUri="http://localhost:8081"Address not available (localhost:8081) – Cosmos DB address not available
2023-03-17 18:22:34 Application startup exception: System.AggregateException: One or more errors occurred. (Address not available (localhost:8081))
2023-03-17 18:22:34  ---> System.Net.Http.HttpRequestException: Address not available (localhost:8081)
2023-03-17 18:22:34  ---> System.Net.Sockets.SocketException (99): Address not available
Solution-
Change following in entrypoing.sh file located at – headstart\docker\build\middleware
i.e. instead of using $CosmosSettings_EndpointUri use $CosmosEndpointURI
this varaible contains the IP address of the comos db hosted. This can change everytime the container is created.
Change this -
-e "this['CosmosSettings:EndpointUri']='$CosmosSettings_EndpointUri'"
to
-e "this['CosmosSettings:EndpointUri']='$CosmosEndpointURI'"
Recreate the middleware image.
Now all the containers should be up and running
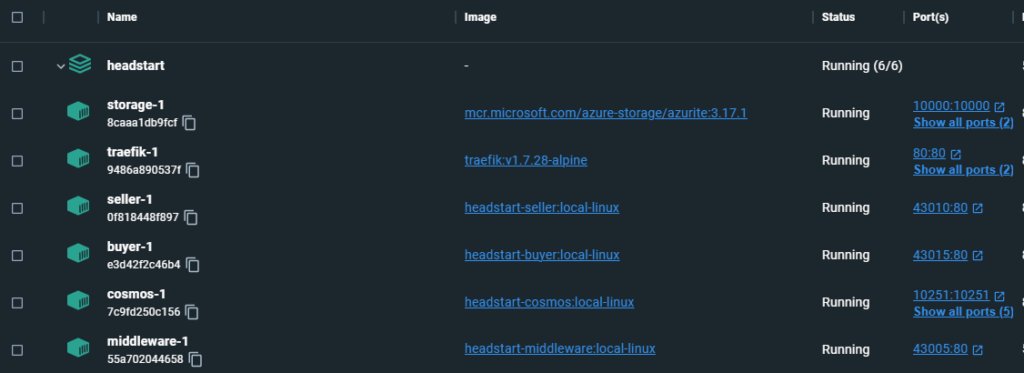
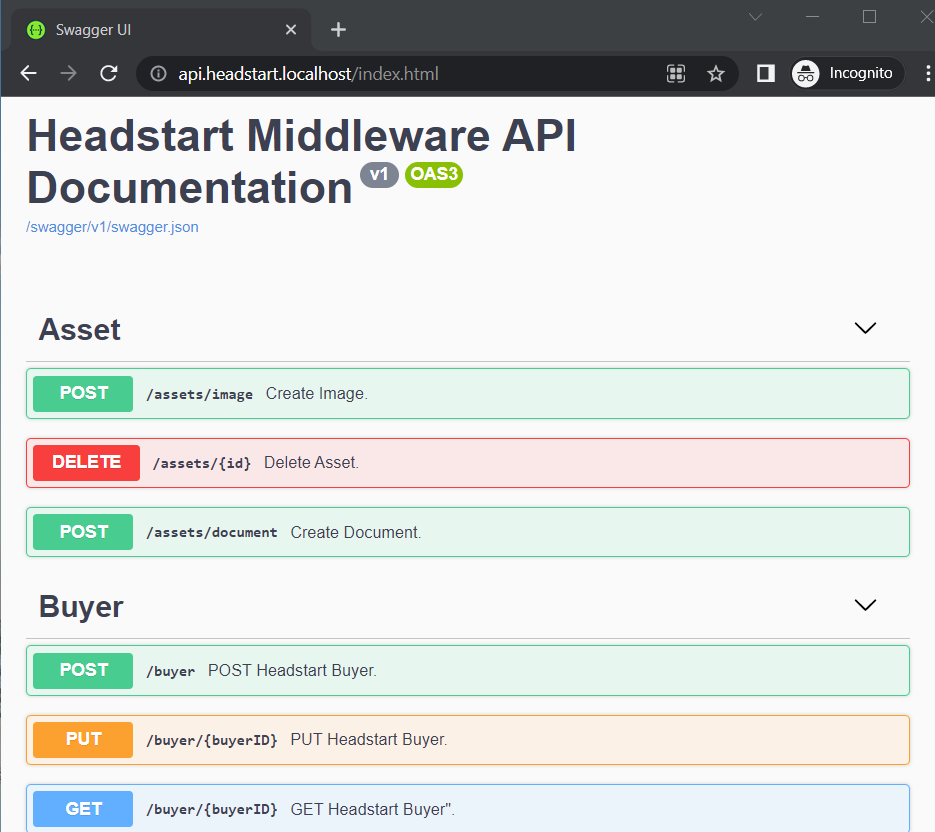
Middleware API is accessible at – http://api.headstart.localhost/index.html
Seed the OrderCloud Marketplace-
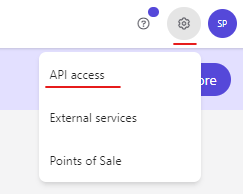
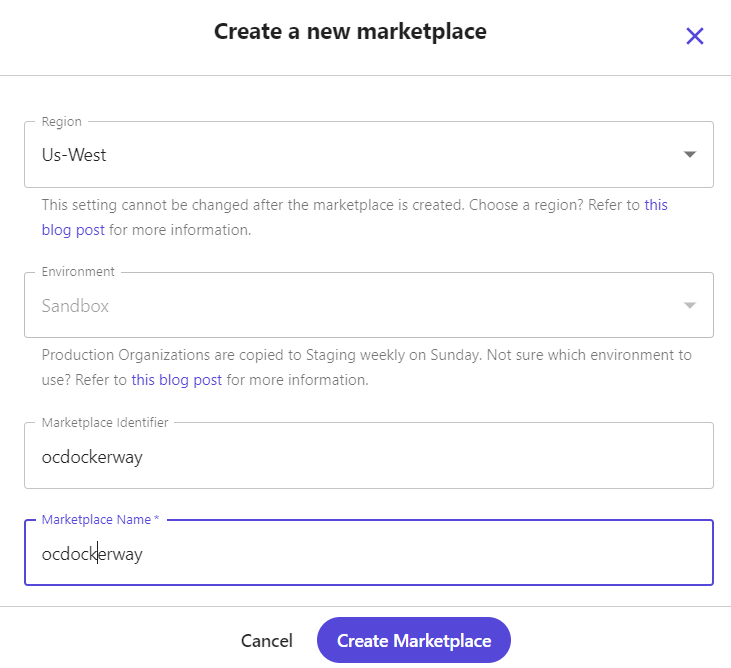
Create a Marketplace in OrderCloud portal-
Send post request to – http://api.headstart.localhost/seed
Request body should be, also see the template here –
https://github.com/ordercloud-api/headstart/blob/development/assets/templates/SeedTemplate.json
{
  "Portal": {
    "Username": "your-portal-email@address.com",
    "Password": "XXXXXXXXX"
  },
  "Marketplace": {
    "Environment": "sandbox",
    "Region": "Us-West",
    "ID": "ocdockerway",
    "Name": "ocdockerway",
    "InitialAdmin": {
      "Username": "demoadminuser",
      "Password": "XXXXXXXXX"
    },
    "EnableAnonymousShopping": true,
    "MiddlewareBaseUrl": "http://api.headstart.localhost",
    "WebhookHashKey": "hashkey"
  }
}
Error- “Message”: “Could not find a part of the path ‘/app/wwwroot\\i18n’.”,
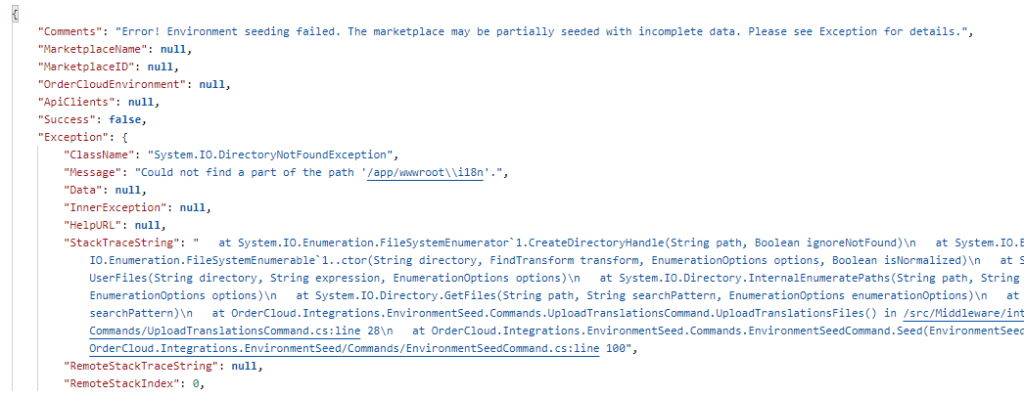
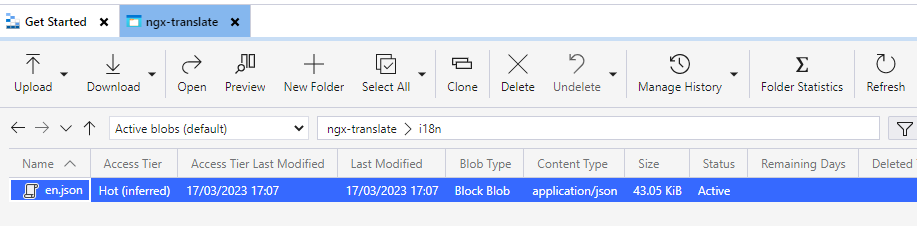
Tried to debug this and seems some how the path is not correctly formed to upload the translations from /app/wwwroot\\i18n folder in container. Changed this to /app/wwwroot/i18n and the files are now uploaded to storage.
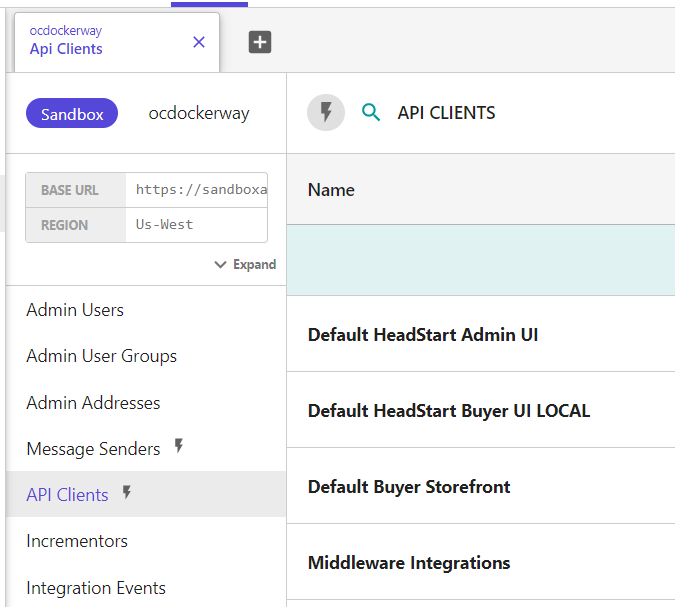
"Message": "Connection refused (127.0.0.1:10000)",Should now see the API Client created in OrderCloud-
Configure .env post seed
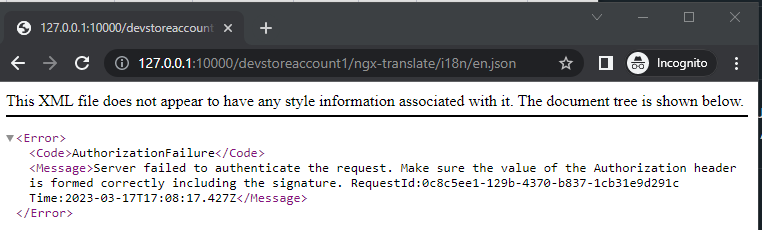
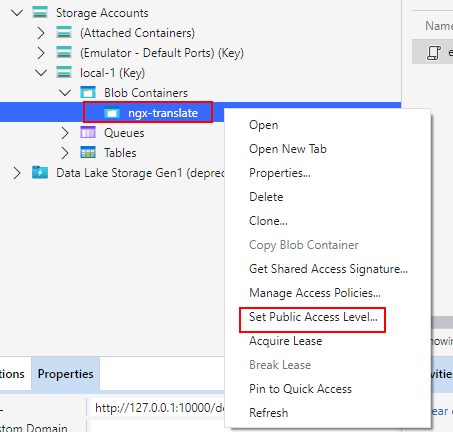
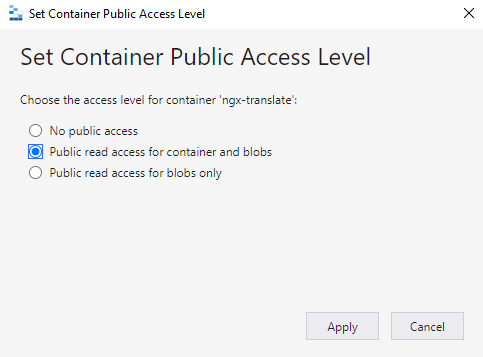
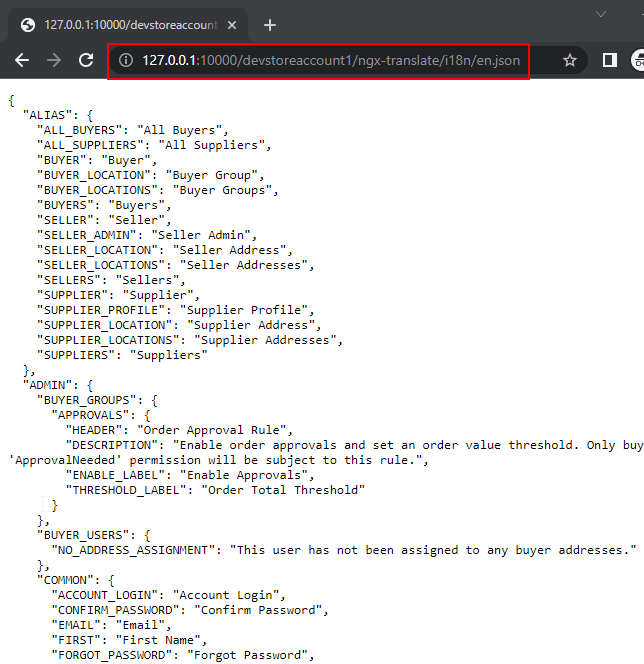
TRANSLATE_BLOB_URL="http://127.0.0.1:10000/devstoreaccount1/ngx-translate/i18n/"
BLOB_STORAGE_URL="http://127.0.0.1:10000/devstoreaccount1"
SELLER_CLIENT_ID="Enter the Default Headstart Admin UI Client ID"
BUYER_CLIENT_ID="Enter the Default Buyer Storefront Client ID"

OrderCloudSettings_MiddlewareClientID="Enter Middleware Integrations ClientID"
OrderCloudSettings_MiddlewareClientSecret="Enter Middleware Integrations secret"
OrderCloudSettings_ClientIDsWithAPIAccess="SELLER_CLIENT_ID, BUYER_CLIENT_ID"
OrderCloudSettings_MarketplaceID="Enter Marketplace ID" // ocdockerway
OrderCloudSettings_MarketplaceName="Enter Marketplace Name"
After setting the .env variables lets spin up the containers again-
docker compose up -dLets try to access http://seller.headstart.localhost/
Error-
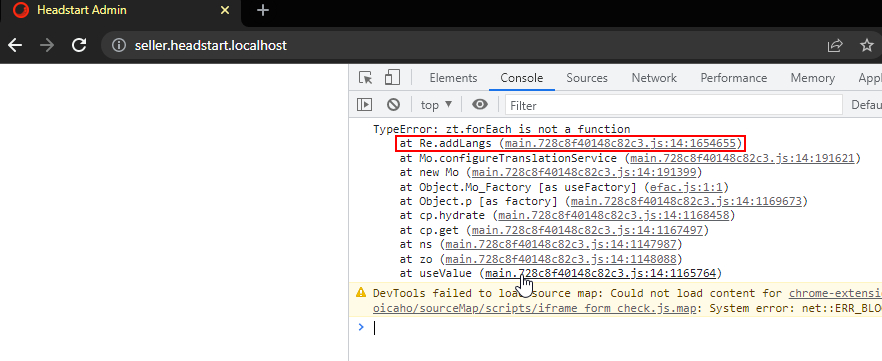
In Buyer.sh and Seller.sh – -test.json update the supported language. This is a array but assigned as a string-
Change from this -
-e "this.supportedLanguages='$SUPPORTED_LANGUAGES'"

to

-e "this.supportedLanguages=$SUPPORTED_LANGUAGES" //Remove single quotes
Recreate Image and container for Seller and Buyer.
Now its loading Seller and Buyer app but wiht errors-
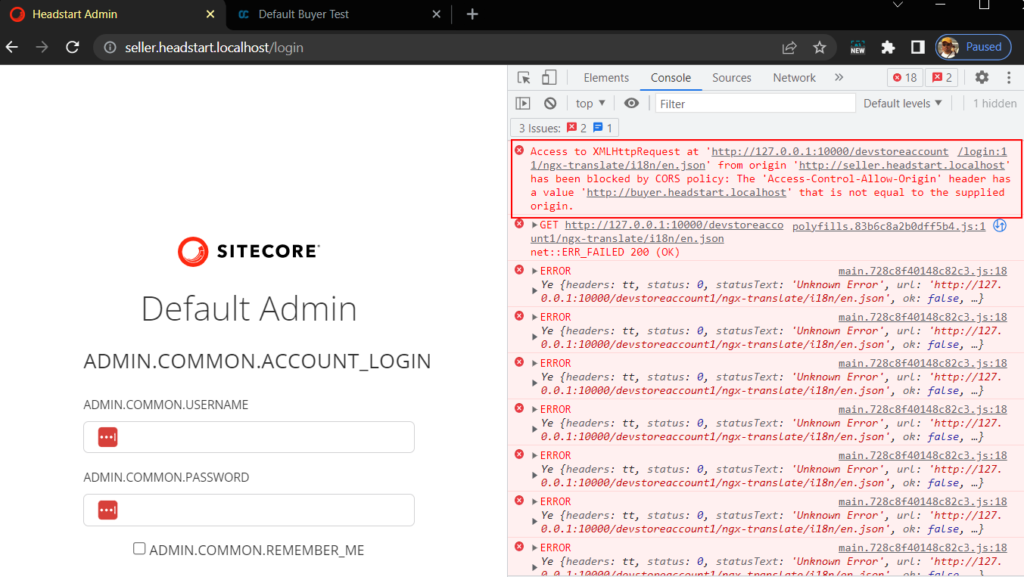
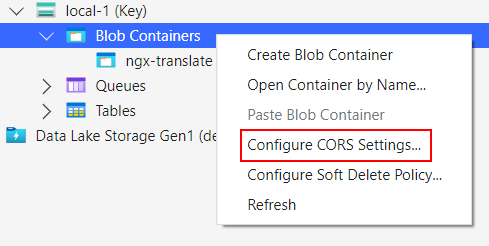
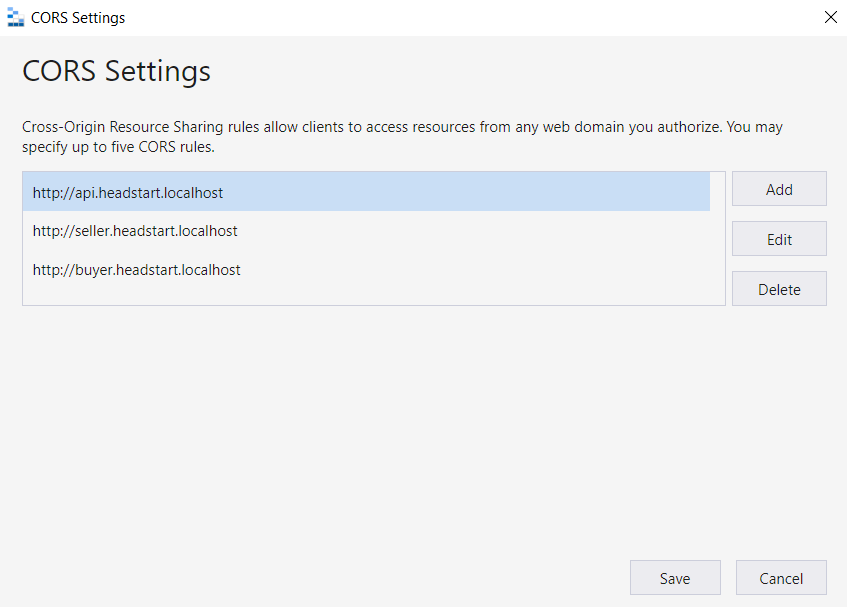
Configure CORS to Blob Containers
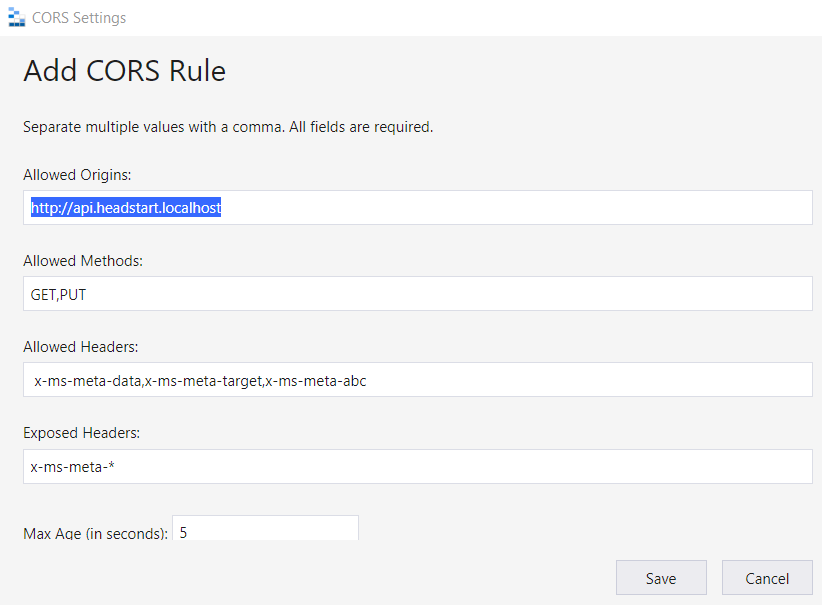
Following values in –
Allowed Origins- http://api.headstart.localhost
Also add this for the Seller and Buyer app url’s
Allowed Headers – x-ms-meta-data,x-ms-meta-target,x-ms-meta-abc
Exposed Headers – x-ms-meta-*
Following is the CORS added to Blob Containers-
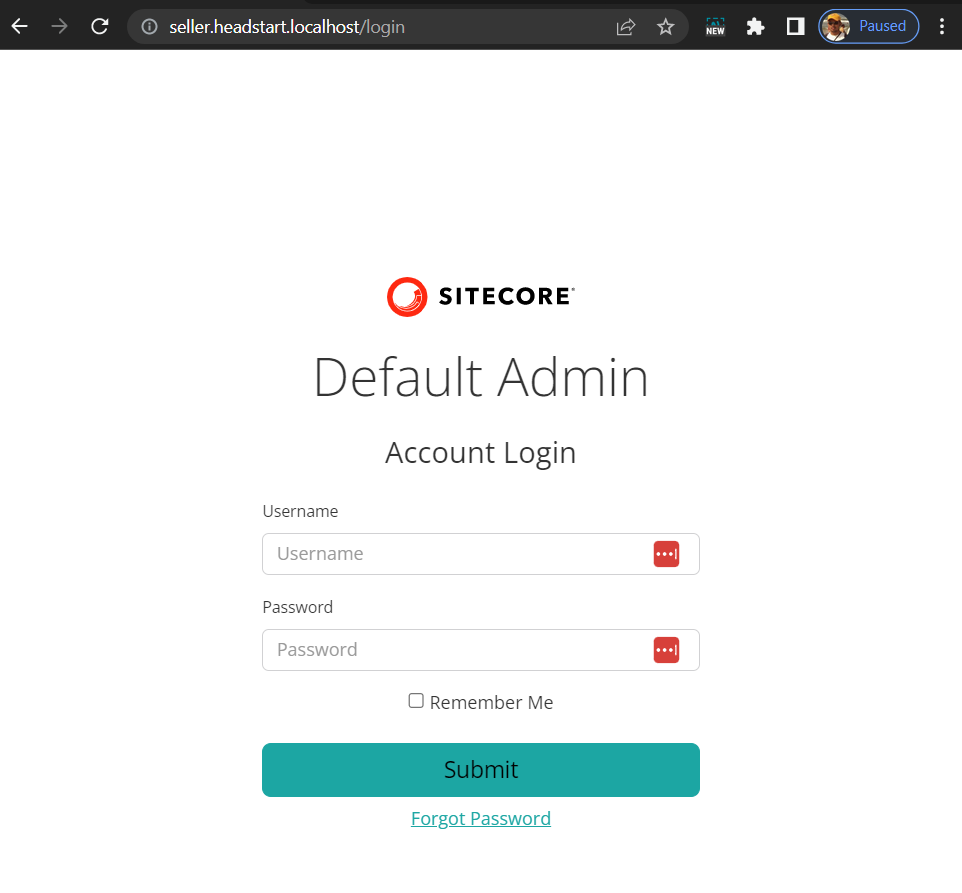
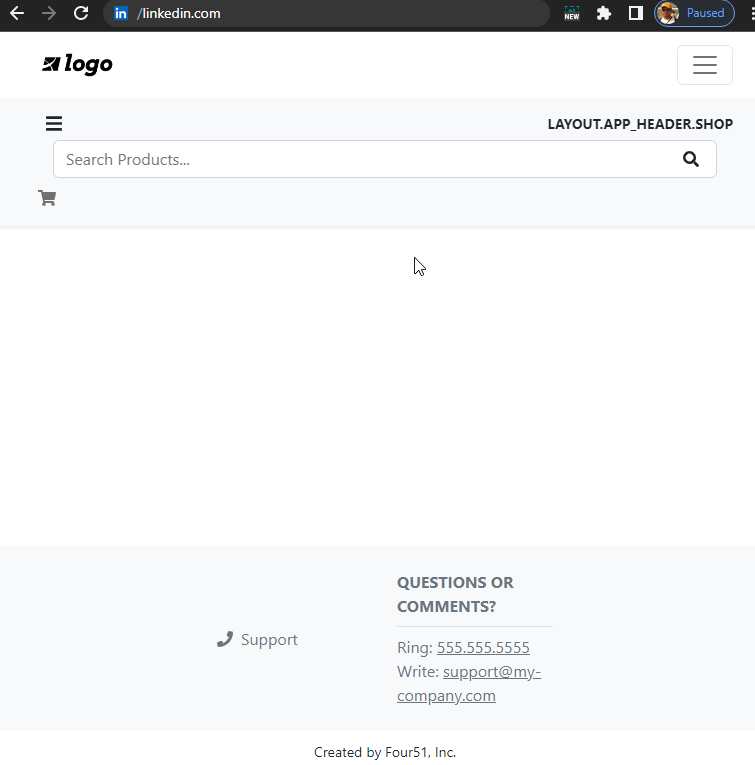
Finally we have Seller and Buyer app loading without any errors-
Next start populating Catalog, Products etc.
Hope this blog is useful for setting the OrderCloud Headstart setup the dockerway