This is a very common scenario where a background image needs to be set to certain components. Banner’s on any page on your website is a very common place to have a background image.
Note: This is not specific to XM Cloud but for any Headless implementation
Foundation Head already has an example on setting the background image using params. In this blog post will explore how this works and where in Sitecore the image can be applied. Will see how this can applied using Rendering Parameters and using OOTB _Background Image item.
Applying background image using rendering parameters
Background image can be applied to container. If you are using Foundation Head repo you can find this component OOTB.
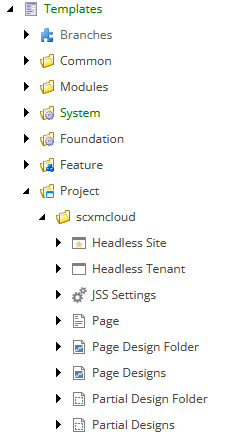
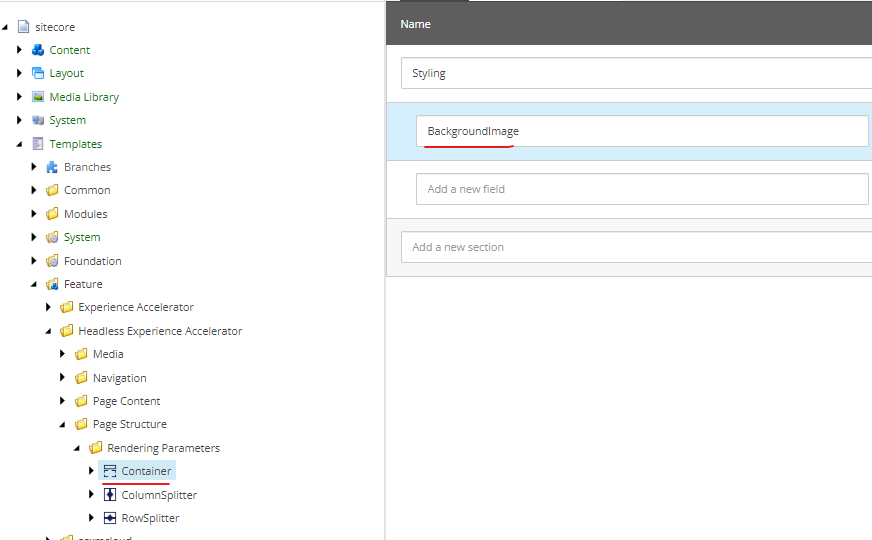
Thre Container rendering is at following lcoation in Sitecore –
/sitecore/layout/Renderings/Feature/JSS Experience Accelerator/Page Structure/Container
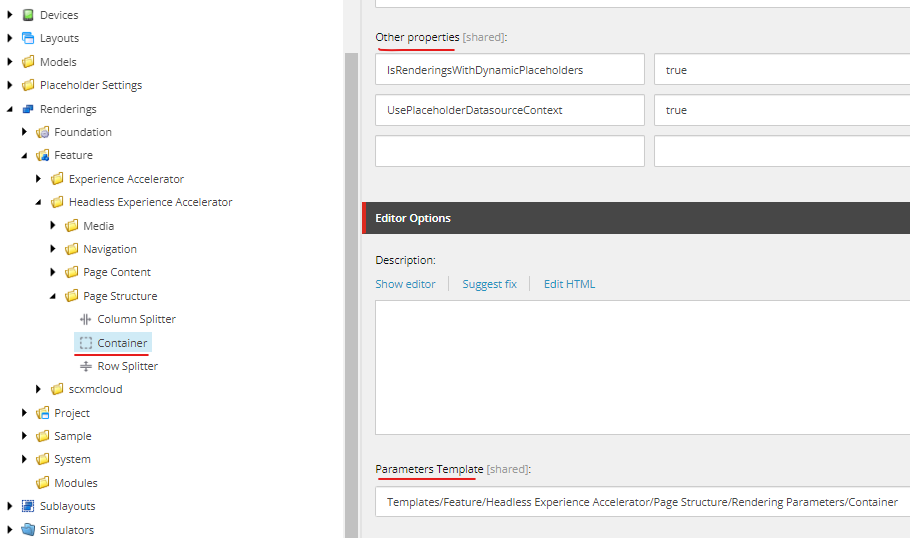
Note Other properties- IsRenderingsWithDynamicPlaceholders and IsRenderingsWithDynamicPlaceholders is set to true
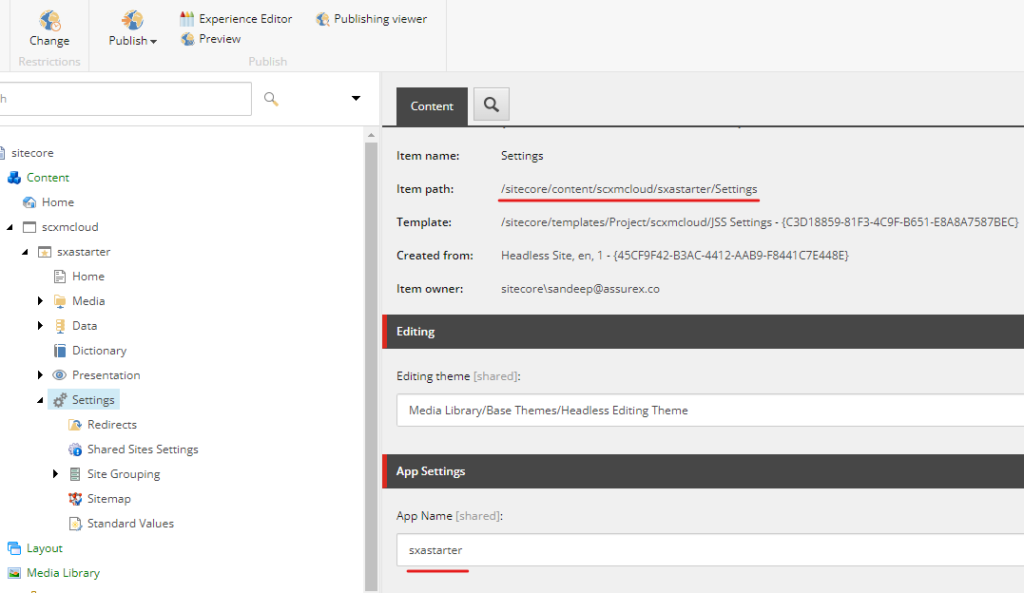
Rendering parameter is located – /sitecore/templates/Feature/JSS Experience Accelerator/Page Structure/Rendering Parameters/Container
Rendering paramter template has the BackgroundImage field. The background image will be set based on the image selected in this field.
How the image is set in Head
Lets see background image set in nextjs (sxastarter) Container.tsx
// image string from the rendering parameters
 let backgroundImage = props.params.BackgroundImage as string;
  let backgroundStyle: { [key: string]: string } = {};
  console.log('backgroundImage1');
  console.log(backgroundImage);
  if (backgroundImage) {
    const prefix = `${sitecoreContext.pageState !== 'normal' ? '/sitecore/shell' : ''}/-/media/`;
    backgroundImage = `${backgroundImage?.match(BACKGROUND_REG_EXP)?.pop()?.replace(/-/gi, '')}`;
    backgroundStyle = {
      backgroundImage: `url('${prefix}${backgroundImage}')`,
    };
  }

  return (
    <div className={`component container-default ${styles}`} id={id ? id : undefined}>

// style applied to <div> having background image
      <div className="component-content" style={backgroundStyle}>
        <div className="row">
          <Placeholder name={phKey} rendering={props.rendering} />
        </div>
      </div>
    </div>
  );
};
Lets see this in working in experience editor and rendering host
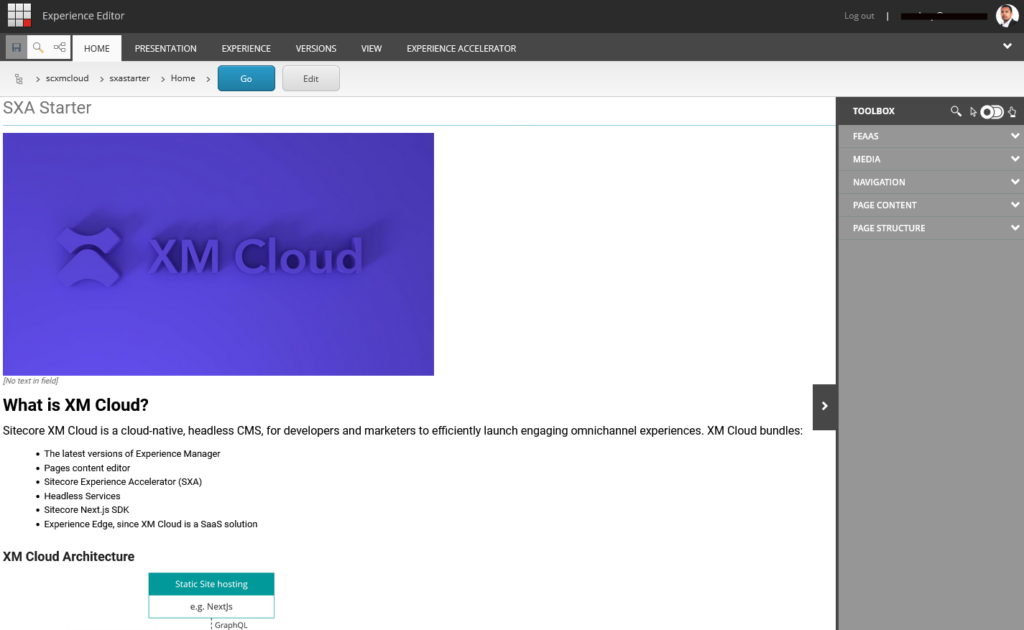
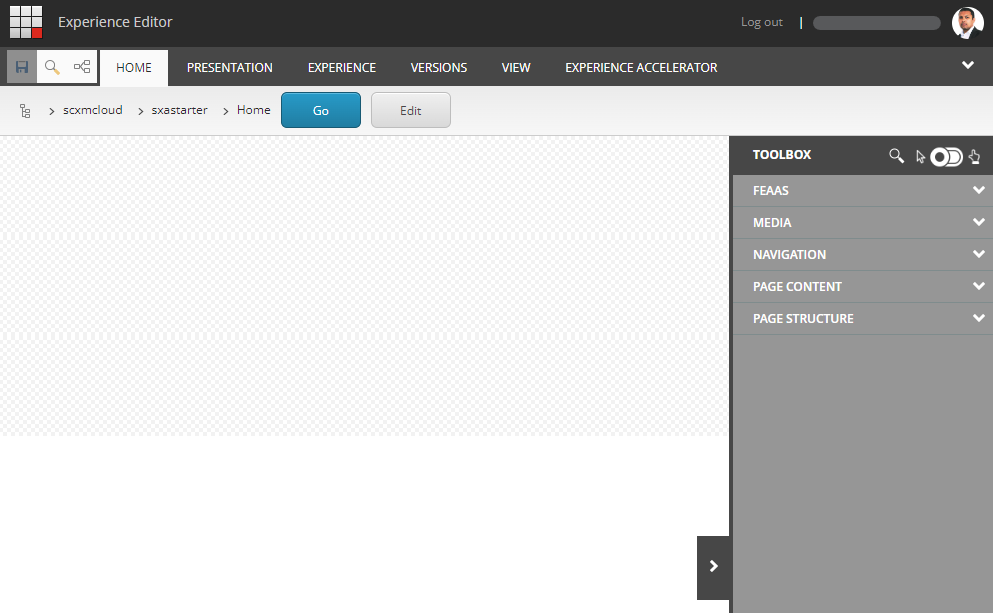
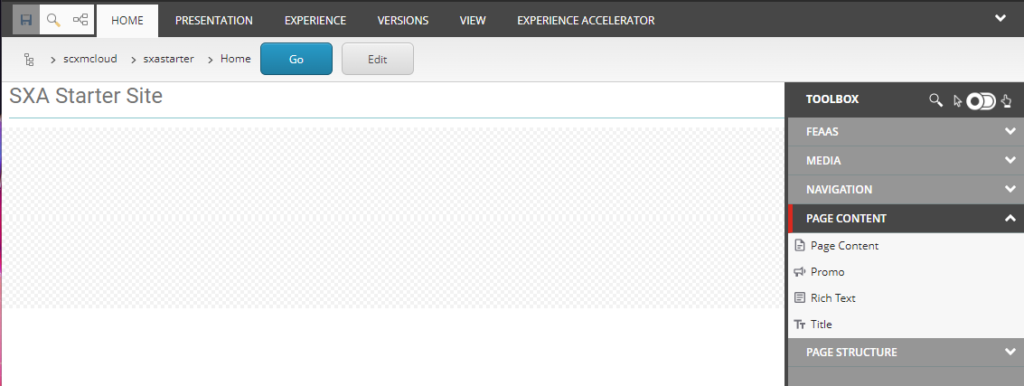
In the experience editor main section add a container component.
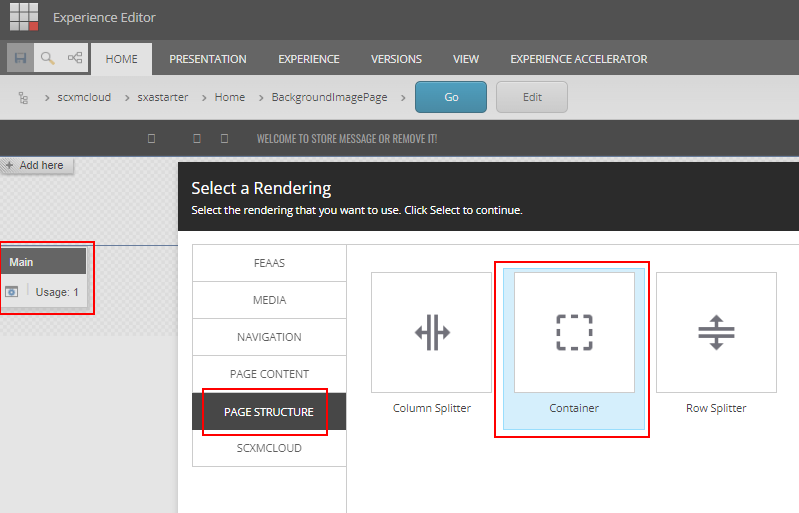
Once the rendering is added, goto “Edit component properties” and add an background image
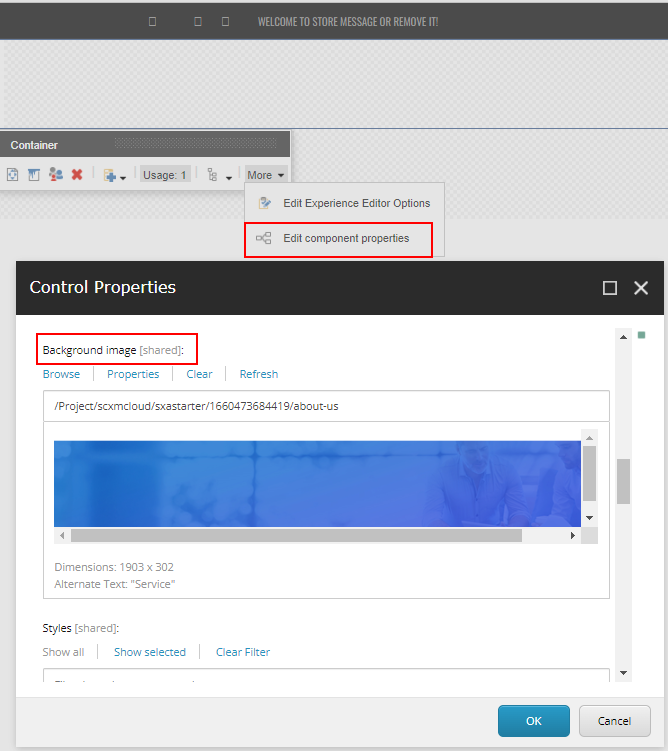
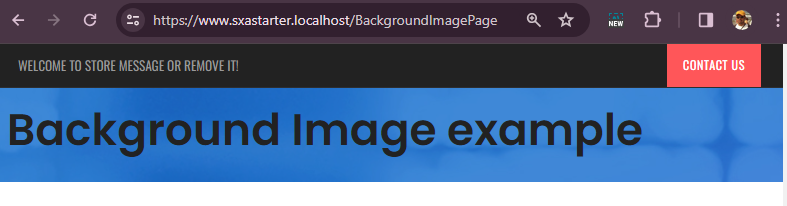
Now you are able to see the background image applied ot container and I have added RichText in containerto show the image in background-
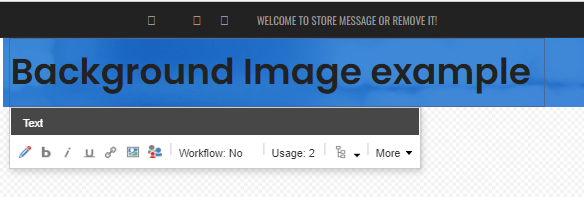
Rendering Host displays the image in background-
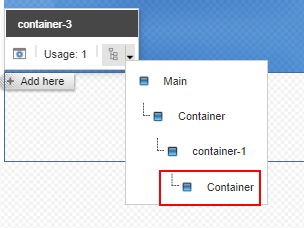
Nested containers to apply differnt background image or component
If you add only one container the image will be applied to the main section.
To resolve this you can add a container within main container. add mutiple containers as per your requirements. To set the background image to specific container in this example contianer-2 select the parent(i.e. container) and set the image by Editing the Component properties
This should apply the different images for various other sections in the sampe page and since the Container rendering has IsRenderingsWithDynamicPlaceholders property set this should create a unique Id for each container.
Here for example container-2 and container-3 is a child of container-1
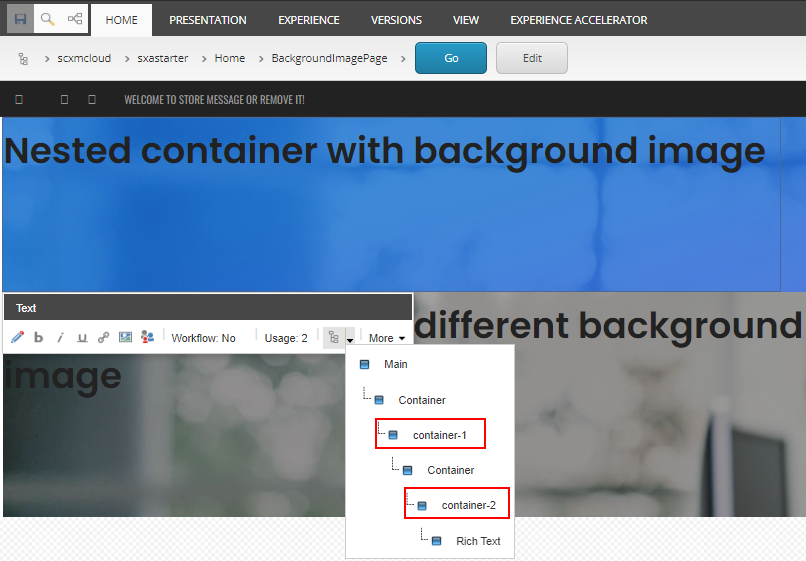
Rendering Host displays banckgroung images with there respective components-
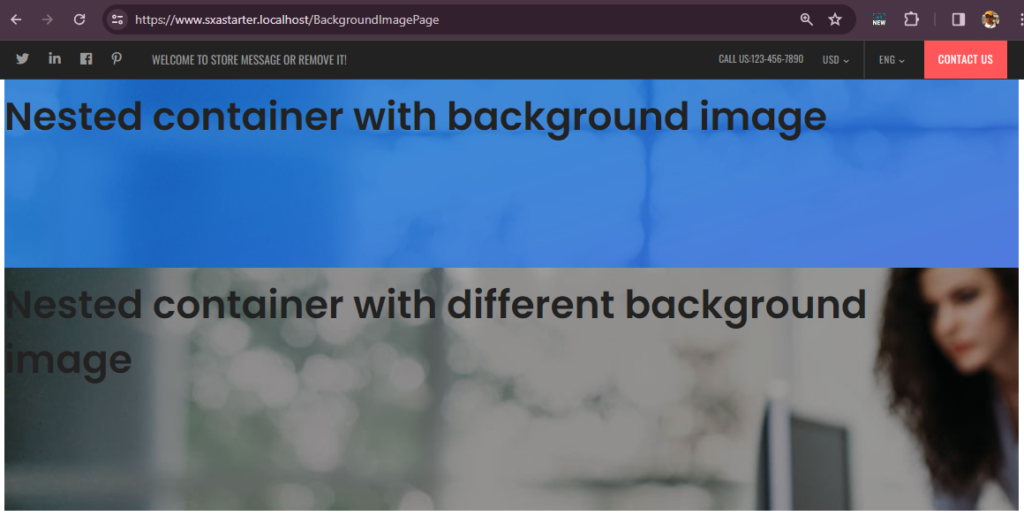
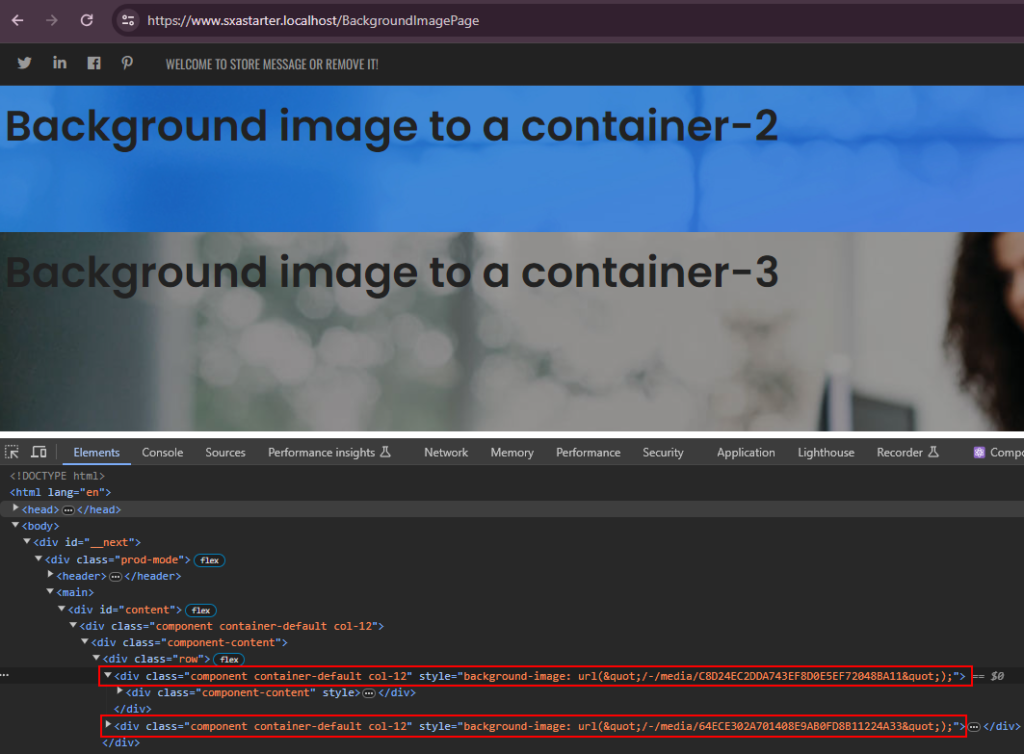
Isusue- Here you can see there is a white patch when applied to child container and the image is applied to inner div.
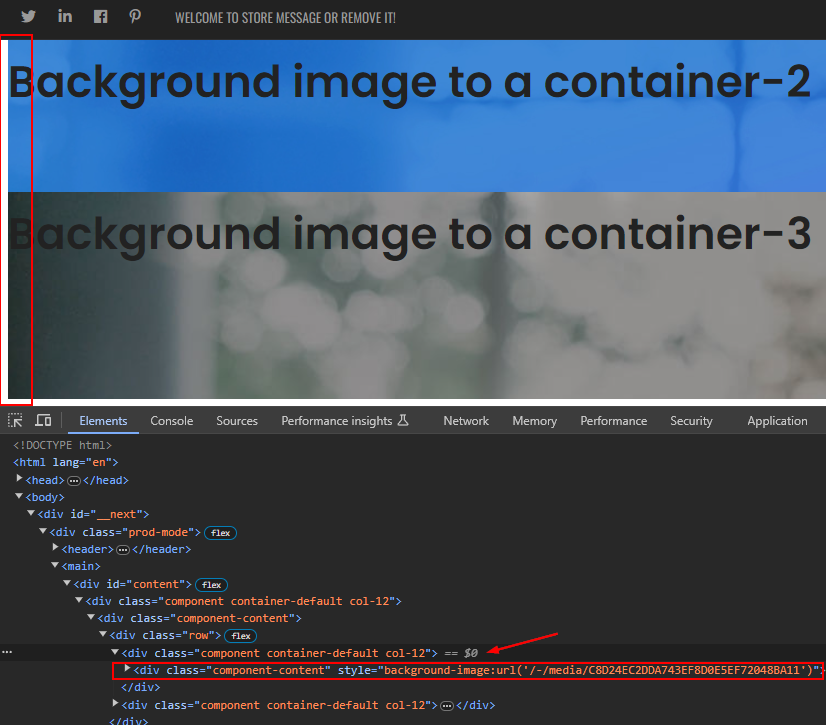
To resolev this apply the image to the outer div instead in container.tsx
return (
    <div className={`component container-default ${styles}`} style={backgroundStyle} id={id ? id : undefined}> // backgroundStyle added
      <div className="component-content"> // backgroundStyle removed
        <div className="row">
          <Placeholder name={phKey} rendering={props.rendering} />
        </div>
      </div>
    </div>
  );
Here you can seee a full width background image
Hope these tips helps.