


In previous blog post we saw how to create a Webhook and debug, inspect and test the Webhook handler using ngrok.
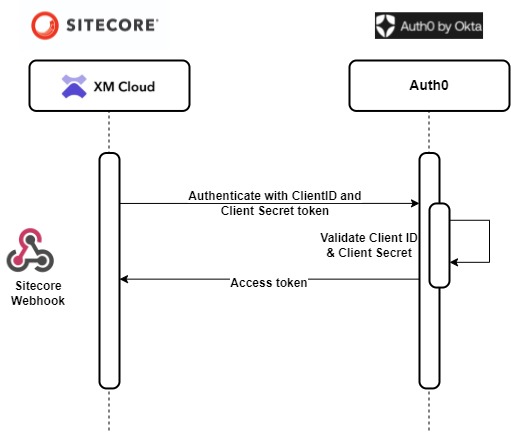
Continuation to the previous blog post lets see how to configure the Webhook to use Client Credential grant and secure the Webhook handler in this blog post with Auth0 by Okta.
Register and Login to Auth0
I used free (development) plan to register to Auth0 if you don’t have the account already. This should create a dev id based on the region you selected and should look like this – dev-your_dev_id
Create a API
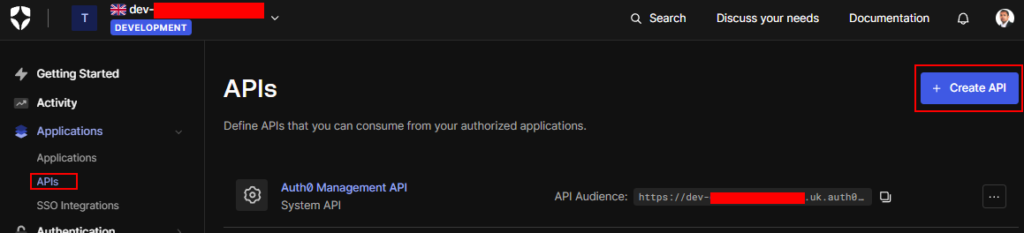
Navigate to Applications ==> APIs and Create a new API
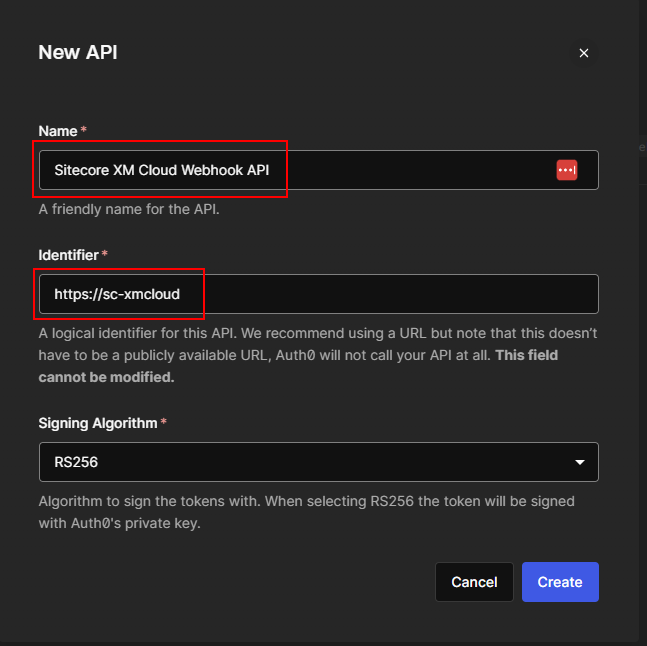
Provide the name and identifier-
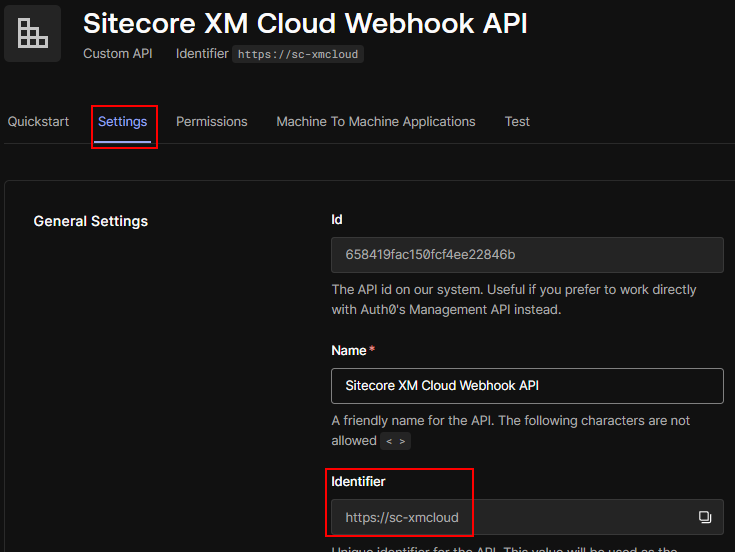
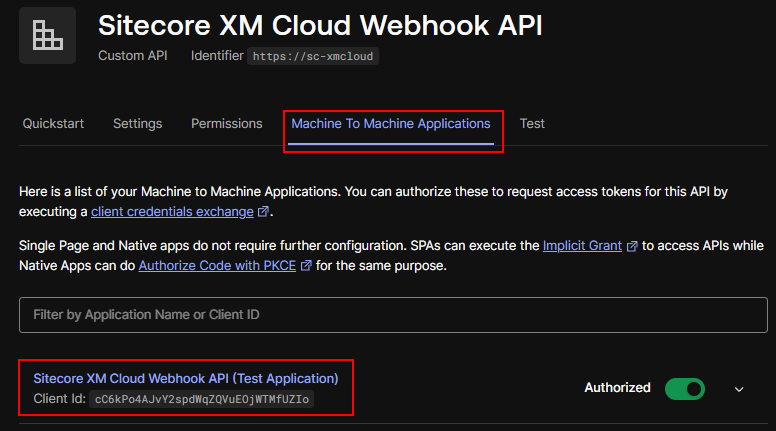
Once created note down the Identifier-
You will also notice that a new Machine To Machine (M2M) Application is created and is mapped and authorized in this API-
Navigate to Applications ==> Applications to see the M2M application-
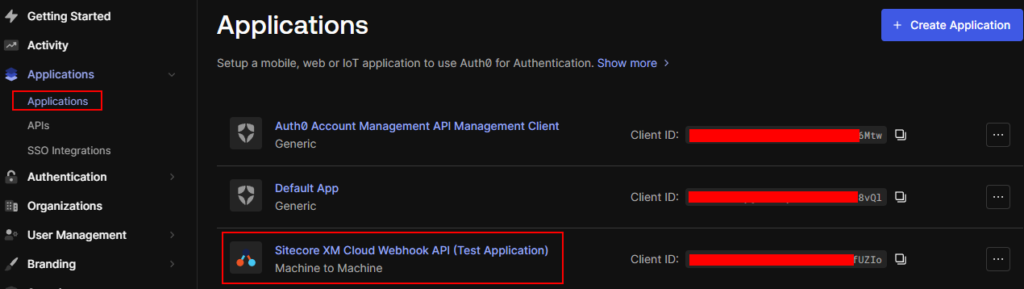
Note the Domain, Client ID and Client Secret in this application, as this will be required when configuring the Autjorization is Sitecore.

Generate token using postman
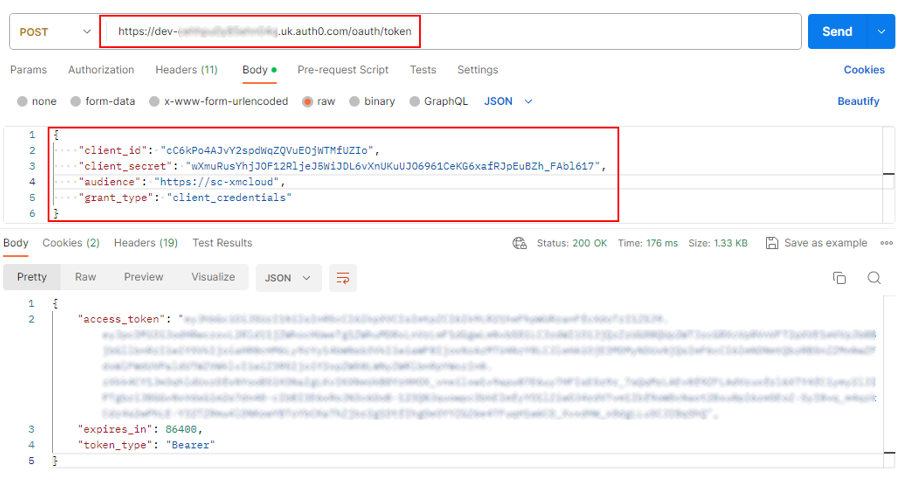
Lets test the API and application ocnfigured correctly by generating token using postman-
You will following from above-
Domain Name- dev-your_dev_id.uk.auth0.com
client_id – cC6kPo4AJvY2spdWqZQVuEOjWTMfUZIo
client_secret- wXmuRusYhjJOF12RljeJ5WiJDL6vXnUKuUJO6961CeKG6xafRJpEuBZh_FAbl617
identifier/audience – https://sc-xmcloud
Post request to generate token – https://dev-your_dev_id.uk.auth0.com/oauth/token
Create a Authorization in XM CLoud-
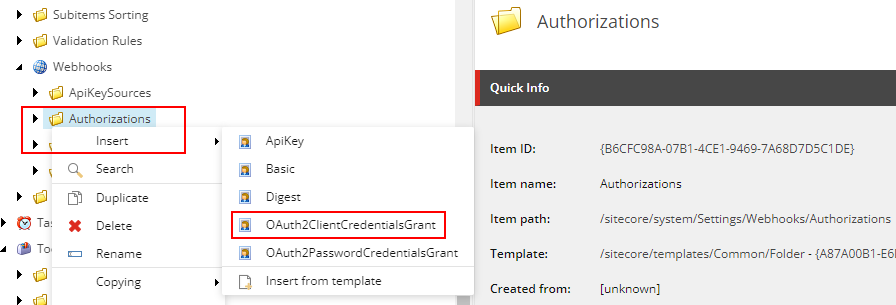
Craee a new OAuth2ClientCredentialsGrant in Authorization folder. This should be available in following path in Sitecore-
/sitecore/system/Settings/Webhooks/Authorizations
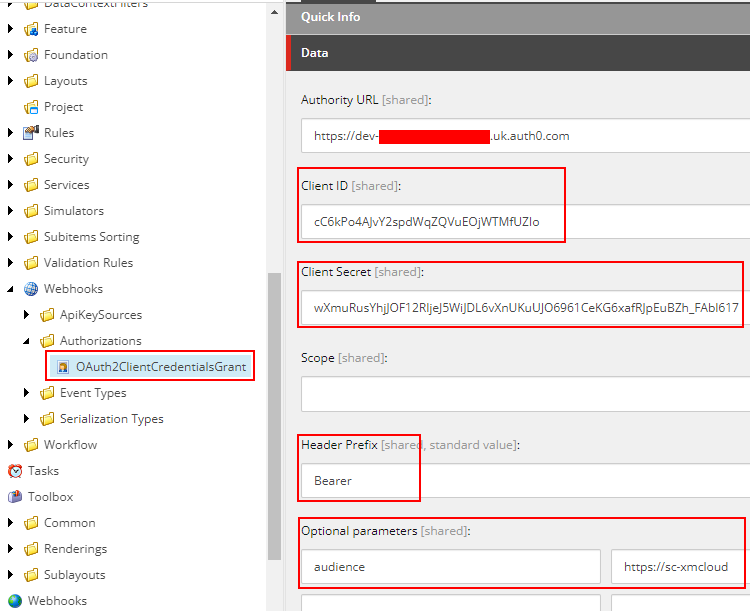
Setup the OAuth2ClientCredentialsGrant –
Setup the Authority URL, Client ID, Client Secret, Header Prefix and OptionalParameter as follows- This values we noted above whilst creating a API and Application in Auth0.
Setup Webhook Handler
Create a new Webhook handler and provide the newly created authorization –
For testing purpose I have set the
Event – item_saved, Rule – When the Home Item or its descendants are changed
Url – https://webhook.site/a4624c9e-7dda……
Webhook.site should listen to any calls from Sitecore for testing purpose. This can be your Webhook handler app.
Authorization – Select the newly created authorization to Auth0 which create a token
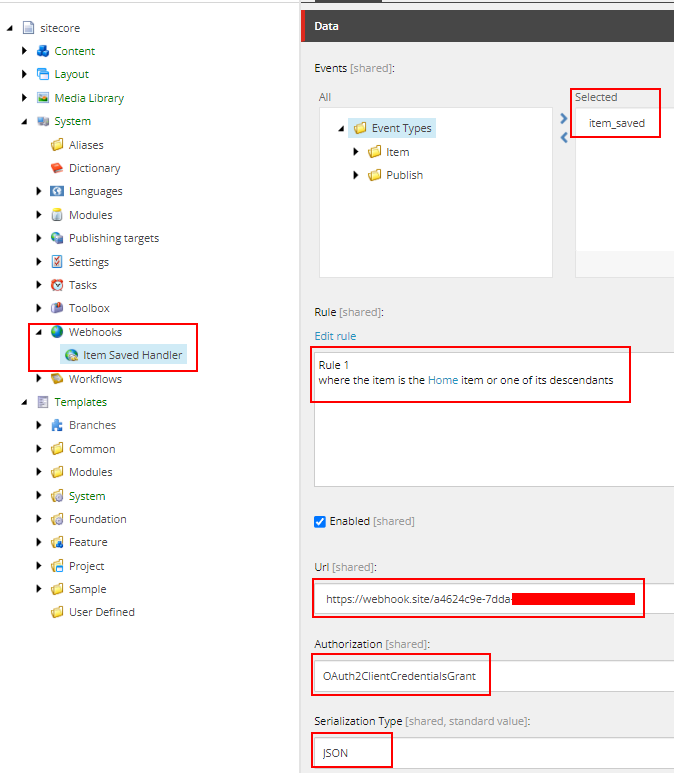
Serialization Type- JSON
Fire a webhook
Save a home or its descendants to fire a webhook

On save it should fire a webhook which can be seen in webhook.site which should also pass the newly created token.
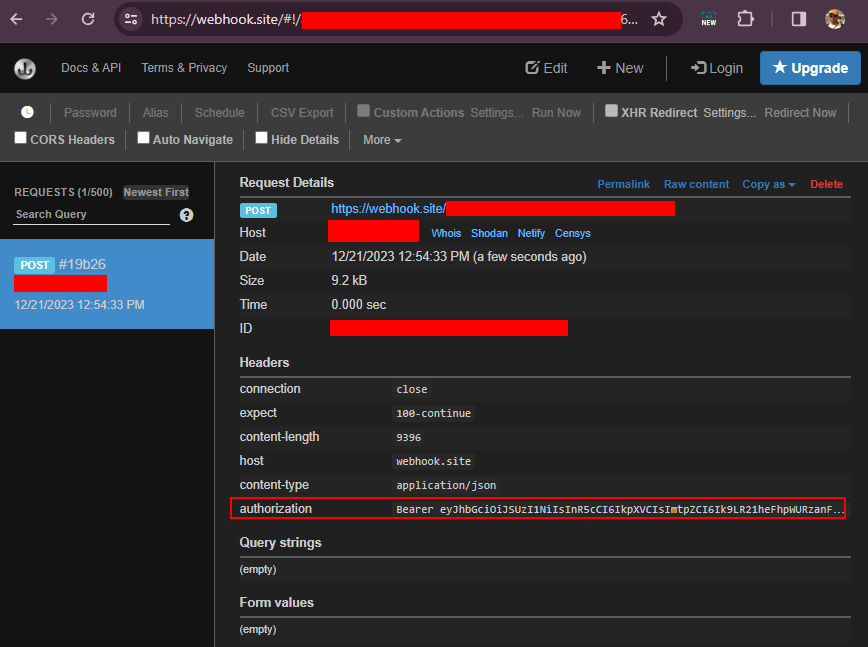
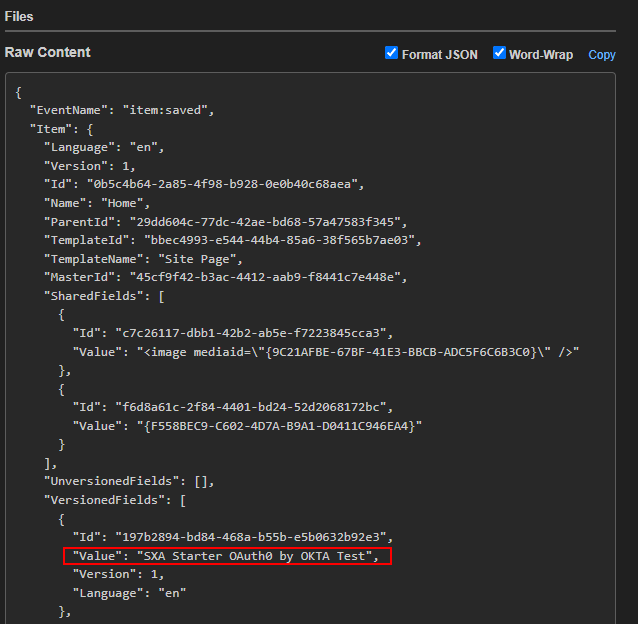
We can see the token was successfully created and a webhook was fired on saving a Home item as configured in Auntorization and Webhook Handler.
Errors-
If the request to Auth0 fails you should be able to see the same in logs- something like this due to configuration-
4016 12:37:00 INFO  AUDIT (sitecore\sandeep@): Save item: master:/sitecore/content/scxmcloud/sxastarter/Home, language: en, version: 1, id: {0B5C4B64-2A85-4F98-B928-0E0B40C68AEA}
1928 12:37:01 ERROR Webhooks: Token request failed with error: Unauthorized
I have tried this in my local instance but the same can also be done in XM Cloud.
Next we will create a Web Api which should be able to validate the token and executes any custom implementation. This will be in next blog.
Hope this helps.
![]()