Part 1 using offline Azure resource and Part 1 using online Azure resources gives a walkthrough on setting Sitecore Ordercloud Headstart pre-requisites. While Part 2 helps setup middleware.
In this blog we are setting the Sitecore Ordercloud Headstart UI for Seller
Step 1- Setup the UI project
Install node js – https://nodejs.org/en/download/
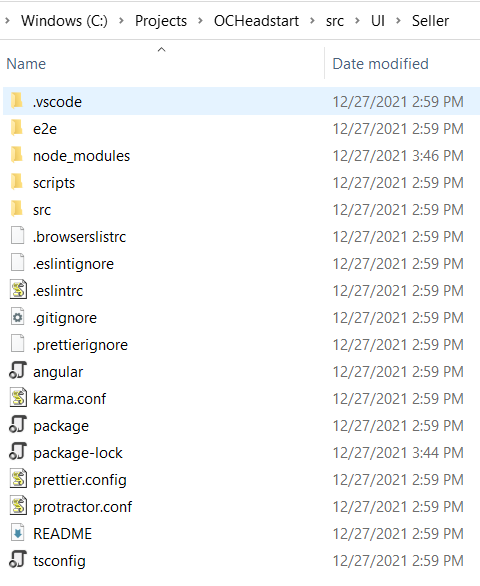
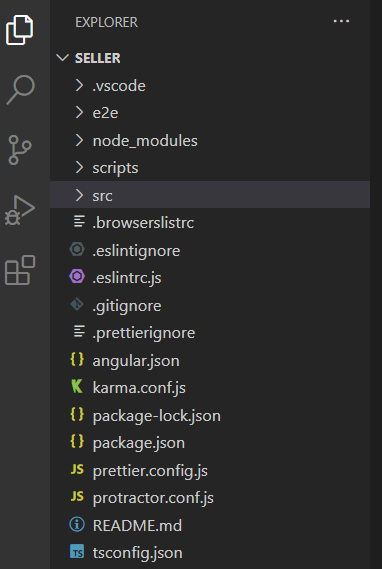
Open the Seller UI project in Visual Studio Code (prefered) from /src/UI/Seller folder
Step 2 – Change configuration defaultadmin-test.json
Navigate to – \src\UI\Seller\src\assets\appConfigs\defaultadmin-test.json
Change the highlighted values-
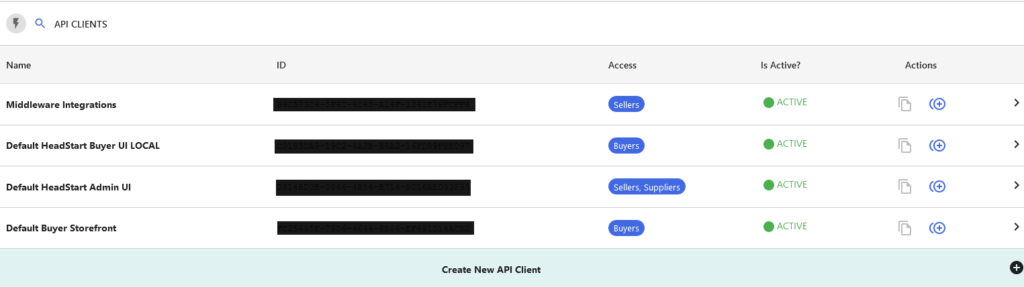
Change Client ID
This is a Seller Client ID. In Part 1 response to the seed also provided Seller Client ID.Use the same clinet id here
OR
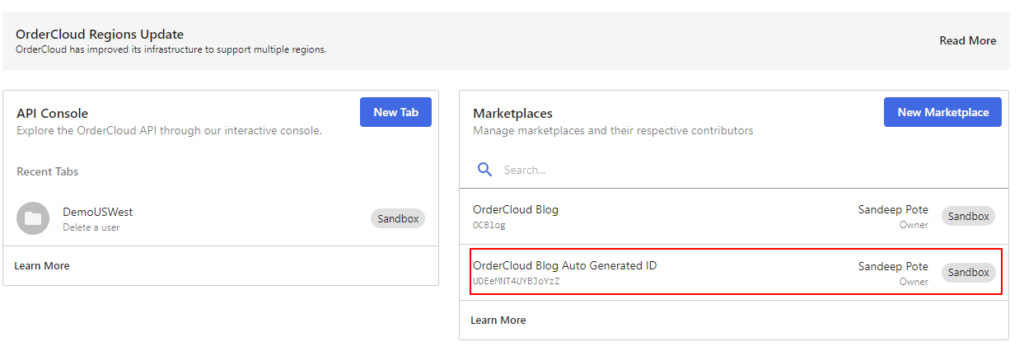
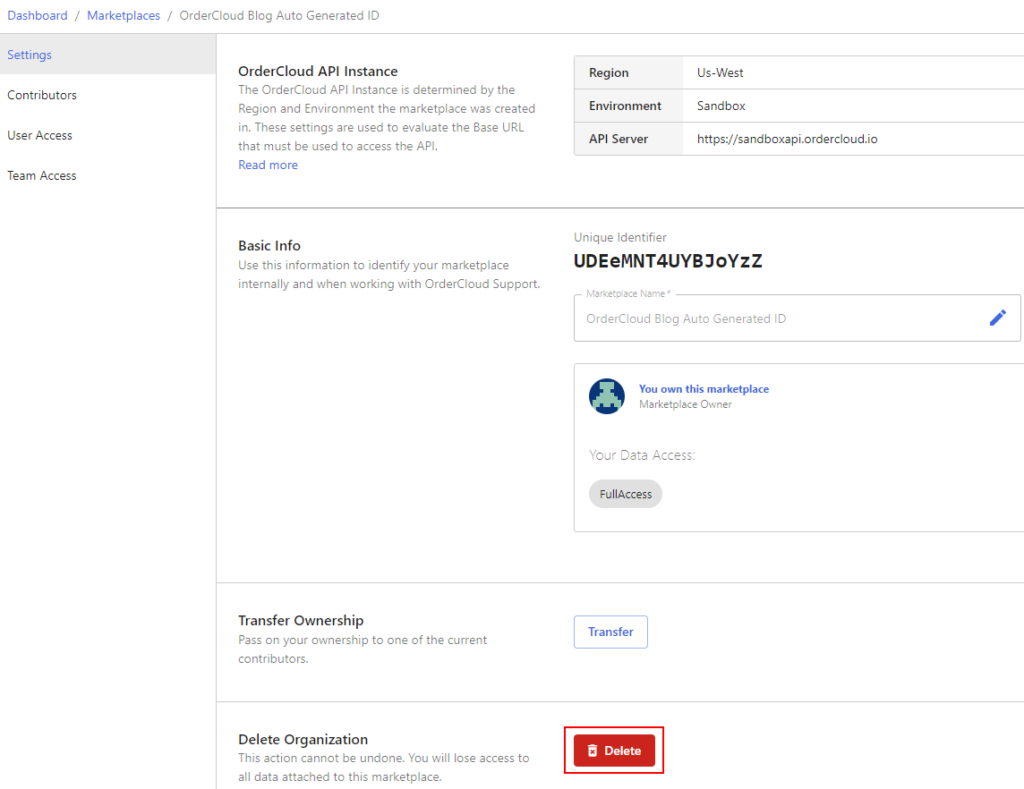
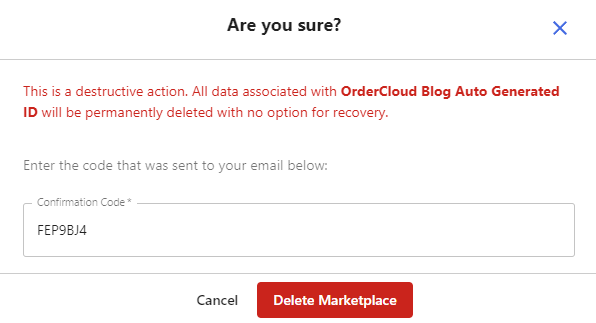
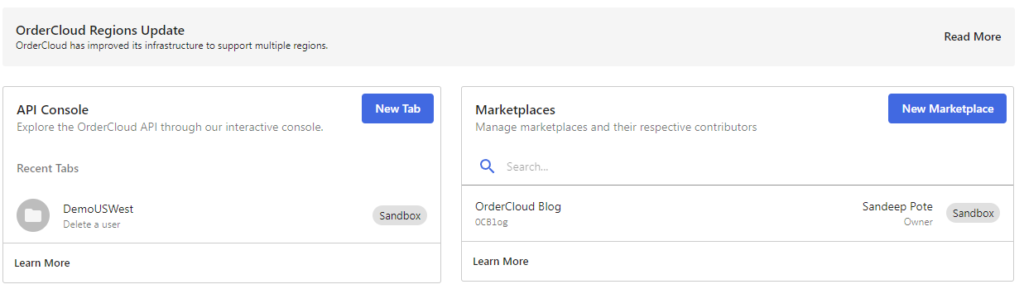
Goto the marketplace you have created earlier and API Client to copy the Default HeadStart Admin UI ID

Copy the ID in clientID below-
{
"hostedApp": true,
"marketplaceID": "ocdockertest",
"marketplaceName": "Default Admin",
"appname": "Default Admin",
"clientID": "your-seller-client-id",
"middlewareUrl": "https://localhost:5001",
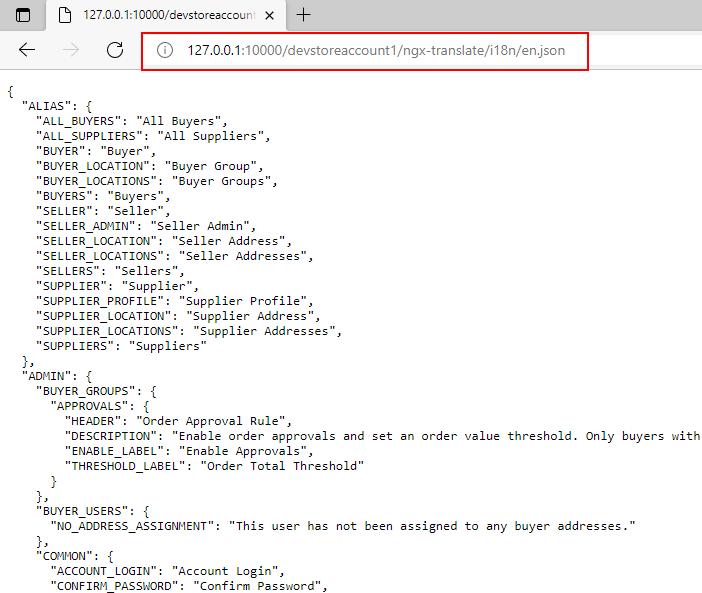
"translateBlobUrl": "http://127.0.0.1:10000/devstoreaccount1/ngx-translate/i18n/",
"supportedLanguages": ["en", "fr", "jp"],
"defaultLanguage": "en",
"blobStorageUrl": "http://127.0.0.1:10000/devstoreaccount1",
"orderCloudApiUrl": "https://sandboxapi.ordercloud.io"
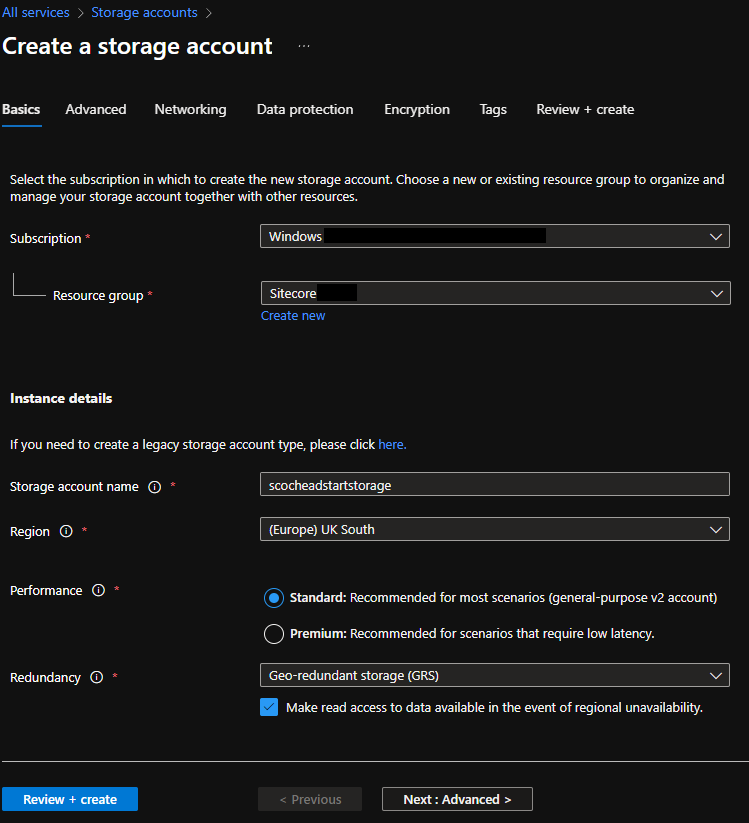
}Change the storage account created in Step 1
Keep everything else as is or you may change as per your configuration.

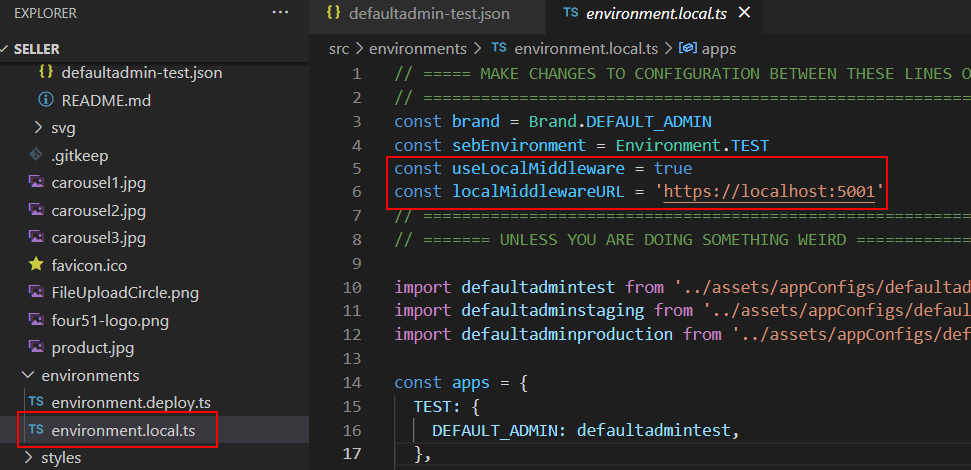
Step 3 – Change/Check the configuration environment.local.json
Navigate to \src\UI\Seller\src\environments\environment.local.ts
Change/Check useLocalMiddleware=true if not already set.
Change/Check localMiddlewareURL = ‘https://localhost:5001’
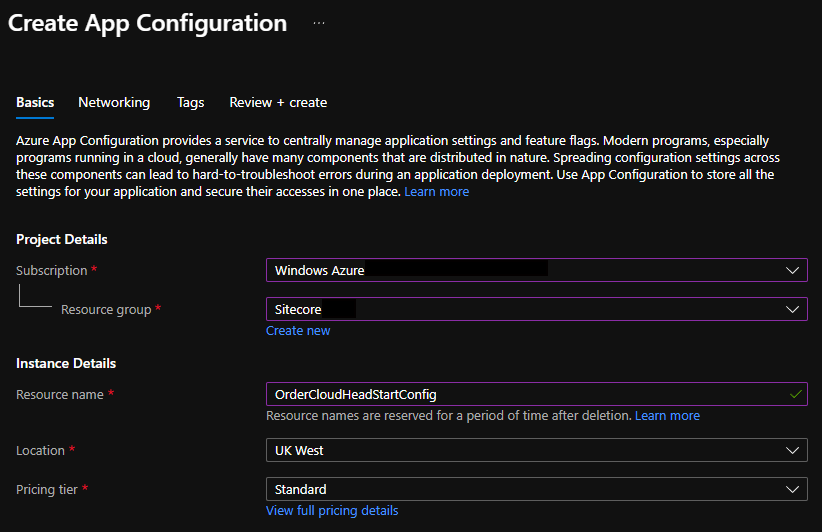
Step 4 – Setup the App Configuration either using appSettings or Azure App Configuration
Setup a App Configuration using appSettings.json
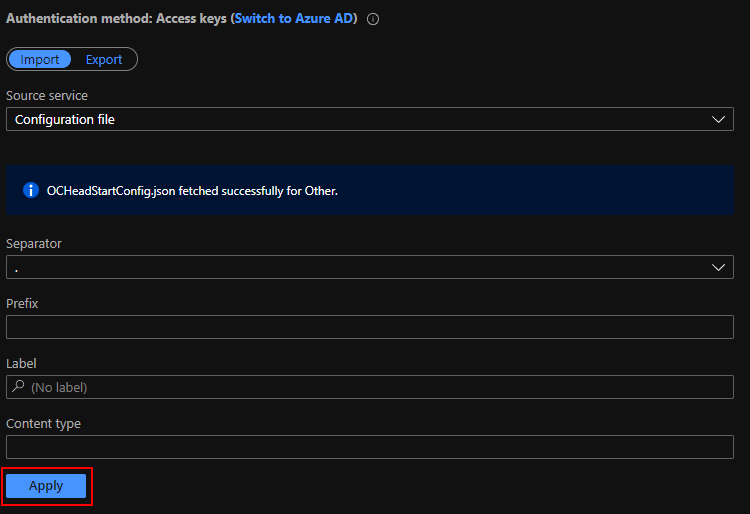
Use/Download the template here provided by Sitecore to setup the configuration
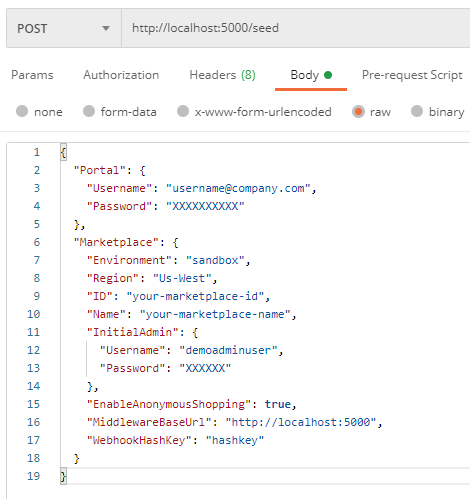
Create a json file on your local machine by copying the content in the template. In my case I have created OCHeadstartConfig.json. The template looks as below- Highlighted values are the minimum configuration required for Headstart project. Few of the configuration will come from the Seed step explained in Part-2 – Step 4 – Populate Ordercloud Markeplace with the seed request
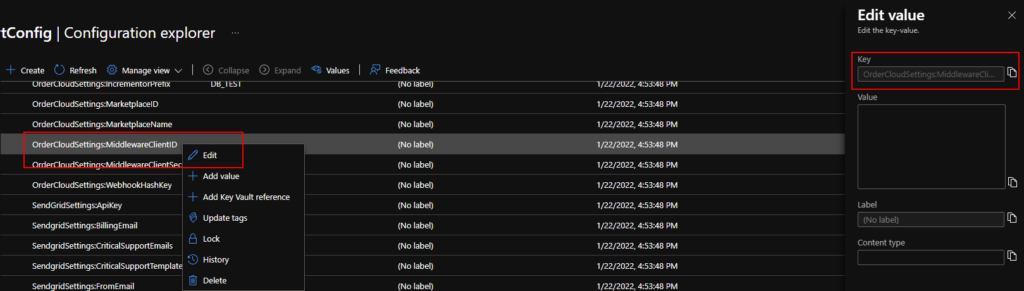
Following configuration(highlighted) needs to be updated minimum to get the Headstart project working-
OrderCloudSettings:MiddlewareClientID
OrderCloudSettings:MiddlewareClientSecret
OrderCloudSettings:MarketplaceID
OrderCloudSettings:MarketplaceName
{
"ApplicationInsightsSettings:InstrumentationKey": "",
"AvalaraSettings:AccountID": "0",
"AvalaraSettings:BaseApiUrl": "https://sandbox-rest.avatax.com/api/v2",
"AvalaraSettings:CompanyCode": "",
"AvalaraSettings:CompanyID": "0",
"AvalaraSettings:LicenseKey": "",
"CardConnectSettings:Authorization": "",
"CardConnectSettings:AuthorizationCad": "",
"CardConnectSettings:BaseUrl": "cardconnect.com",
"CardConnectSettings:CadMerchantID": "",
"CardConnectSettings:Site": "fts-uat",
"CardConnectSettings:UsdMerchantID": "",
"CosmosSettings:DatabaseName": "",
"CosmosSettings:EnableTcpConnectionEndpointRediscovery": "false",
"CosmosSettings:EndpointUri": "",
"CosmosSettings:PrimaryKey": "",
"CosmosSettings:RequestTimeoutInSeconds": "15",
"EasyPostSettings:APIKey": "",
"EasyPostSettings:FreeShippingTransitDays": "3",
"EasyPostSettings:NoRatesFallbackCost": "20",
"EasyPostSettings:NoRatesFallbackTransitDays": "3",
"EnvironmentSettings:AppTimeoutInSeconds": "30",
"EnvironmentSettings:BuildNumber": "",
"EnvironmentSettings:Commit": "",
"EnvironmentSettings:Environment": "Test",
"EnvironmentSettings:MiddlewareBaseUrl": "",
"EnvironmentSettings:TaxProvider": "Avalara",
"FlurlSettings:TimeoutInSeconds": "40",
"OrderCloudSettings:ApiUrl": "https://sandboxapi.ordercloud.io",
"OrderCloudSettings:IncrementorPrefix": "DB_TEST",
"OrderCloudSettings:MarketplaceID": "<<market place id >>",
"OrderCloudSettings:MarketplaceName": "<<market place name>>",
"OrderCloudSettings:MiddlewareClientID": "<<Middleware ClientId>>",
"OrderCloudSettings:MiddlewareClientSecret": "<<middleware client secret>>",
"OrderCloudSettings:WebhookHashKey": "<<webhook key>>",
"OrderCloudSettings:ClientIDsWithAPIAccess": "<<Enter the Seller or Buyer ClientID's sperated with comma>>"
"SendGridSettings:ApiKey": "",
"SendgridSettings:BillingEmail": "",
"SendgridSettings:CriticalSupportEmails": "",
"SendgridSettings:CriticalSupportTemplateID": "",
"SendgridSettings:FromEmail": "",
"SendgridSettings:LineItemStatusChangeTemplateID": "",
"SendgridSettings:NewUserTemplateID": "",
"SendgridSettings:OrderSubmitTemplateID": "",
"SendgridSettings:PasswordResetTemplateID": "",
"SendgridSettings:ProductInformationRequestTemplateID": "",
"SendgridSettings:QuoteOrderSubmitTemplateID": "",
"SendgridSettings:SupportCaseEmail": "",
"SmartyStreetSettings:AuthID": "",
"SmartyStreetSettings:AuthToken": "",
"SmartyStreetSettings:RefererHost": "",
"SmartyStreetSettings:WebsiteKey": "",
"StorageAccountSettings:BlobContainerNameCache": "cache",
"StorageAccountSettings:BlobContainerNameExchangeRates": "currency",
"StorageAccountSettings:BlobContainerNameQueue": "queue",
"StorageAccountSettings:BlobContainerNameTranslations": "ngx-translate",
"StorageAccountSettings:BlobPrimaryEndpoint": "http://127.0.0.1:10000/devstoreaccount1",
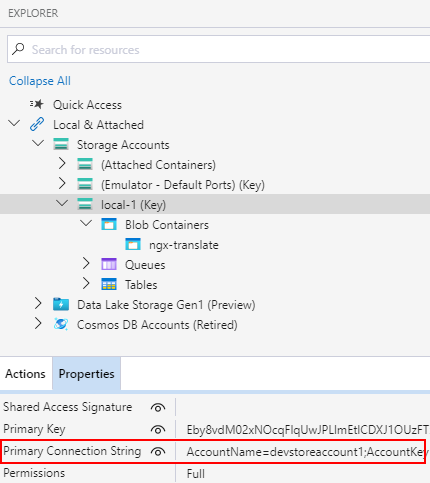
"StorageAccountSettings:ConnectionString": "<<copy Connectionstring from Storage explorer >>",
"UI:BaseAdminUrl": "",
"ZohoSettings:AccessToken": "",
"ZohoSettings:ClientId": "",
"ZohoSettings:ClientSecret": "",
"ZohoSettings:OrgID": "",
"ZohoSettings:PerformOrderSubmitTasks": "false"
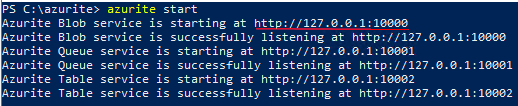
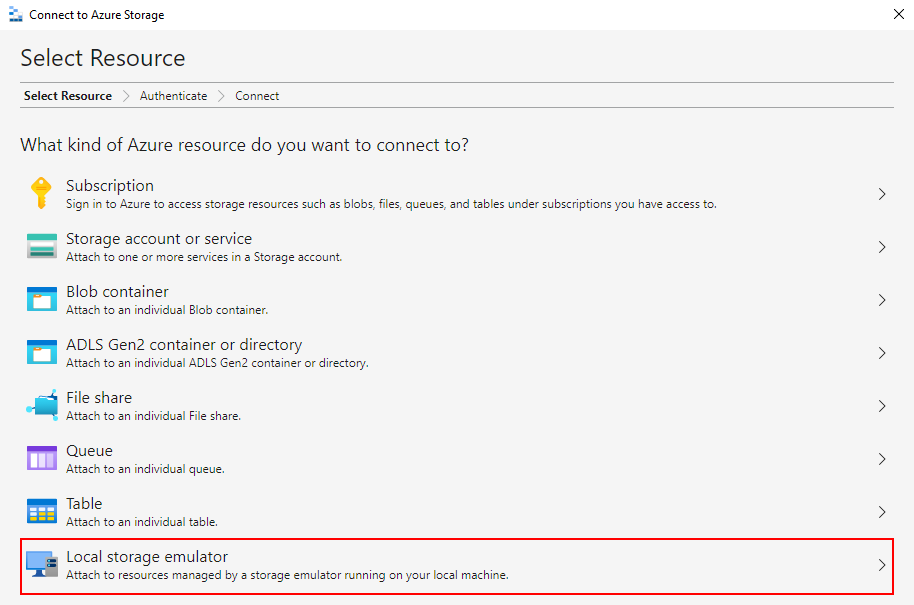
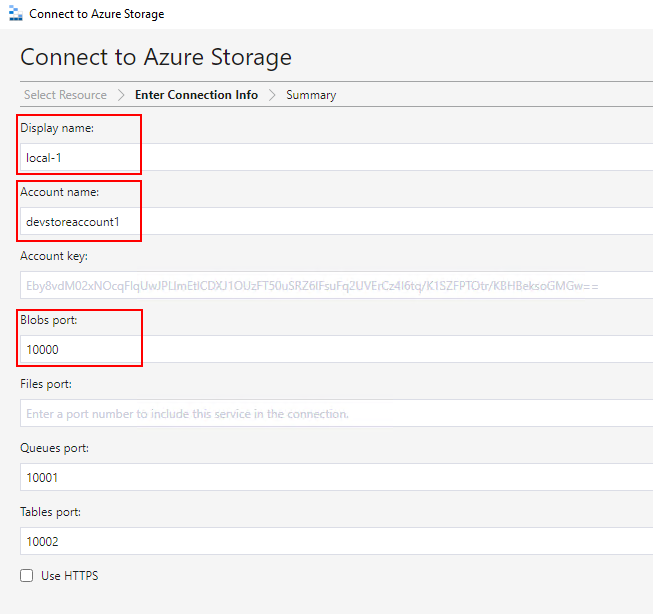
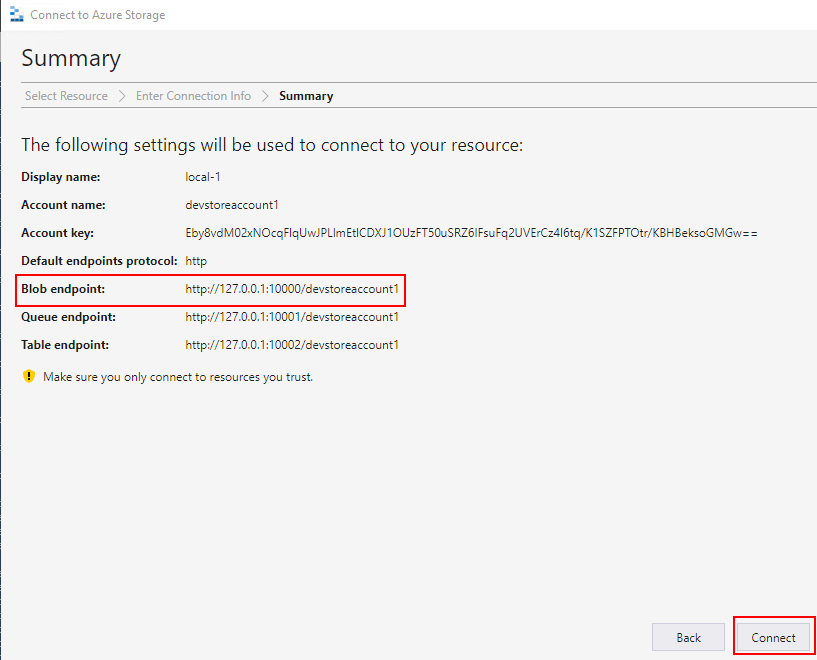
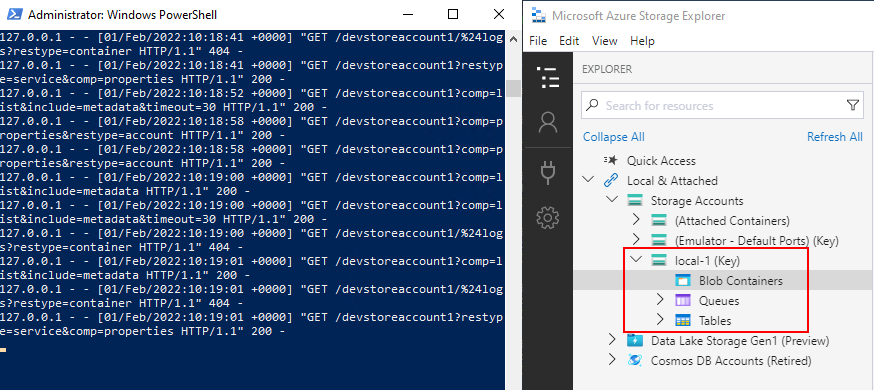
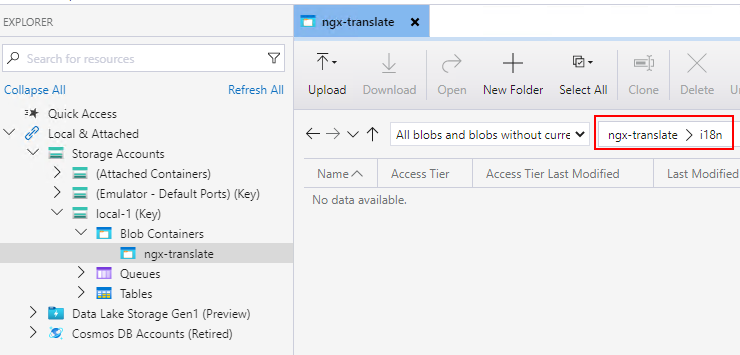
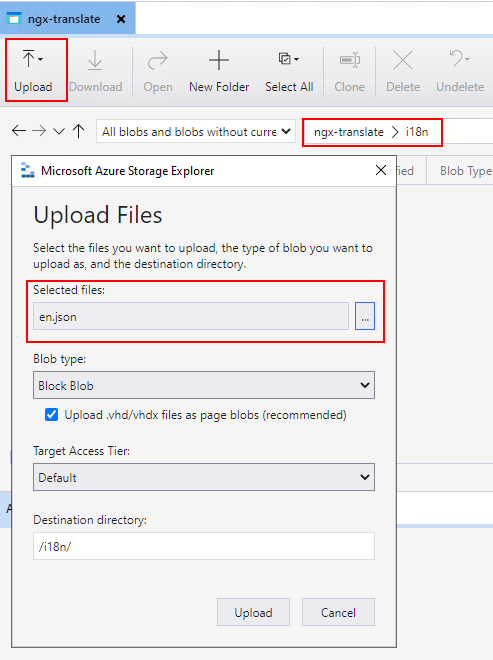
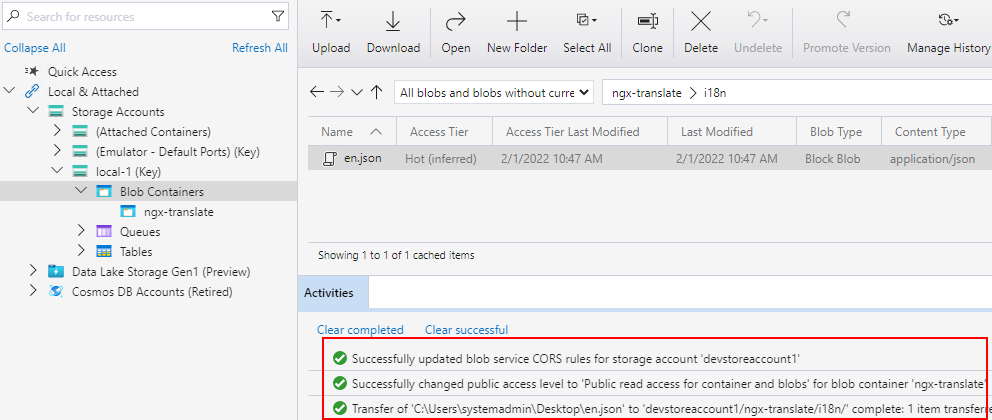
}Get the StorageAccount.Settings.ConnectionString from Storage Explorer-
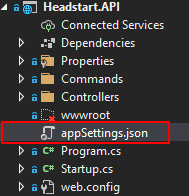
Create appSettings.json file and copy the above configuration in the file.
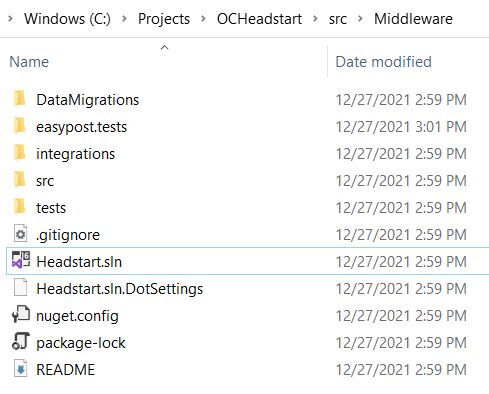
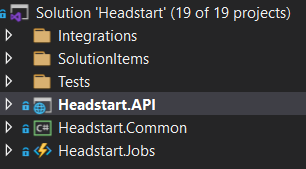
appSettings.json file should be in Headstart.API project-
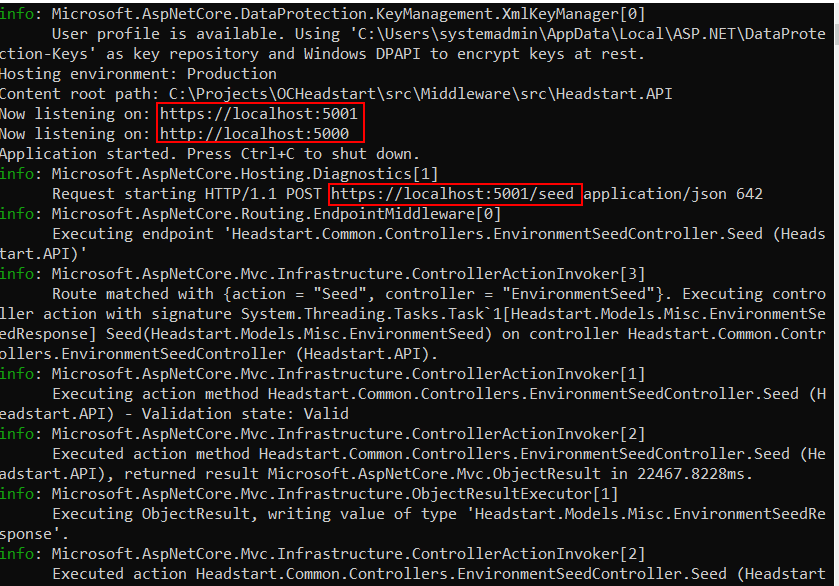
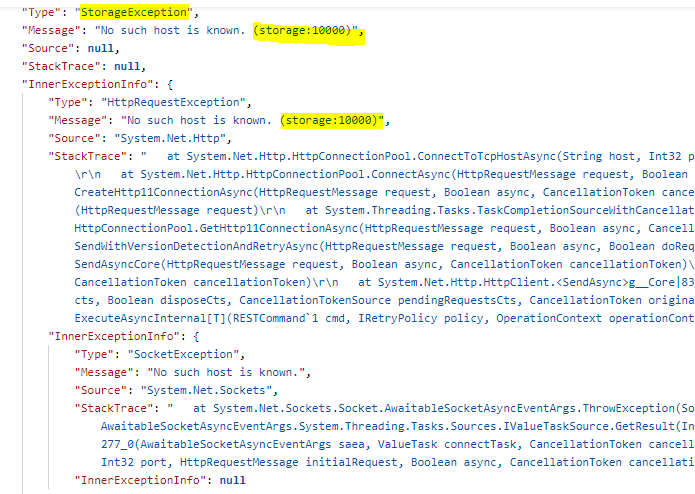
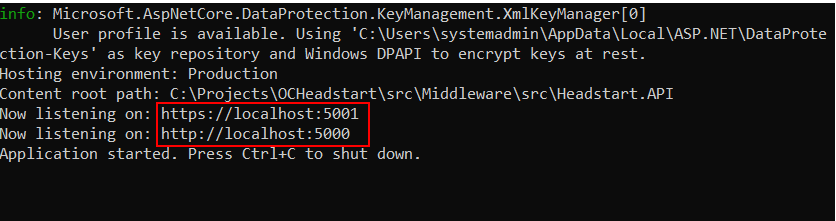
IMP – Check if the middleware applicaiton is running and listening to localhsot 5001 port. If not you should run the Headstart.Api before running UI application.
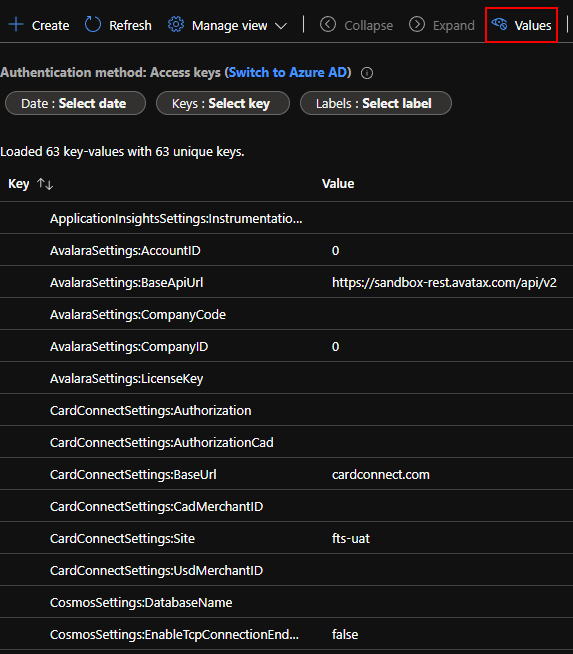
Setup a App Configuration using Azure App Configuration
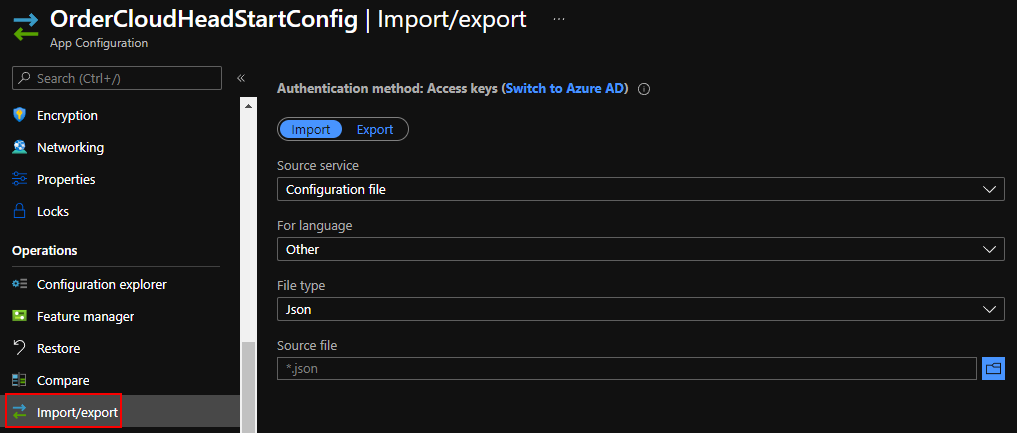
Get the configuration connection string
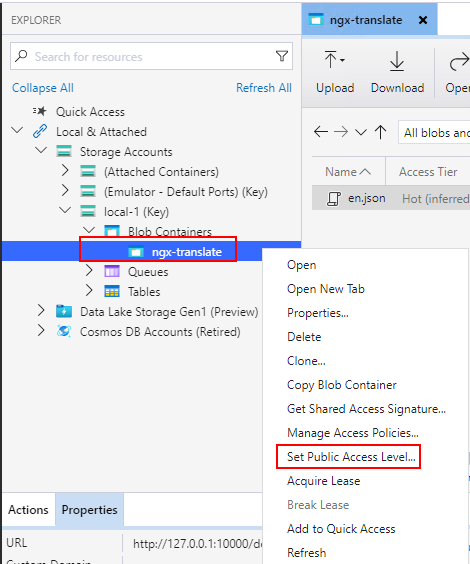
Goto the Access Keys – Read-only keys tab and copy the connection string
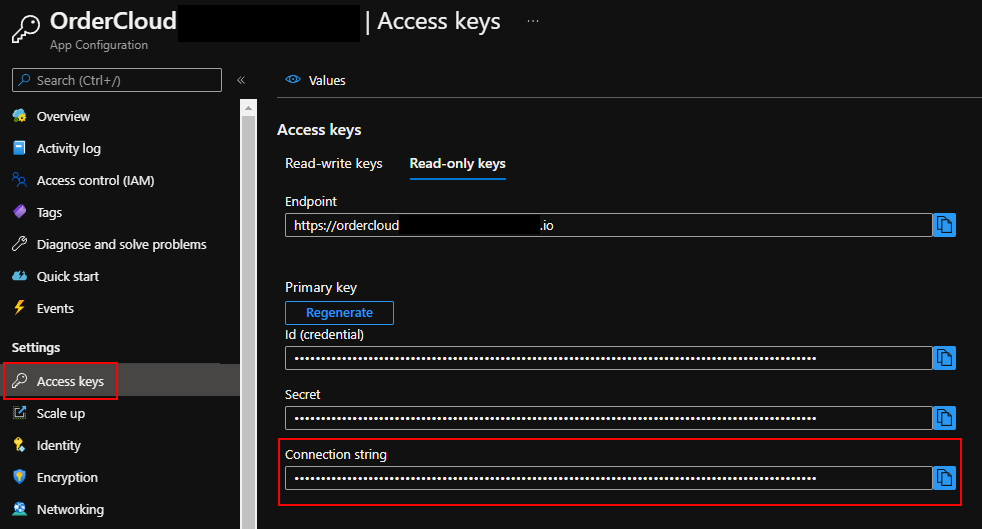
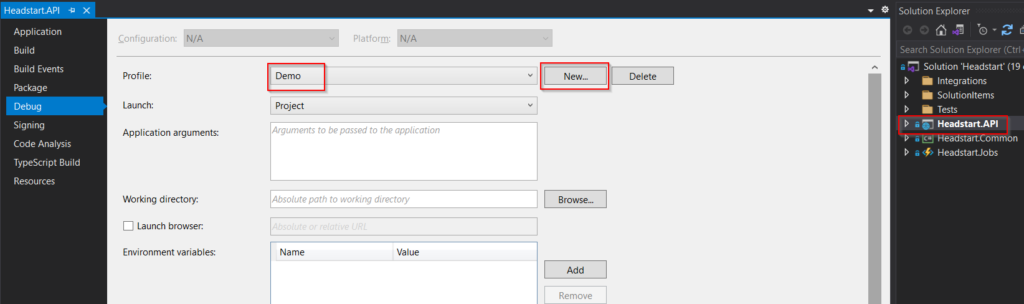
Add a new Environment Variable named – APP_CONFIG_CONNECTION and copy the connection string in the Value.
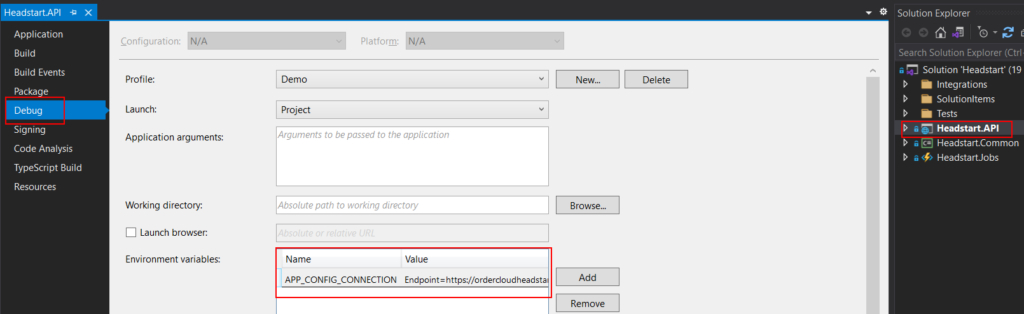
Run the middleware application with the Demo profile.
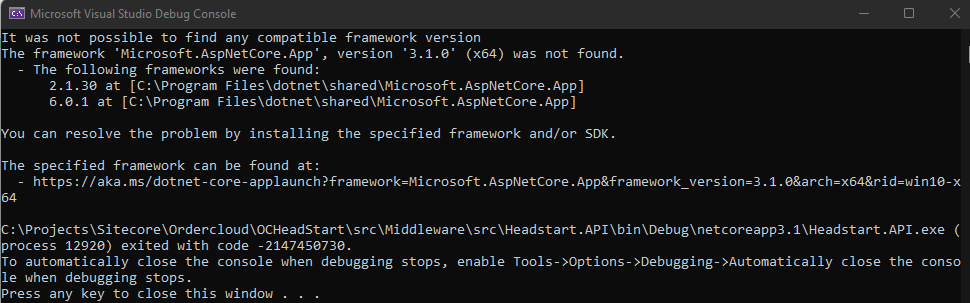
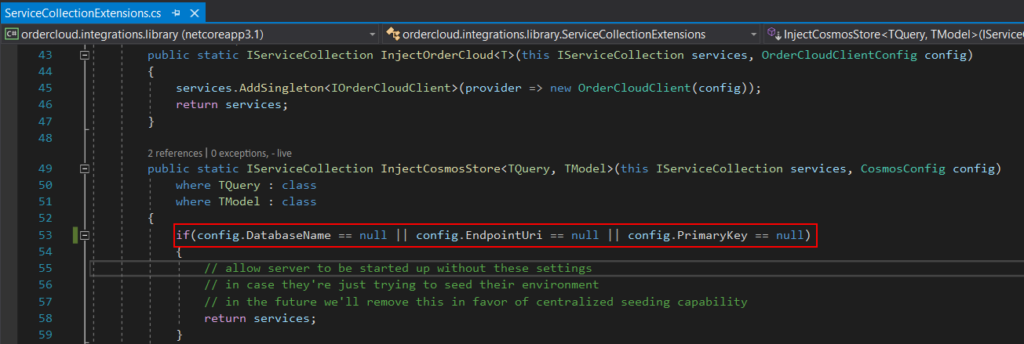
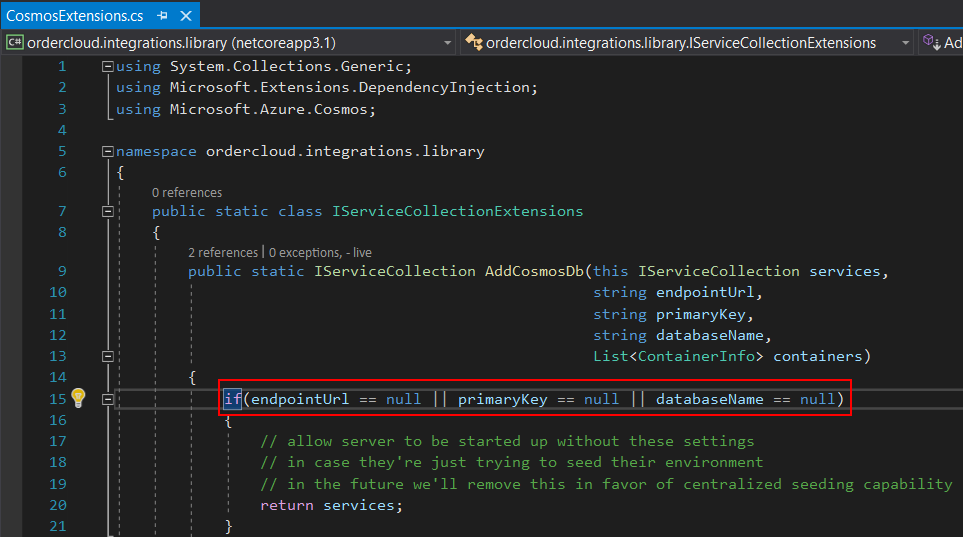
IMP – If you see compiler error’s whilst running the application. See this blog for the resolution.
Step 5 – Run the Seller UI application
Now that we have all the required configuration checked and changed, time to run the Seller UI application
RUN – from the visual studio terminal or powershell
npm installnpm run start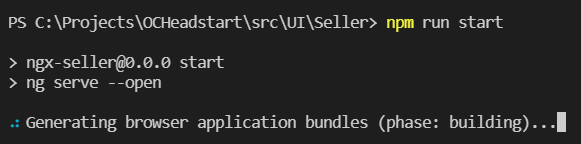

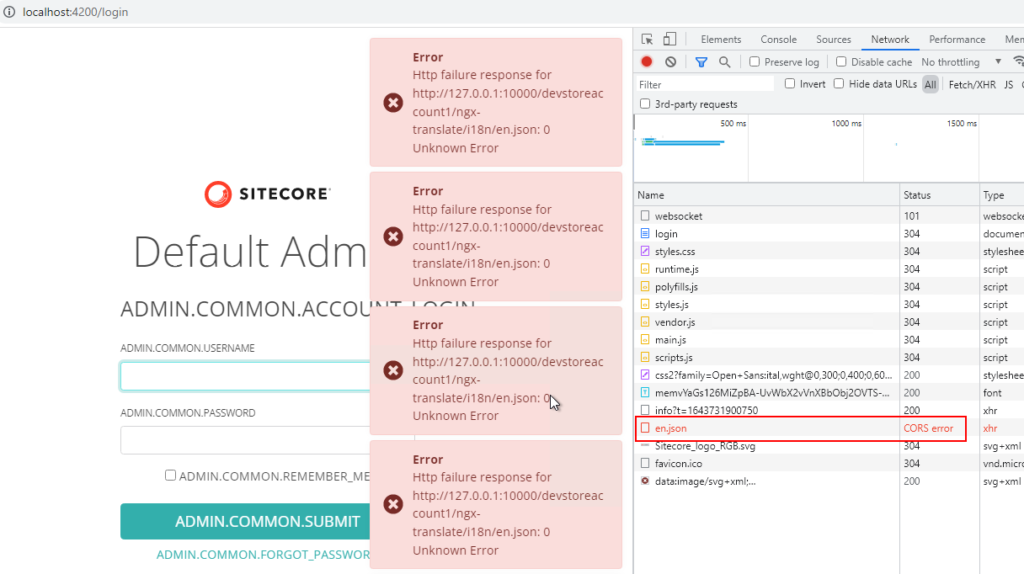
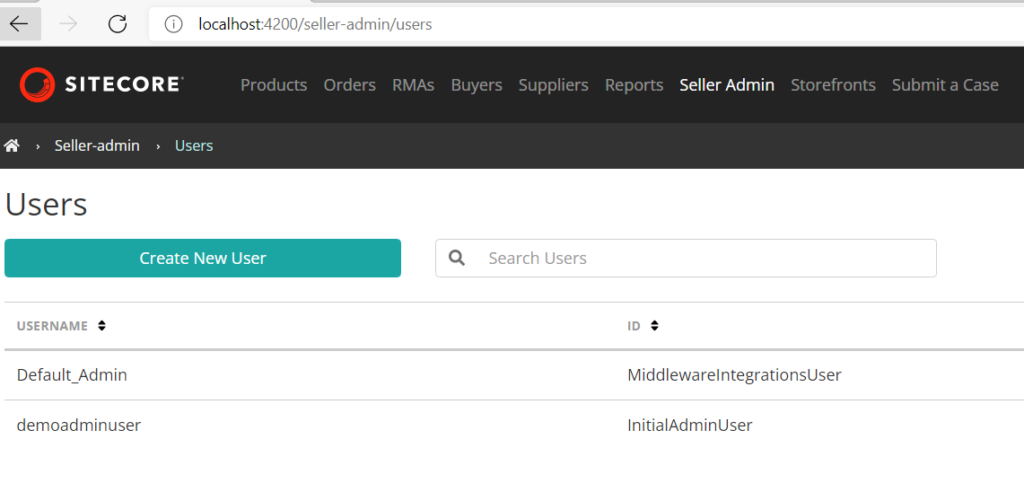
Now we have Seller application runing on localhost:4200 port
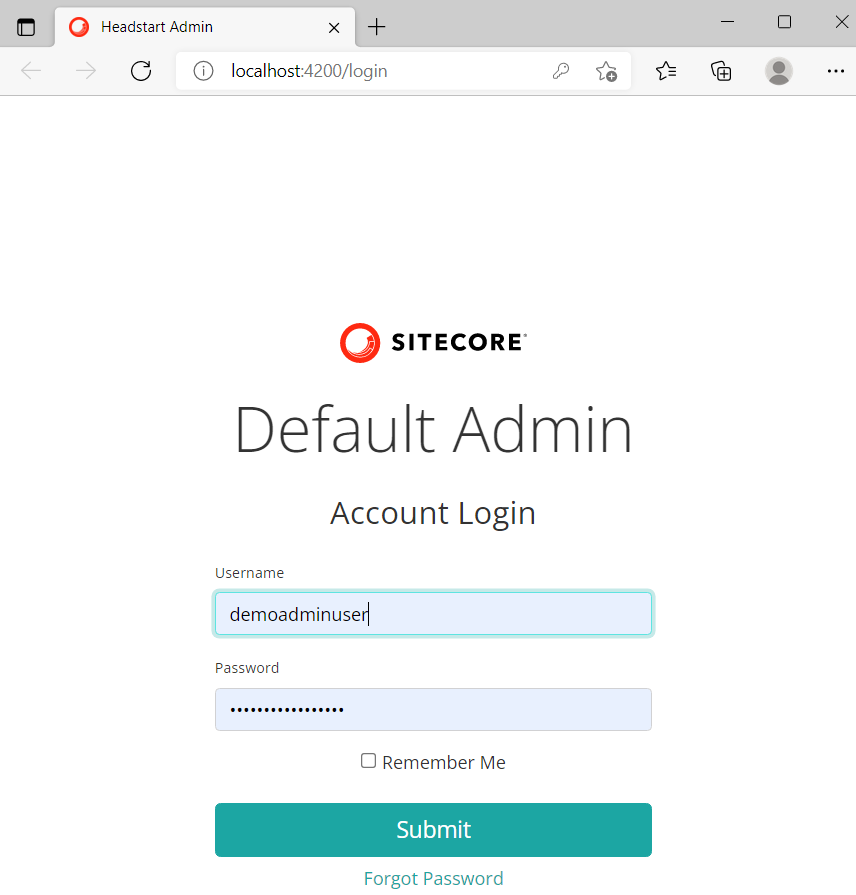
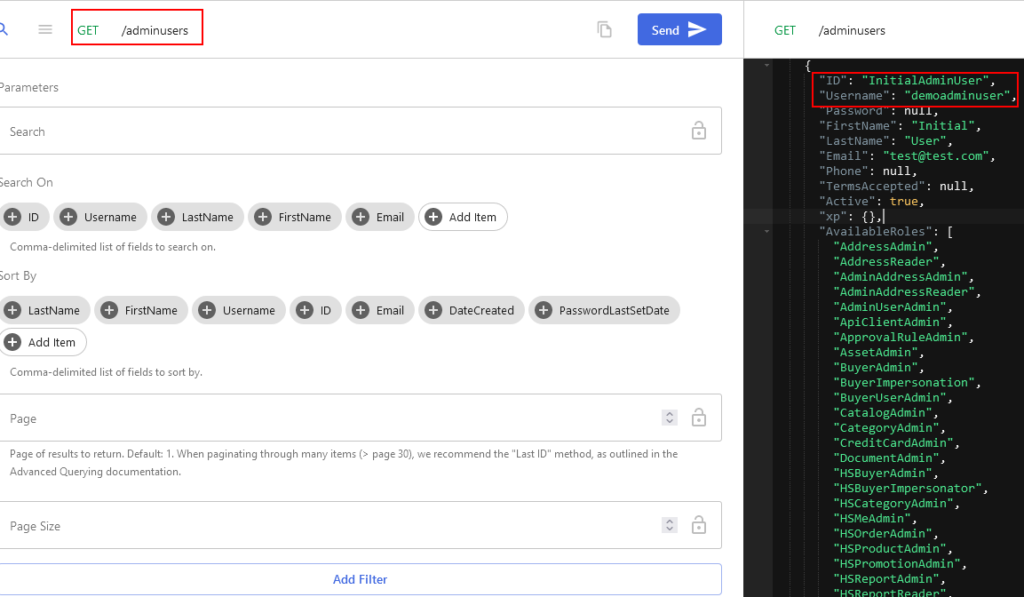
Provide Admin Username and Password as noted in Part -1 of the blog Step 3- Prepare Seed Request
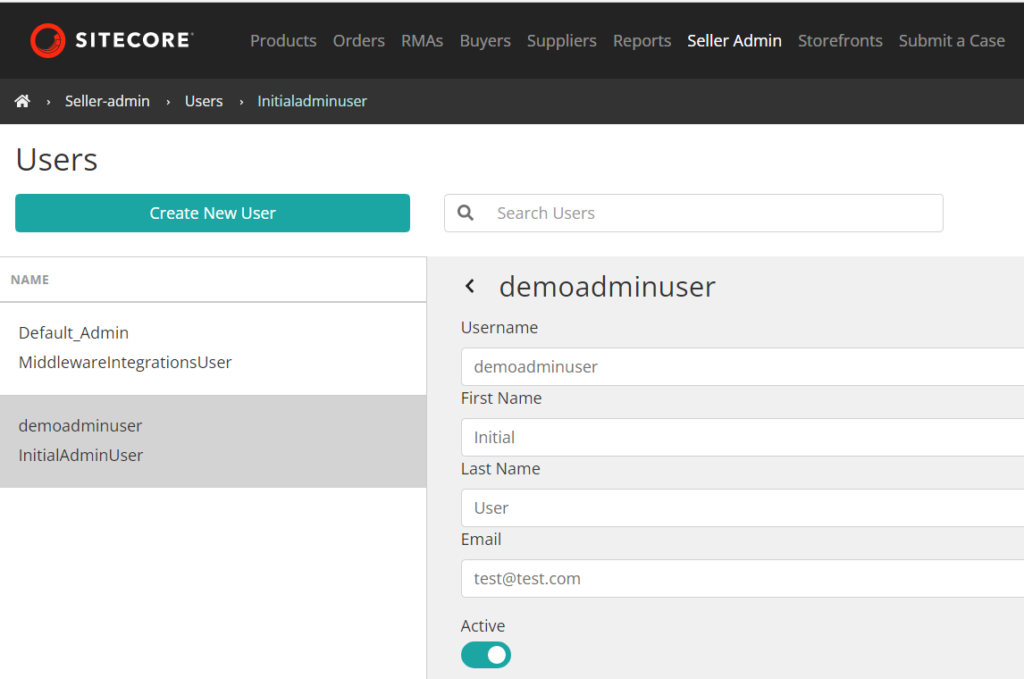
After successful login-
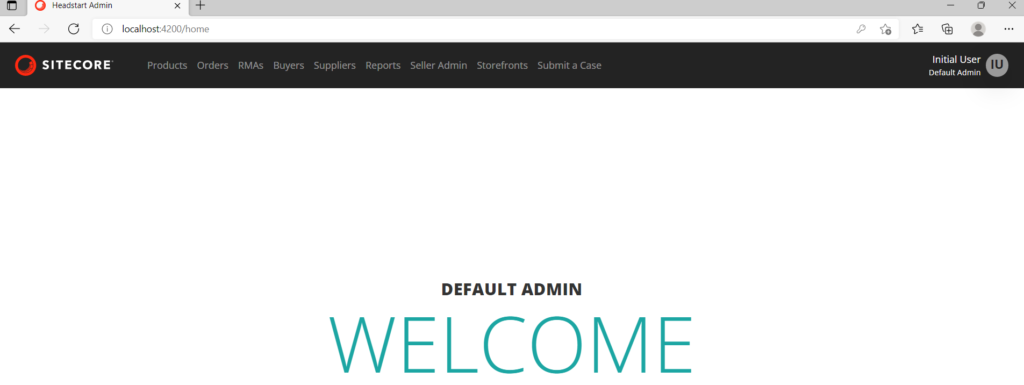
Also we can see the Seller Admin-
Hope you enjoyed setting Sitecore Ordercloud Headstart 🙂