With Zapier you can inspect and create customised workflow in munites without wirting any code. Its a good way to automate any actions required once the webhooks in Sitecore are triggered.
In this blog post will quickly create a workflow in Zapier to send mail when a webhook event is trigerred.
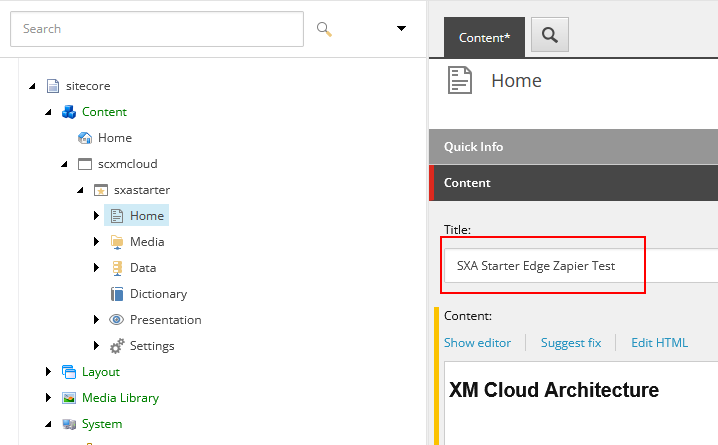
Will take a scenario when a Home page is updated, so that the concern team knows about this change.
This is not a fully customised solution but you can extend this as per your requirements.
Create a Zapier account
Create a Zapier account if you don’t have already. There is free subscription available to try out.
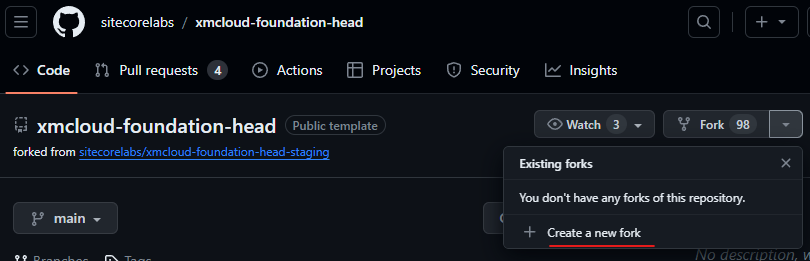
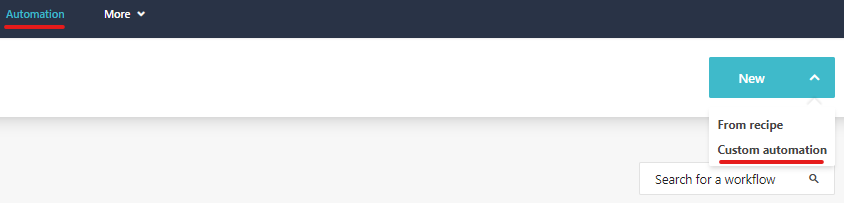
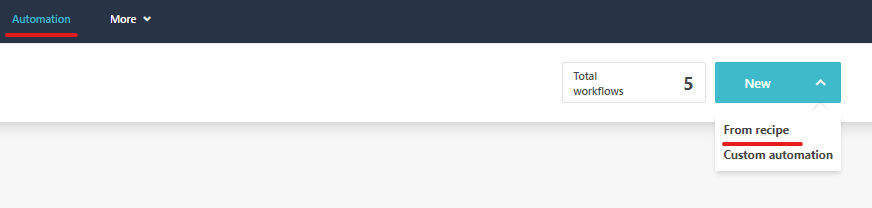
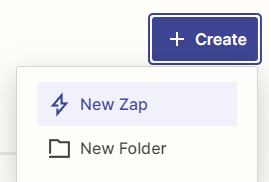
Login to Zapier and create a new Zap

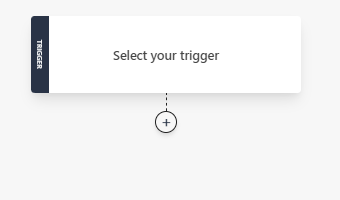
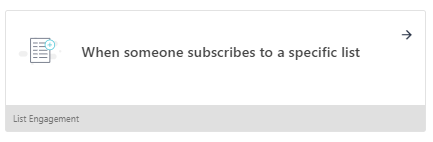
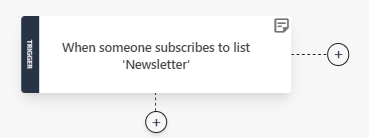
Configure a trigger- Select Webhook by Zappier
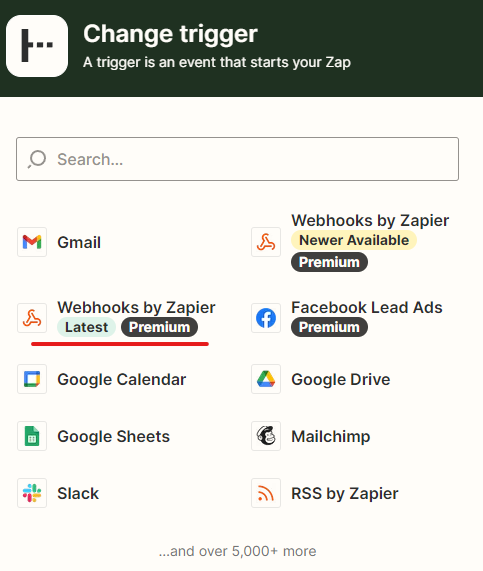
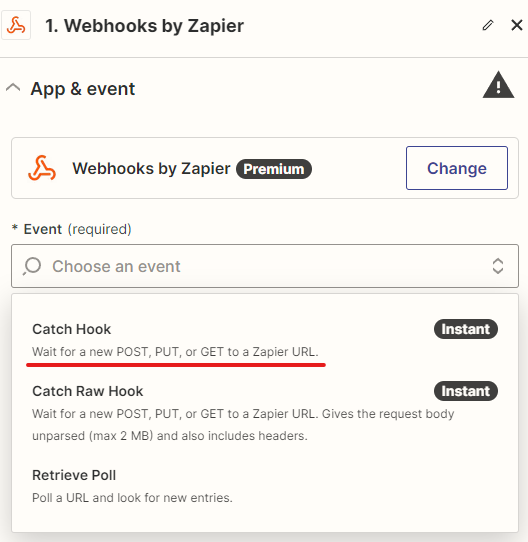
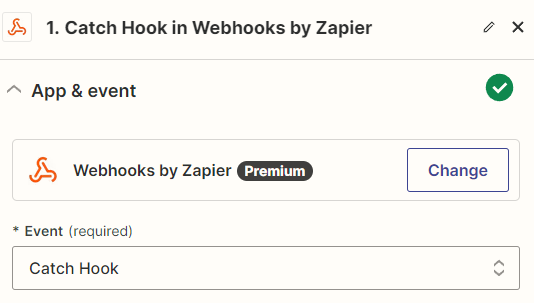
When a new zap is created select a Catch Hook event in App & Event section
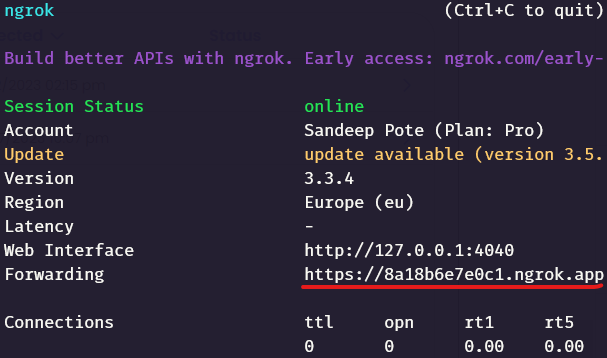
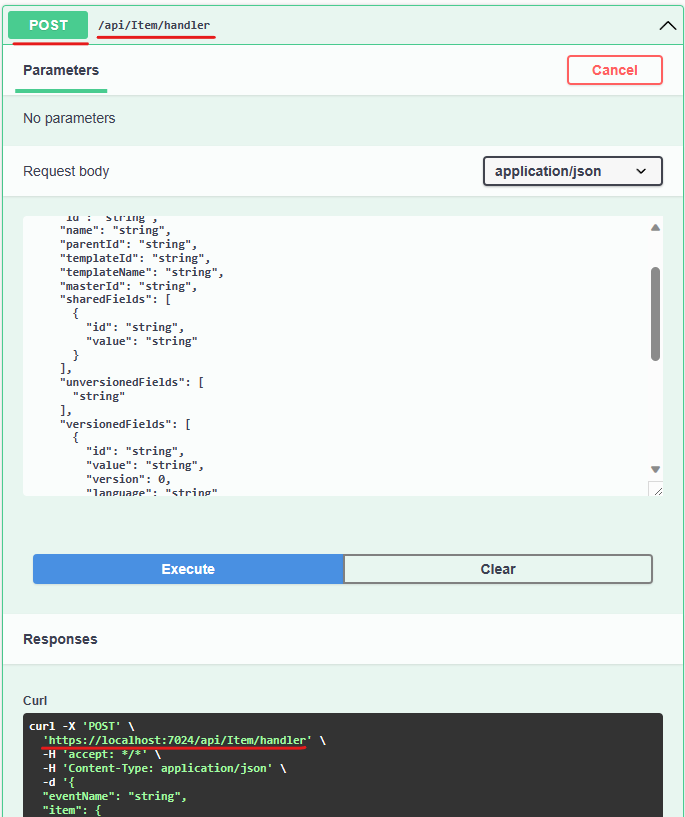
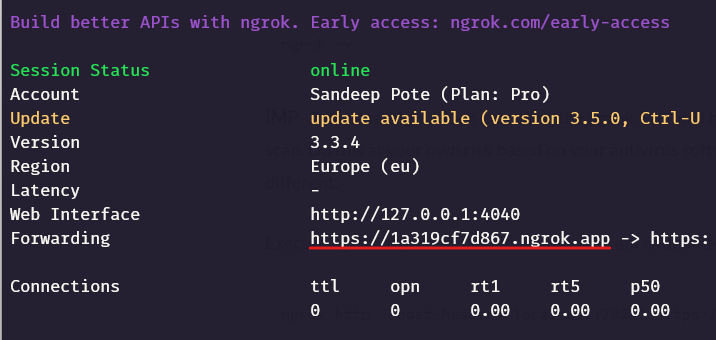
In the test section it should provide the URL its listening to execute any autmation if applicable.
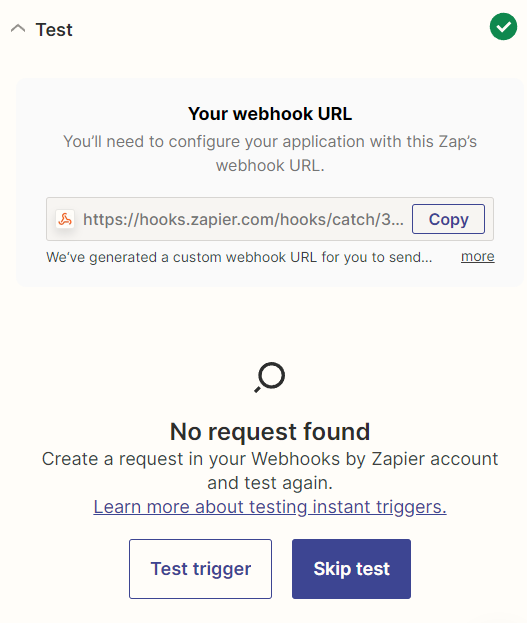
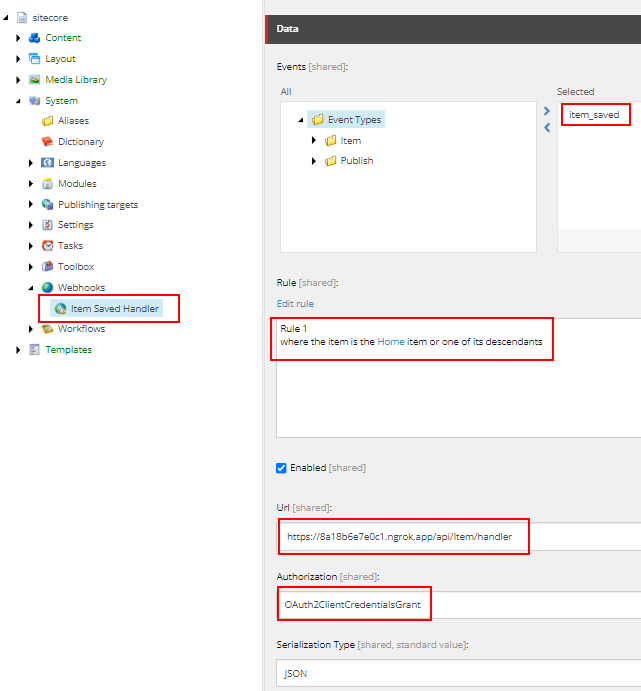
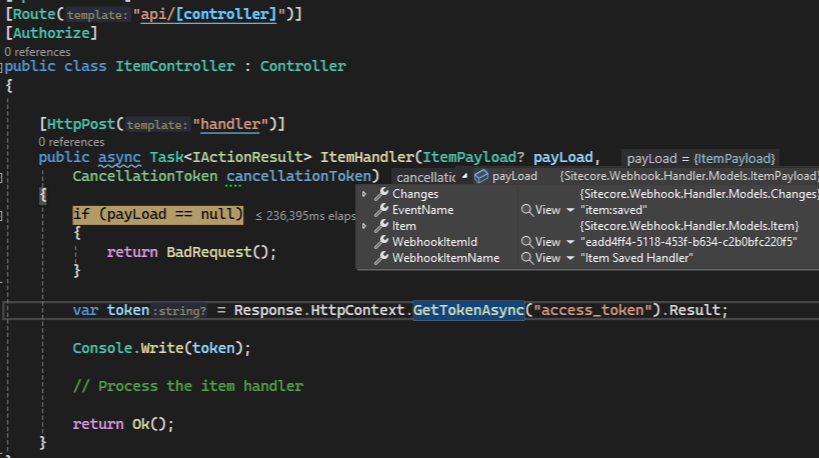
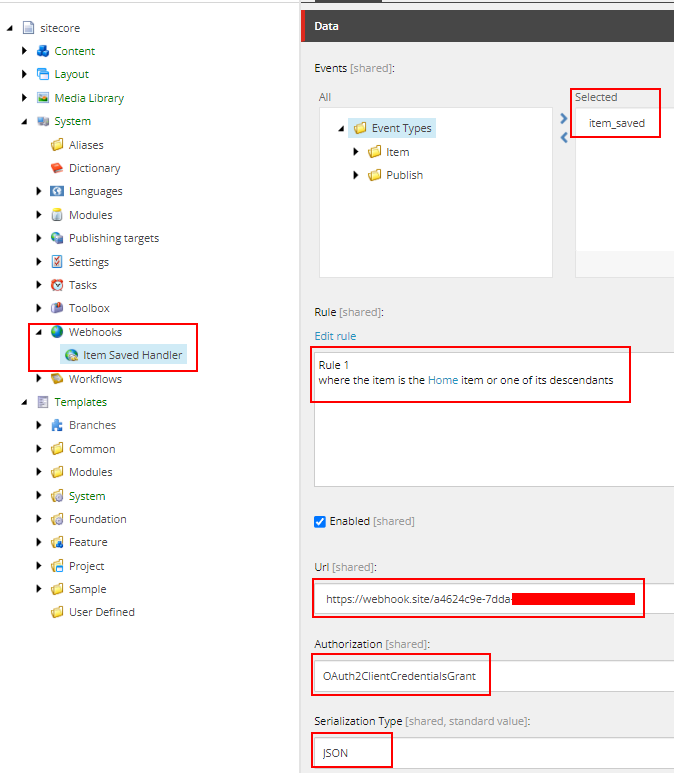
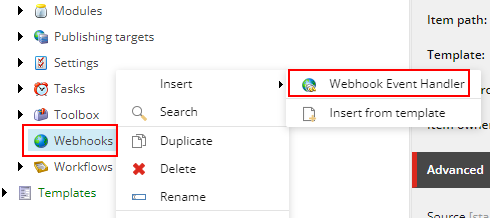
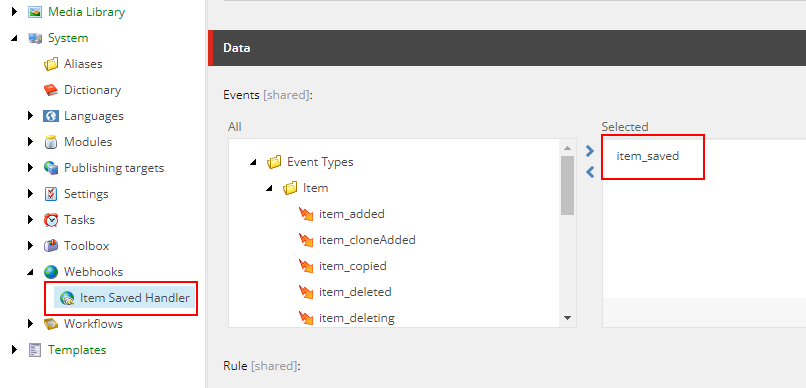
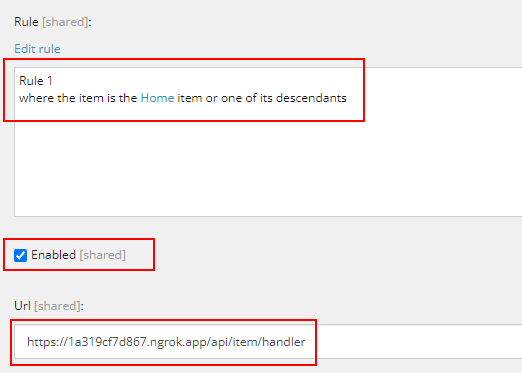
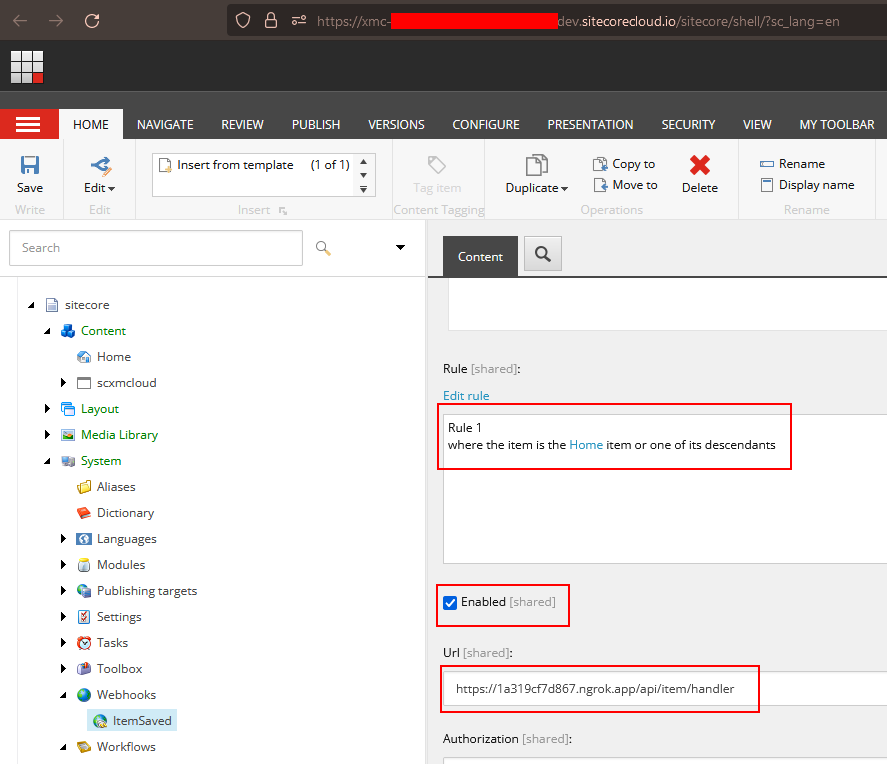
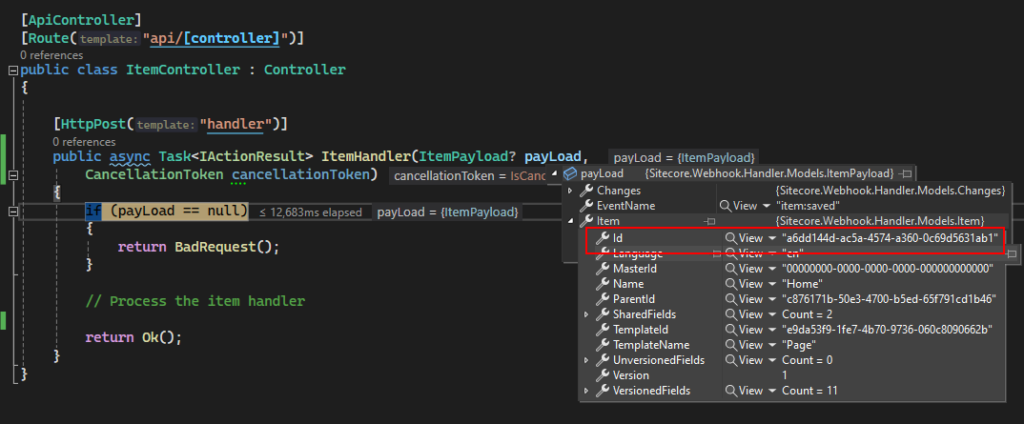
Test the trigger by copying the s URL and setup the same in your Webhokk Handler in Sitecore XM CLoud or local instance. See this blog post on how to create a webhook handler.
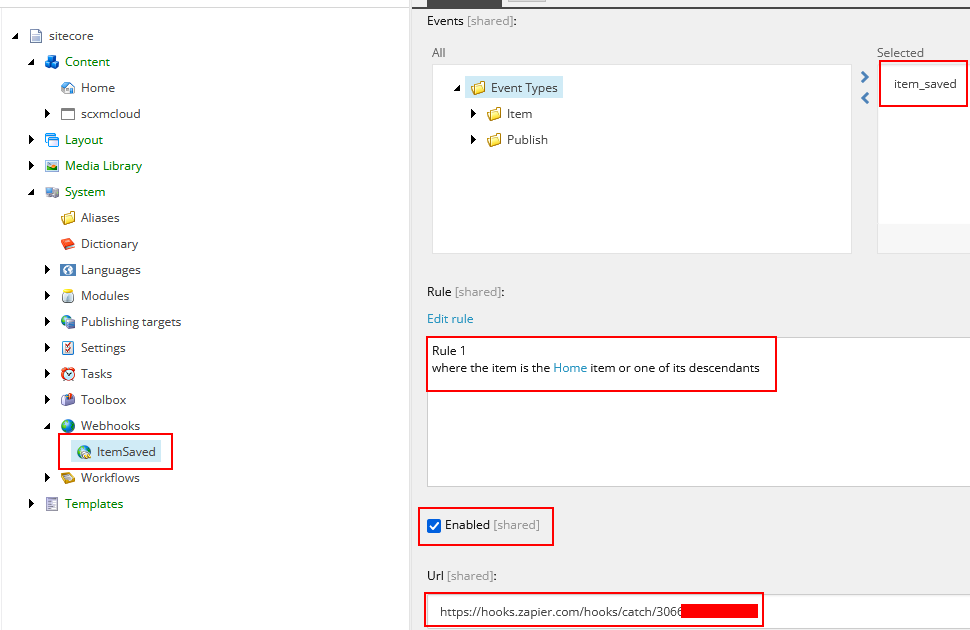
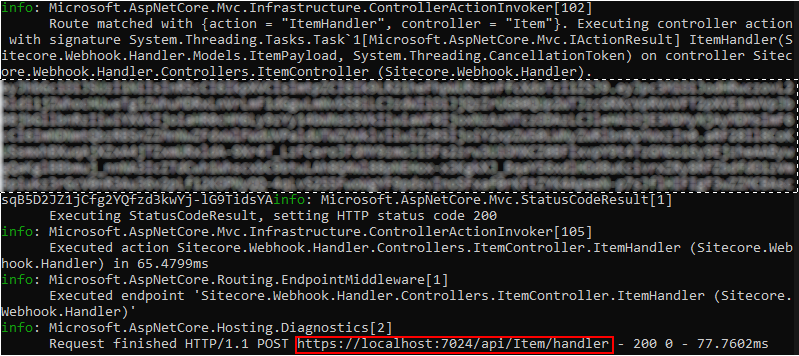
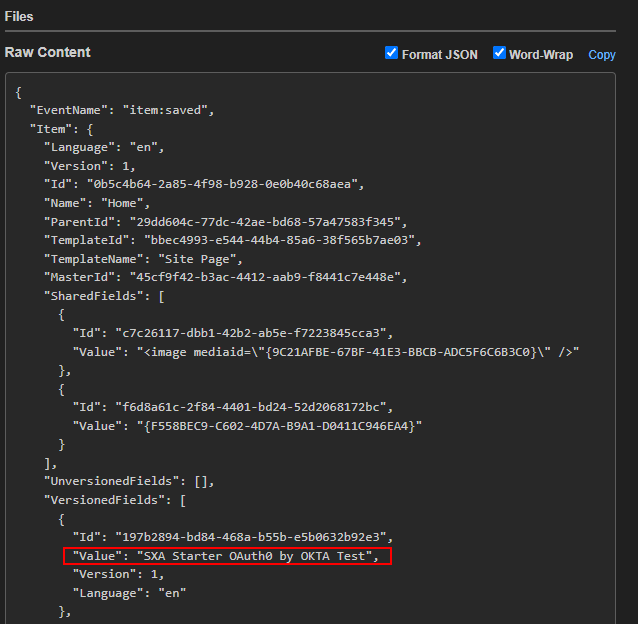
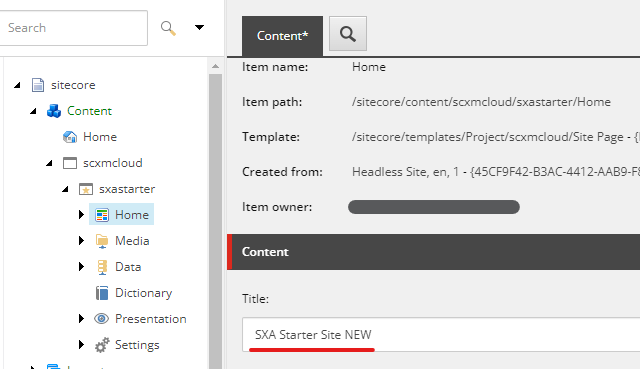
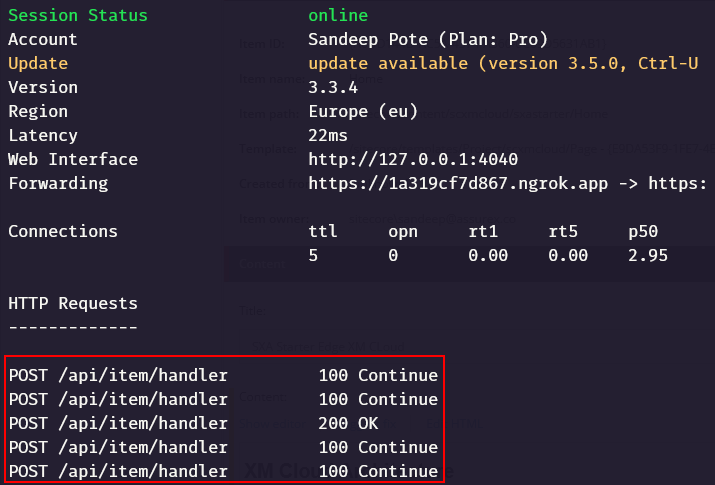
Update content in Home page and Save. This should triggere the webhook and call the Zapier endpoint configured in handler.
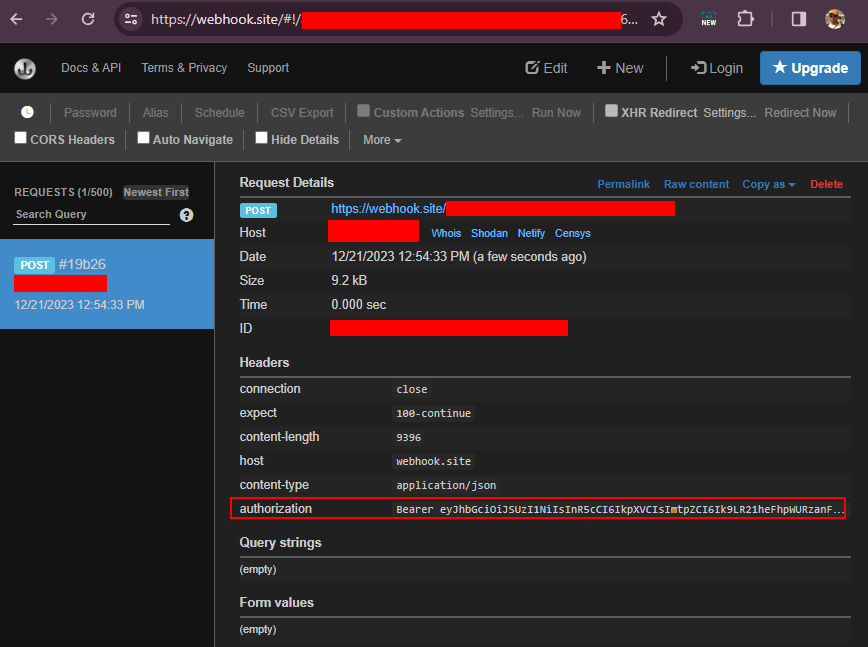
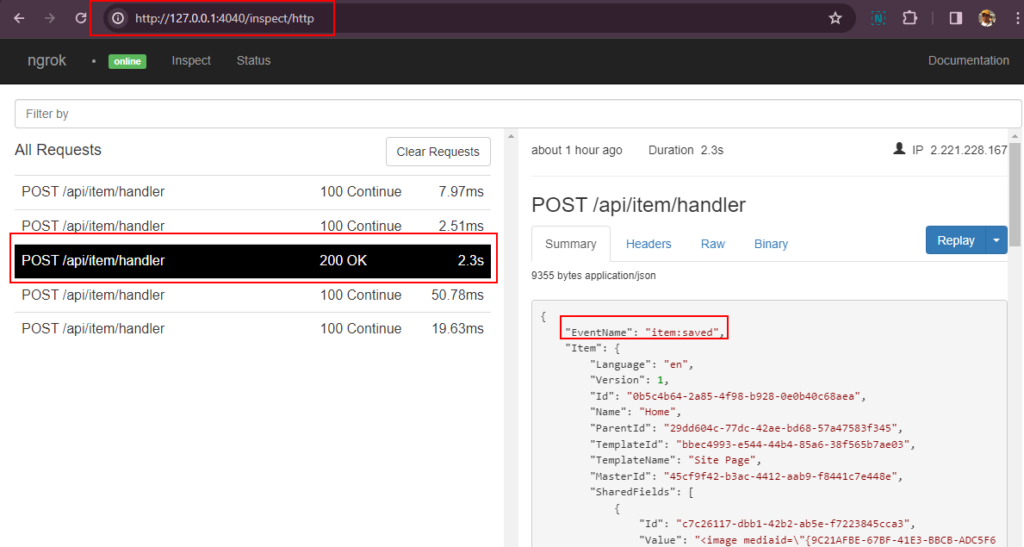
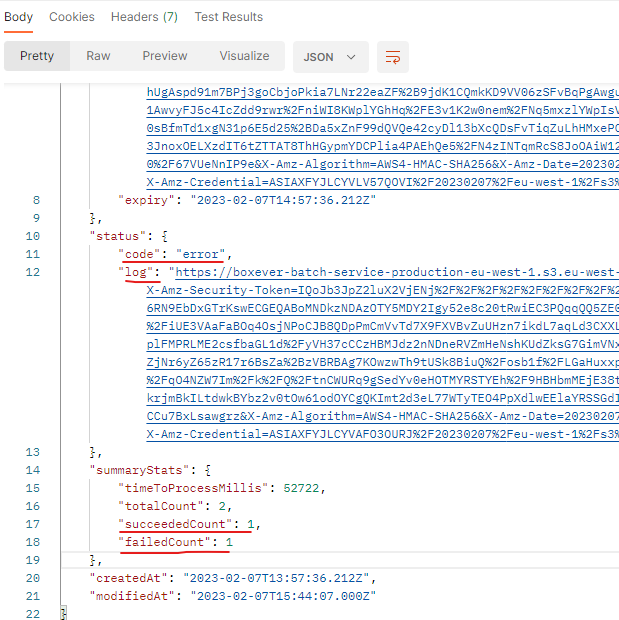
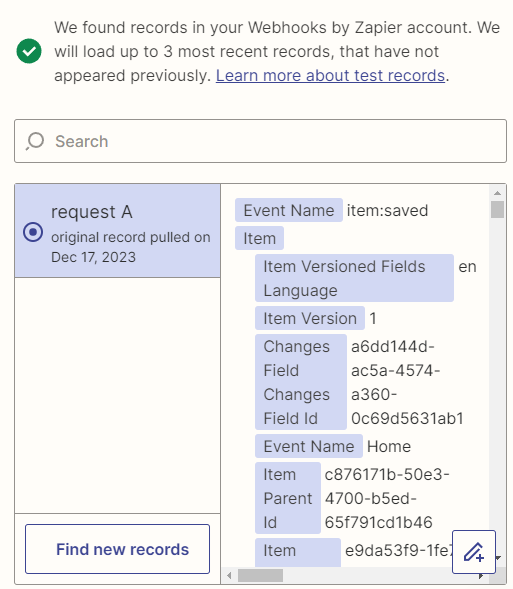
Test trigger and should see the request available to this endpoint-
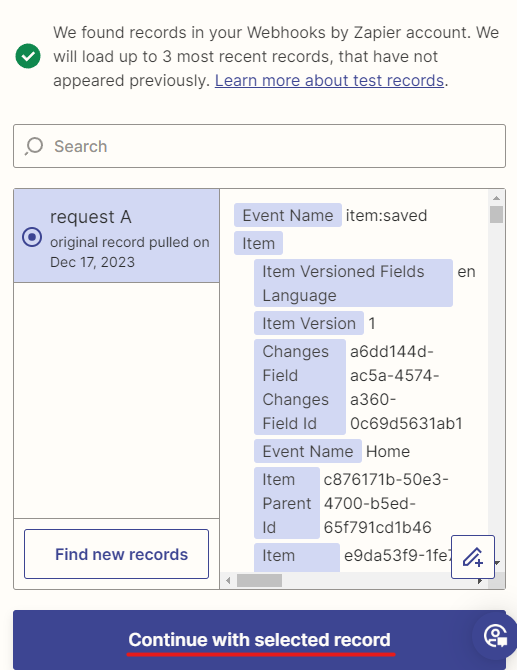
Continue with Selected Record if you are happy with the request-
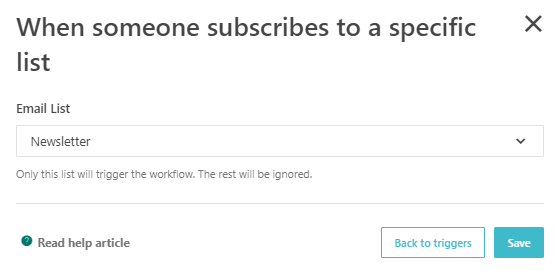
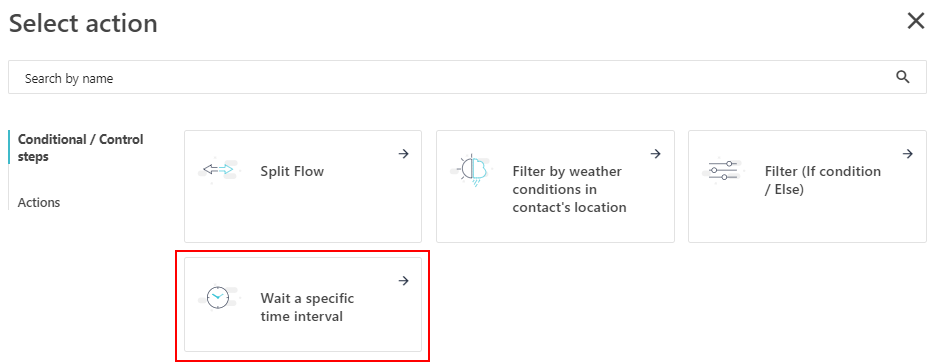
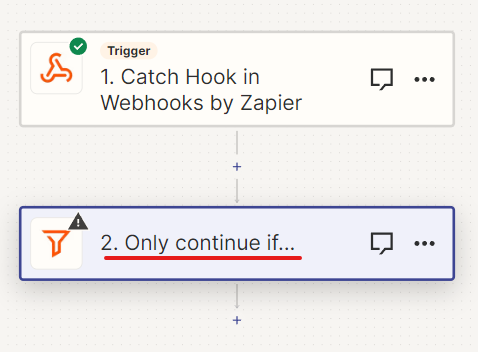
Apply Filter
We want to send mail only when Home page is changed, so lets apply filter
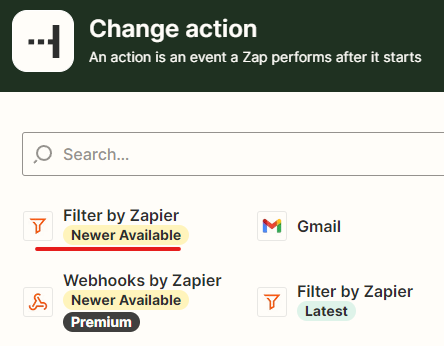
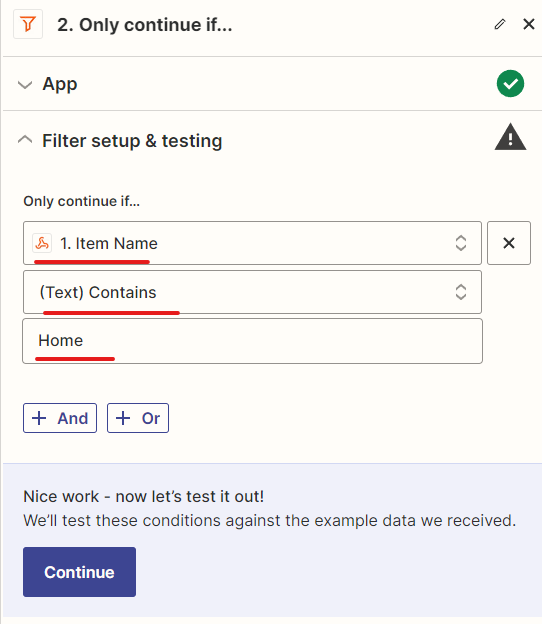
Configure the filter
Add the condition
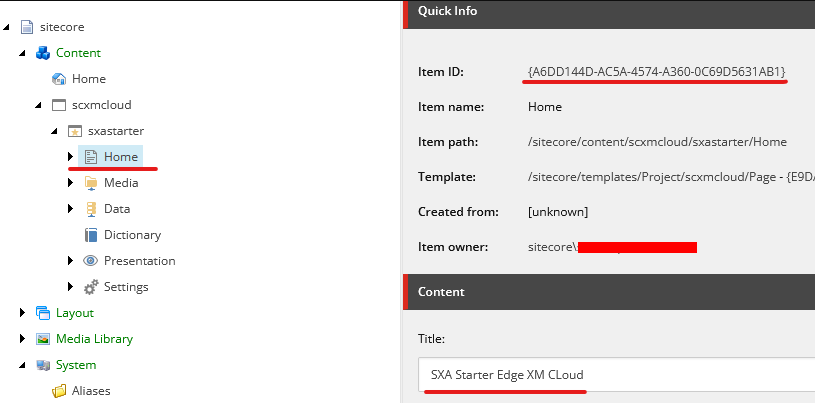
Further action will be taken only if Item name is Home. This just an example you can select the list of action available.
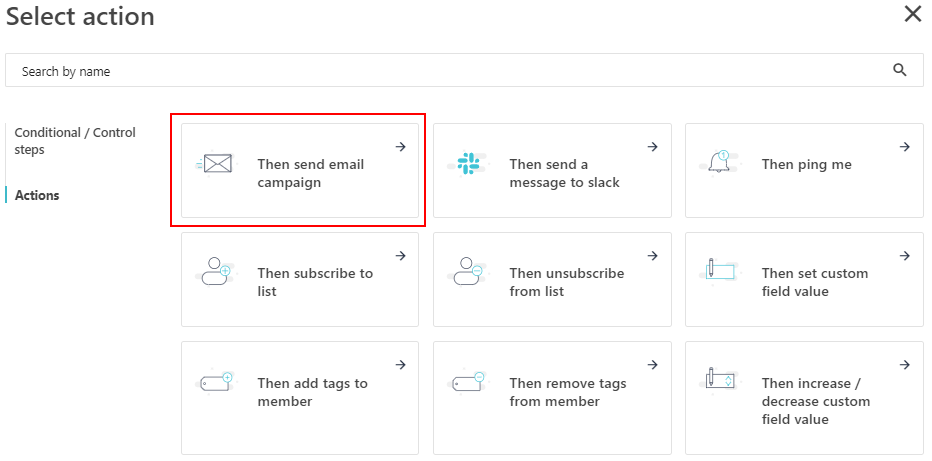
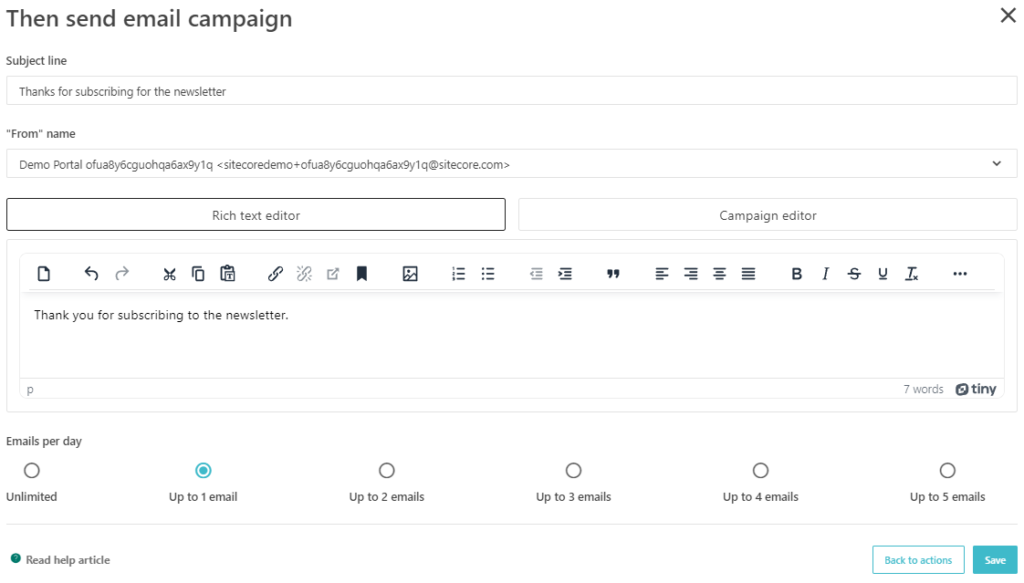
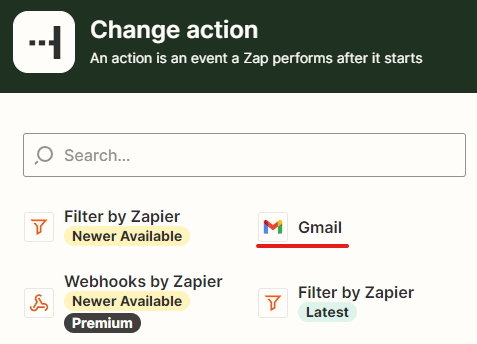
Continue and select next action and in this case I selected to send a mail to Gmail
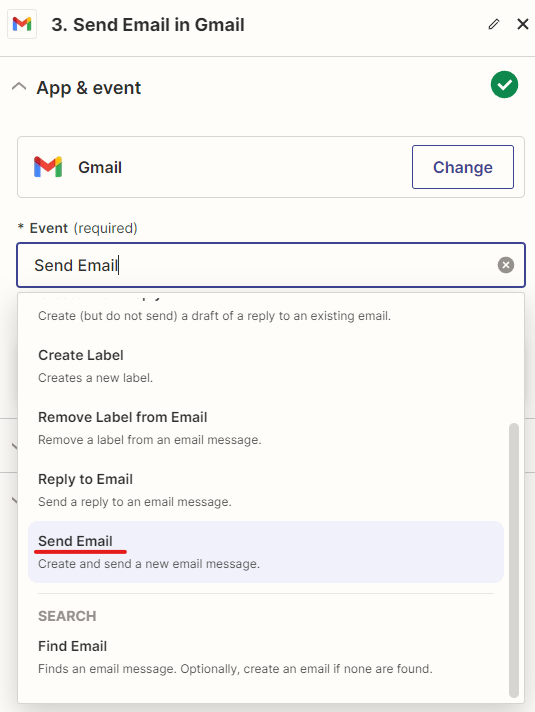
Select the event “Send Mail”
Setup your account.
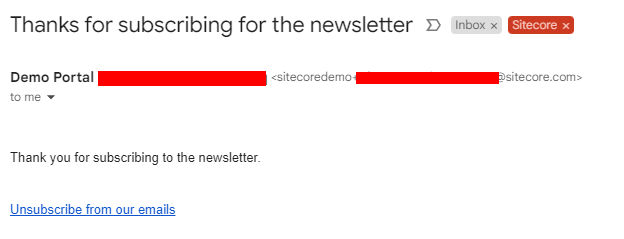
Setup the action to whom the mail should be sent and other information required for the mail
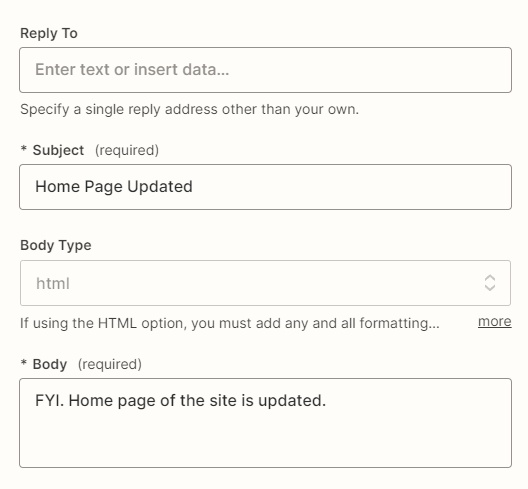
Continue and Test the Step
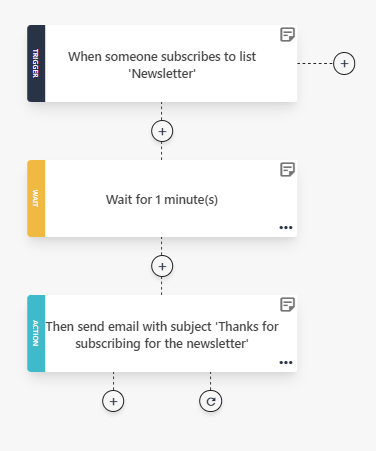
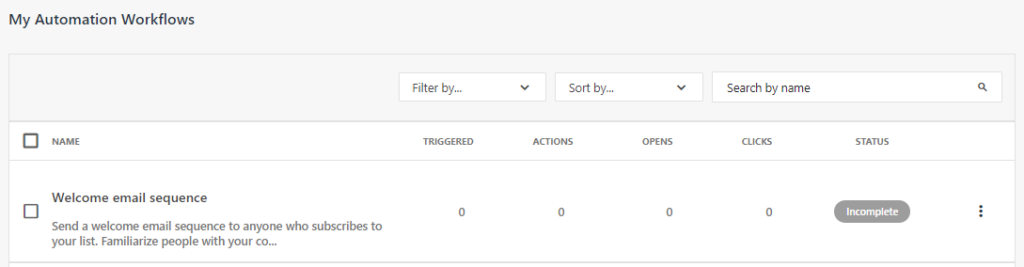
Now you should have the Zap configured-
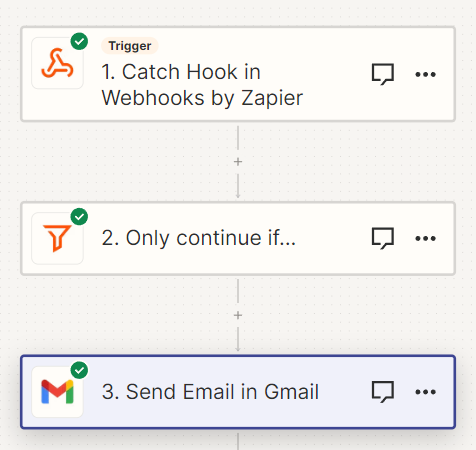
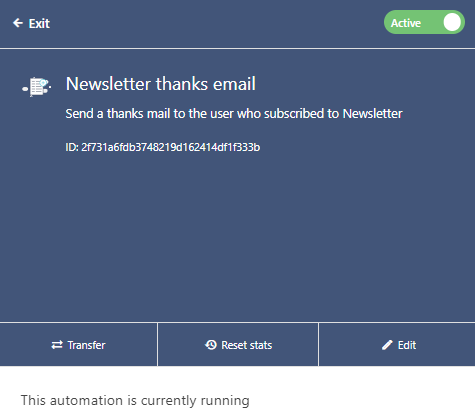
Publish the Zap

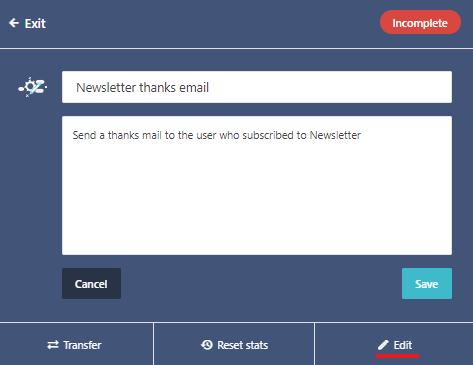
Change the name of the Zap and should be available in Dashboard-

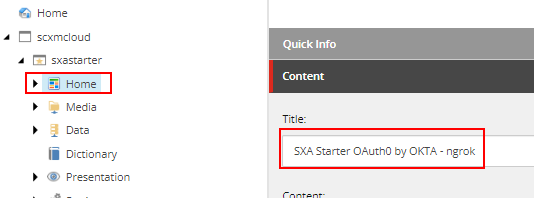
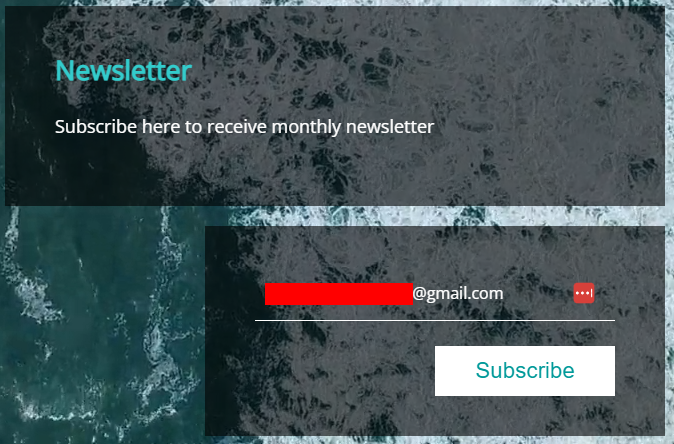
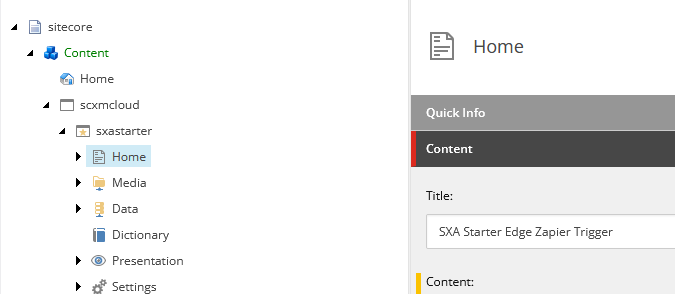
Change a home page content in Sitecore XM Cloud-
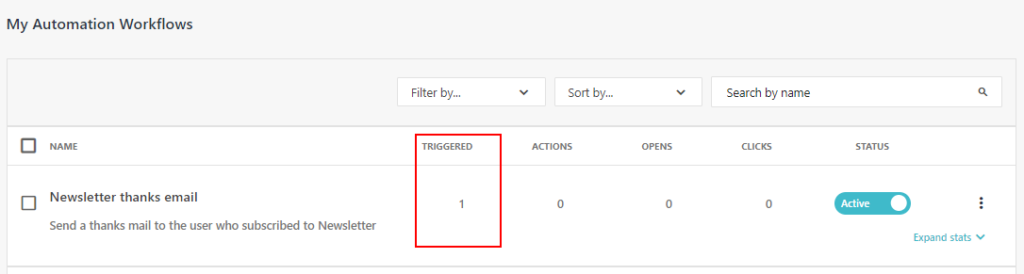
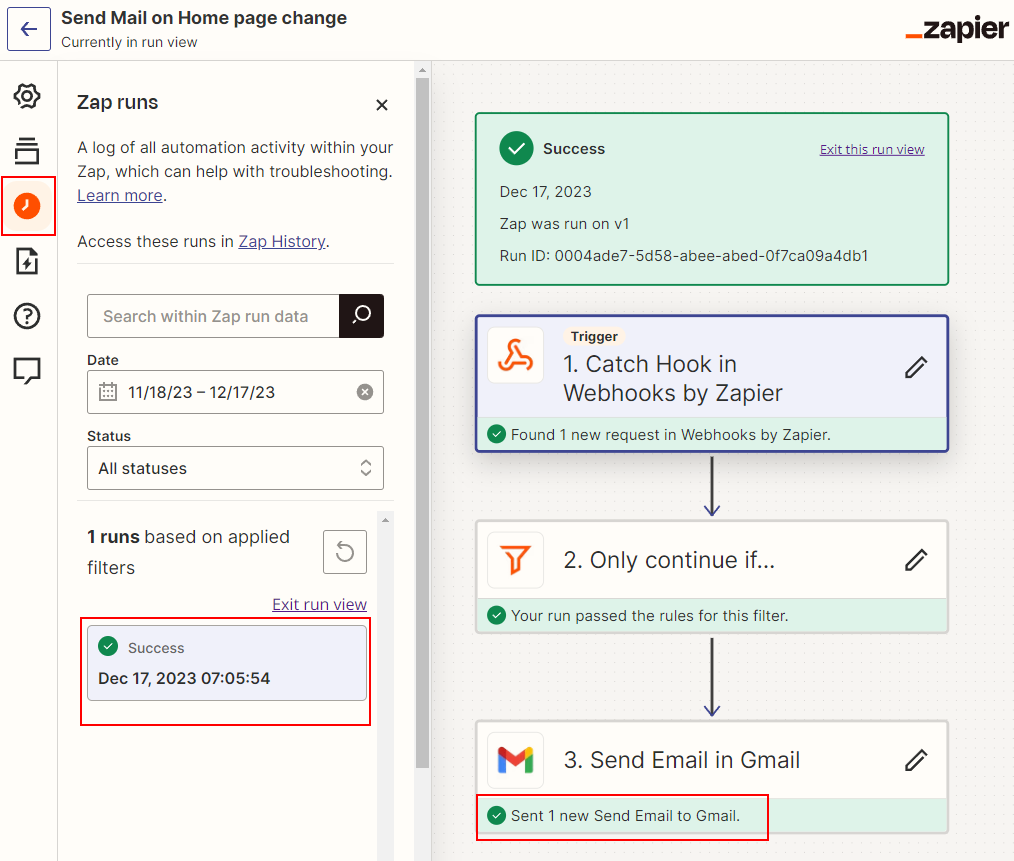
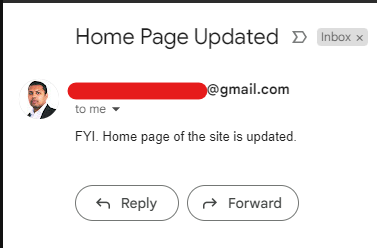
In the Zap runs you should be able to see a mail is triggered-
Thats it. This took me few minutes to configure and test the mail for a simple sceanrio.
Zapier gives you full flexibility to configure the triggers without writing any code based on the conditions to tak action when a Webhook event is triggered in Sitecore XM Cloud.
Hope this helps.
![]()