Sharding is horizontal partitioning of data in database. It is the process of breaking up large tables into smaller chunks.
Storing rows of the same table in multiple database nodes
In this blog post will see how to split the Commerce Entities table having same structure but store custom entity data in a separate table that helps to split the load that a CommerceEntities table might take if the horizontal partition is not done.

Why partioning of tables is required?
Sitecore Commerce entity data are store in following tables-
- CommerceEntities
- CommerceEntity
- CommerceLists
Any custom entity been created without sharding will store data by default in tables mentioned above.
What if that data increases, there might be a performance hit once the data start expanding over months and years.
Also it wont be good idea to put the multiple custom entity data into a single table. As this might give a performance hit whilst indexing table. So, if you know data might increase over the time it is better to have it saved in a separate table as it can be a boon to high-volume data.
Partitioning data using sharding policy
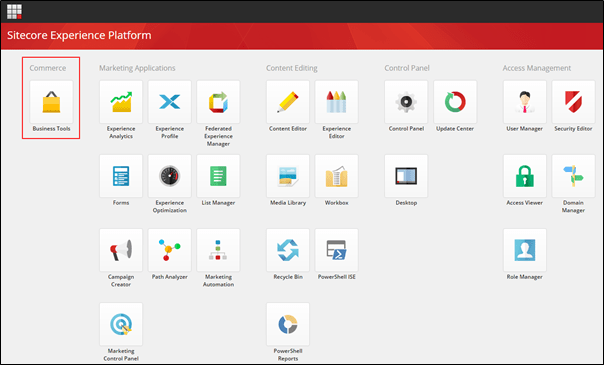
I assume you know how extend Sitecore Commerce entities. Consider we have a “Organization” entity. Business Tools helps in capturing details of Organization i.e. CRUD operations. When the entity is been saved it has to be saved in different table.
This driven by the sharding policies in Commerce.
Follow these steps to enable sharding of custom entity-
Sharding Policies
The Commerce Engine implements database sharding for Commerce entity and list tables, and provides 2 types of sharding policies. One is for the operation against Commerce entities i.e. EntityShardingPolicy, and other on the Commerce lists i.e. ListShardingPolicy.
Configuration for sharding policy is kept in PlugIn.SQL.Sharding.PolicySet-1.0.0.json file and can be found in data\Environments folder of the Authoring and Shops instance.
As per Sitecore documentation sharding policies has expressions and multiple expression values can be configured based on this the table of the entity is identified to read and perform write operations. This is a bit contrary statement as the table name defined in policies are passed to the stored procedure based on this the data in table is written and read.
Below sharding policy mentions 2 tables-
OrganizationsLists for managing and reading lists of Organizations
OrganizationsEntities for managing and reading Organization entities
{
"$type": "Sitecore.Commerce.Plugin.SQL.ListShardingPolicy, Sitecore.Commerce.Plugin.SQL",
"Expressions": {
"$type": "System.Collections.Generic.List1[[System.String, mscorlib]], mscorlib",
"$values":
[
"^List-Organization.*?$"
]
},
 "TableName": "OrganizationsLists"
},
{
"$type": "Sitecore.Commerce.Plugin.SQL.EntityShardingPolicy, Sitecore.Commerce.Plugin.SQL",
"Expressions": {
"$type": "System.Collections.Generic.List1[[System.String, mscorlib]], mscorlib",
"$values":
[
"^Entity-Organization.?$",
"^Organization-.?$"
]
},
"TableName": "OrganizationsEntities"
}Database
To save data in different tables create Entities, Entity and Lists table prefixed with entity name in SitecoreCommerce_SharedEnvironments database
- Right click CommerceEntities table select Script Table as option, Create to and then New Query Editor Window. Create script for CommerceEntities table will be generated.
- Change the name of table to e.g.:- OrganizationsEntities. Also change the table name to set Default value to EntityVersion and Published fields
- Pasrse and check if you are creating a table in correct Database
- Execute the script. New table will be created.
Follow same for CommerceEntity table to create OrganizationsEntity and CommerceLists to create OrganizationsLists
So there are 3 tables created so far-
- OrganizationsEntities
- OrganizationsEntity
- OrganizationsLists

Once you have your plugin to perform CRUD operations on Organizations entity you should be able to see the data been inserted in OrganizationEntities, OrganizationLists and OrganizationsEntity table instead of CommerceEntities and there related tables.