Welcome! This is my personal blog about Web technologies, software development, open source and other related topics
The ideas and opinions expressed here are solely mine and don't represent those of others, either individuals or companies.The code snippets or references to software products or analogous are to be used without any warranty of any kind. If you enjoy the content, feel free to share it and re-use it as long as you provide a link to the original post.
Sitecore uses placeholders to render components which allows to dynamically assemble the page layout. This allows the content editors to design specific pages.
When using MVC layout and BootStrap grid, SXA adds additional DIV when a placeholder is used.
For e.g. if you see the views/sxalayout/Bootstrap4Body.cshtml file. If has a placeholders header, main and footer.
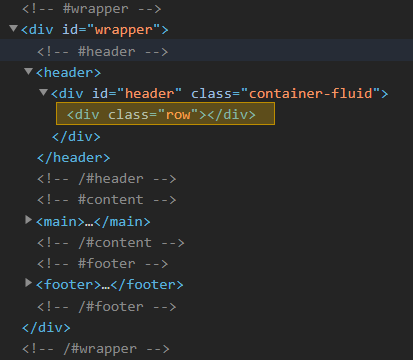
Page is rendered with the header, main and footer tags having placeholders within.
These placeholders is wrapped with a div tag when rendered with class row.
Problem– Extra div tag with class row might not be required or if you don’t to have this as part of your markup. How to remove div tag?
Solution –
The configuration to exclude the placeholder wrappers is in Sitecore.XA.Foundation.Grid.config
Any custom or OOTB placeholders can be added to placeholderWrapper/exlcudedPlaceholders list
Best Practice – Never modify the OOTB config’s as this can be changed in the future releases and upgrades. Patch the config instead.
Patch file should look something like this-
Resulting to the entry added in excludePlaceholders list and the div been not rendered-
GPG or GNU Privacy Guard is a public key cryptographic implementation and is used for allowing secure transmission of information between source and destination
Asset optimizer helps improve the performance in production site by compressing/minifying the CSS and JS.
Minification of assets helps to cut the unnecessary portions of code and reduce the size of file to boost the performance by reducing amount of data over the internet.
Sitecore administrators can enable/disable optimizer globally of to a specific site.
Enable/Disable the Asset Optimizer globally
Enabling or disabling optimizer globally affects all the sites configured in the Sitecore instance.
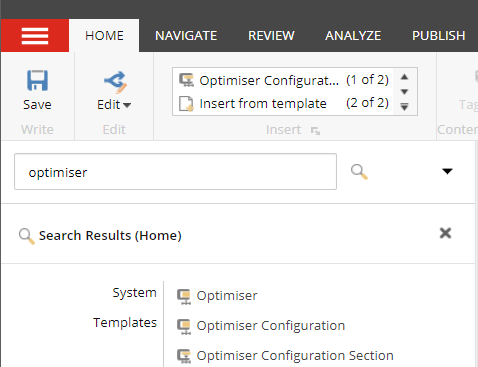
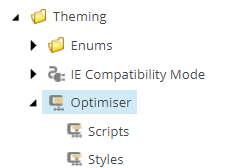
To change the optimiser settings navigate to following location. This is accessible to Administrators-
If you can’t find this you may have to re-index master.
Select Scripts or Styles to change the settings
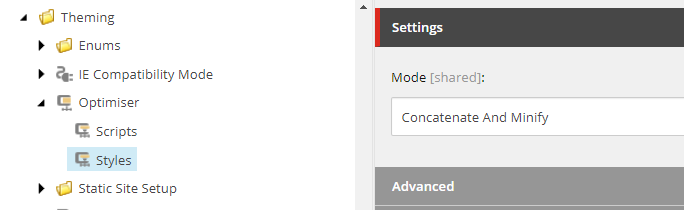
Modes of Optimizations
Concatenate And Minify Mode
When this option is selected. Sitecore will concatenate and minify the OOTB and Custom Scripts and Styles.
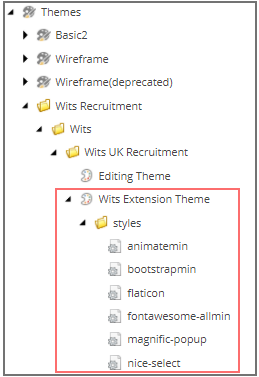
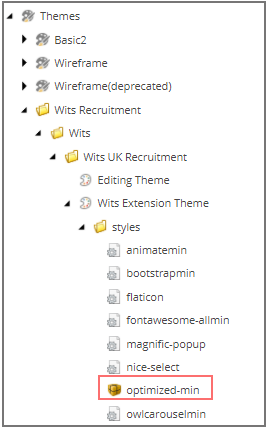
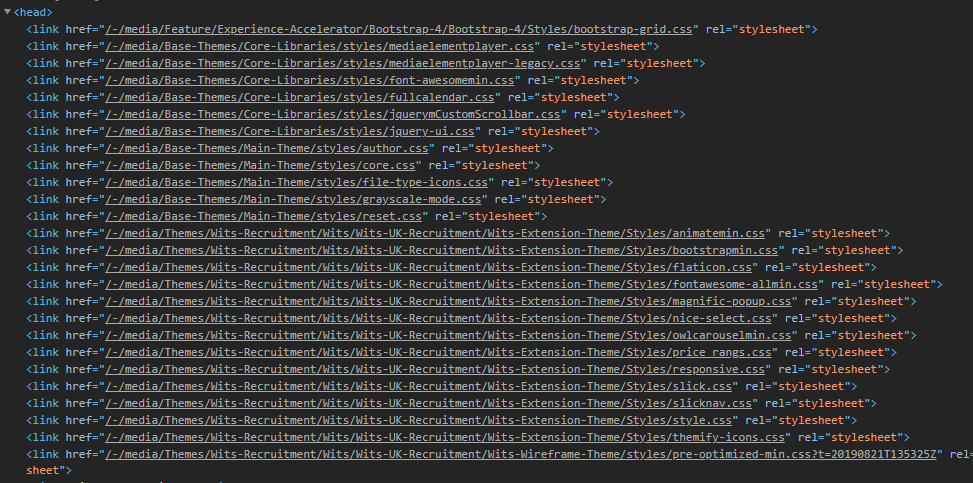
Example:- If you have a custom theme you can add the css files in your extension theme
This is in master database
Highlighted CSS is a extension to the base theme.
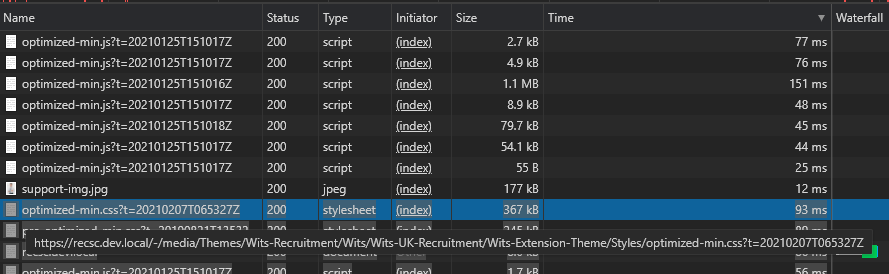
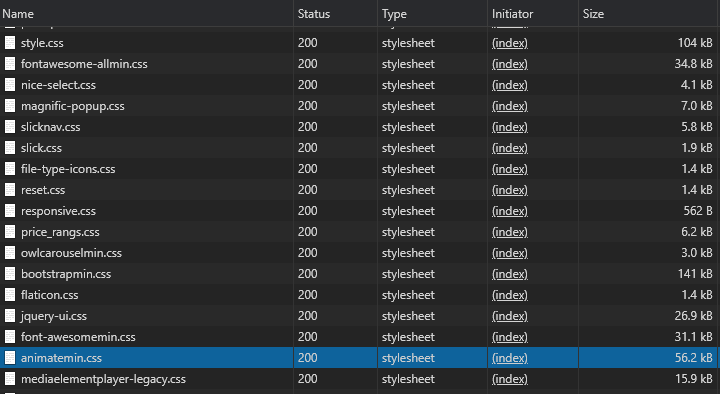
Web database when the page is first requested Sitecore will concat and minify all css in extension theme folder and create a optimised-min.css file
Styles loaded from the extension theme is concatenated and minified version with timestamp in query parameter (optimised-min.css)
Notice that the file name is optimised-min.css
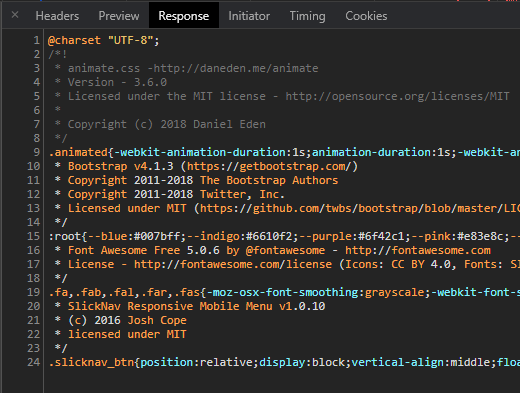
Size of the optimized version is 367 KBConcatenate and minified. Loads without comments
ConcatenateMode
Change the mode of optimization to “Concatenate”.
Web database now has optimized file created in extension theme
Styles loaded from the extension theme is concatenated version with timestamp in query parameter (optimised.css)
Notice that the reference to file is changed to optimised.css
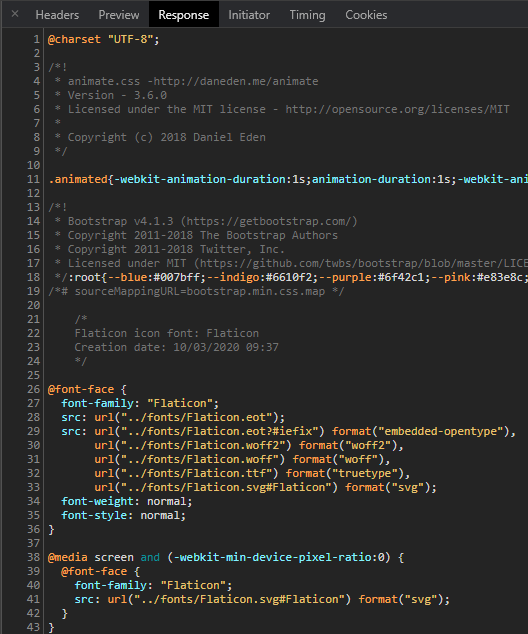
Size of the optimized version is 381 KBConcatenate but not minified. CSS loads with comments
DisabledMode
Change the mode to “Disabled” and should see all the files loaded separately. Disabled mode is good for debugging but should not be used for production as it will give a performance hit.
CSS files are loaded separately and not concatenated nor minified
Best Practice – Enable Asset Optimizer in production environments
The same can be applied to the Scripts.
You have set the optimizer to concatenate and minify globally to your Sitecore instance but still don’t see the site been optimized.
Sitecore SXA module contains templates, Renderings, Layouts, Placeholder Settings, branch etc. It helps structure the SXA site by scaffolding items required to setup the component.
In this blog post I will walkthrough the steps to create a module manually to have a better understanding and helps specially to debug when there are issues with the existing modules.
Create Module(Part 1)
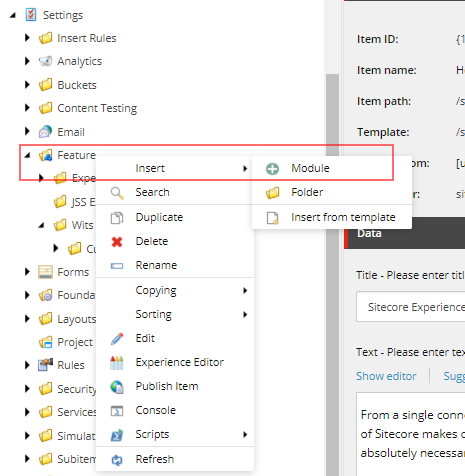
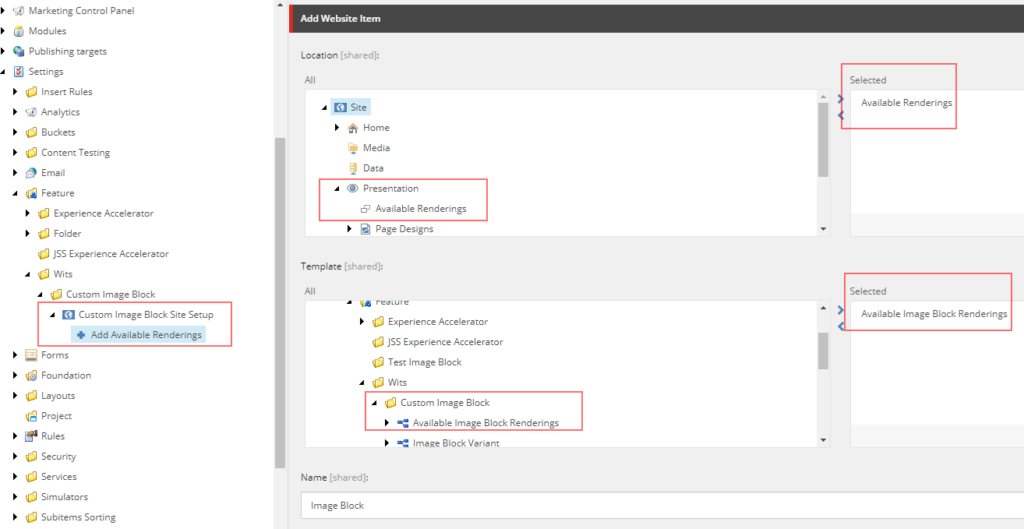
Navigate to – /sitecore/system/Settings/Feature
Right click Featur folder to create module
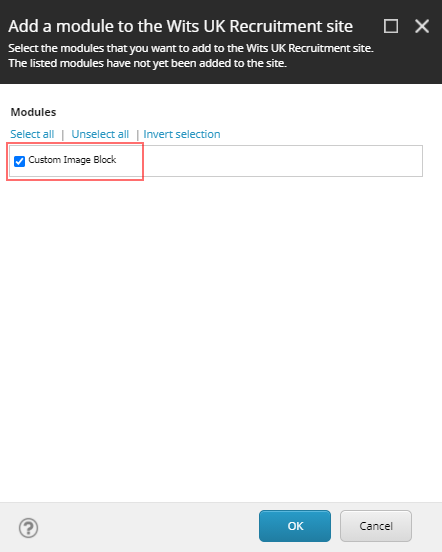
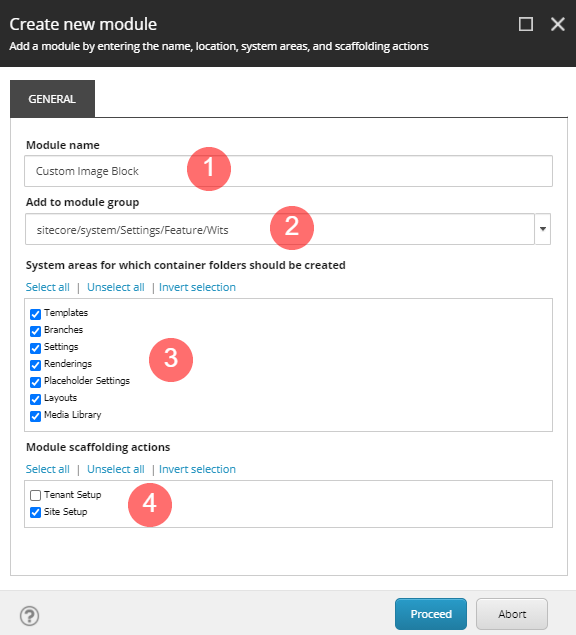
Create new module overlay will open.
Provide a Module name – i.e. Custom Image Block
Choose the location where this module to be created.
Select the system areas the module folders to be created
Choose the module should be applied to tenant or site
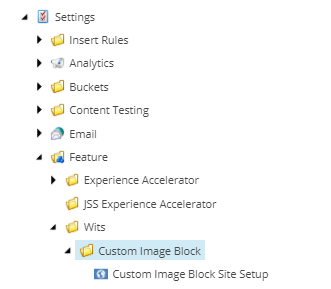
When module is created should be able to see the folder with the Site Setup Root item
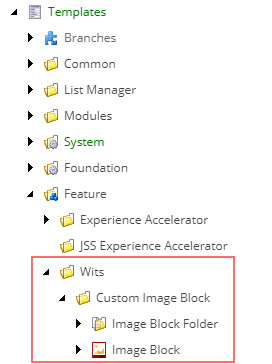
Once the Site Setup Root is created you should be able to see folders with name “Custom Image Block” will be created in Branch, Template, Renderings, Placeholder Settings, Layouts and Media Library or the system areas selected.
Create template required for creating Branch
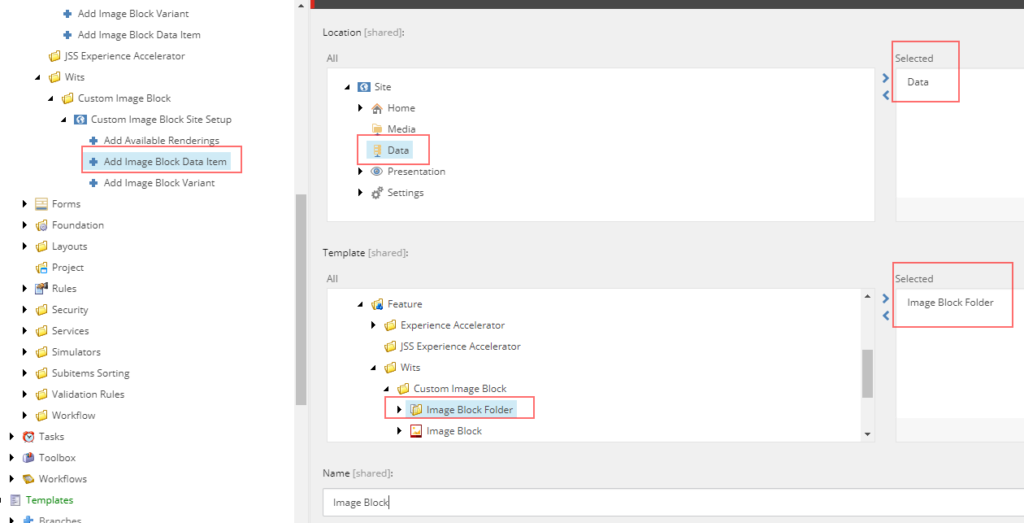
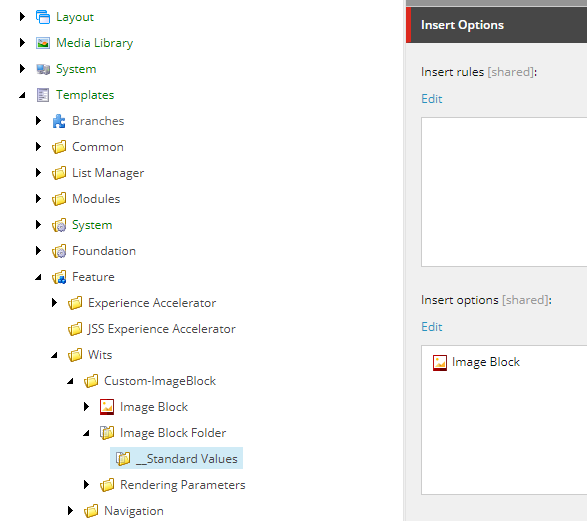
For creating a branch you will need a template and rendering. Create a template in “Custom Image Block” folder. For now you don’t have to add fields. See blog the fields that were created for component.
Create “Image Block Folder” Template
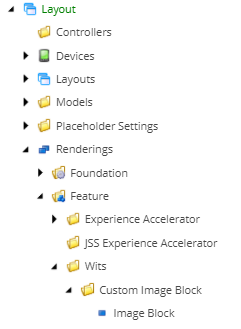
Create rendering required for creating Branch
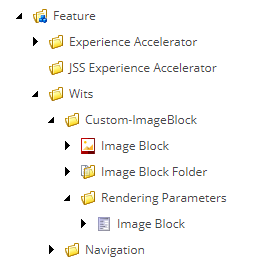
Create controller rendering with name “Image Block” in – /sitecore/layout/Renderings/Feature/Wits/Custom Image Block.
For now don’t setup anything in rendering. See blog for the configuration required in rendering-
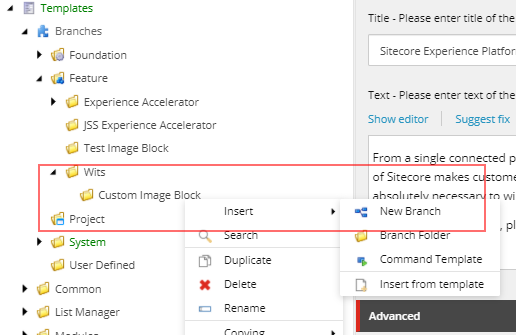
Create Branch
Navigate to /sitecore/templates/Branches/Feature
Create a new branch. Right click on the folder “Custom Image Block” and insert new branch option
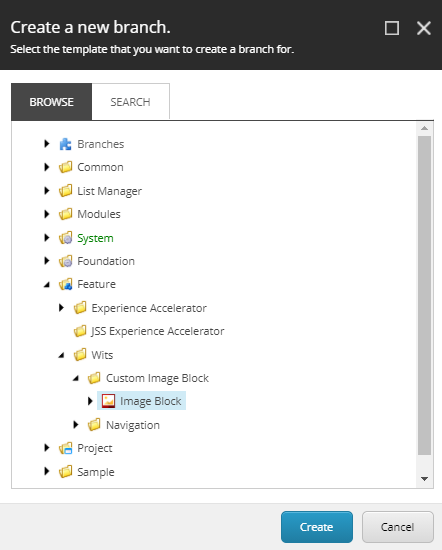
Select the template earlier created-
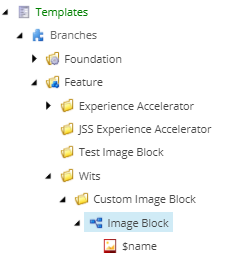
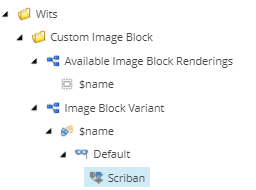
Branch with name “Image Block” will be created.
Delete $name item in the branch
Rename the Image Block to “Available Image Block Renderings”.
Often you see examples for creating a new Sitecore SXA component is suggested to be cloned from the Promo component which helps developers to quick start the development.
But its always good to know the process and supporting items that are created to support he component.
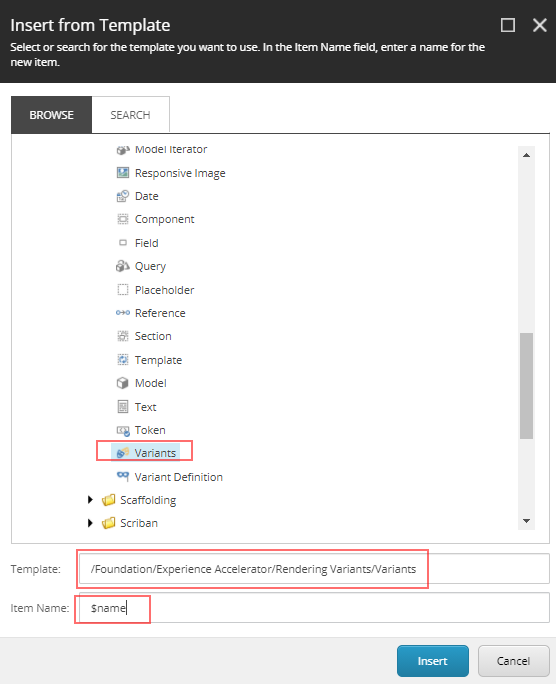
In this blog post I will walk through the steps required to create a SXA component using Scriban from scratch. This post is not about how to use Scriban, will cover that in another post.
This post assumes the SXA Site is configured with the custom theme. See links to create Tenants/Sites/Themes –
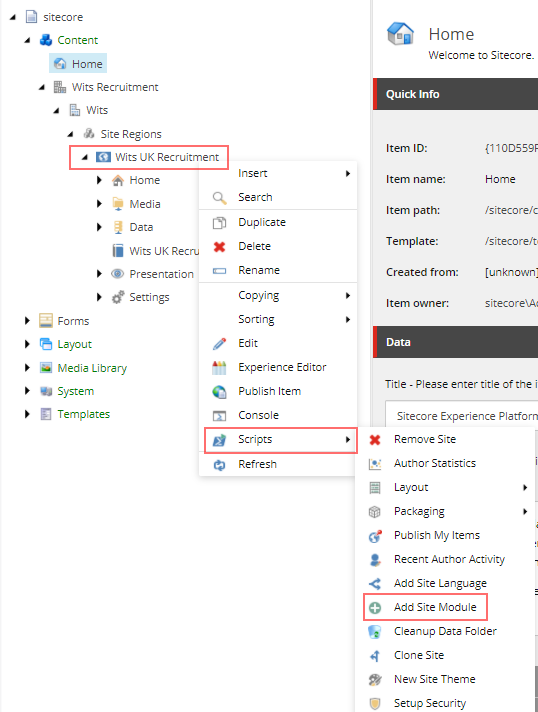
Add rendering to the page. Ideally this can be done by creating a Branch and create a module which should allow to drag and drop the SXA component to the page using experience editor.
Select Home page and select option Presentation ==> Details
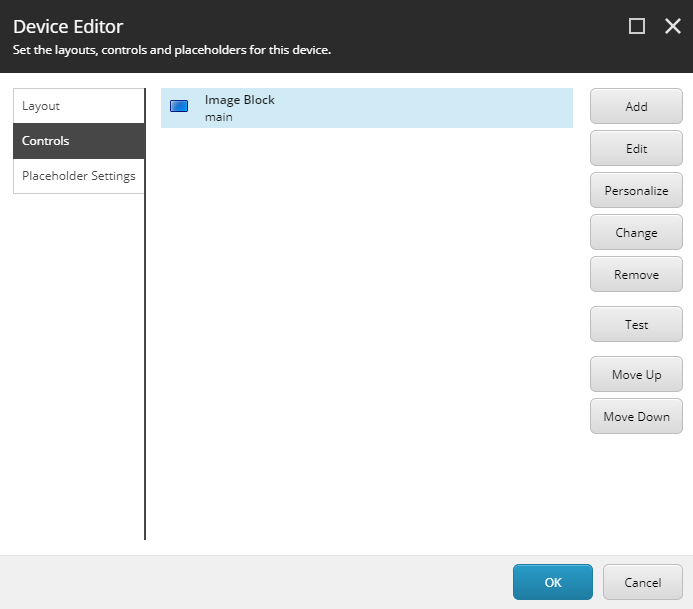
Add the rendering “Image Block” in the placeholder “main”
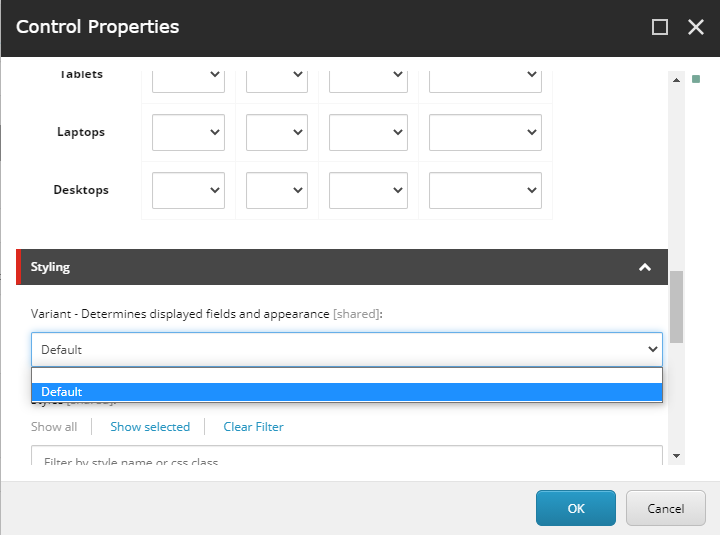
Edit the control and select the Variant “Default” in Styling section.
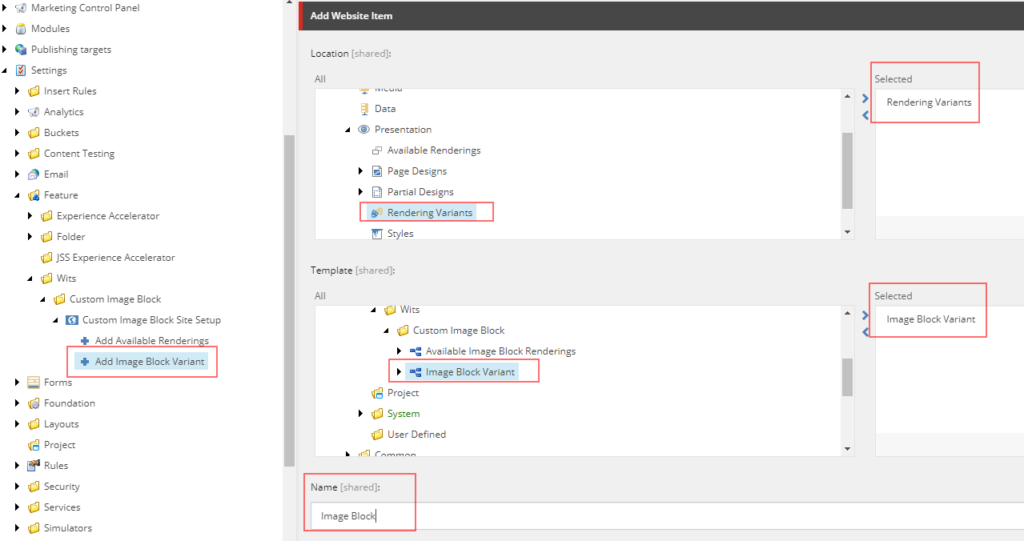
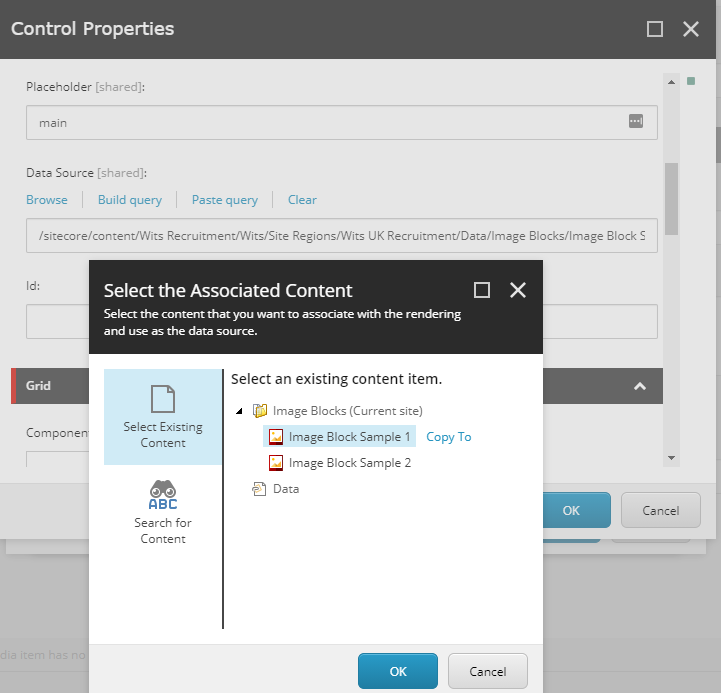
Remember we created a Rendering Variant “Image Block” in step Step 3 and the name of the variant was “Default”. This variant is listed in dropdown for selection. Also select the datasource
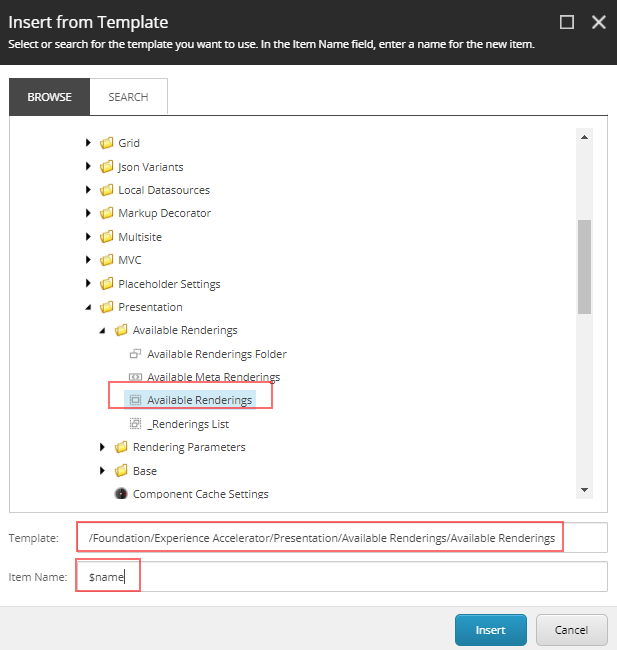
Select rendering variant-
Select the datasource-
Save and Publish and should be able to see the newly created component in Home page
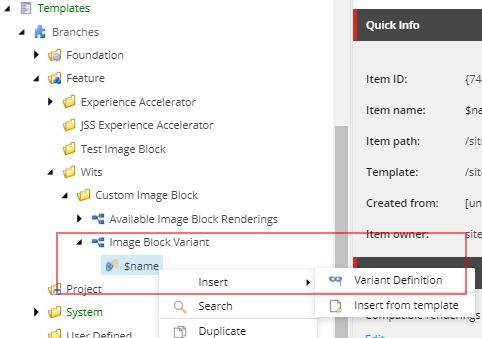
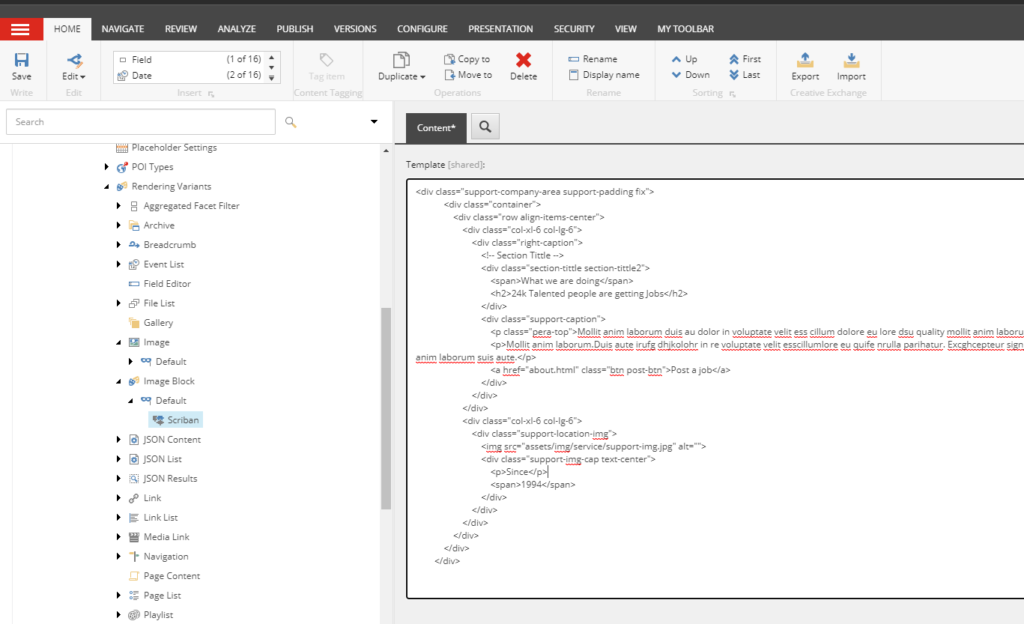
Step 5- Update rendering variant to display content from Image Block item
In step-3 we added a static markup in rendering variant.
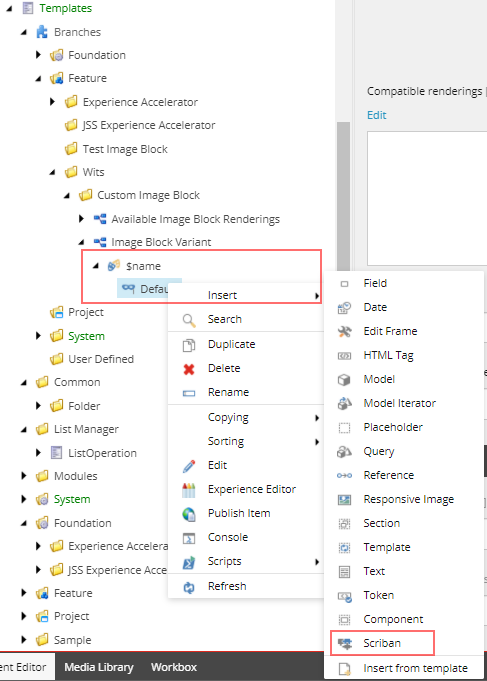
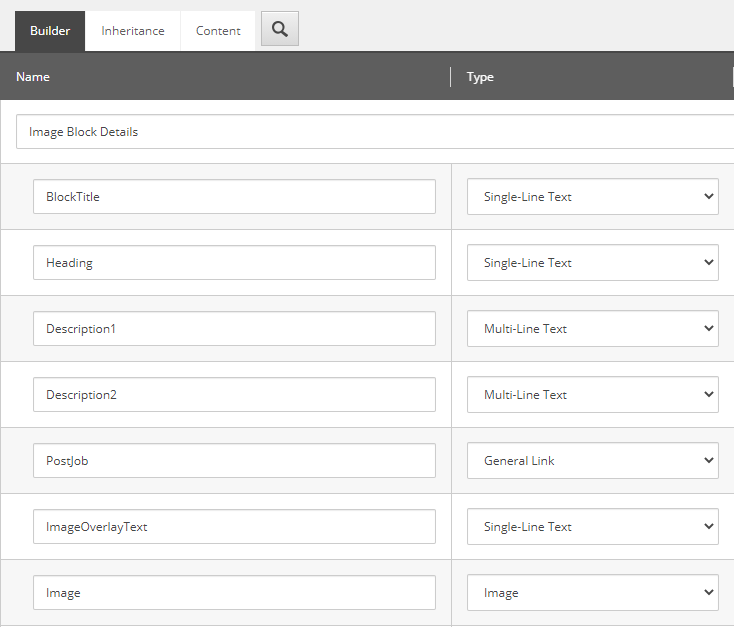
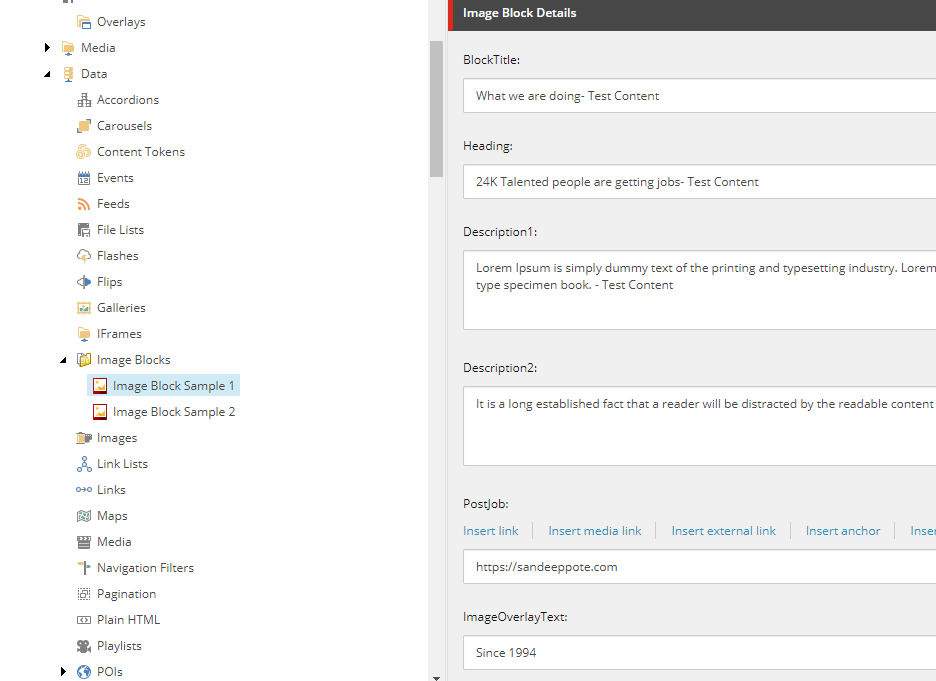
Use the following scriban changes to get the content from selected datasource. See BlockTitle, Heading and Description1 and Description2 to pull the content from item-
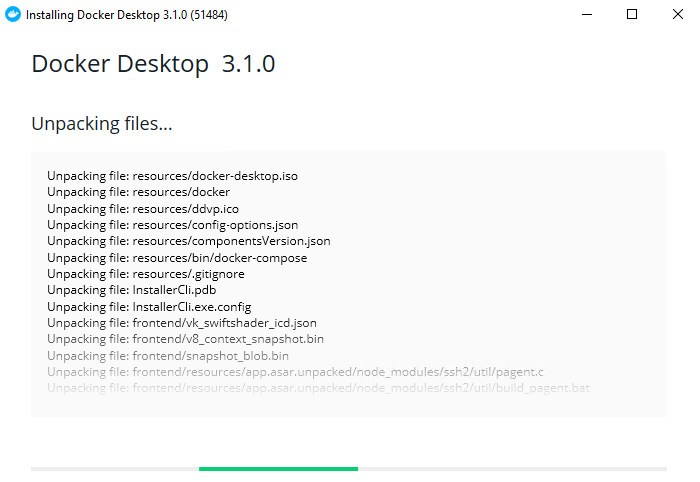
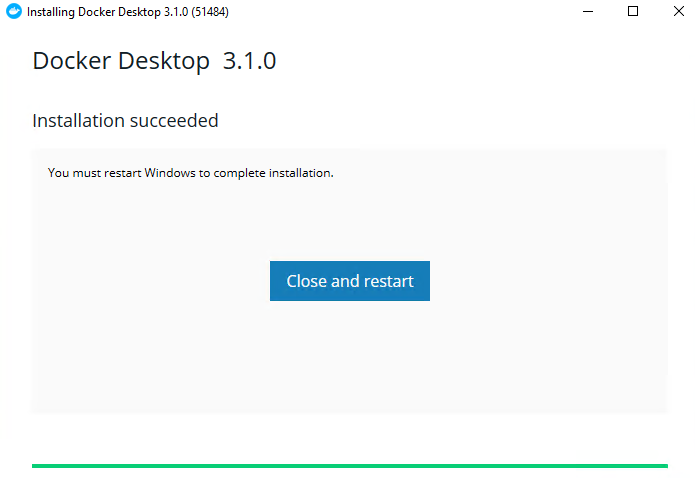
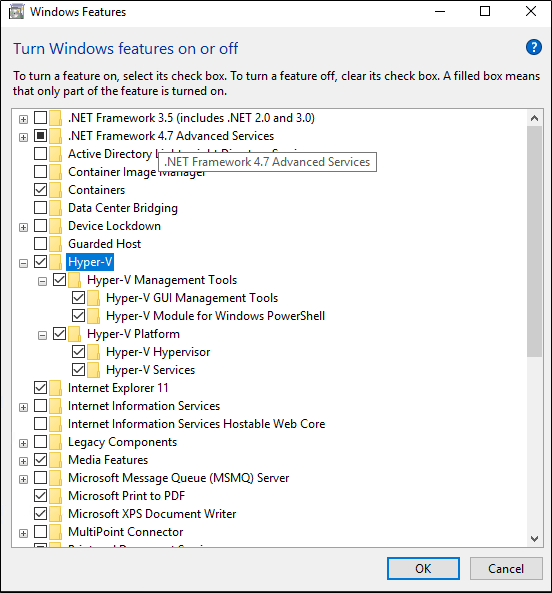
After installation Restart the machine, this should enable the Hyper-V feature
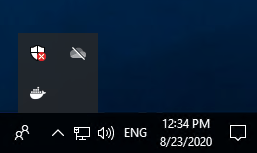
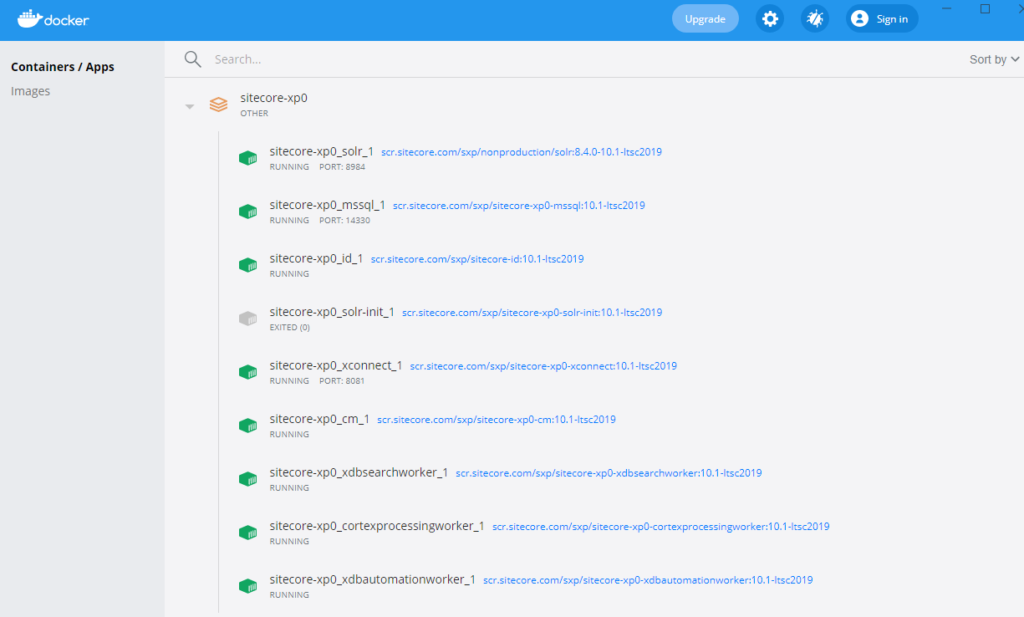
This should also have Docker running and should see the same in system tray
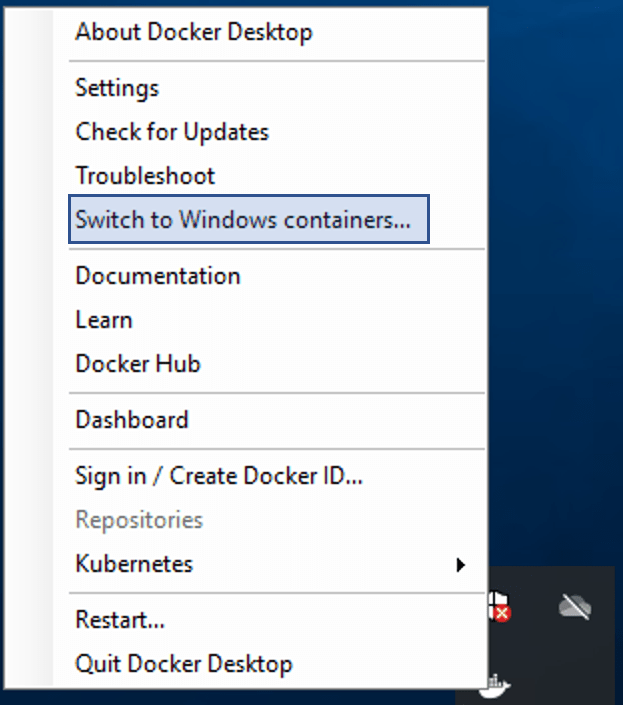
Switch to Windows containers
Right click on Docker icon and switch to Windows Container. See this link for more details as per guide
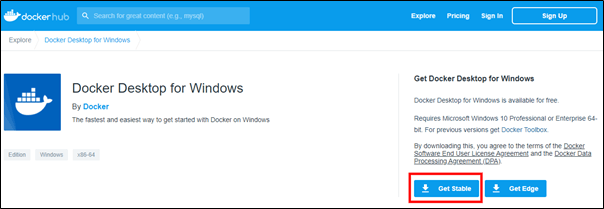
Download and Prepare for installation
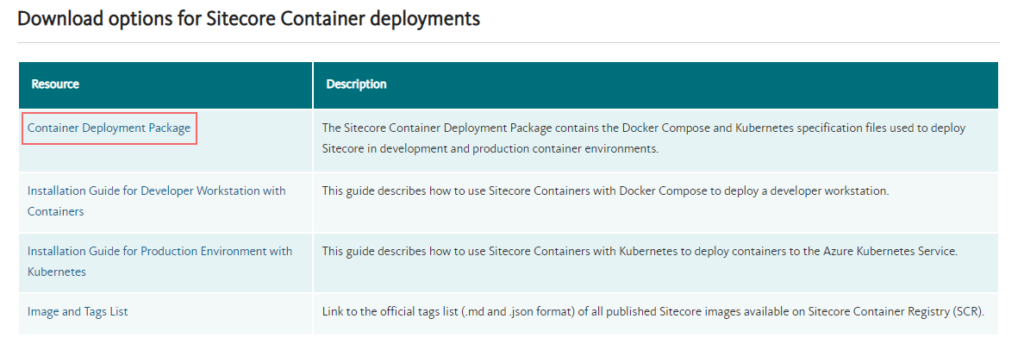
Download and extract the Sitecore Container Deployment Package from the Sitecore Developer Portal and store it on your local workstation or check releases here
Copy and extract SitecoreContainerDeployment.10.1.0.005207.309.zip for e.g:- C:/sc101_install
Navigate to C:\sc101_install\compose\ltsc2019\xp0
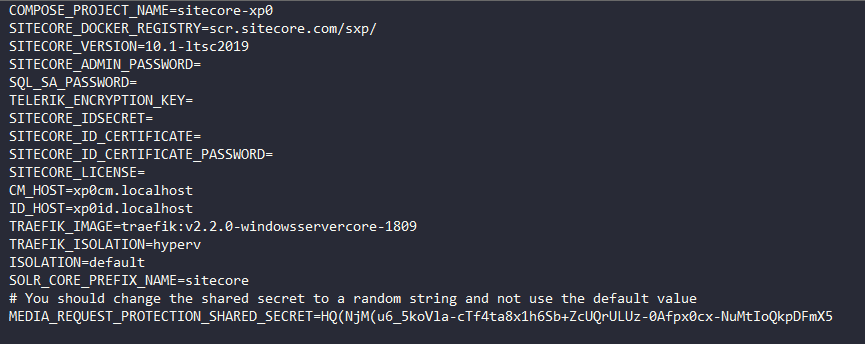
Open .env file, we need to fill in this parameters before starting installation. You can find more details in guide for each option.
Download PowerShell script to initialize (init.ps1) the parameters from docker-examples. Parameter values in .env can be populated manually by individually executing the commands for required for each parameter in guide(see Appendices) but I would recommend to use init.ps1 as this is provided by Sitecore and hence tried and tested.
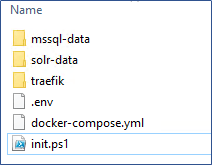
Folder structure should look like this-
Change parameter values in init.ps1 file.
Change the SitecoreAdminPassword, SqlSaPassword and host entries as per requirement. If you are changing host entries also ensure the same is updated in .env file for CM_HOST and ID_HOST parameters. Lets keep the default values.
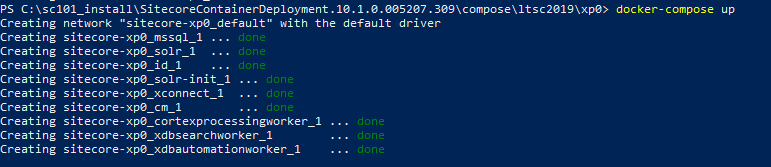
Populate .env file using init command
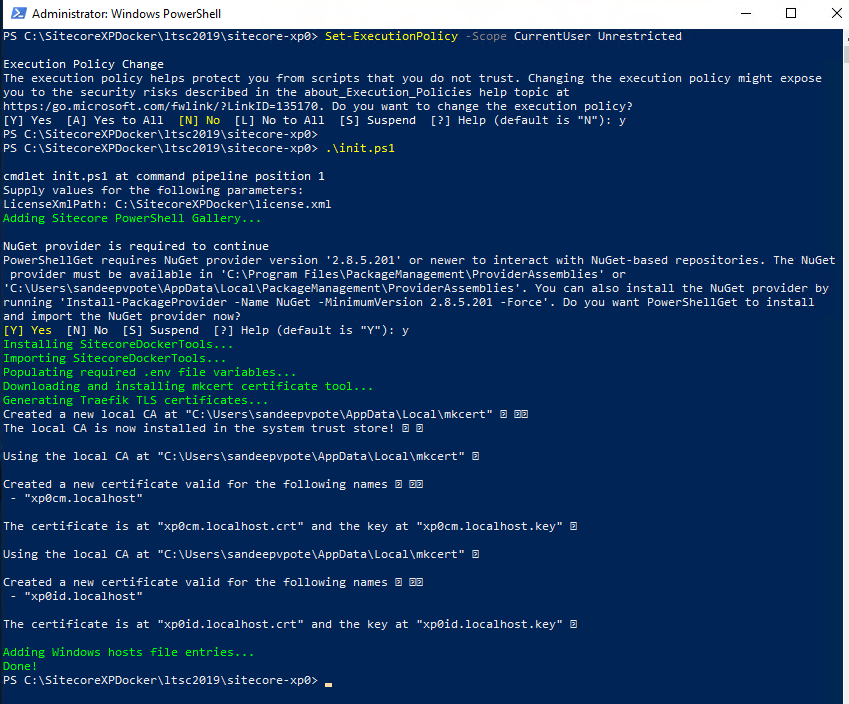
Open PowerShell as a Administrator, navigate to the folder having init.ps1 file.
Execute init.ps1 script. You may have to set the execution rights to current user to execute the script-