Pre-requisite-
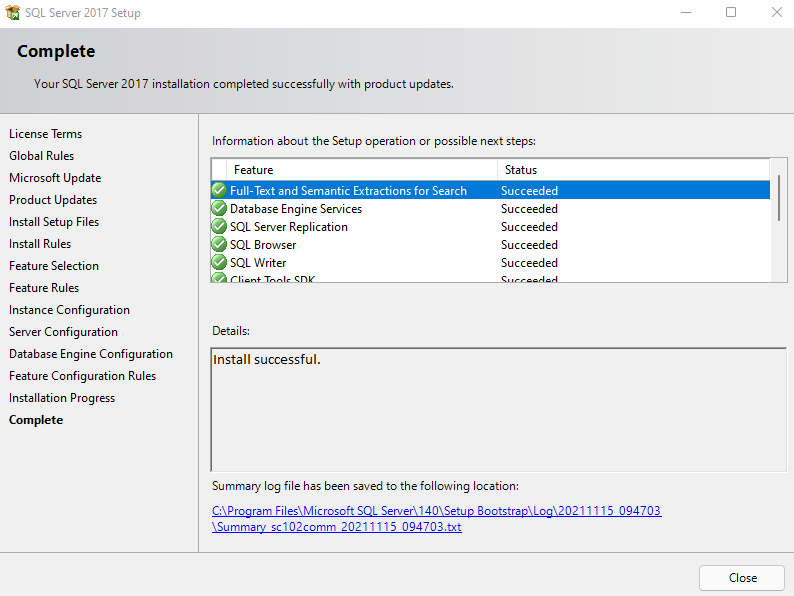
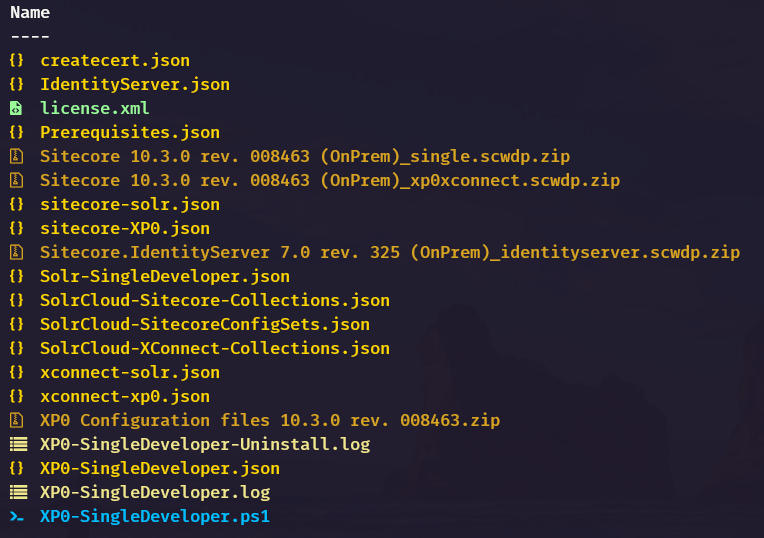
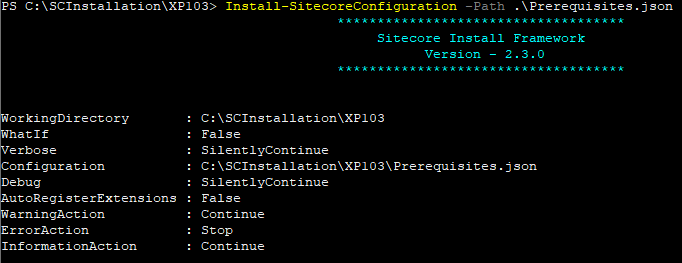
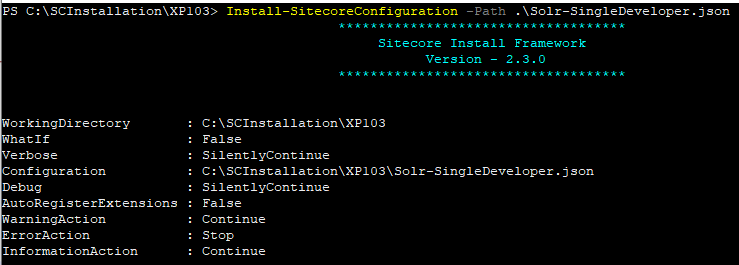
Install Sitecore 10.3 XP0 on local machine – see this blog to install the SIF way
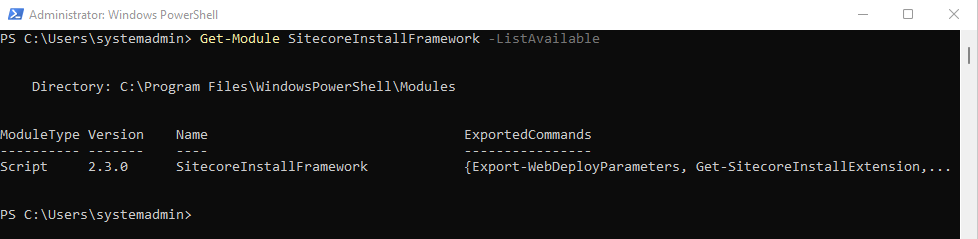
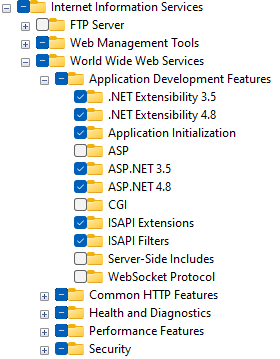
Install Powersehll Extensions
Sitecore PowerShell Extension for Sitecore on your local Sitecore instance
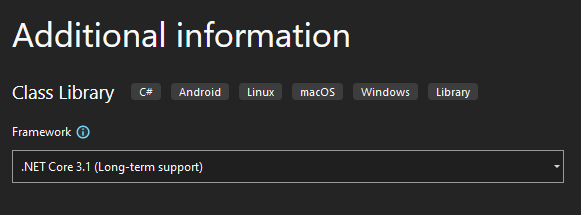
Sitecore Headless Rendering 21.0.0
Install Sitecore Headless Services for Sitecore XP on your local Sitecore instance
See the Sitecore Headless Rendering 21.0.0 download page
Install SXA module –
Sitecore Experience Accelerator on your local Sitecore instance
See the Sitecore Experience Accelerator 10.3.0 dowload page
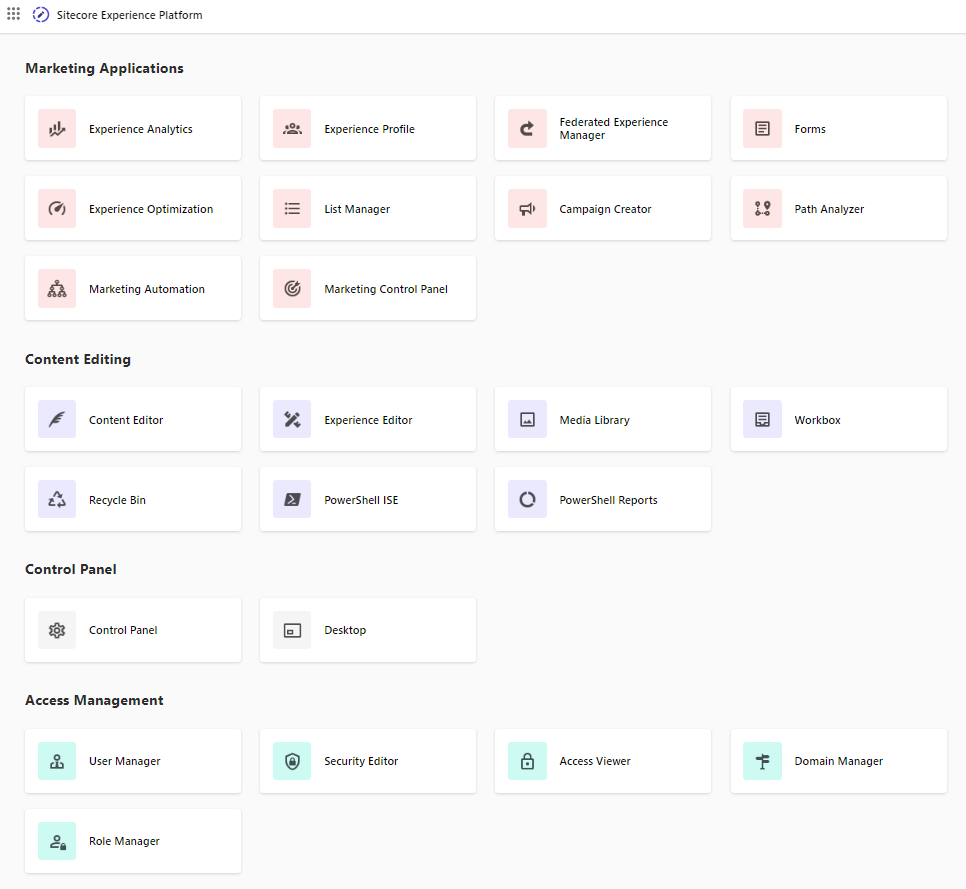
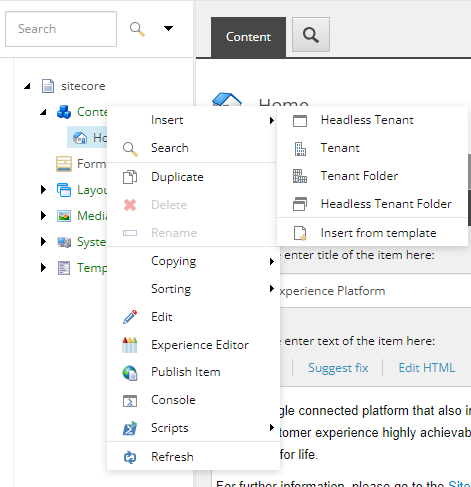
Once you have the above installed the local instance should have options to create a Headless Tenant and Folder
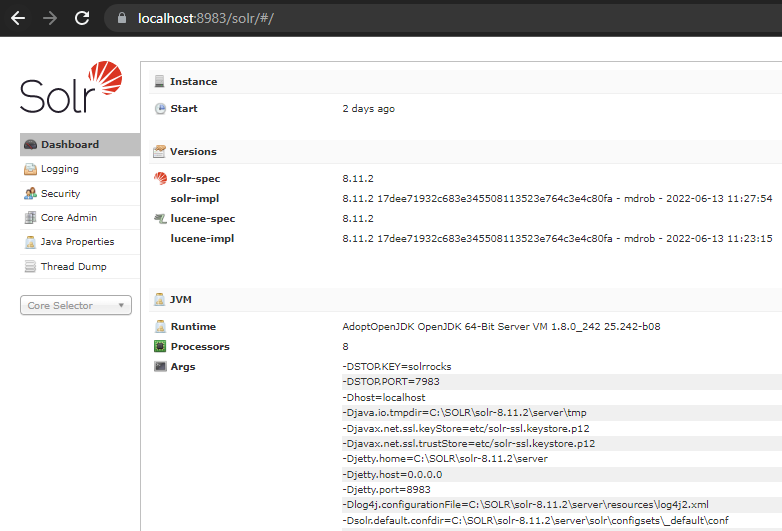
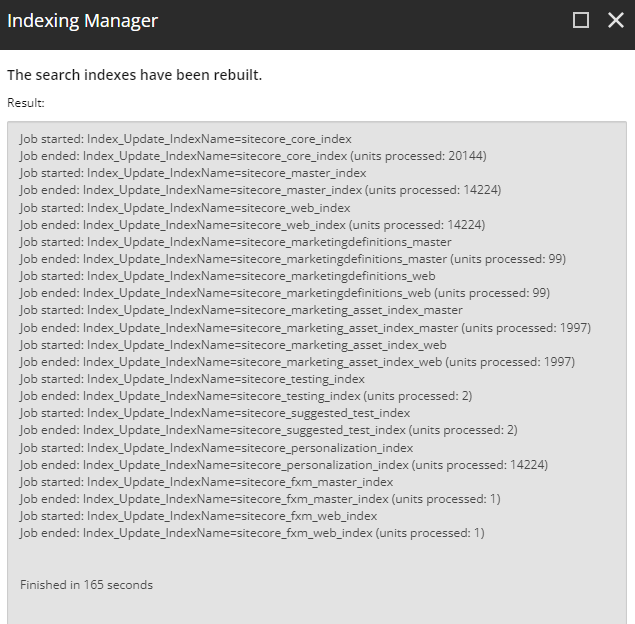
Ensure all the search index and rebuilt-
Install Node js Download | Node.js (nodejs.org). Latest whilst writing this blog was v18.14.0
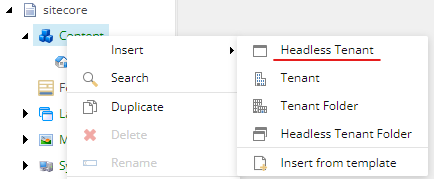
Create a Headless Tenant
Select the Headless Tenant
Enter a valid tenant Name and the modules to install –
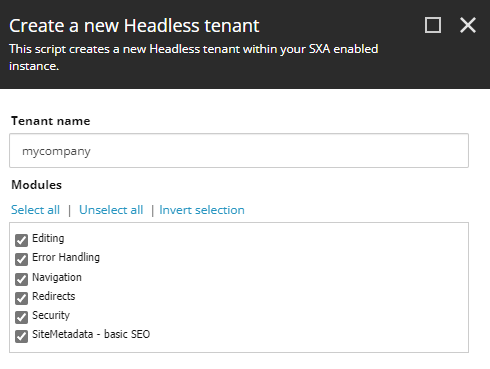
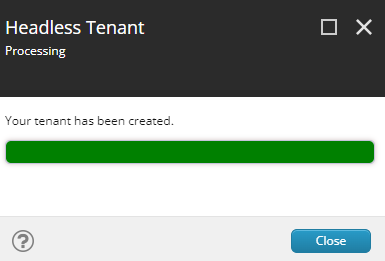
Should create a tenant successfully-
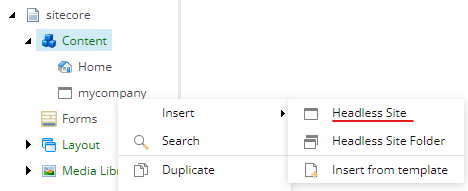
Create a Headless Site
Now create a Headless Site
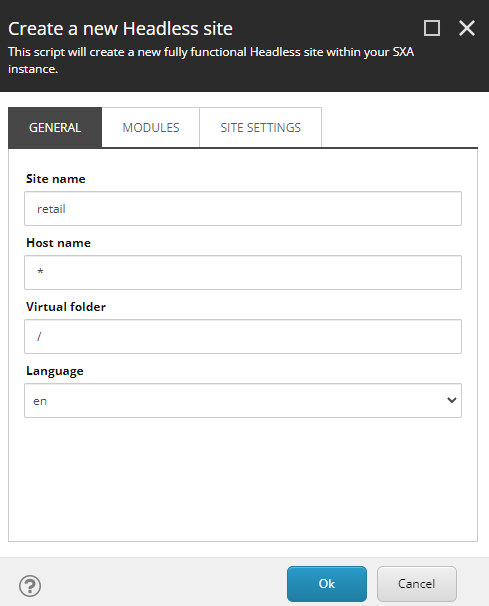
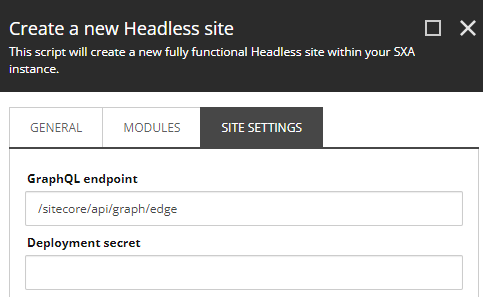
Provide a valid Site name and other options-
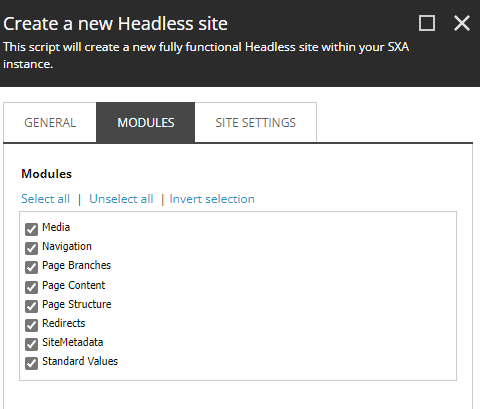
Select the modules to install-
Keep the Site settings as is for now and will generate the deployment secret later-
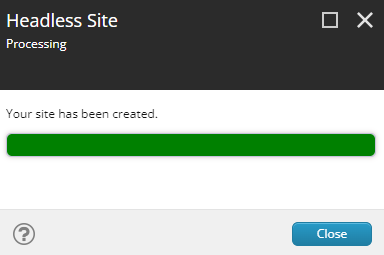
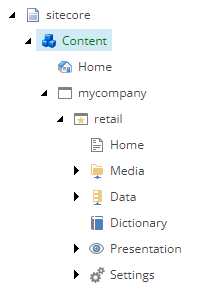
Site should be crated within the tenant-
Setup the rendering host
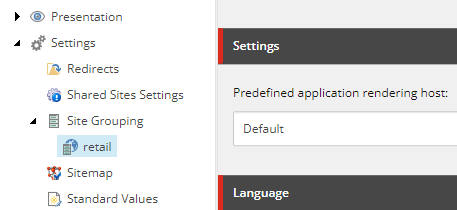
Site Settings – Check for the rendering host- should have set to Default
/sitecore/content/mycompany/retail/Settings/Site Grouping/retail
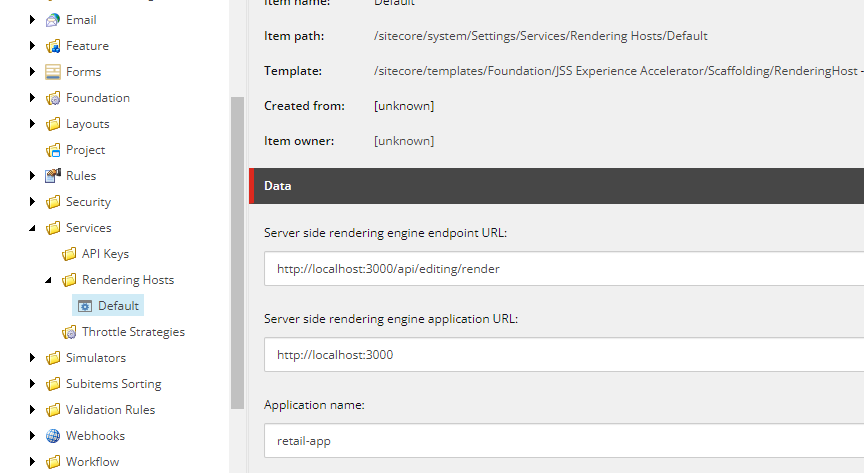
Find the Default rendering host on this location-
/sitecore/system/Settings/Services/Rendering Hosts/Default
Server side rendering engine endpoint URL:- http://localhost:3000/api/editing/render
Server side rendering engine application URL:- http://localhost:3000
Application name:- e.g.:- retail-app
Where is the above value coming from – when a next js app is created by default it is hosted on port 3000. Please see section below- NEXT STEPS
Create JSS Api key
Navigate to this location to create API key- /sitecore/system/Settings/Services/API Keys
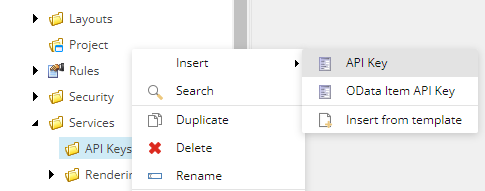
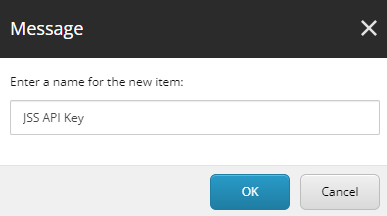
Provide a valid name-
Set the CORS and Allowed Controllers to all domains. Set this to *
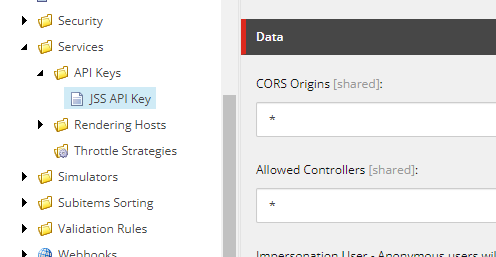
Will need API key while setting up the next js app.
Install JSS globally
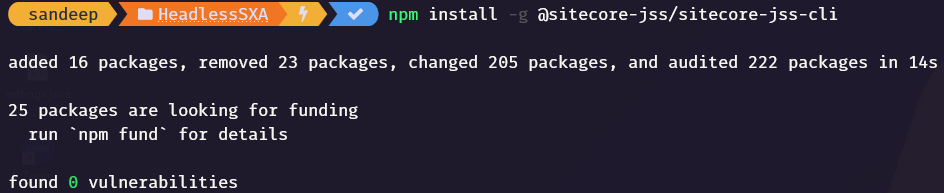
npm install -g @sitecore-jss/sitecore-jss-cliInitialise JSS App
Refer following for various options –https://doc.sitecore.com/xp/en/developers/hd/210/sitecore-headless-development/the-jss-app-initializer.html
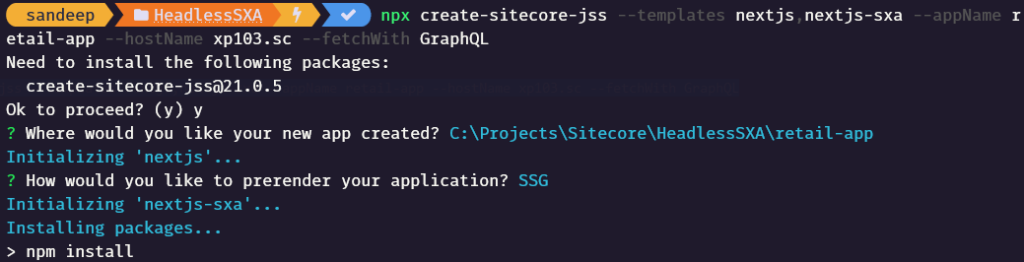
Use following command-
npx create-sitecore-jss --templates nextjs,nextjs-sxa --appName retail-app --hostName xp103.sc --fetchWith GraphQLPossible values for templates arguments-
Base templates– nextjs. Other possible values-

Other templates

appName – enter the app name provided in the rendering host. See Setup the rendering host section
hostname– enter the hostname of the Sitecore instance
While installing following questions are asked-
? Where would you like your new app created? – provide the location to create a next jss app
? How would you like to prerender your application? – Select SSG
Understand the pre-rendering to select. In this case I have selected SSG option.
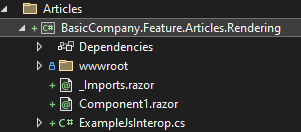
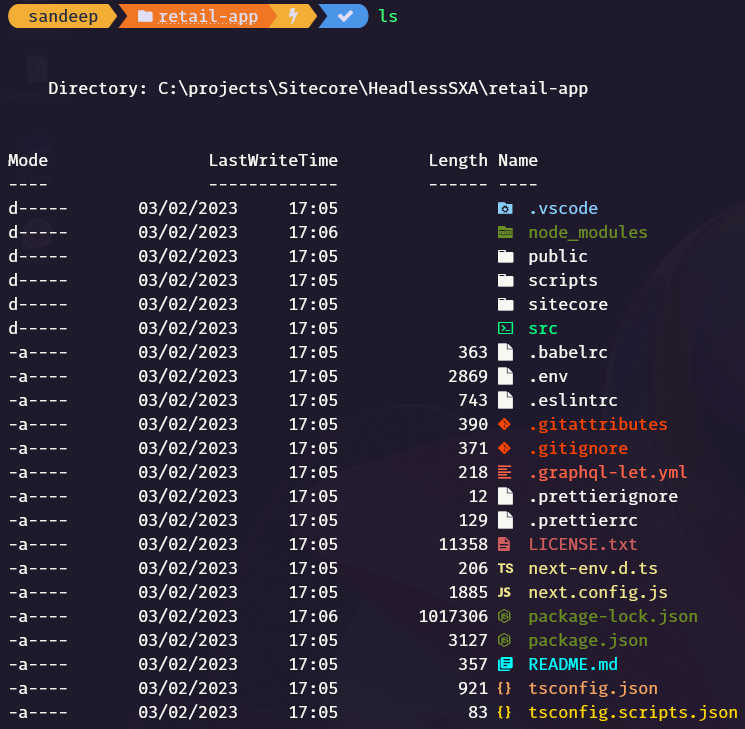
Following files will be created in a new folder (retail-app) –
Setup JSS app-
see this link- https://doc.sitecore.com/xp/en/developers/hd/190/sitecore-headless-development/start-a-jss-app-in-disconnected-mode.html
Setup the JSS app-
jss setupFollowing options are asked, provide the required details-
Is your Sitecore instance on this machine or accessible via network share? [y/n]: y
Path to the Sitecore folder (e.g. c:\inetpub\wwwroot\my.siteco.re): C:\inetpub\wwwroot\XP103.sc
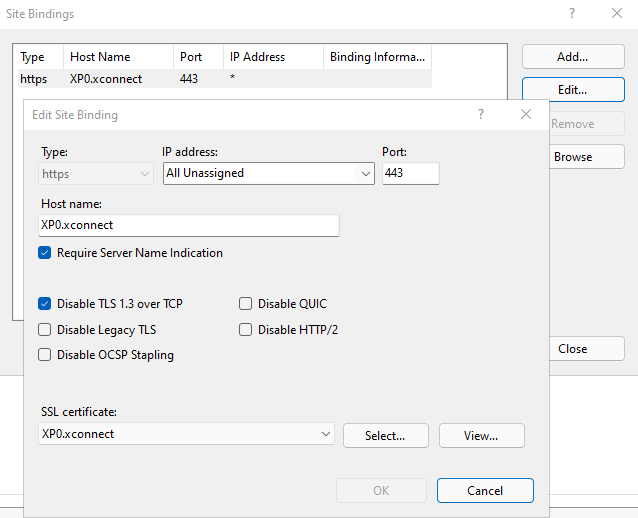
Sitecore hostname (e.g. http://myapp.local.siteco.re; see /sitecore/config; ensure added to hosts): https://xp103.sc
Sitecore import service URL [https://xp103.sc/sitecore/api/jss/import]: [Leave blank]
Sitecore API Key (ID of API key item): B418AB1D-A7A9-48F4-9A96-51F7D6C2105F [enter the api key created earlier- see section Create JSS Api key ]
Please enter your deployment secret (32+ random chars; or press enter to generate one): [Leave this blank and it should create one or enter the value here]
See the highlighted values. Also note the where the deployment secret is written-C:\projects\Sitecore\HeadlessSXA\retail-app\sitecore\config\retail-app.deploysecret.config
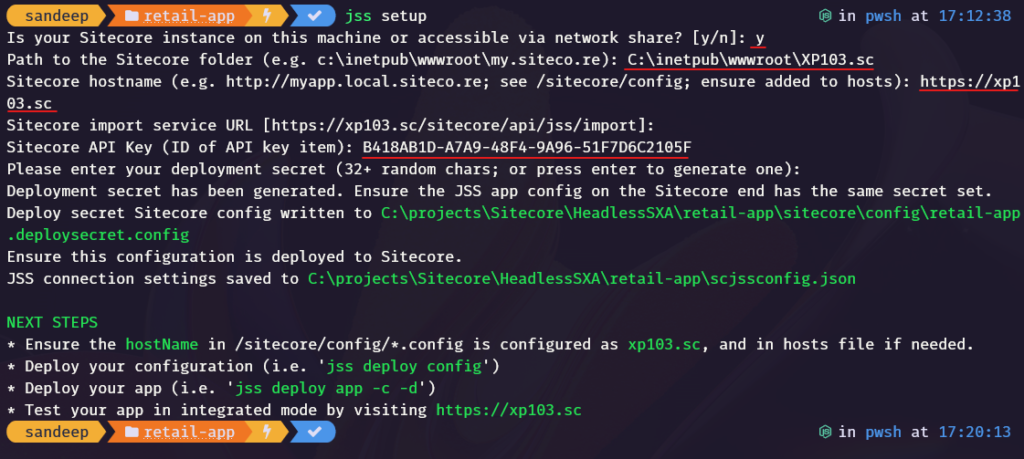
NEXT STEPS
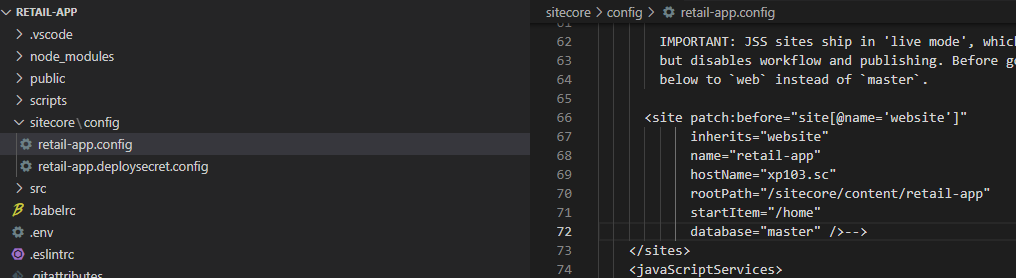
Remove/Comment the site definition in this case as opposed to JSS sites as this will be handled in Sitecore site settings-
Remove it from /sitecore/config/retail-app.config
Verify JSS app registration-
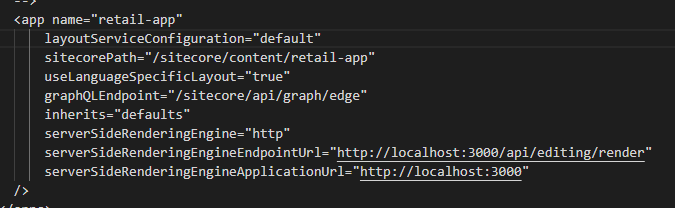
See the values of Endpoint Url and Application URL. The same url was configured in rendering host.
Set JSS Editing Secret in .env file- Use the deployment secret from the /sitecore/config/app-name.deploysecret.config
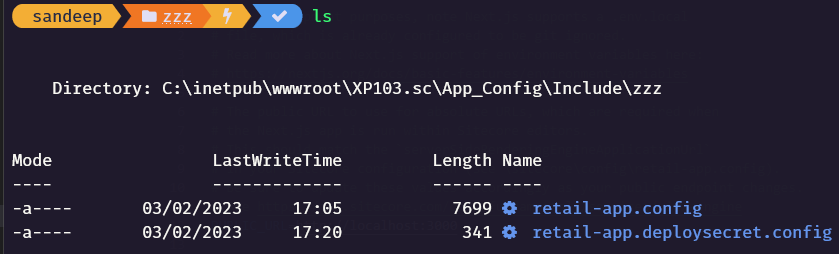
Deploy config
jss deploy config
Note the config was deployed to C:\inetpub\wwwroot\XP103.sc\App_Config\Include\zzz folder in the Sitecore instance
Start Application in connected mode
jss start:connected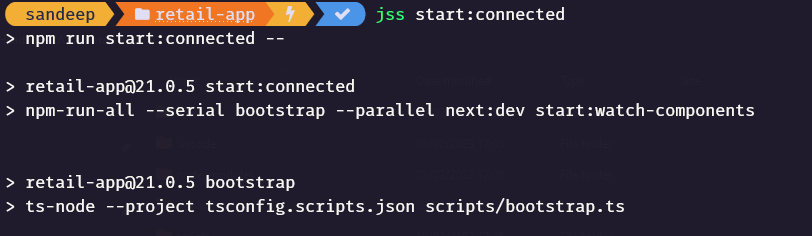
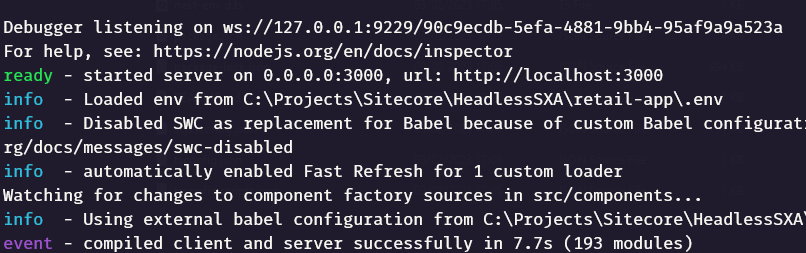
Application should listen to http://localhost:3000
Try accessing – http://localhost:3000
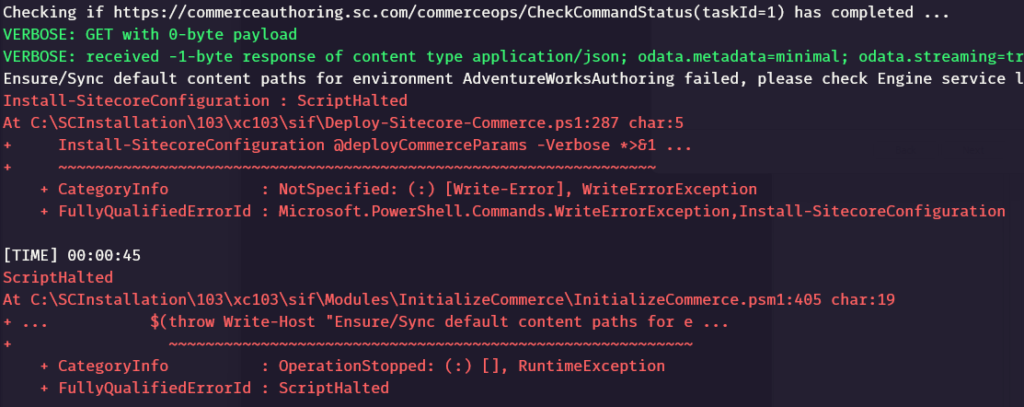
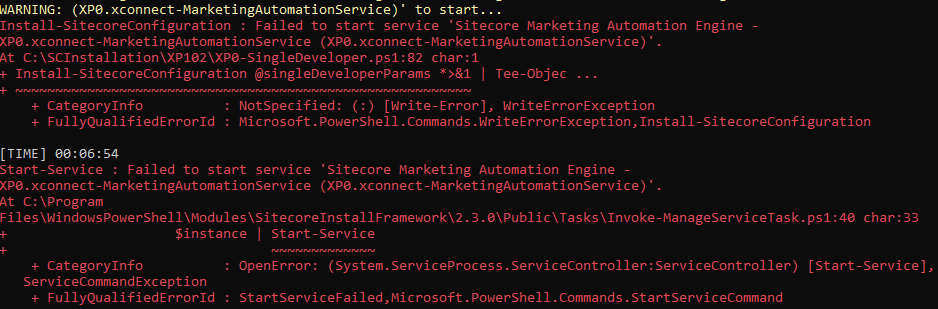
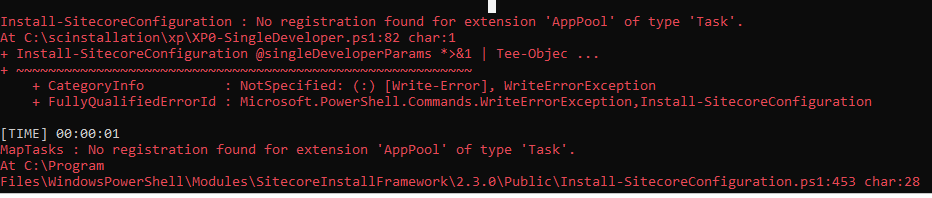
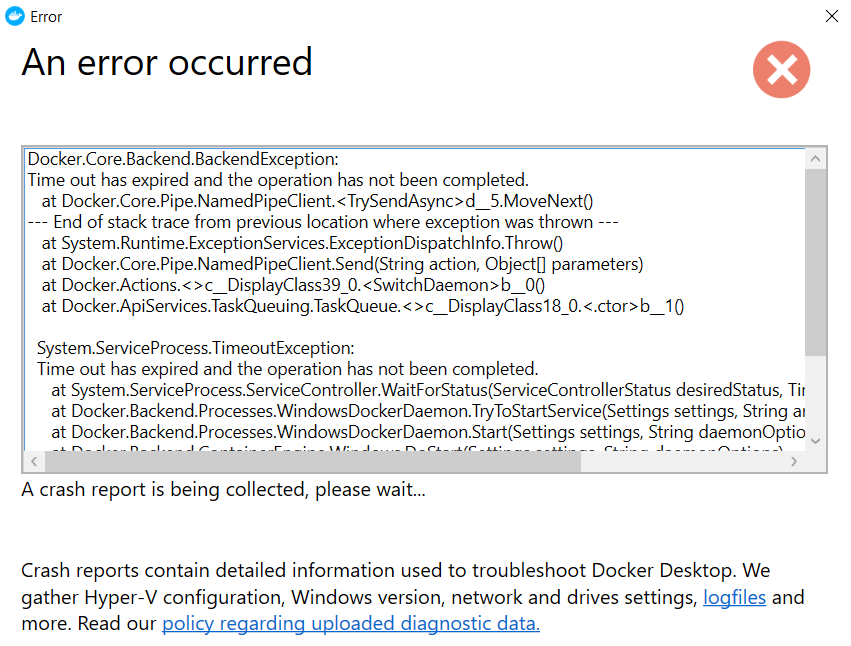
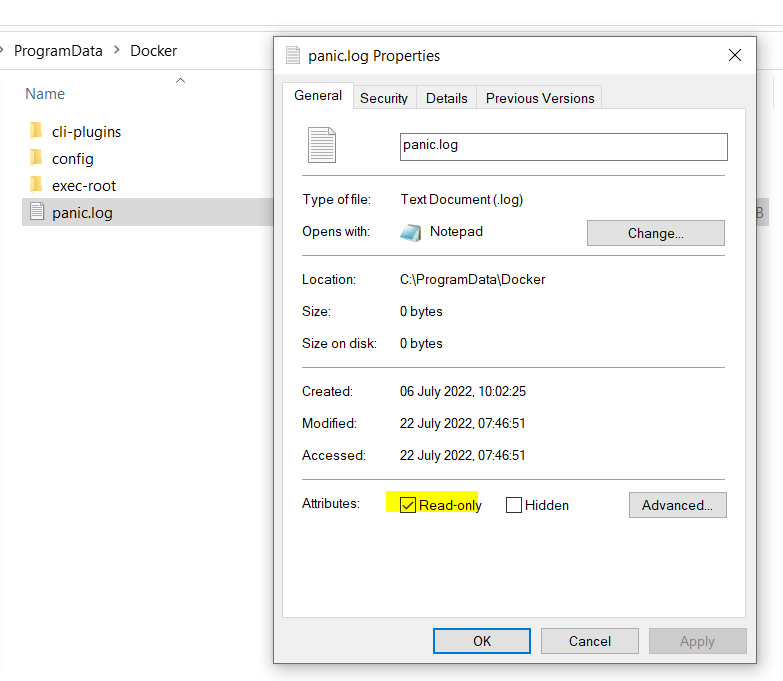
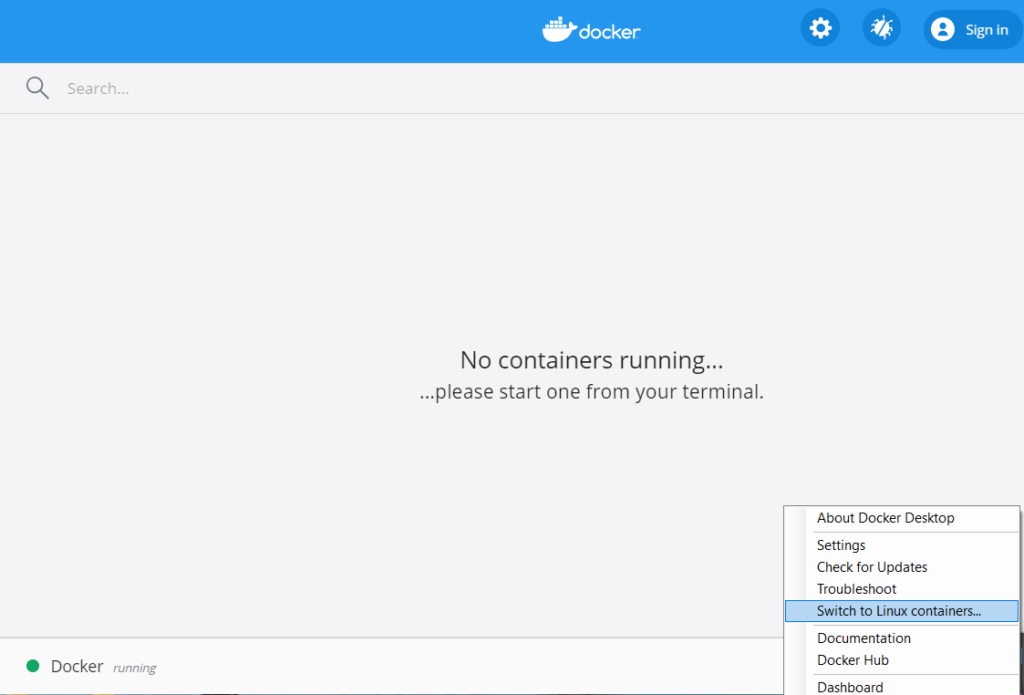
Errors:-
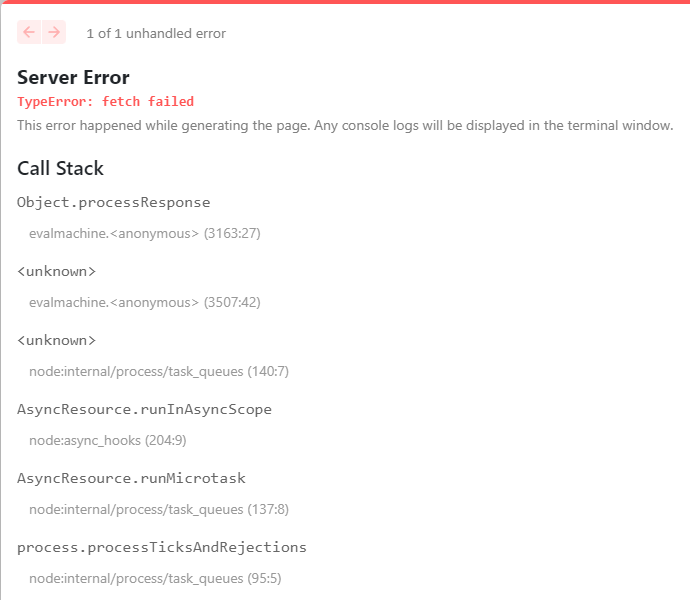
Solution–
$env:NODE_TLS_REJECT_UNAUTHORIZED=0Error-
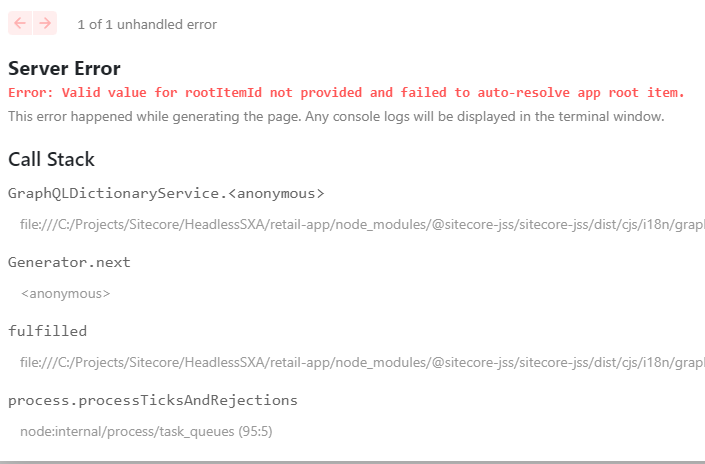
Solution-
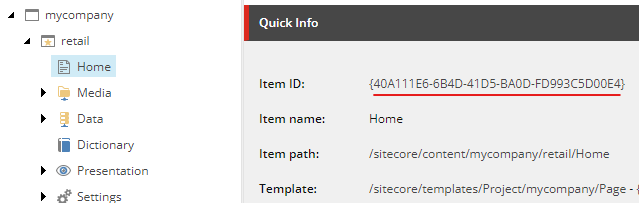
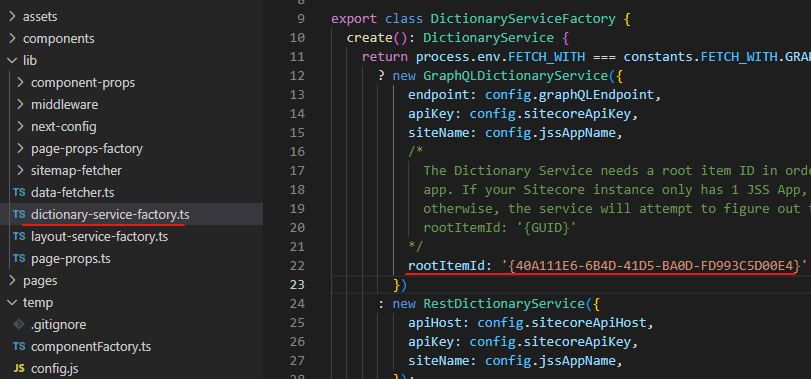
Search for root item in code- open \src\lib\dictionary-service-factory.ts
Error- Page not found
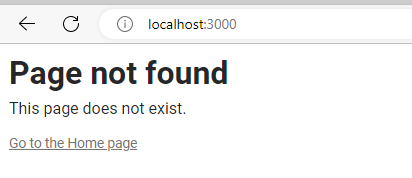
Solution – Ensute the site and the app name is same.
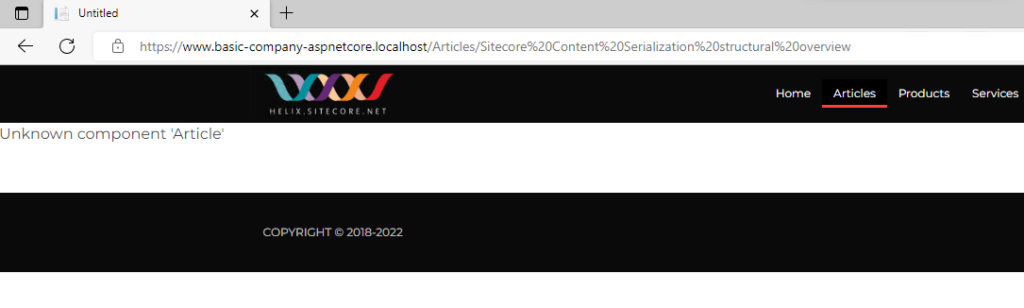
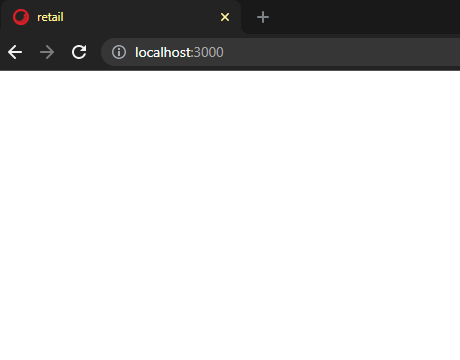
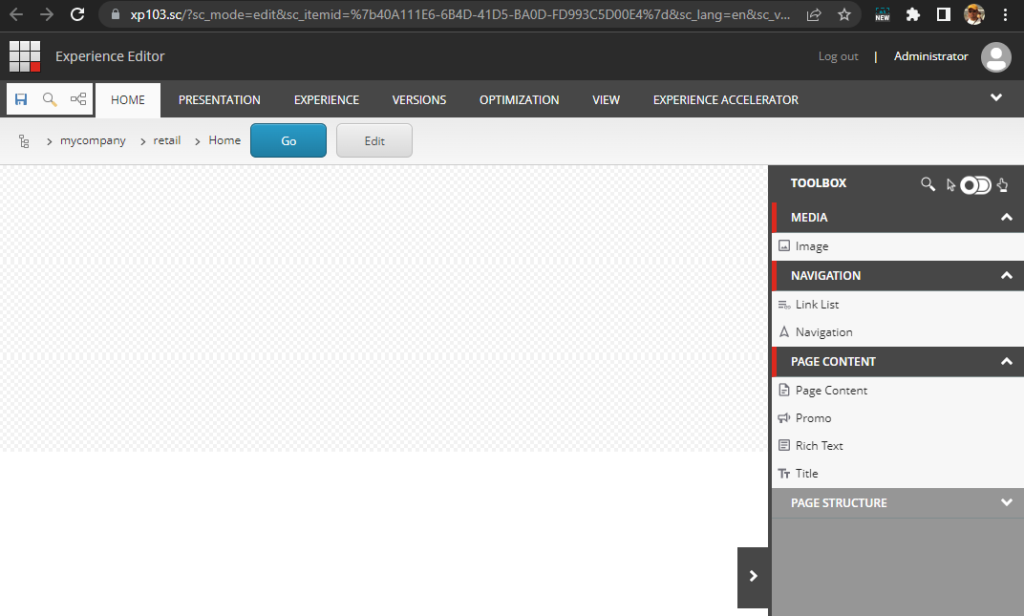
After all the above errors, it should show the blank page- Since there are no component s added.
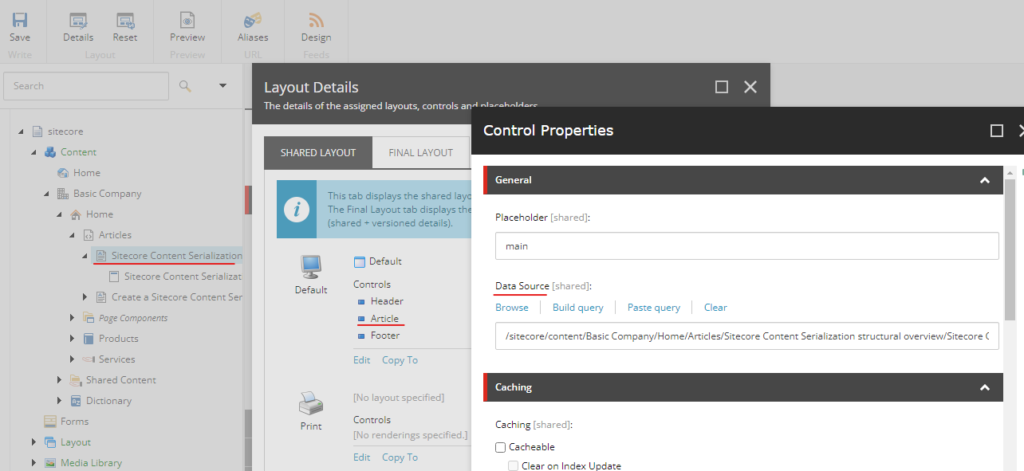
Lets add some content, for this opne the Home page in experienec editor and see this error-
Error- Connection to your rendering host failed with an Unauthorized error. Ensure the JSS Editing Secret is configured.

Update the JSS Editing Secret in Sitecore instance at following path (best practice-you have to patch the config instead of updating the Sitecore configs directly)
App_Config\Sitecore\JavaScriptServices\Sitecore.JavaScriptServices.ViewEngine.Http.config
Update the value to the deployment secret used earlier in .env file-


After update-

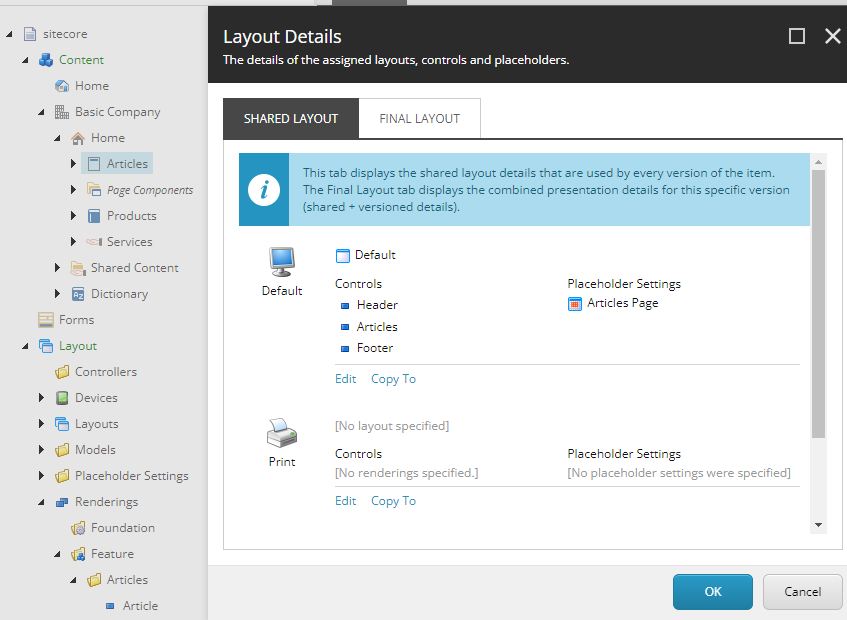
Finally we can see the experience editor-
Add some content –
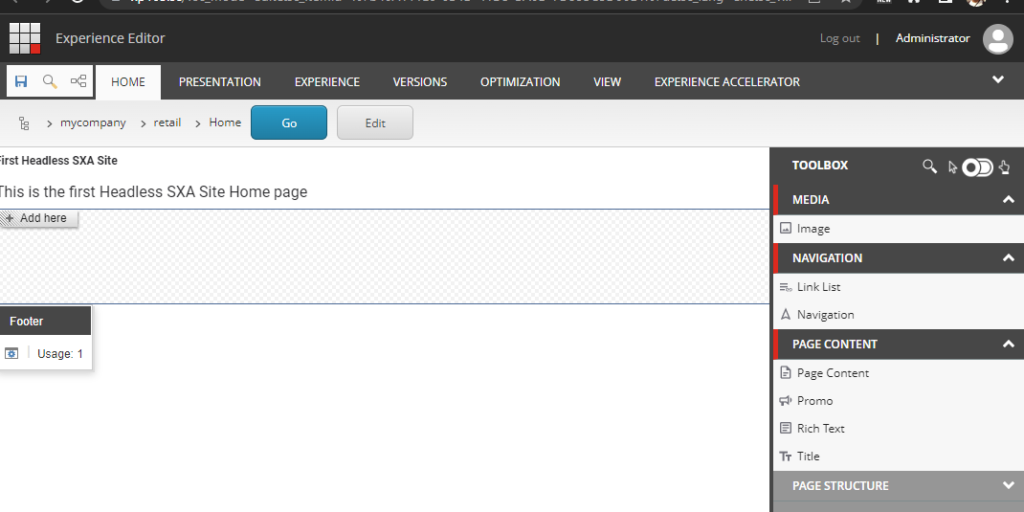
Save and Publish
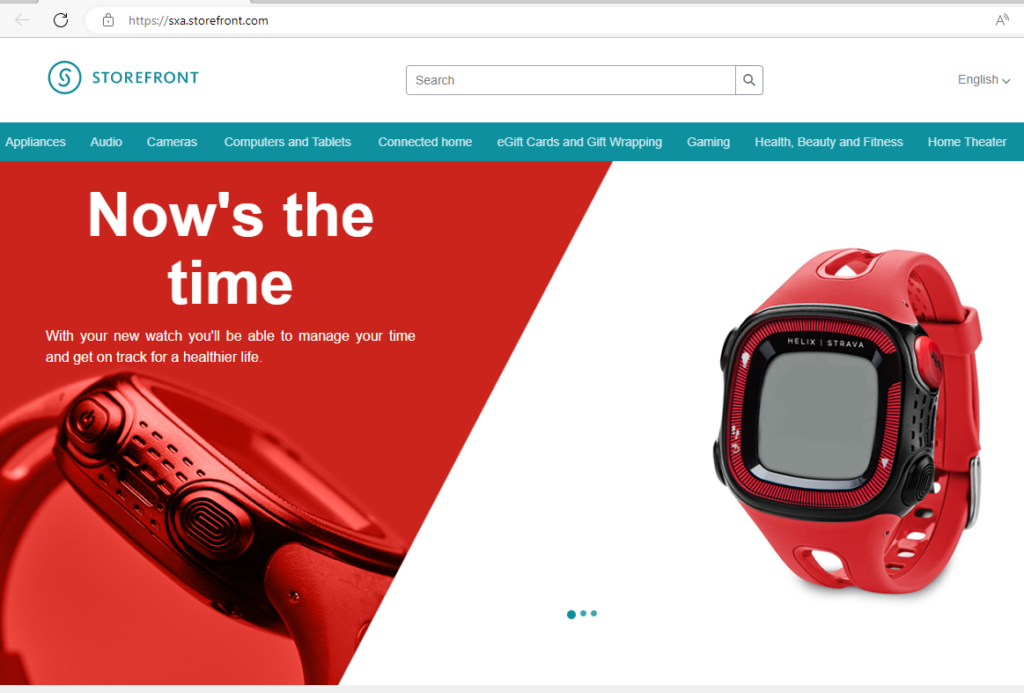
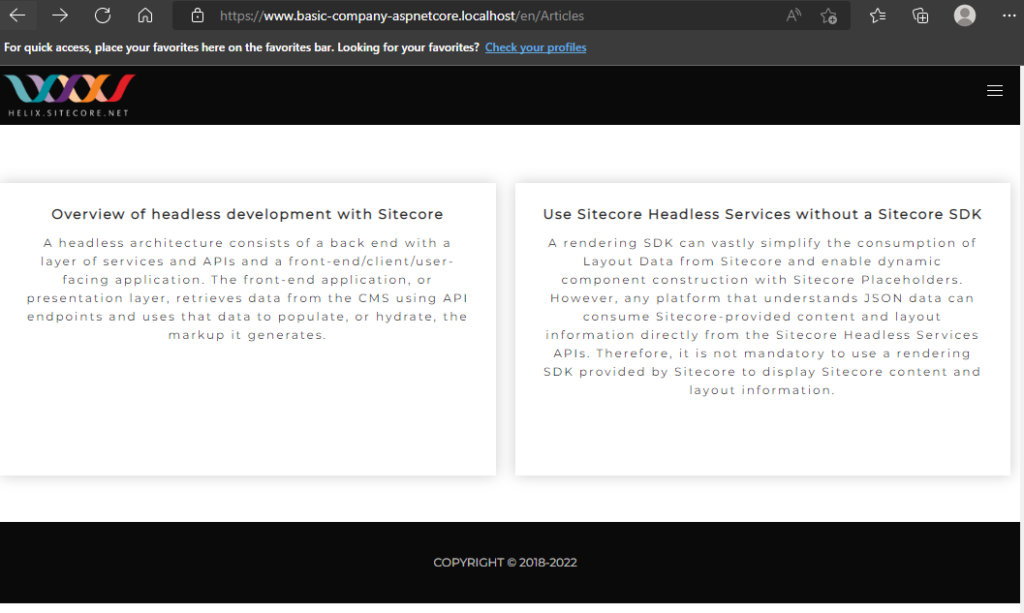
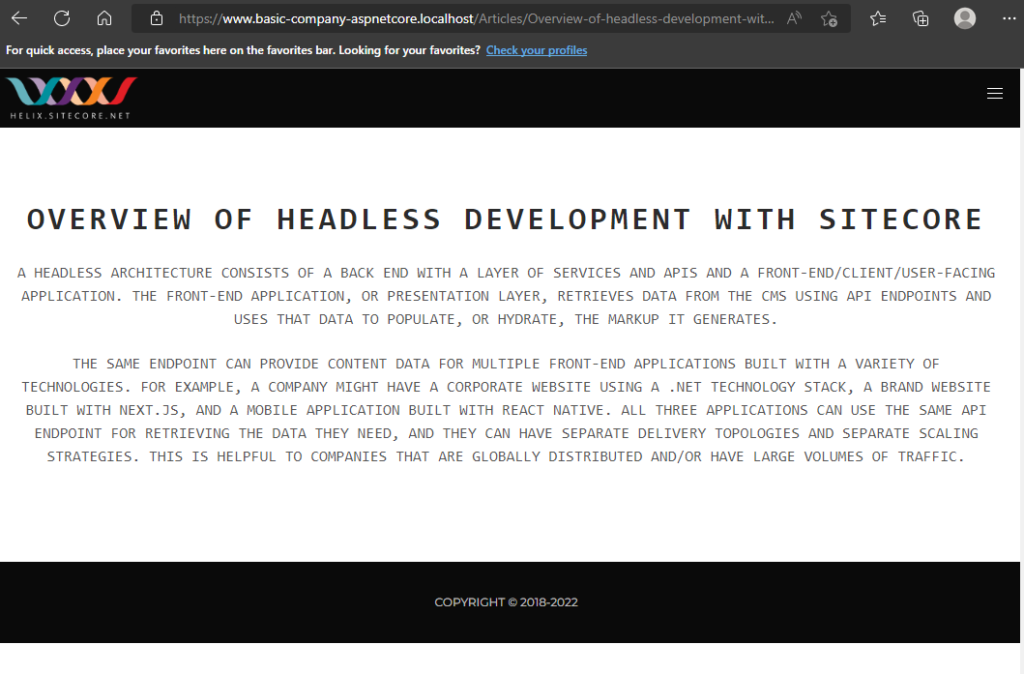
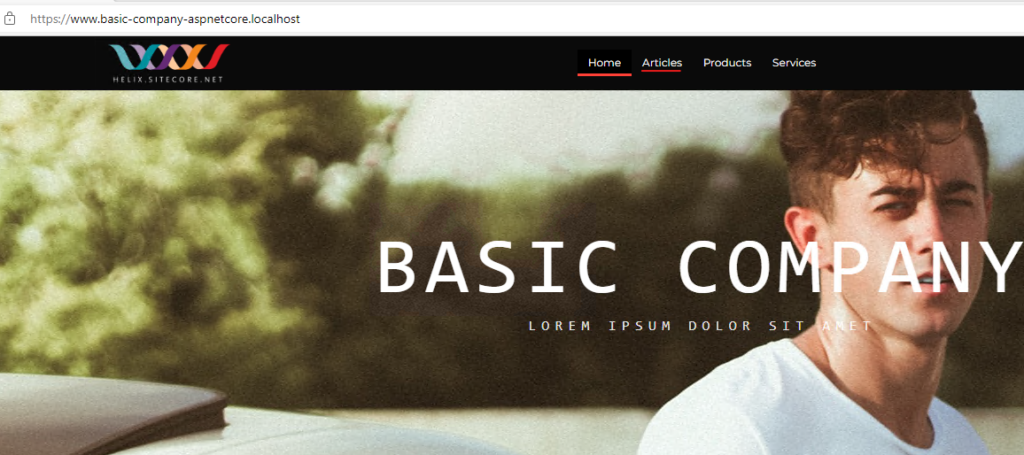
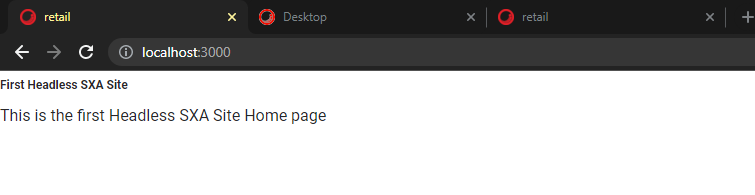
Finally we have next js app showing the content- on localhost:3000
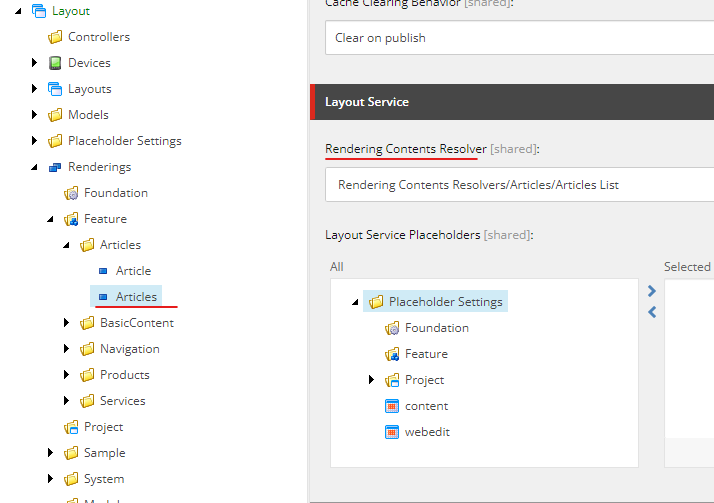
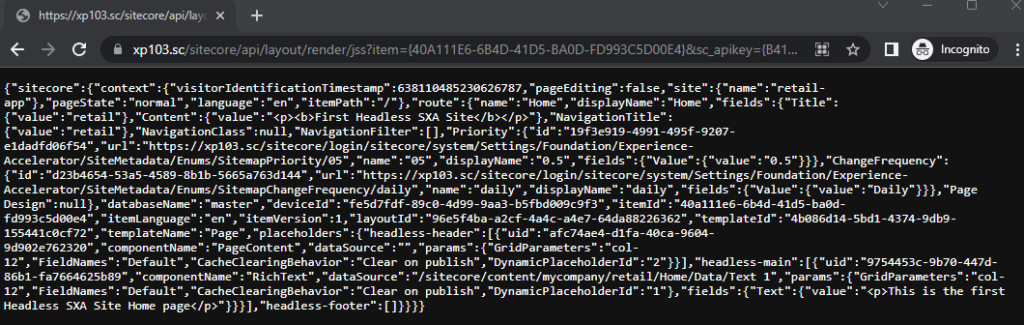
Layout Services–
Lets check if the layout services are accessible-
Get Item data (home) and secret key-
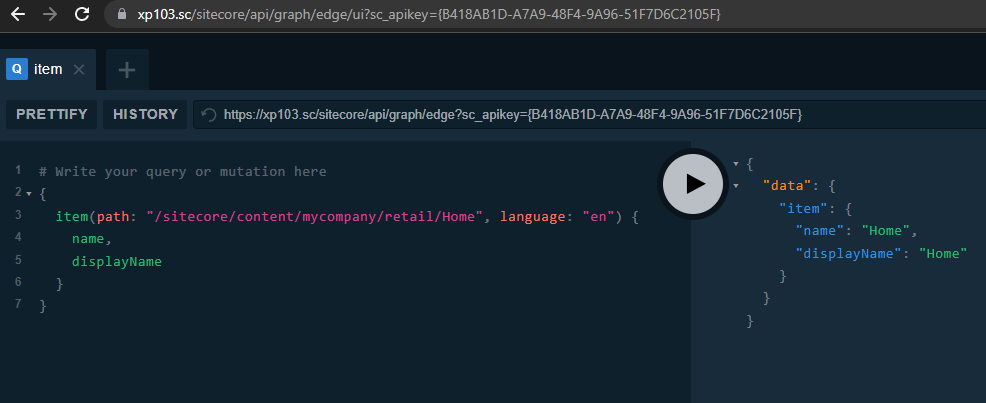
Graphql–
https://xp103.sc/sitecore/api/graph/edge/ui?sc_apikey={B418AB1D-A7A9-48F4-9A96-51F7D6C2105F}
![]()