Follow these steps to install Sitecore Commerce 10.3 On Premise. To successfully install refer to Installation Guide provided by Sitecore.
Before installing Sitecore Commerce install Sitecore XP 10.3. See this blog to install Sitecore XP 10.3 using SIF. Say the XP site name is- xp103.sc
Hosting Environment Requirements/ Download and Install following software-
- OS – Windows Server 2019/2016 or Windows 10 Pro(64-bit) or Windows 11 Pro(64-bit)
- Redis (Windows): 3.0.504 (or later)
- Database – Microsoft SQL Server 2017 Express Edition (This should be already installed as a part of XP 10)
- Install Microsoft Web Deploy 3.6 if not already installed
- Install URL Rewrite using Web Platform Installer
- SOLR 8.11.2 (This should have already installed as a part of XP 10.3 install)
- Install PowerShell 5.1 or later is not already installed
- Web Platform Transformer (Download nuget package)
- (Important) Install Web hosting- here
IMPORTANT – As per the release notes –
The deployment of SXA has been removed from the Commerce installation, and instead installed as a Platform pre-requisite before installing Commerce packages.
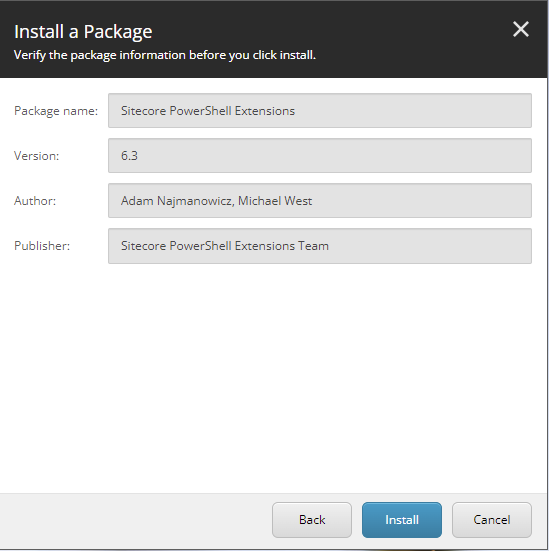
Sitecore PowerShell Extension for Sitecore on your local Sitecore instance if not already
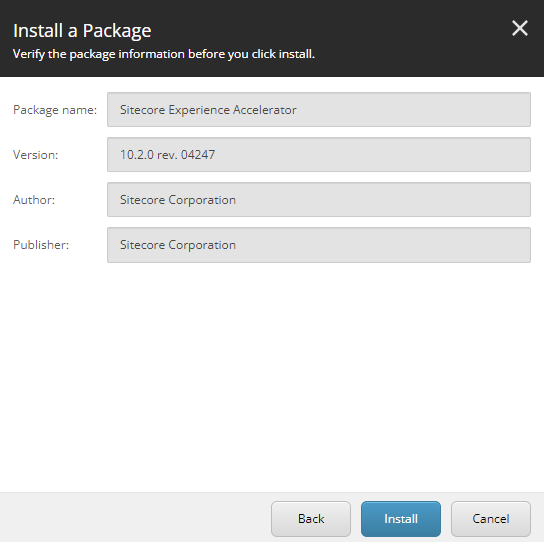
Sitecore Experience Accelerator on your local Sitecore instance if not already
Also Commerce Ops service is removed from deployment configuration this will reduce deployment time and hosting cost.
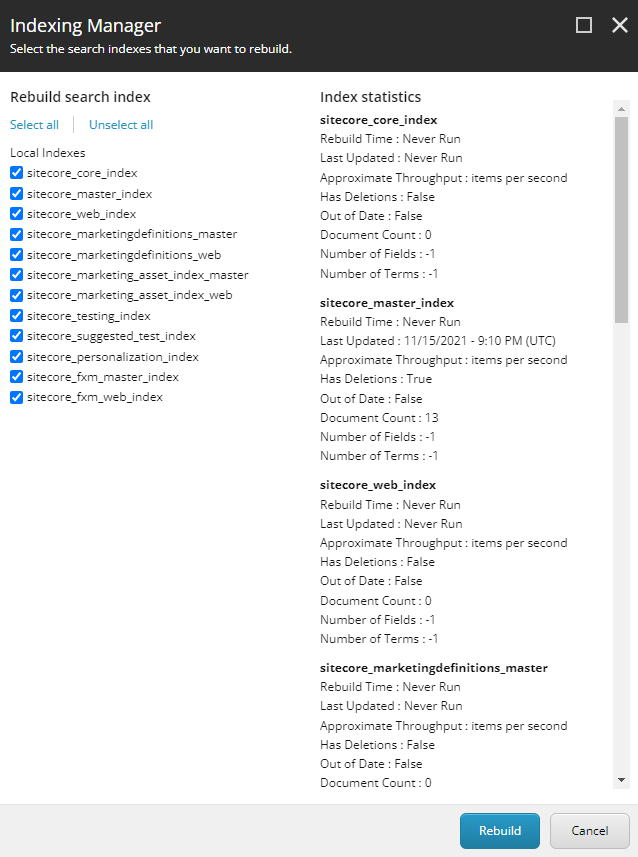
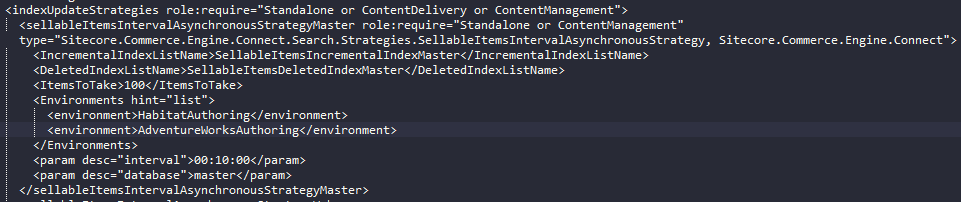
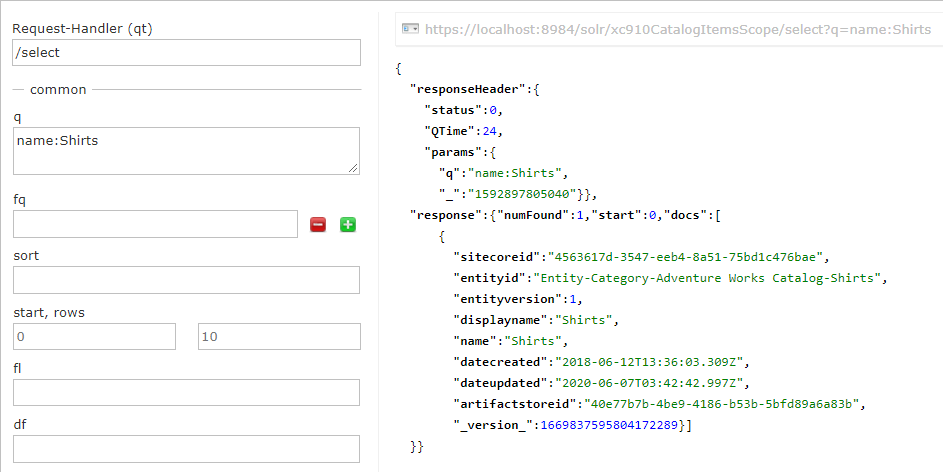
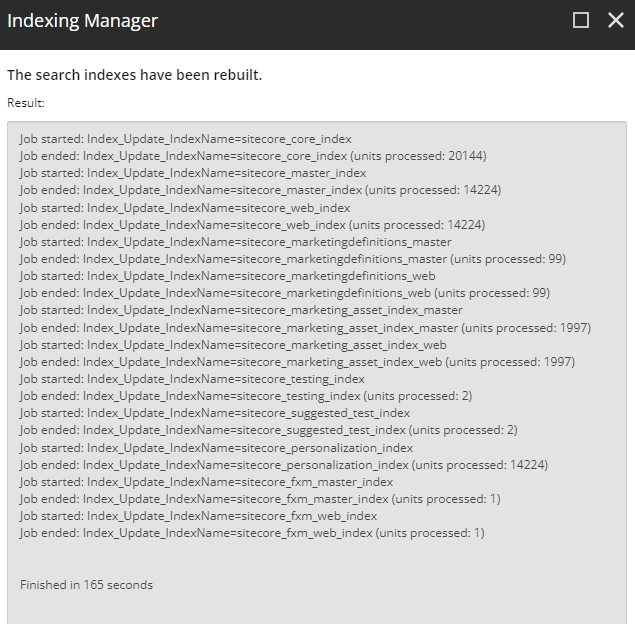
Before starting the installation ensure XP 10.2 instance is working and indexed. If not indexed rebuild all search indexes-
Download Sitecore Experience Commerce 10.3
Step-by-step installation process-
1. Create a installation folder for XC – xcinstall for e.g.- C:\SCInstallation\103\xc103
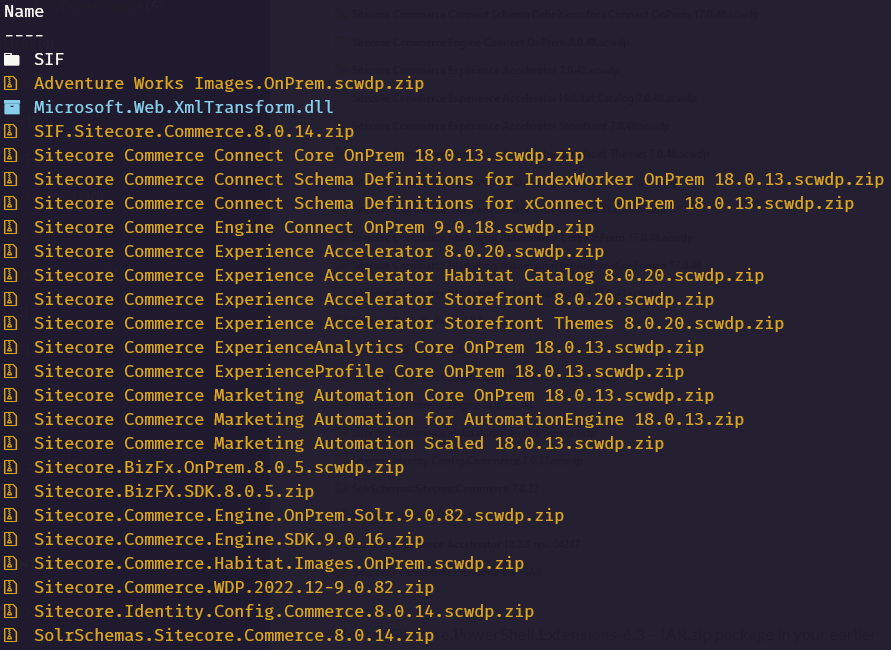
2. Copy and extract Sitecore.Commerce.WDP.2022.12-9.0.82.zip file to C:\SCInstallation\103\xc103
3. Extract Web Platform Transfomer nuget package and copy Microsoft.Web.XmlTransform.dll to C:\SCInstallation\103\xc103
4. Extract SIF.Sitecore.Commerce.8.0.14.zip to C:\SCInstallation\103\xc103 folder. Rename this to SIF
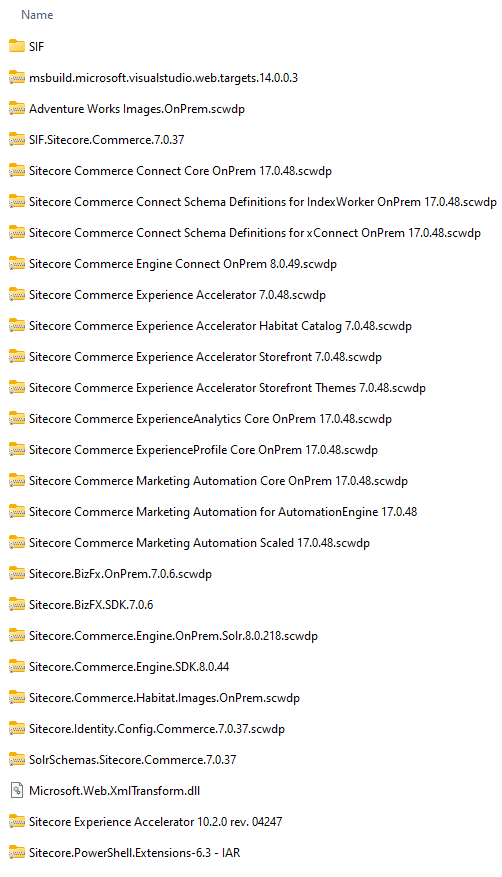
Installation folder structure should look like this-
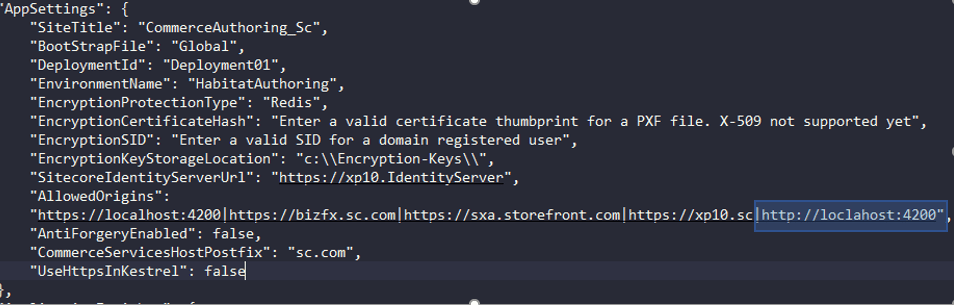
Open Deploy-Sitecore-Commerce.ps1 file in SIF folder to update the following-
- $XCInstallRoot
- $XCSIFInstallRoot = “$XCInstallRoot\SIF” or $PWD is fine – it is Present Working Directory,
- $SiteNamePrefix
- $SiteName
- $SiteHostHeaderName [optional]
- $MergeToolFullPath= “$XCInstallRoot\Microsoft.Web.XmlTransform.dll”
- $CommerceServicesDbServer = “”
12. Create Commerce Engine Connect Client Secret for the Sitecore Identity Server
- Copy below script to file to scinstall/SIF folder example XC103SecretClientCertificate.ps1
- Execute the script and copy secret key to $CommerceEngineConnectClientSecret
$bytes = New-Object Byte[] 32
$rand = [System.Security.Cryptography.RandomNumberGenerator]::Create()
$rand.GetBytes($bytes)
$rand.Dispose()
$newClientSecret = [System.Convert]::ToBase64String($bytes)
echo $newClientSecret
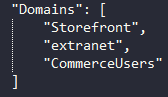
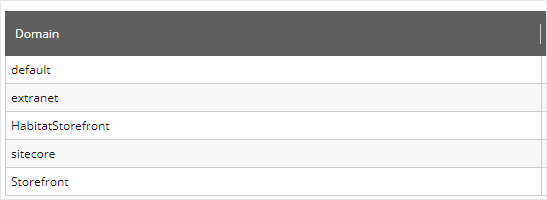
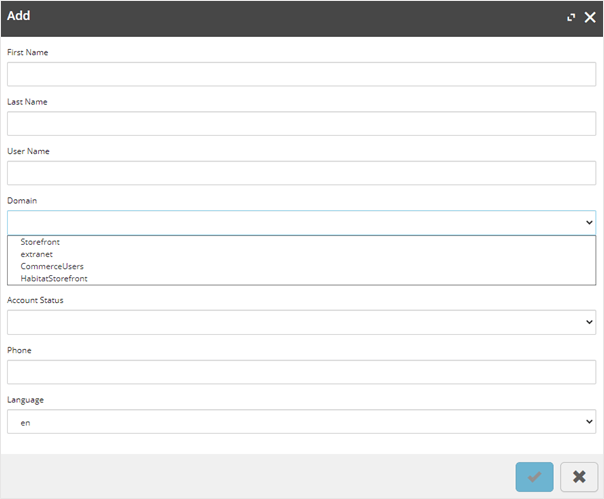
13. [Optional] Update Sitecore domain or keep it default
- $SitecoreDomain
- $SitecoreUsername
- $SitecoreUserPassword
- $UserName
- $UserPassword
14. Update other DB related settings
- $SqlUser
- $SqlPass
- $SitecoreDbServer
- $CommerceServicesDbServer
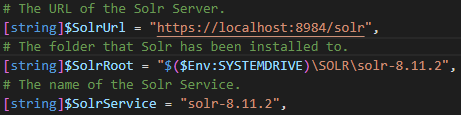
15. Update SOLR details-
- $SolrUrl
- $SolrRoot
- $SolrService
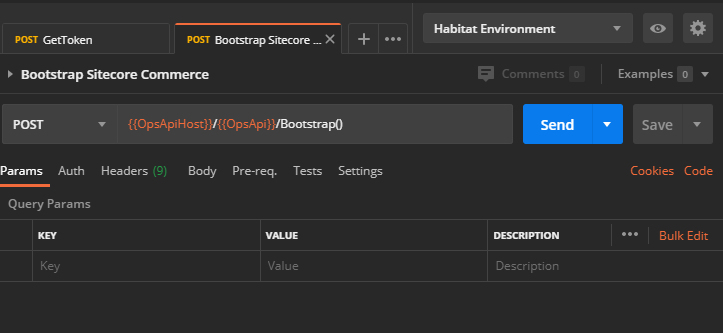
Execute .\Deploy-Sitecore-Commerce.ps1
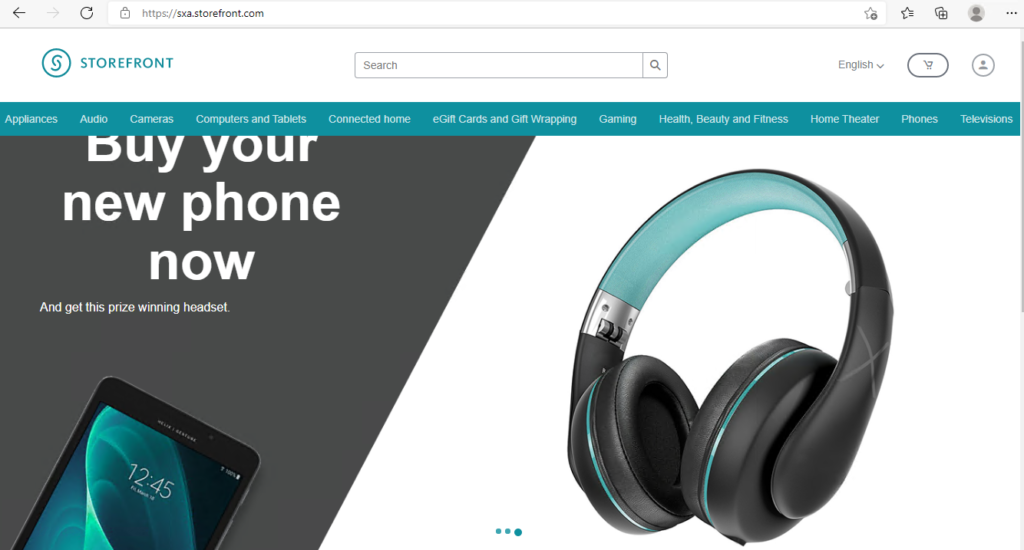
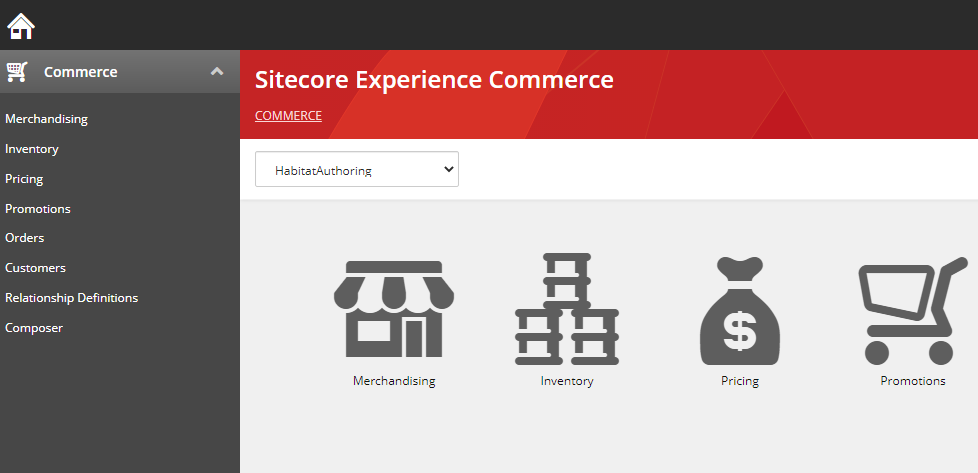
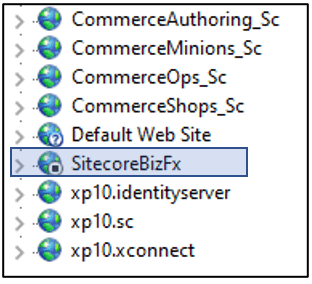
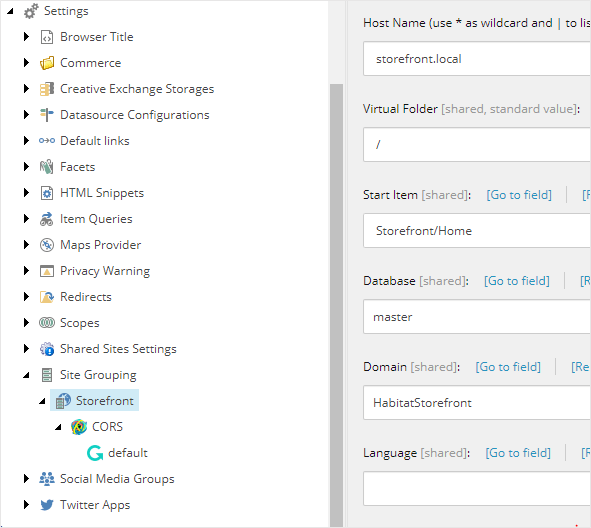
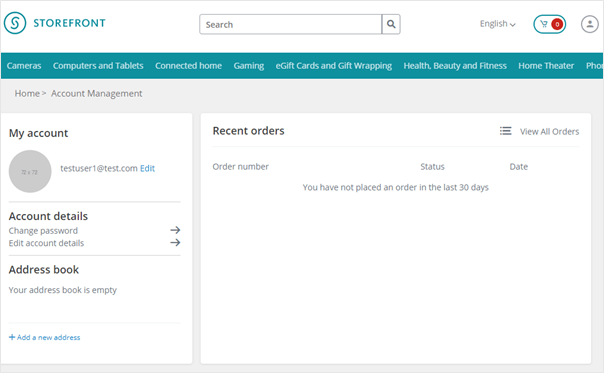
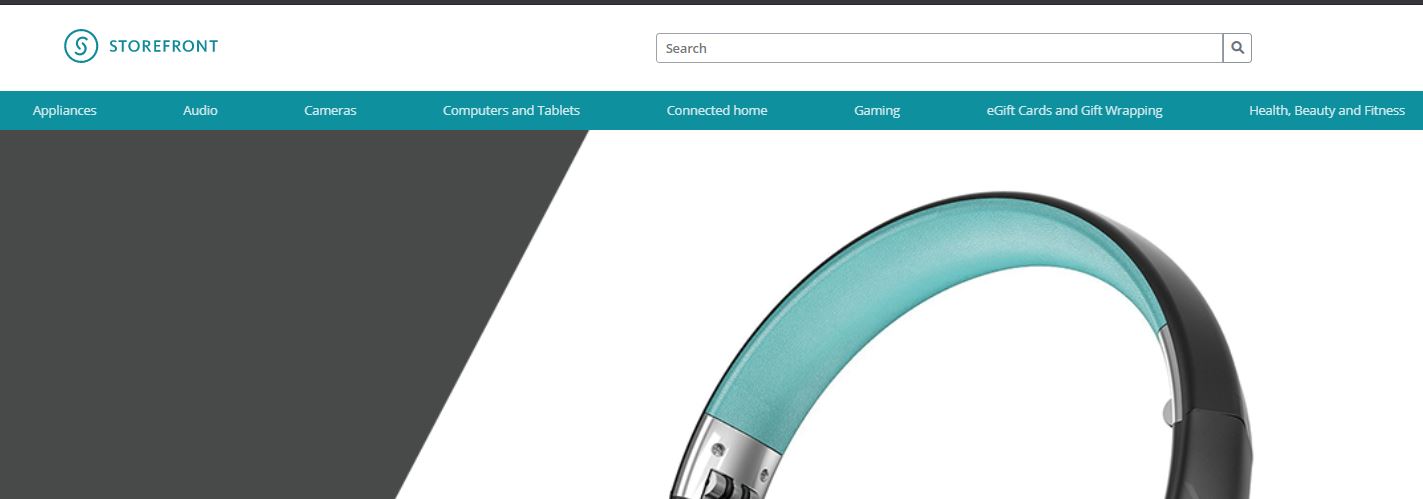
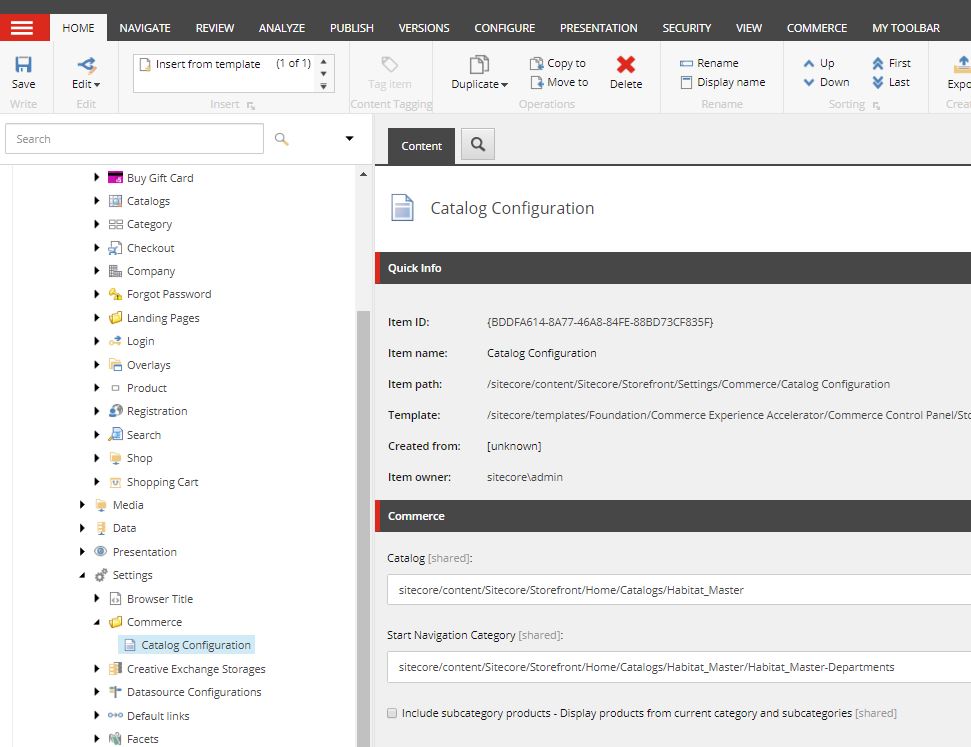
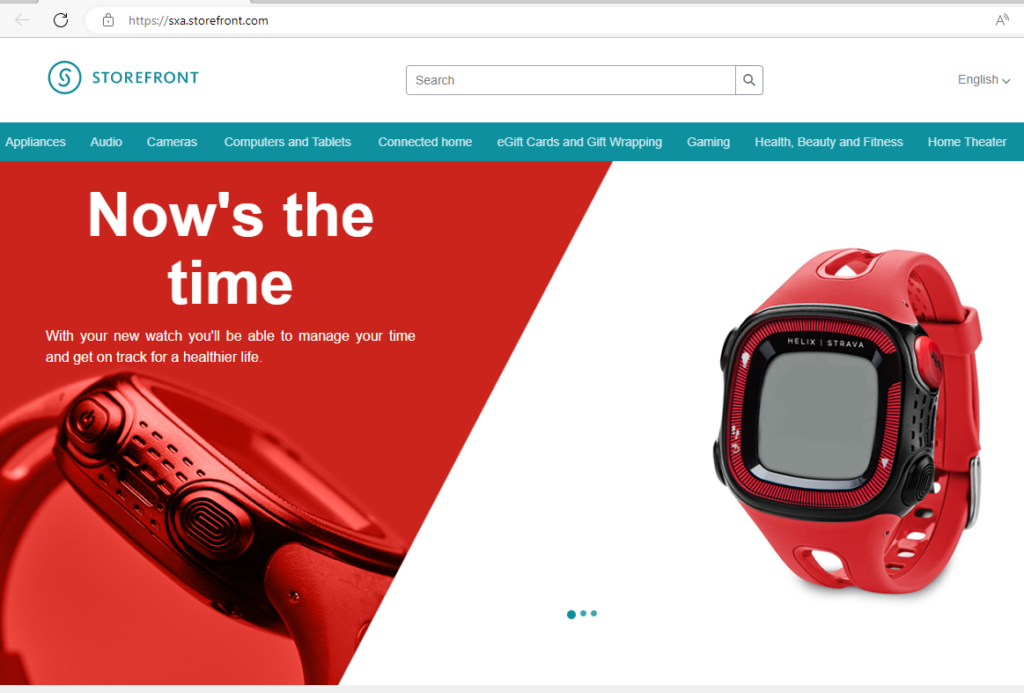
.\Deploy-Sitecore-Commerce.ps1Storefront-

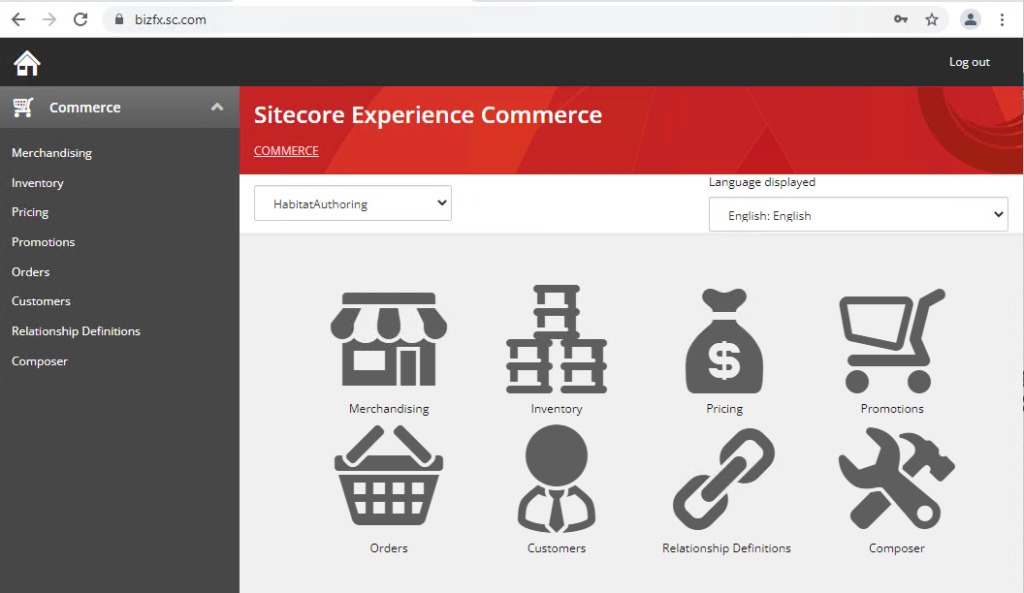
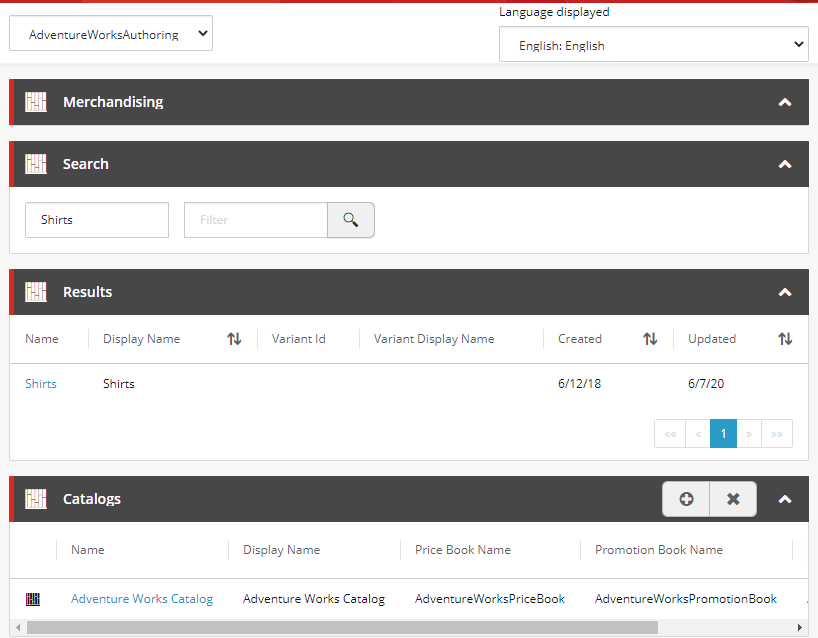
Business Tools-

Highly recommended to install commerce on fresh VM or machine that don’t have previously installed Sitecore Commerce to avoid any errors during isntallation. If not then below are few of the errors you might see during installation.
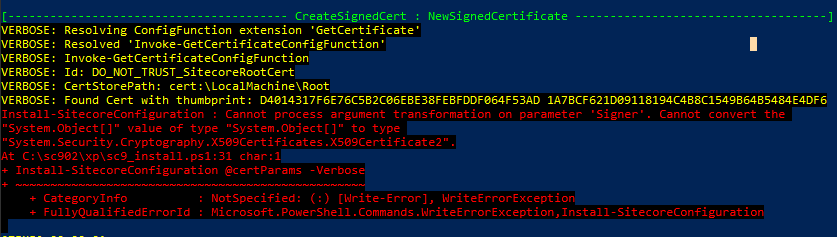
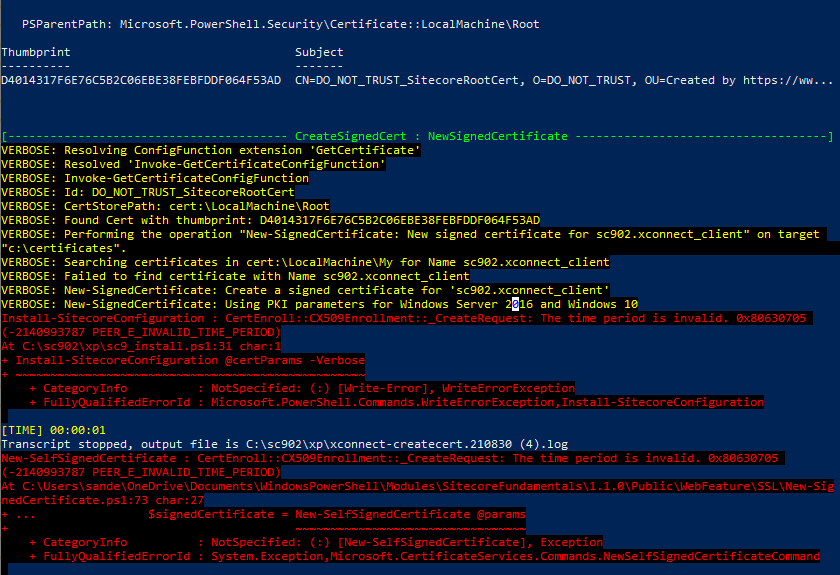
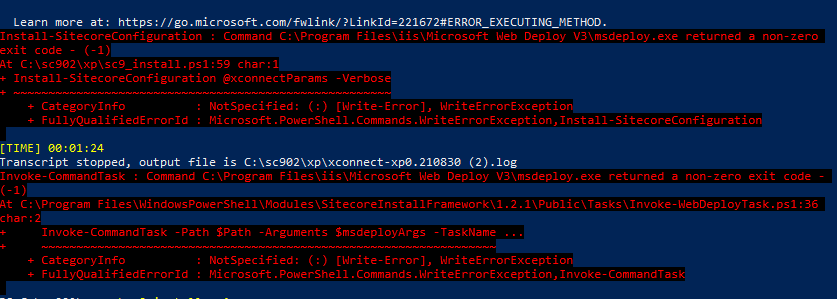
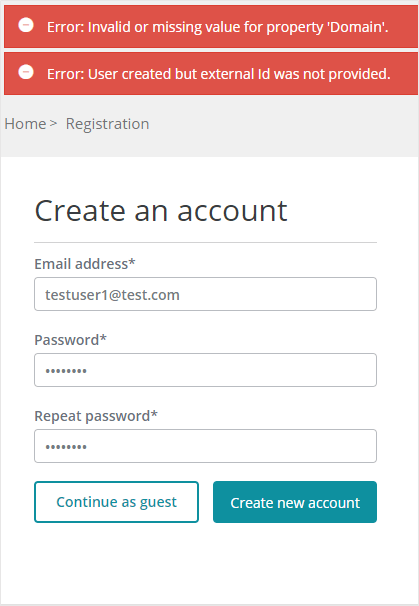
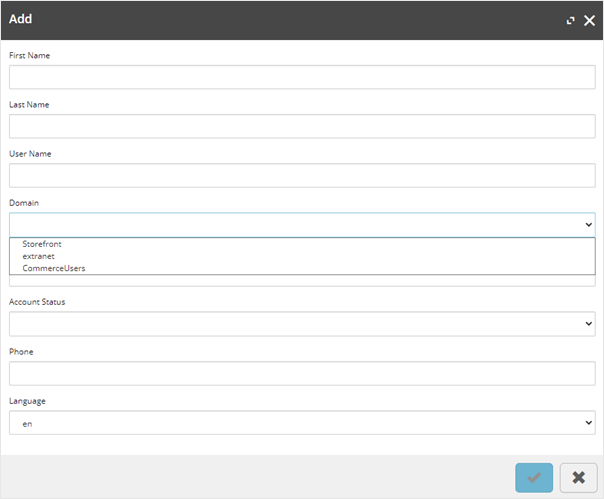
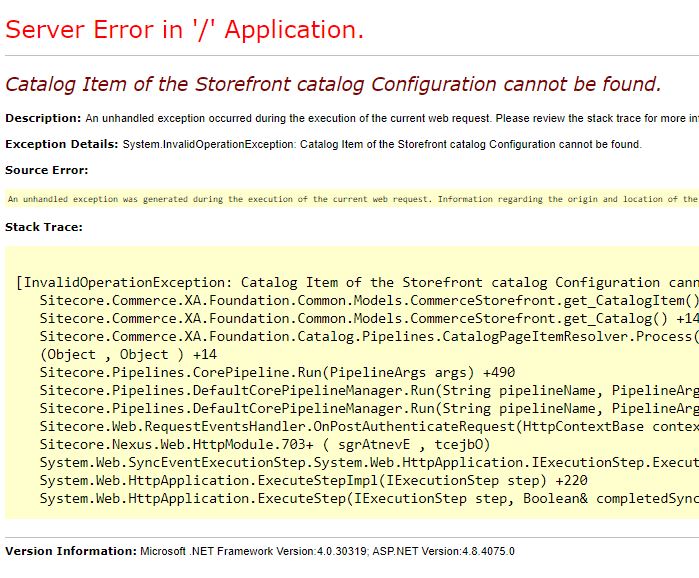
Errors-
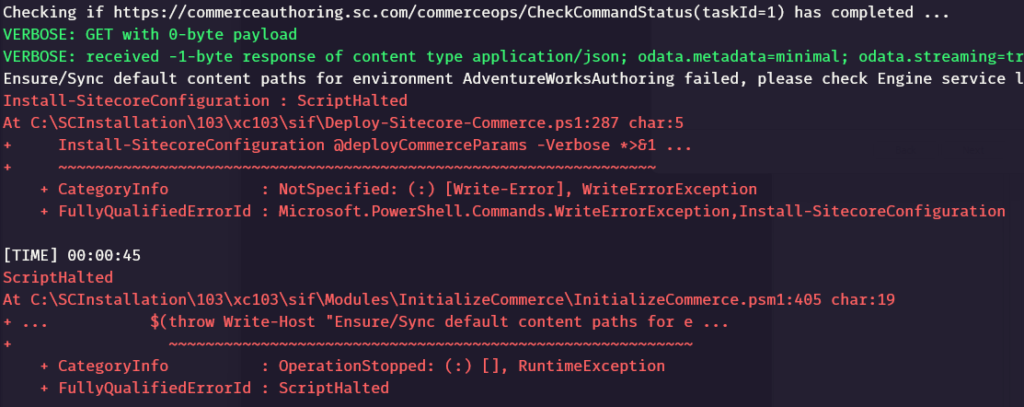
00007 10:12:17 ERROR CtxMsg.Error.ContentPathAlreadyExists: Text=Content path ‘/sitecore/Commerce/Commerce Control Panel’ already exists.
00038 10:12:17 ERROR Management.block.getitembypath: Sitecore Item Service Get item failed, Item /sitecore/Commerce/Commerce Control Panel/Commerce Engine Settings/Commerce Terms/System Messages/ContentPathAlreadyExists not found.
Solution- see here – https://robearlam.com/blog/CtxMsg-Error-ContentPathAlreadyExists-error
![]()