Tag: sitecore component

Create a Asp.Net simple rendering using data source in Helix Examples Solution

In this blog will create a simple rendering uing Asp.Net Rendering SDK in Helix Examples Solution

Please refer the blog to create a rendering folder and configure the SCS before proceeding this blog.

So lets create a new module or rendering feature named “Articles”.

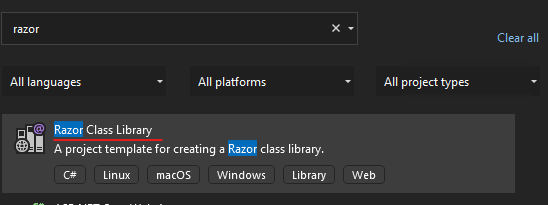
1. Create a Feature project using Razor Class Library

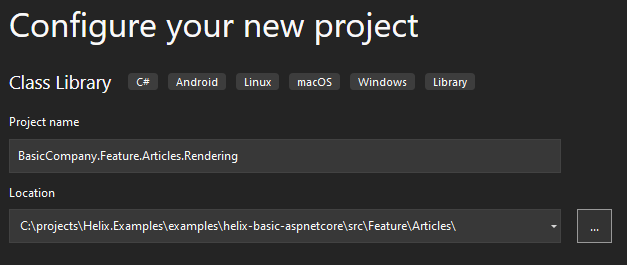
Project Name – BasicCompany.Feature.Articles.Rendering

Notice the project path

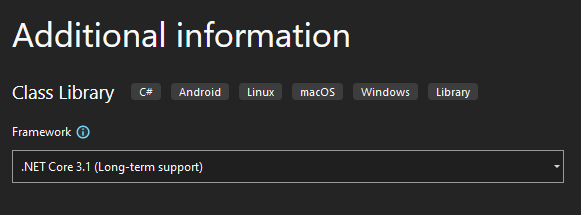
Choose .Net Core 3.1 Framework-

Delete any exisitng files and folders under this project-

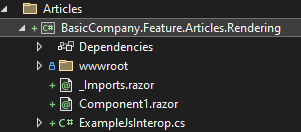
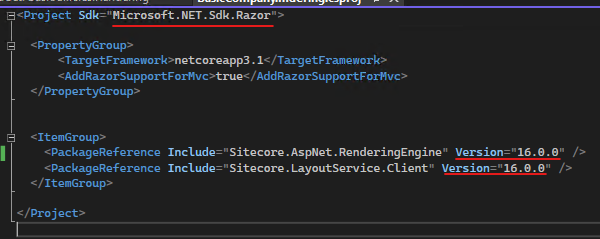
Edit the project to use netcoreapp3.1 and AddRazorSupportForMvc to true

Rename helix-basic-aspnetcore\src\Feature\Articles\BasicCompany.Feature.Articles.Rendering to rendering. Just to follow other feature fodler structure.

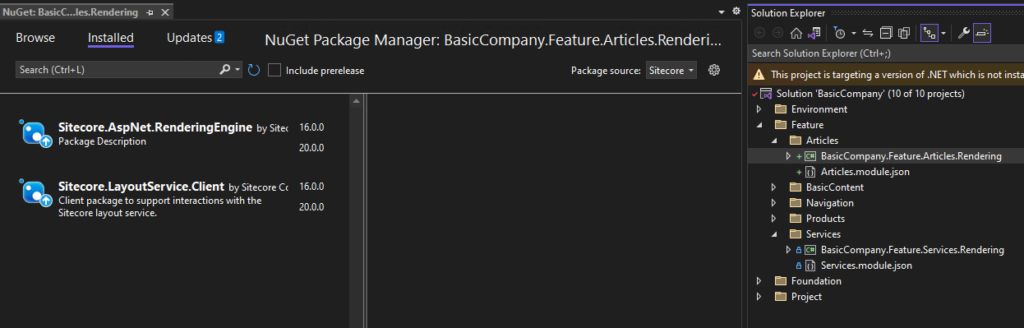
2. Install Sitecore packages

Sitecore.AspNet.RenderingEngine

Sitecore.LayoutService.Client

I have installed verions 16 just to be in sync with other projects. You may install the latest.

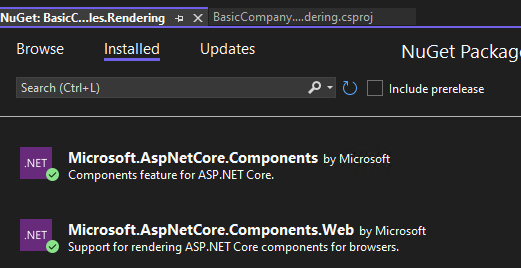
New rendering project should have these packages installed-

Remove these packages as this may be not required at thi point of time or downgrade this to 3.1.1

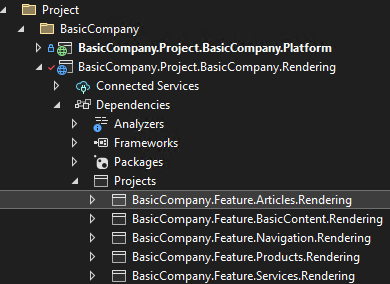
Refer the new created rendering project to BasicCompany.Project.BasicCompany.Rendering

When the solution is build you may see this error-

Severity Code Description Project File Line Suppression State
Error The package reference ‘Sitecore.AspNet.RenderingEngine’ should not specify a version. Please specify the version in ‘C:\projects\Helix.Examples\examples\helix-basic-aspnetcore\Packages.props’ or set VersionOverride to override the centrally defined version. BasicCompany.Feature.Articles.Rendering C:\projects\Helix.Examples\examples\helix-basic-aspnetcore\src\Feature\Articles\rendering\BasicCompany.Feature.Articles.Rendering.csproj

Solution– Remove the version for the plugin fropm project file

Edit the project file and remove version from the PackageReference-

Solution should build successully.

3. Ensure Articles.modules.json file in Feature folder

Please see this blog <<Enter blog url here>> how to create a module.json file to serliaze the Sitecore items for new Feature.

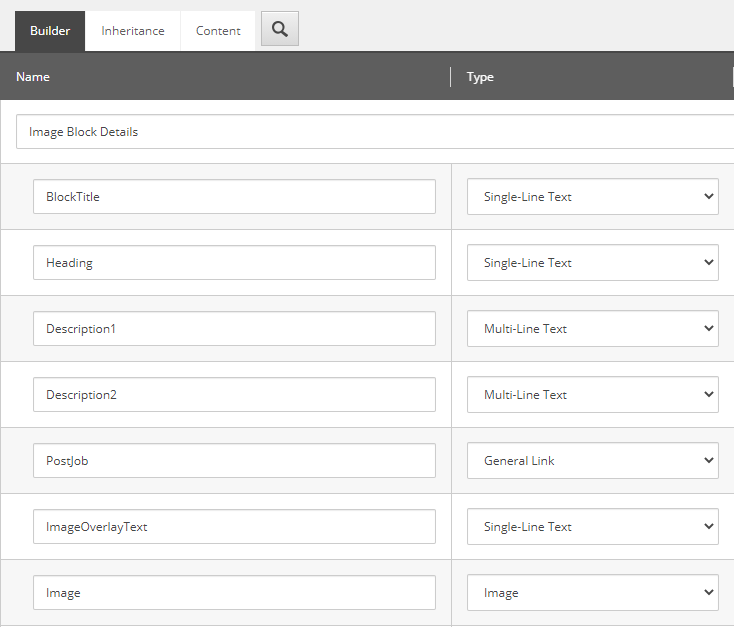
4. Create required Sitecore Templates, content, renderings and Placeholder Settings

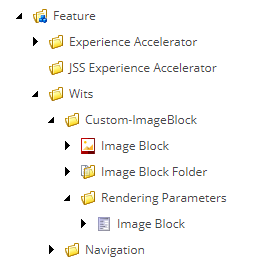
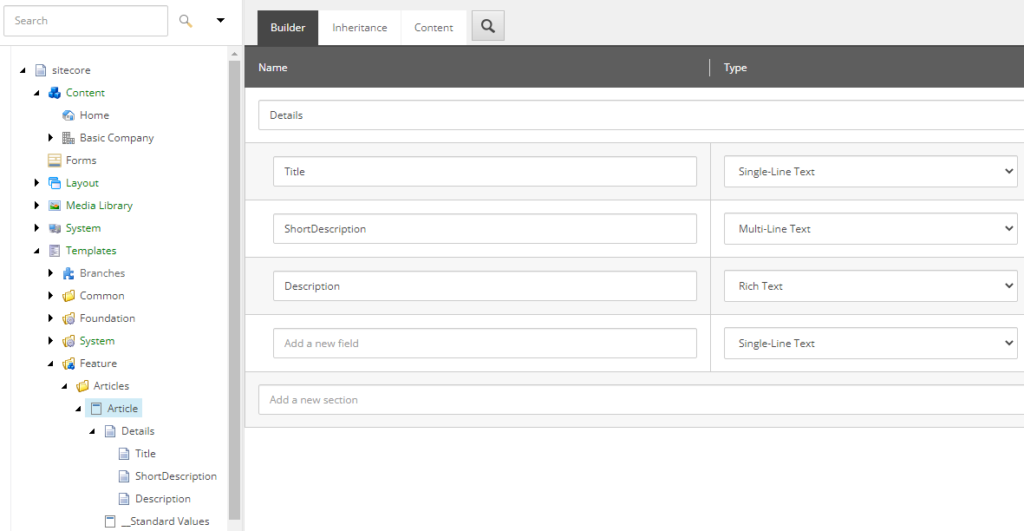
Template – Article in following path- /sitecore/templates/Feature/Articles

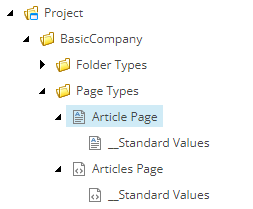
Page Type Template – Create 2 page type templates “Articles” and “Article” page as below.

Add any required Insert Options where necessary.

IMP- inherit from _NavigationItem to display the Articles as Navigation option

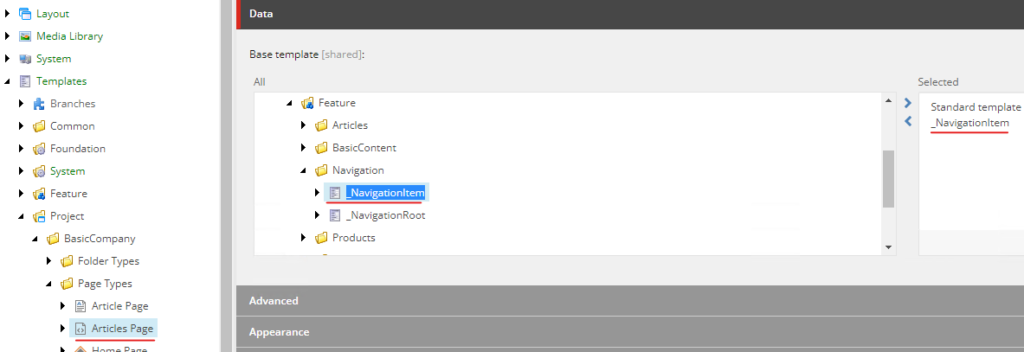
Enter Navigation Title for Articles page-
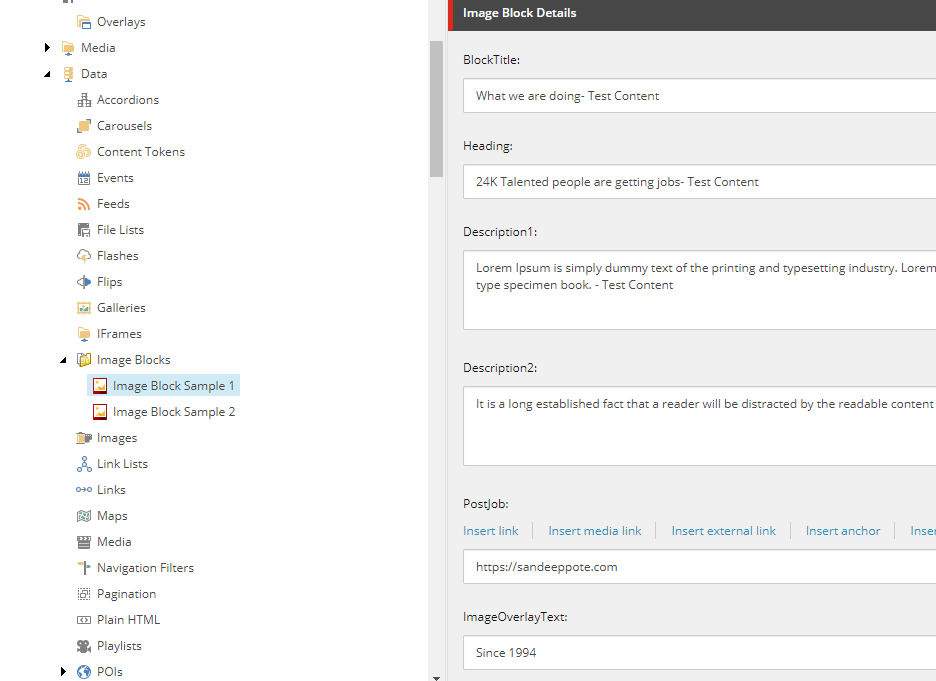
Content

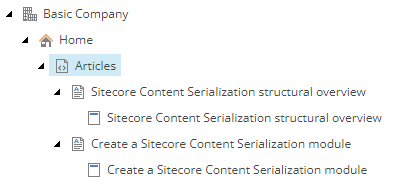
Create content in Home page based on the Article templates created.
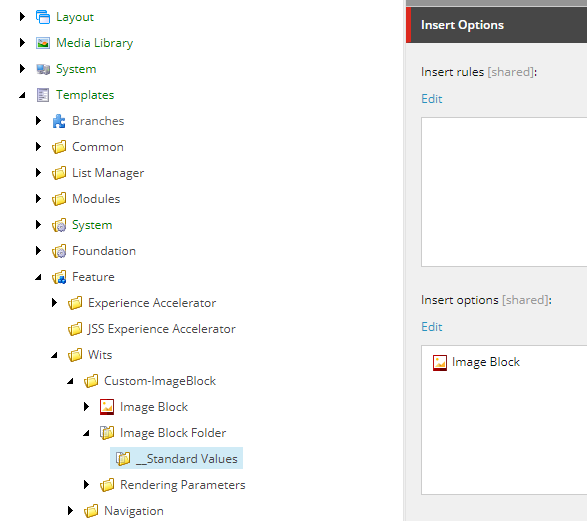
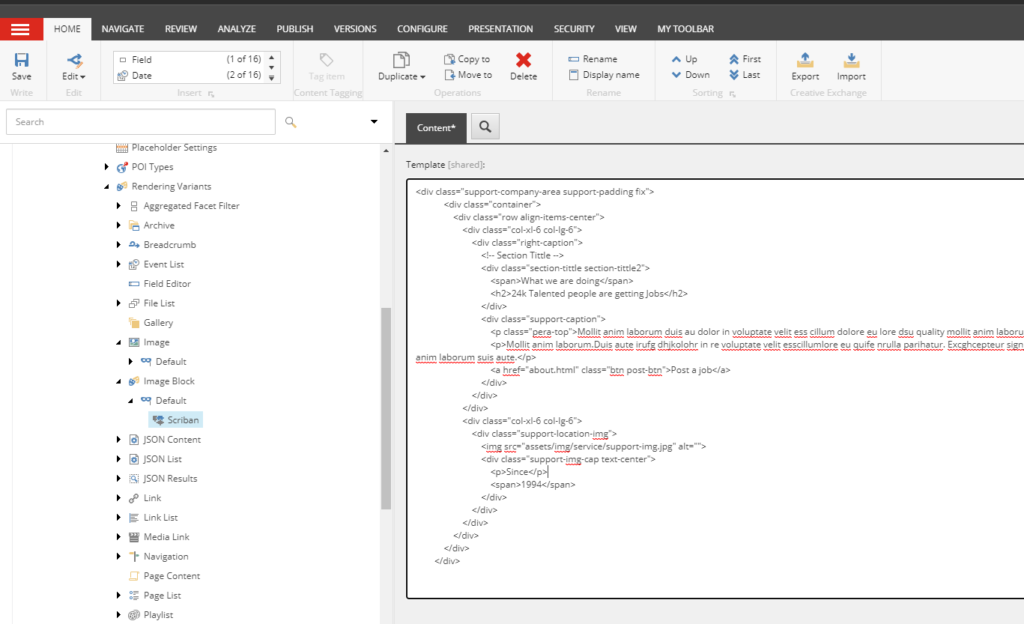
Rendering

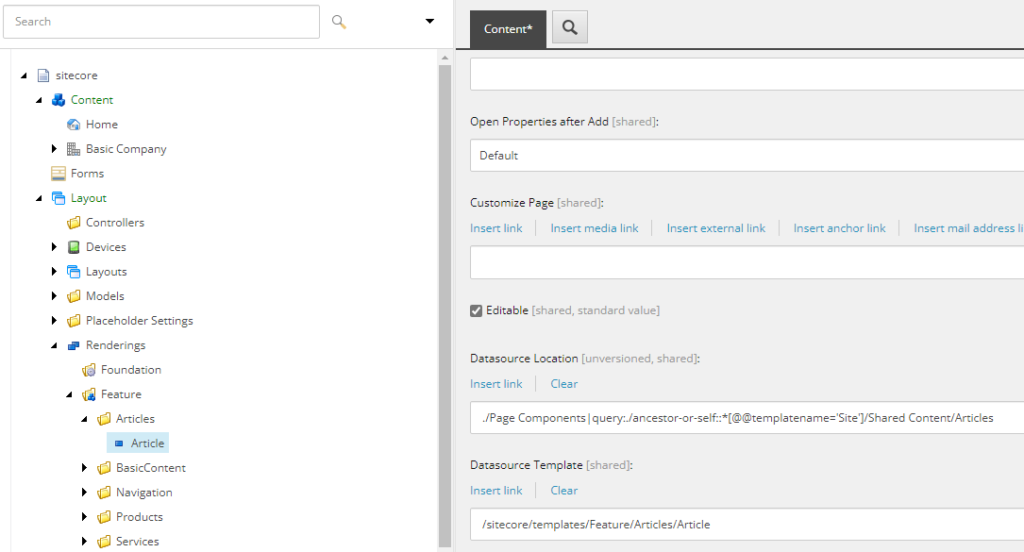
Create a new Json Rendering Article. See previous post

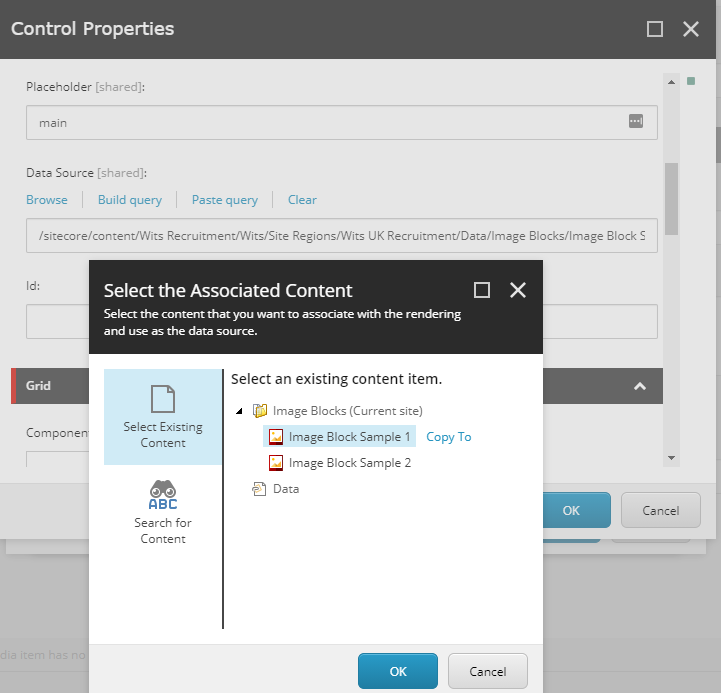
Set Datasource Location- ./Page Components|query:./ancestor-or-self::*[@@templatename=’Site’]/Shared Content/Articles

Datasource Template- /sitecore/templates/Feature/Articles/Article

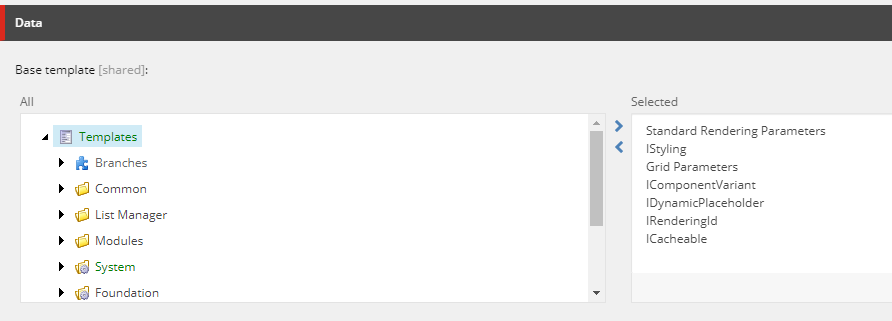
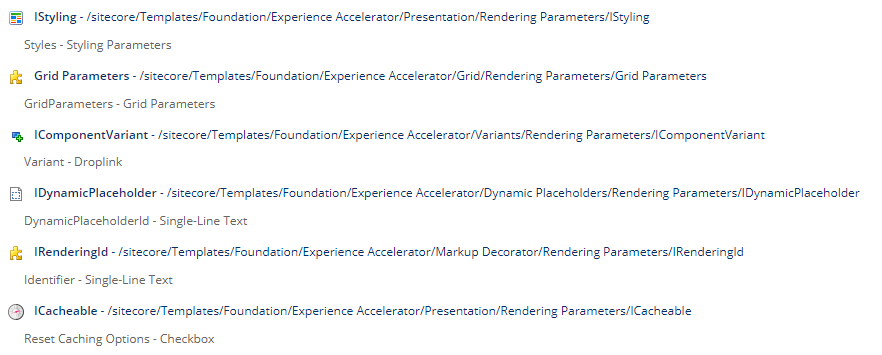
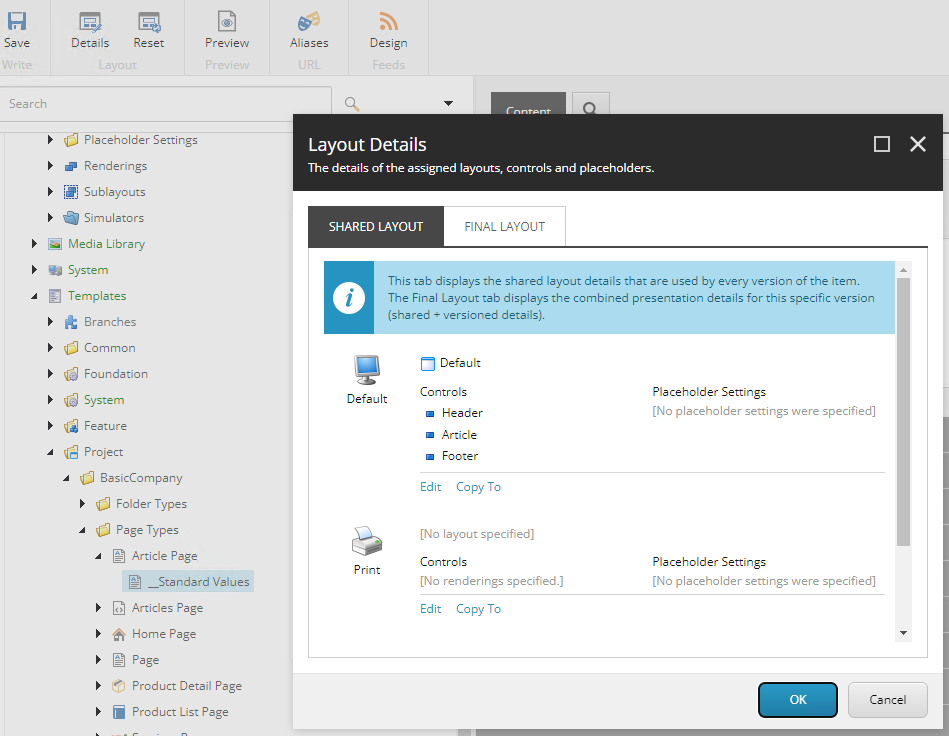
Add rendering to Template

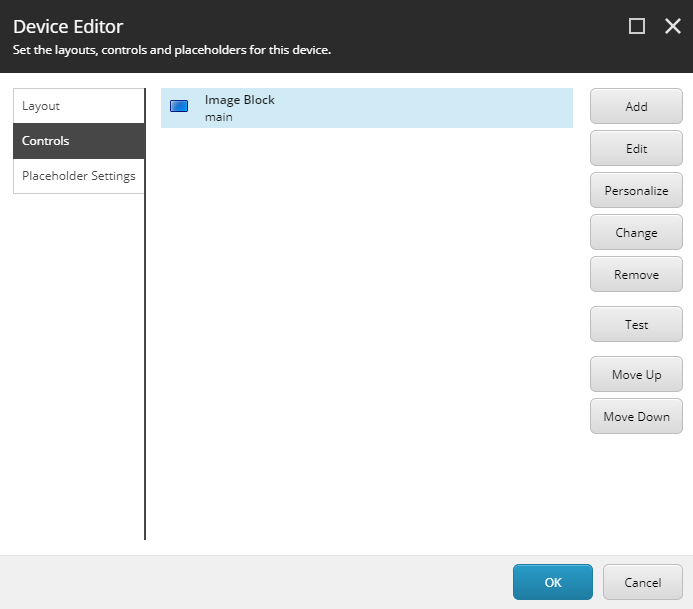
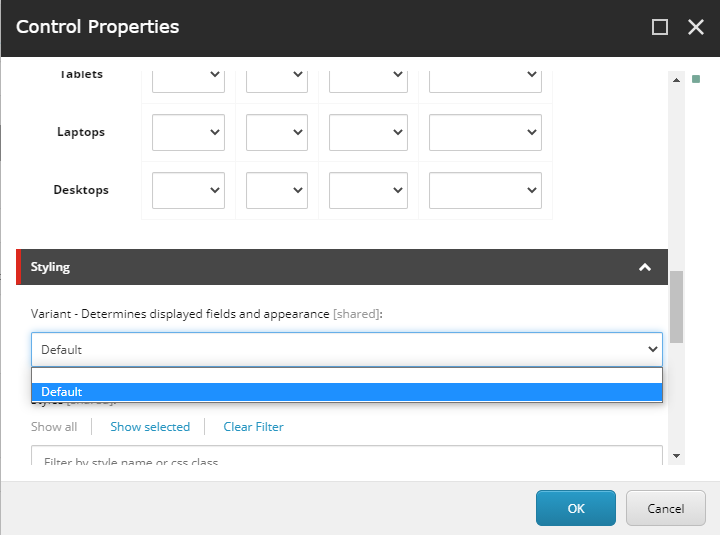
Add Header, Article and Footer Controls to the Presentation

Select appropriate datasource for the Article component-

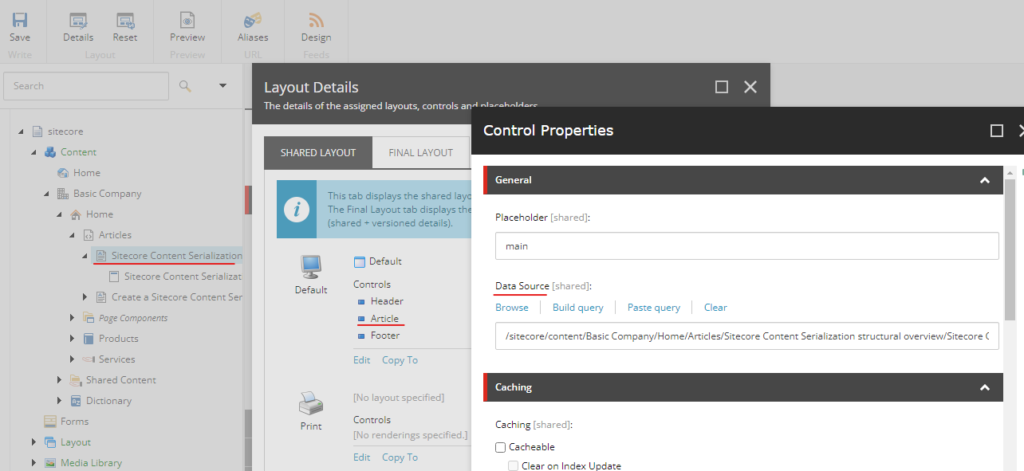
You can also add the component from experience editor. For simplicity purpose I am adding this from the presentation details manually.

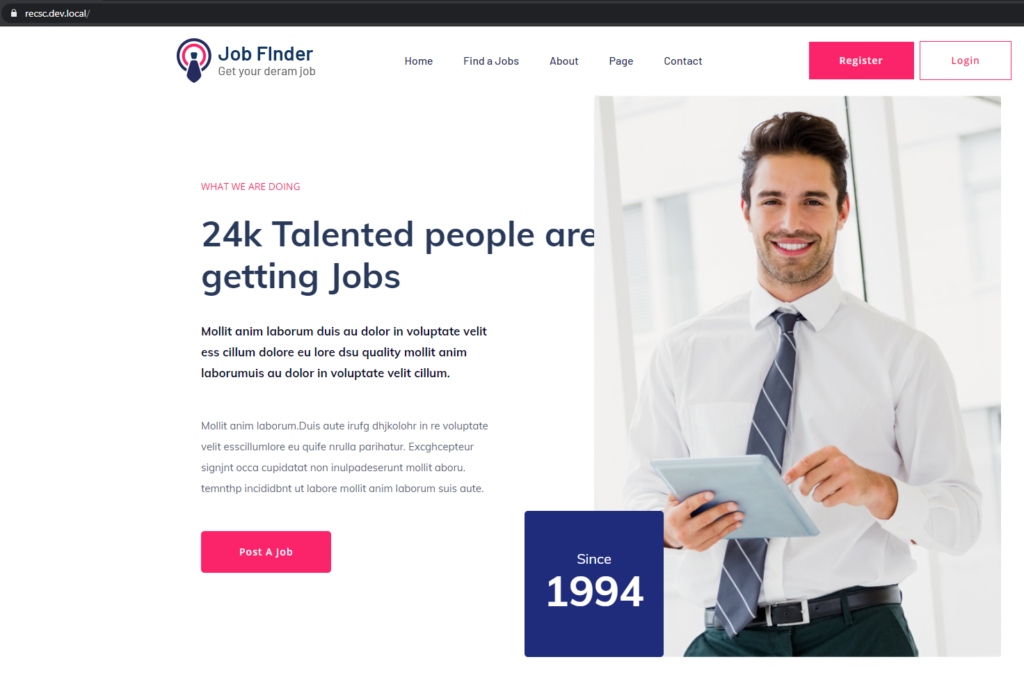
Publish the changes and see https://www.basic-company-aspnetcore.localhost

Note:- If you get bad gateway error the resolution is in this blog <<blog for resolution>>

you should see the Articles option in Navigation-

Note- We wont be configuring “Articles” page in this blog. Will see that in next blog when uing Content Resolver.

See thie Article page-

https://www.basic-company-aspnetcore.localhost/Articles/Sitecore%20Content%20Serialization%20structural%20overview

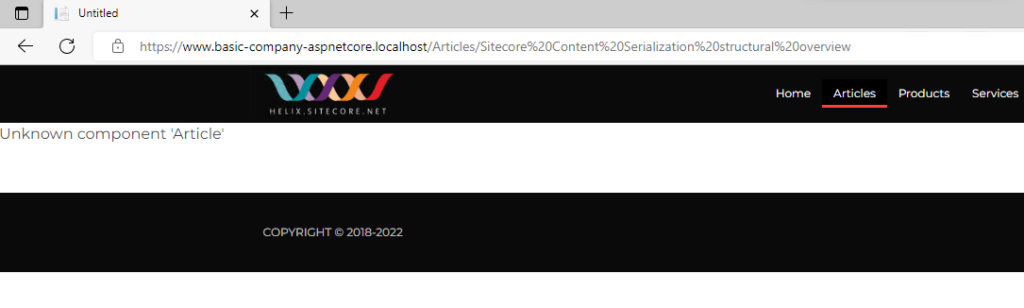
There is a error – “Unknown component ‘Article'”. This is because we havent yet created view for this component.

Create Model in BasicCompany.Feature.Articles.Rendering project for rendering Article component

Note the propeties are using Sitecore.LayoutService.Client.Response.Model.Fields

using Sitecore.LayoutService.Client.Response.Model.Fields;
using System;
using System.Collections.Generic;
using System.Text;

namespace BasicCompany.Feature.Articles.Rendering.Models
{
    public class Article
    {
        public TextField Title { get; set; }

        public RichTextField Description { get; set; }

        public TextField ShortDescription { get; set; }
    }
}

Create View in BasicCompany.Feature.Articles.Rendering project for rendering Article component

Create Article.cshtml file under Views/Shared/Components/SitecoreComponent

Add following markup-


@model Article

<div class="container">
    <section class="hero is-small product-detail-hero">
        <div class="hero-body">
             <h3  class="title" asp-for="Title"></h3>
            <sc-text class="subtitle is-one-quarter" asp-for="Description"></sc-text>
        </div>
    </section>
</div>

InViews Folder create _ViewImports.cshtml file and put the following in file-

@using Sitecore.LayoutService.Client.Response.Model
@using Sitecore.LayoutService.Client.Response.Model.Fields
@using Sitecore.AspNet.RenderingEngine.Extensions
@using BasicCompany.Feature.Articles.Rendering.Models

@addTagHelper *, Microsoft.AspNetCore.Mvc.TagHelpers
@addTagHelper *, Sitecore.AspNet.RenderingEngine

Add Extensions for registering the ModelBoundView. This is a static class and will be used in Project Rendering on application startup (BasicCompany.Project.BasicCompany.Rendering).

using BasicCompany.Feature.Articles.Rendering.Models;
using Sitecore.AspNet.RenderingEngine.Configuration;
using Sitecore.AspNet.RenderingEngine.Extensions;

namespace BasicCompany.Feature.Articles.Extensions
{
    public  static class RenderingEngineOptionsExtensions
    {
        public static RenderingEngineOptions AddFeatureArticle(this RenderingEngineOptions options)
        {
            options
                .AddModelBoundView<Article>("Article");            
            return options;
        }
    }
}

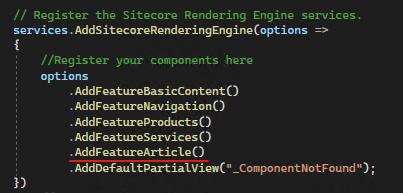
In BasicCompany.Project.BasicCompany.Rendering project, Startup.cs register the component-

Build the Project

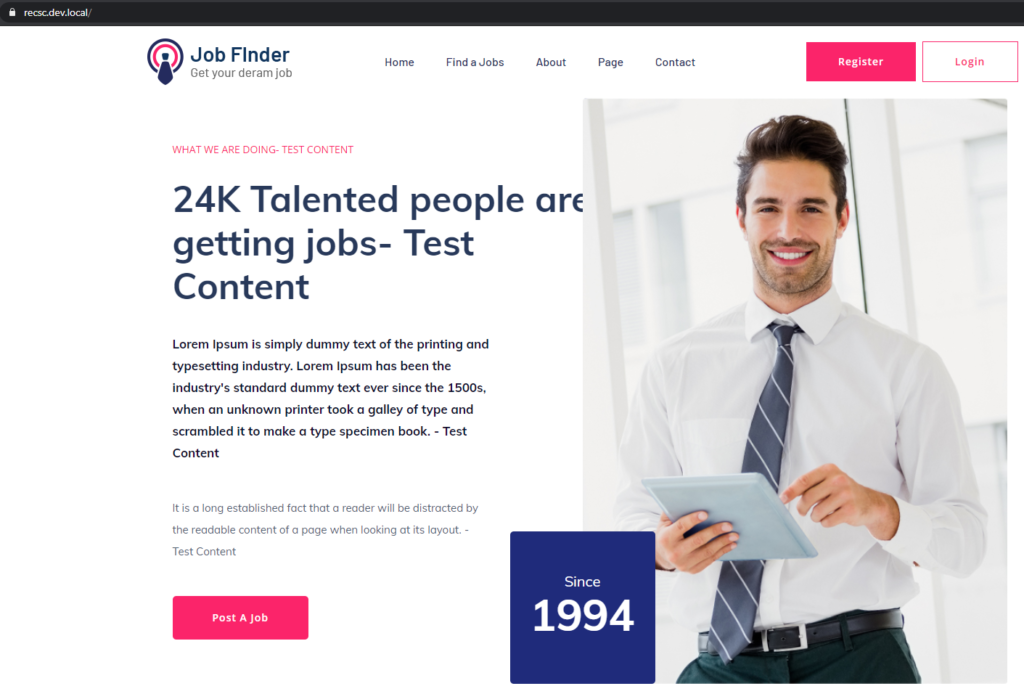
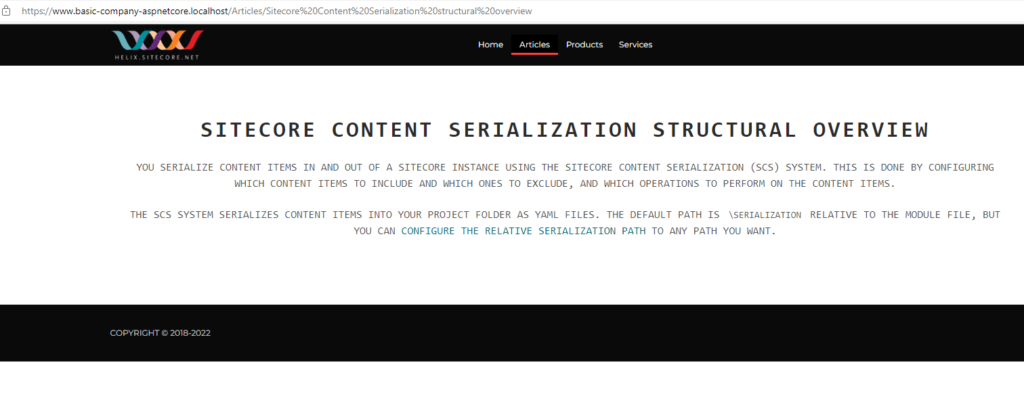
Output– https://www.basic-company-aspnetcore.localhost/Articles/Sitecore%20Content%20Serialization%20structural%20overview

Issues

Bad gateway error while accessing – https://www.basic-company-aspnetcore.localhost/

Solution-

Restart the rendering container

docker ps
docker restart <<rebdering container>>

Create a custom Sitecore SXA component using Scriban from scratch

Often you see examples for creating a new Sitecore SXA component is suggested to be cloned from the Promo component which helps developers to quick start the development.

But its always good to know the process and supporting items that are created to support he component.

In this blog post I will walk through the steps required to create a SXA component using Scriban from scratch. This post is not about how to use Scriban, will cover that in another post.

This post assumes the SXA Site is configured with the custom theme. See links to create Tenants/Sites/Themes –

  1. Create Tenant and SXA Site
  2. Configure Theme to the SXA Site
  3. Assign Theme to the SXA Site

The component contains images and text and should look like this-

Step 1 – Create Templates –

Lets start creating a template first. Lets give it a name ImageBlock

Template Name – Image Block

Template Name – Image Block Folder

Set the Image Block as Insert Options so Image Blocks can be created under Image Block Folder

Template Name- Image Block (Rendering Parameter)

The below inheritance is required to style, cache and attach a rendering variant.

This template should inherit following-

Inherited template paths-

Template structure for Image Block component looks like this-

Step 2 – Create Rendering for Image Block component

Before you could start creating rendering, its good to have content as the rendering will require the Datasource location and the view.

Content

IMPORTANT– Data folders for component can be configured using modules. For this post will create it manually.

Navigate to the Site -Data folder and create a Image Block Folder

Example at this location-

/sitecore/content/Wits Recruitment/Wits/Site Regions/Wits UK Recruitment/Data

I have named it Image Blocks and enter content for the template-

View

Create a view. Place following markup in cshtml. Place this in your custom folder in Sitecore instance view folder

@using Sitecore.XA.Foundation.RenderingVariants.Extensions
@using Sitecore.XA.Foundation.SitecoreExtensions.Extensions
@using Sitecore.XA.Foundation.Variants.Abstractions.Fields
@model Sitecore.XA.Foundation.Variants.Abstractions.Models.VariantsRenderingModel

@if (Model.DataSourceItem != null || Html.Sxa().IsEdit)
{
    if (Model.DataSourceItem == null)
    {
        @Model.MessageIsEmpty
    }
    else
    {
        foreach (BaseVariantField variantField in Model.VariantFields)
        {
            @Html.RenderingVariants().RenderVariant(variantField, Model.Item, Model.RenderingWebEditingParams, Model)
        }
    }
}

Rendering

Create controller rendering for Image Block Controller

Controller– Sitecore.XA.Foundation.RenderingVariants.Controllers.VariantsController, Sitecore.XA.Foundation.RenderingVariants

Controller Action- Index

Parameter Templates – Select the Rendering Parameter template created in previous step.

Example – /sitecore/templates/Feature/Wits/PageContent/Rendering Parameters/Image Block

Datasource Location – Query to the Site data location. You may also have to consider same for shared sites

Sample- query:$site/[@@name=’Data’]/[@@templatename=’Image Block Folder’] | query:$sharedSites/[@@name=’Data’]/ [@@templatename=’Image Block Folder’]

Datasource Template– Location of the template (Image Block)

Example- /sitecore/templates/Feature/Wits/PageContent/Image Block

Rendering view path– provide the path of your custom view

Example- ~/Views/Wits/ImageBlock.cshtml

Step 3 – Create Rendering Variant

Create a rendering variant i.e. items from templates-

/sitecore/templates/Foundation/Experience Accelerator/Rendering Variants/Variants

/sitecore/templates/Foundation/Experience Accelerator/Rendering Variants/Variant Definition

/sitecore/templates/Foundation/Experience Accelerator/Scriban/Scriban

Paste the markup to render

Step 4 – Add rendering to Page

Add rendering to the page. Ideally this can be done by creating a Branch and create a module which should allow to drag and drop the SXA component to the page using experience editor.

Select Home page and select option Presentation ==> Details

Add the rendering “Image Block” in the placeholder “main”

Edit the control and select the Variant “Default” in Styling section.

Remember we created a Rendering Variant “Image Block” in step Step 3 and the name of the variant was “Default”. This variant is listed in dropdown for selection. Also select the datasource

Select rendering variant-

Select the datasource-

Save and Publish and should be able to see the newly created component in Home page

Step 5- Update rendering variant to display content from Image Block item

In step-3 we added a static markup in rendering variant.

Use the following scriban changes to get the content from selected datasource. See BlockTitle, Heading and Description1 and Description2 to pull the content from item-

Example- {{sc_raw i_datasource ‘Description2’ }}

<div class="support-company-area support-padding fix">
            <div class="container">
                <div class="row align-items-center">
                    <div class="col-xl-6 col-lg-6">
                        <div class="right-caption">
                            <!-- Section Tittle -->
                            <div class="section-tittle section-tittle2">
                                <span>{{sc_raw i_datasource 'BlockTitle' }} </span>
                                <h2>{{sc_raw i_datasource 'Heading' }}</h2>
                            </div>
                            <div class="support-caption">
                                <p class="pera-top">{{sc_raw i_datasource 'Description1' }}</p>
                                <p>{{sc_raw i_datasource 'Description2' }}</p>
                                <a href="about.html" class="btn post-btn">Post a job</a>
                            </div>
                        </div>
                    </div>
                    <div class="col-xl-6 col-lg-6">
                        <div class="support-location-img">
                            <img src="assets/img/service/support-img.jpg" alt="">
                            <div class="support-img-cap text-center">
                                <p>Since</p>
                                <span>1994</span>
                            </div>
                        </div>
                    </div>
                </div>
            </div>
        </div>

Finally we have component been rendered and content pulled from item-

Hope this helps.