This blog will give a quick overview of setting development environment for Headless Development with ASP.Net Rendering SDK using the Helix Examples and the docker.
Although there are videos and blogs around same I will do a quick walk through on setting Helix Examples and any errors I faced whilst setting up the environment.
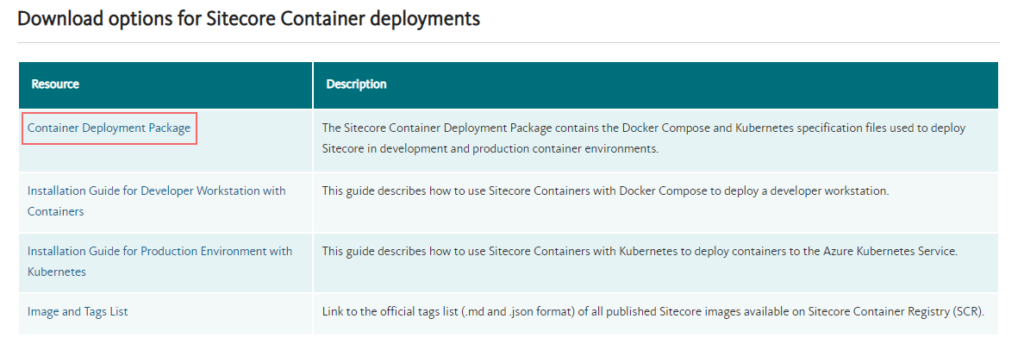
Refer the following for same – https://github.com/Sitecore/Helix.Examples/tree/master/examples/helix-basic-aspnetcore
Install .Net Core 3.1
https://dotnet.microsoft.com/en-us/download/dotnet/3.1
Install .Net core 3.1 on your machine and this is required to create any rendering or platform projects later to extend the Helix Examples Solution or compiling the existing code.
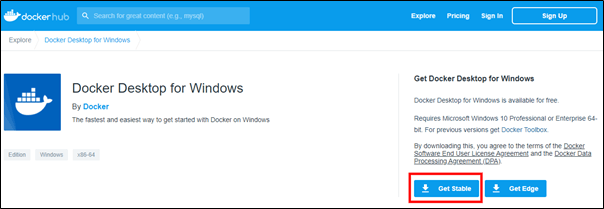
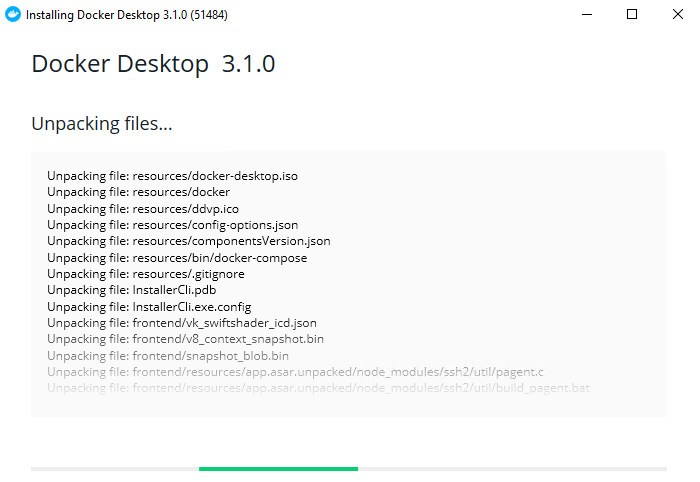
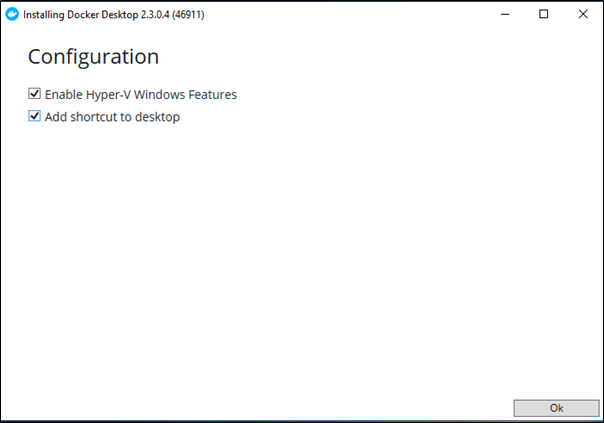
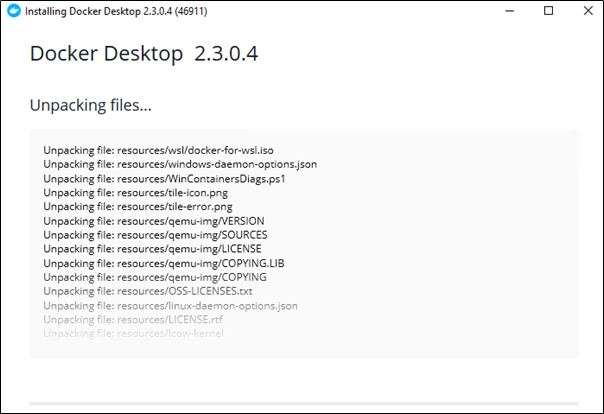
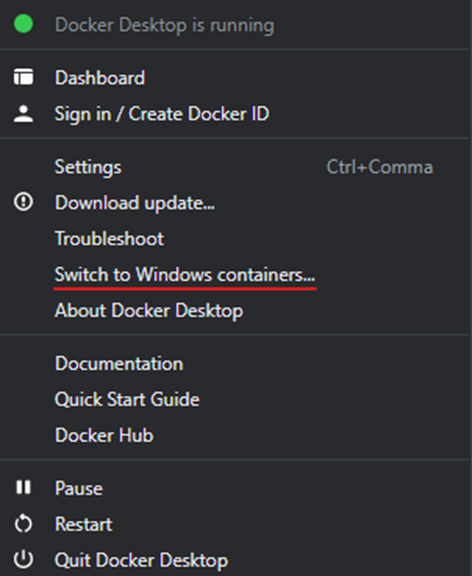
Install Docker Desktop on Windows
https://docs.docker.com/desktop/windows/install/
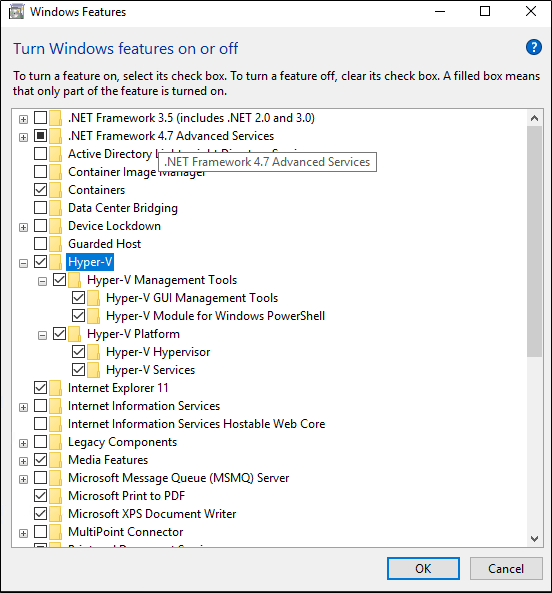
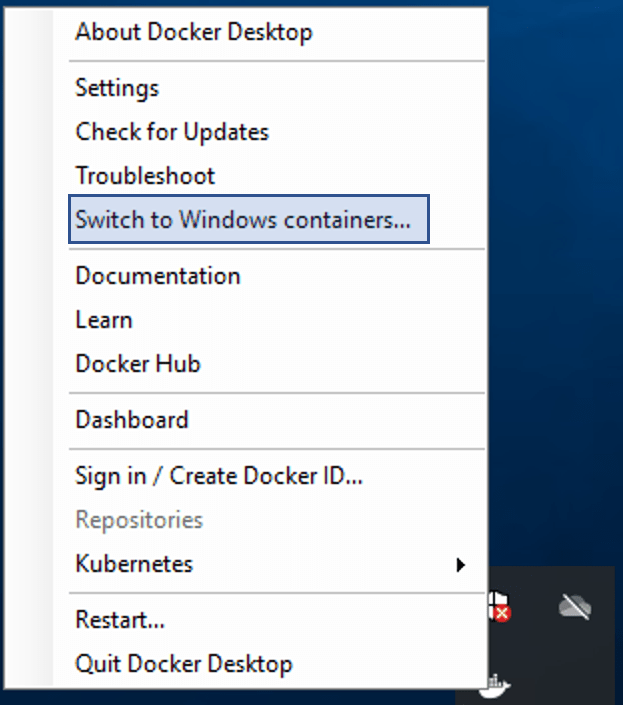
Run this on Hyper-V mode and Switch to Windows Containers
Install Visual Studio Code and Visual Studio 2022 Community Edition
https://visualstudio.microsoft.com/vs/community/
https://code.visualstudio.com/download
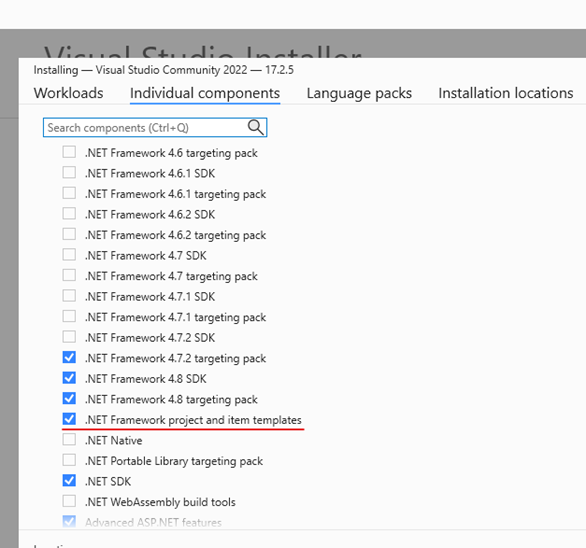
Whilst installing Visual Studio 2022 select the .Net Framework project and templates option as the platform projects uses .Net Framework 4.8 version. This will also help further if you want to extend the solution.
Install and Configure Windows Terminal (optional)
https://docs.microsoft.com/en-us/windows/terminal/install
https://dev.to/shahinalam02/customize-your-terminal-using-oh-my-posh-theme-38if
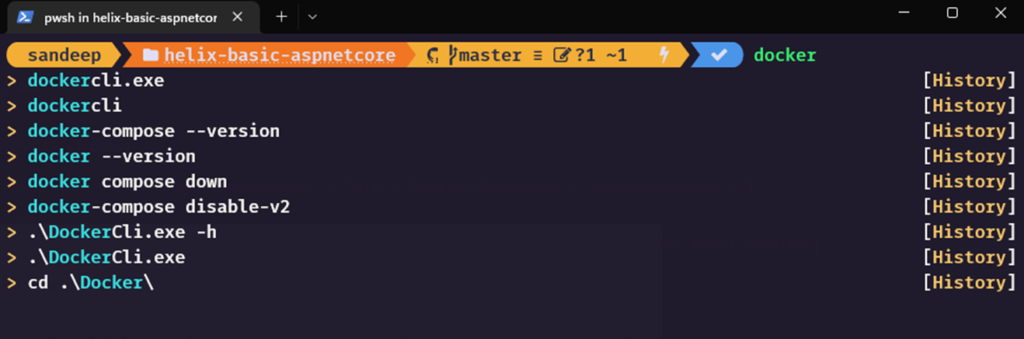
Install Windows Terminal, refer above link and if you fancy applying the themes, although this is optional.
Install git
https://git-scm.com/download/win
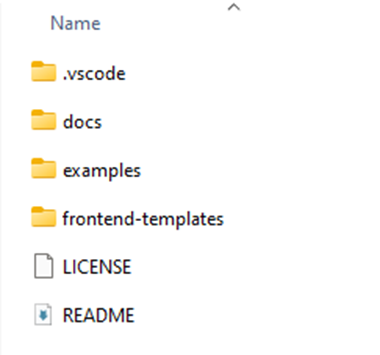
Clone Helix Examples Solution
https://github.com/Sitecore/Helix.Examples
https://github.com/Sitecore/Helix.Examples.git
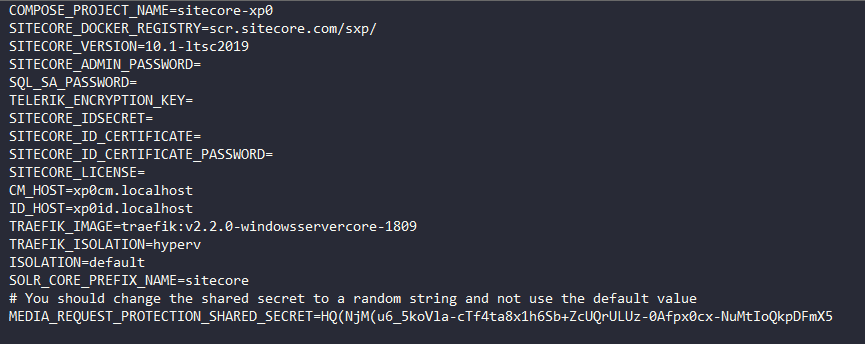
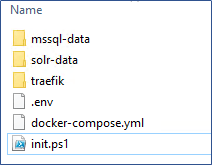
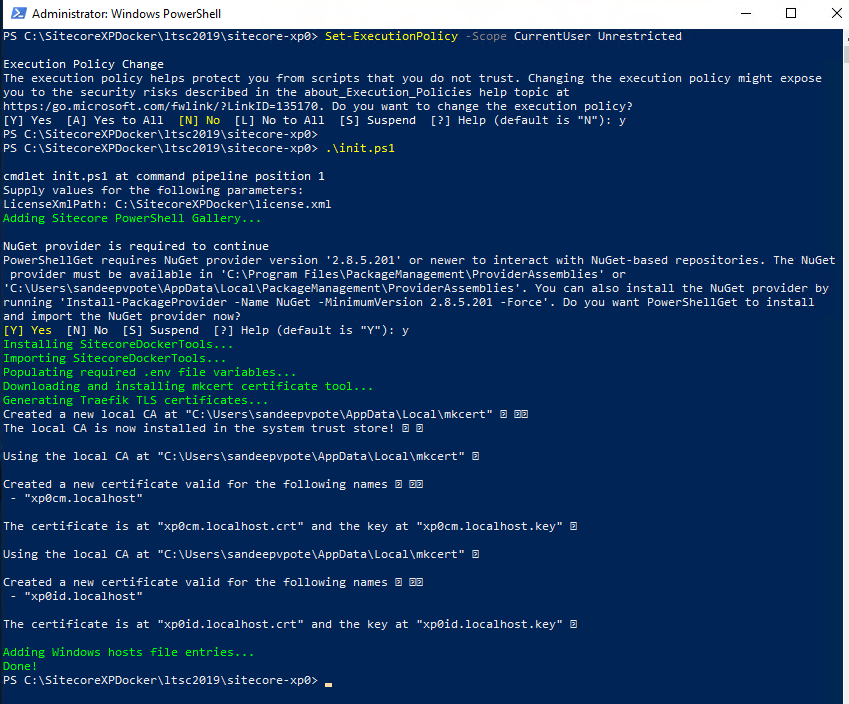
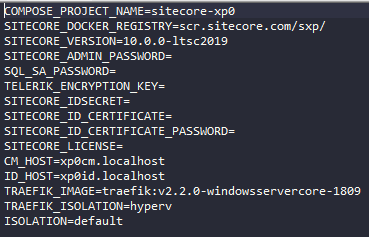
Initialise the config
Navigate to \examples\helix-basic-aspnetcore and run following-
.\init.ps1 -LicenseXmlPath C:\<<path to license>>\license.xml -SitecoreAdminPassword "b"
This should initalise teh .env file and fill in the values of the variables for License and Admin Password. Also it will populate other variables.
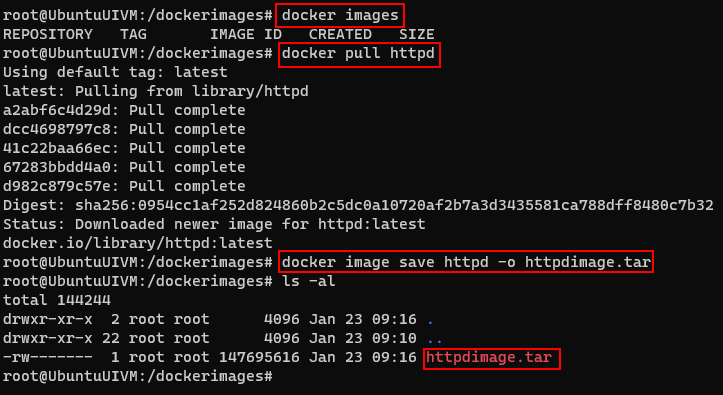
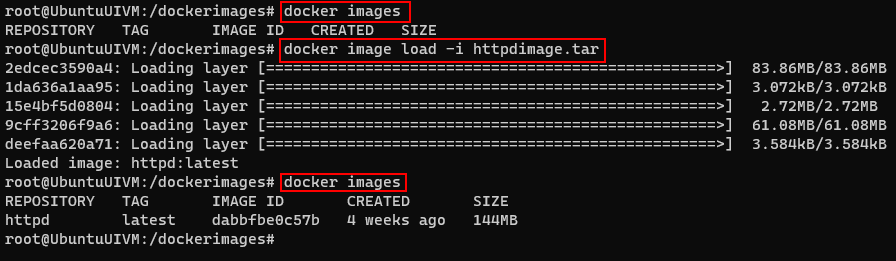
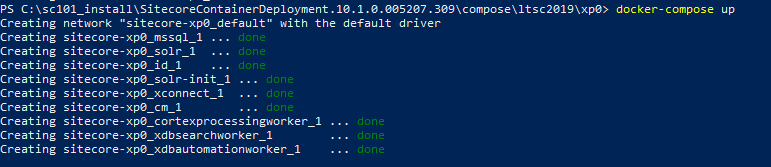
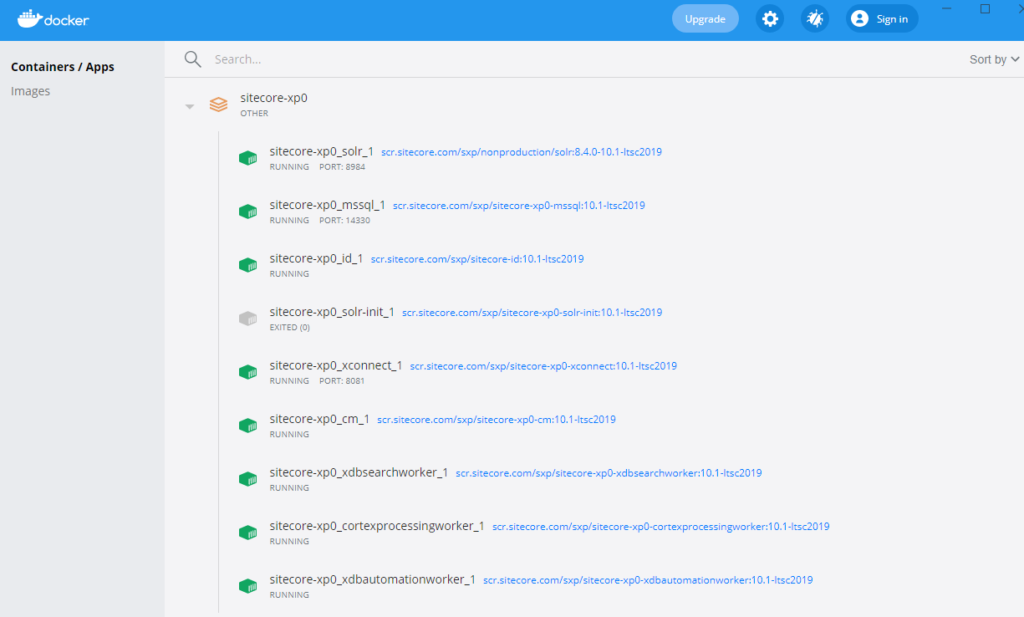
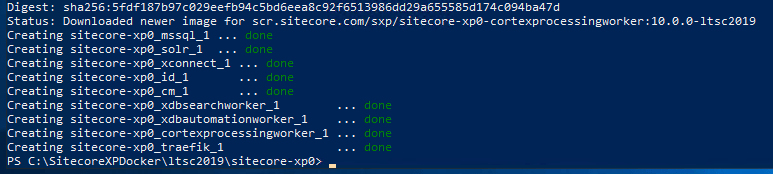
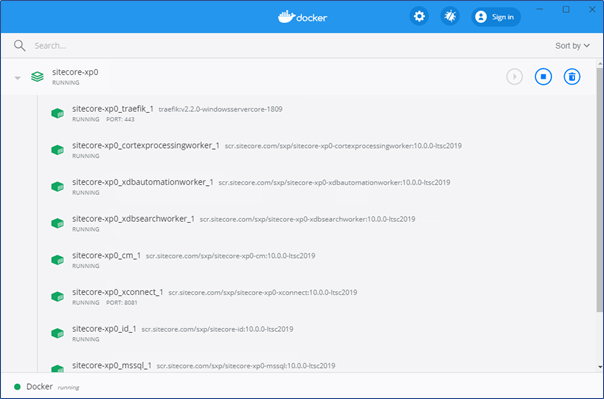
Build Images
Once the config are initialised run folowing command-
up.ps1Once all the images are downloaded and built along with solution login to CM should will be asked.
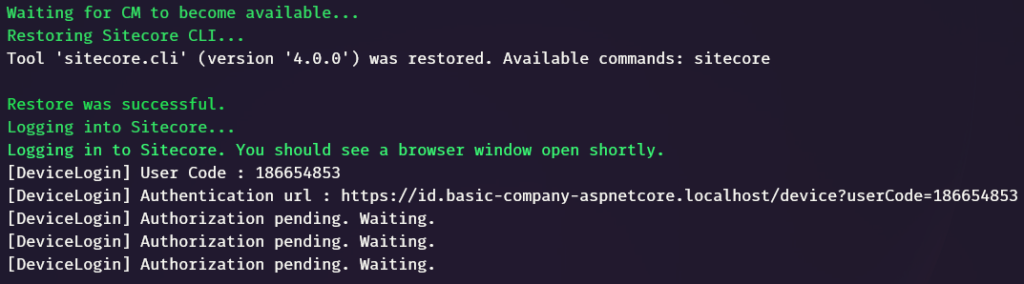
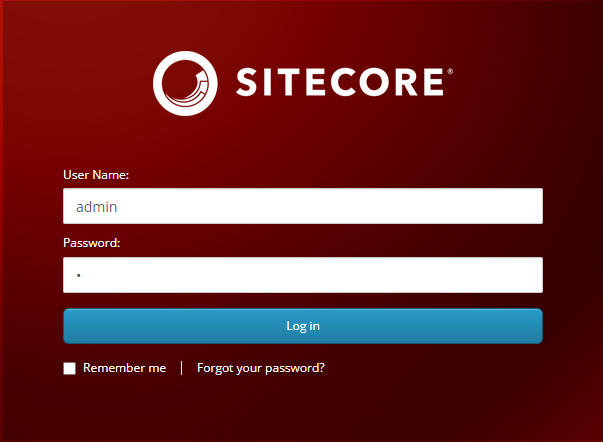
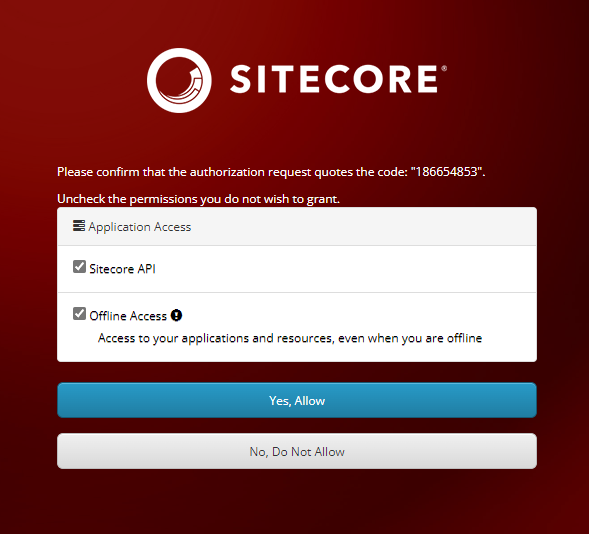
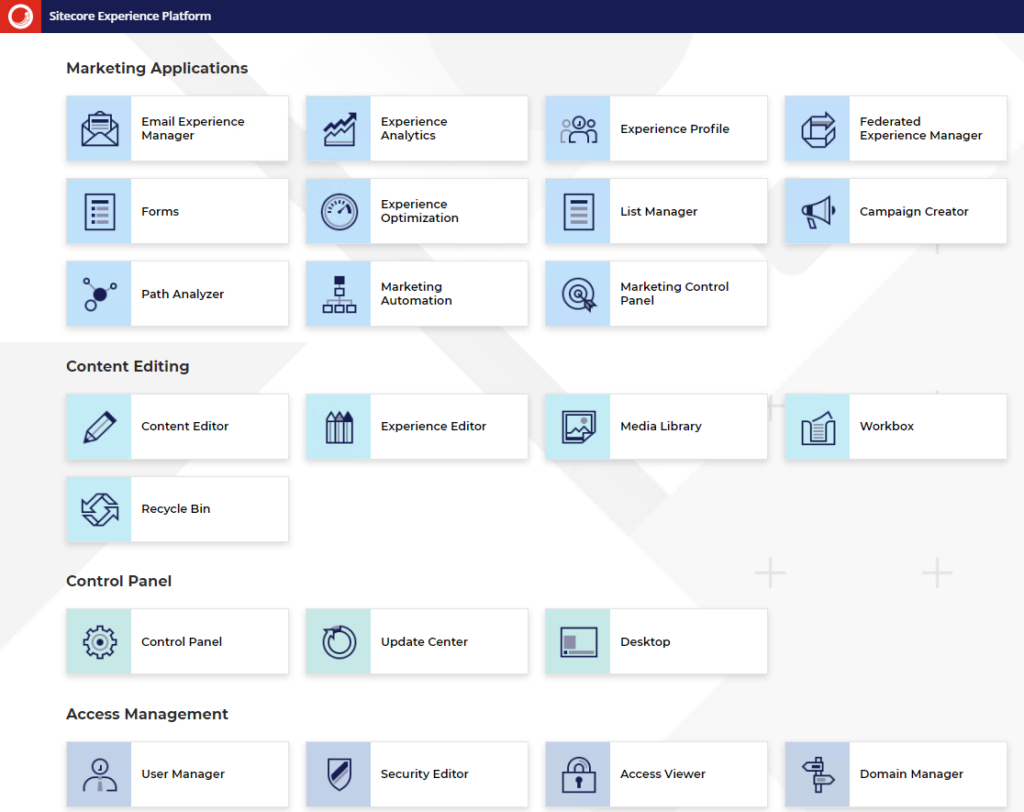
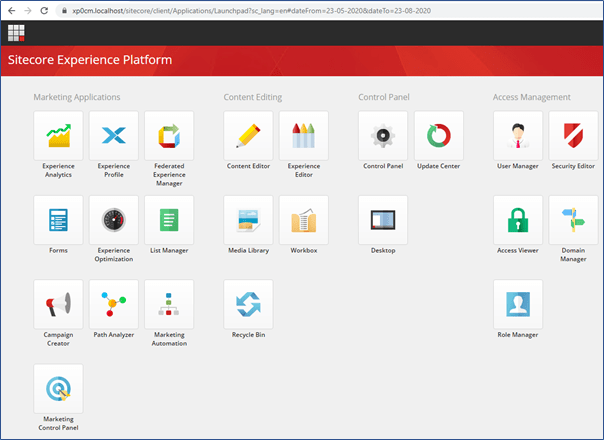
Login to the CM and Allow access to Sitecore API and Offline Access

Once this done the CD and CM app should be ready along with the data been synched.
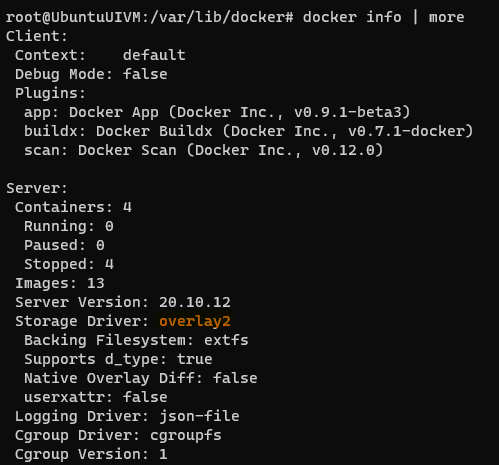
Check the logs for any errors in rendering with following command-
docker-compose logs -f renderingAccess Application
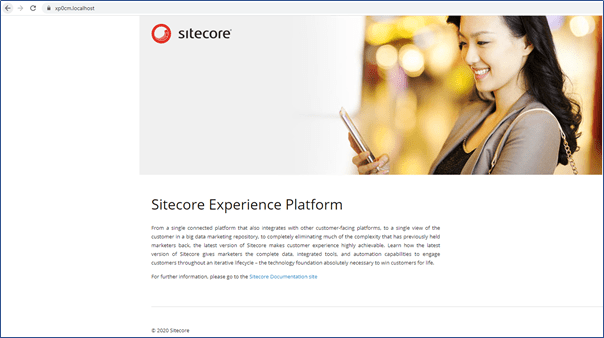
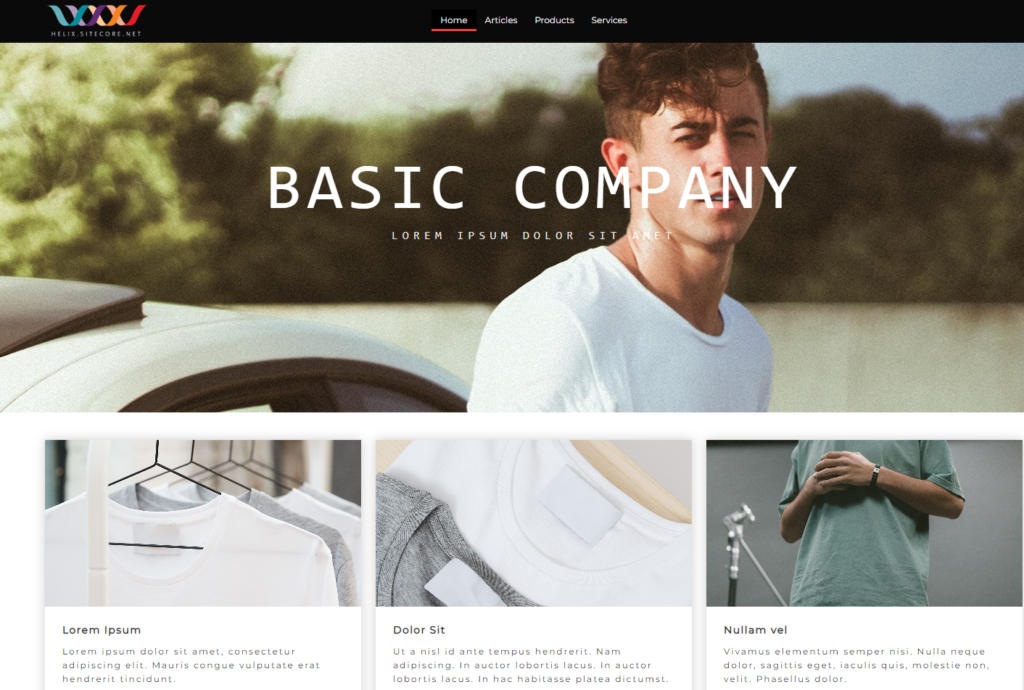
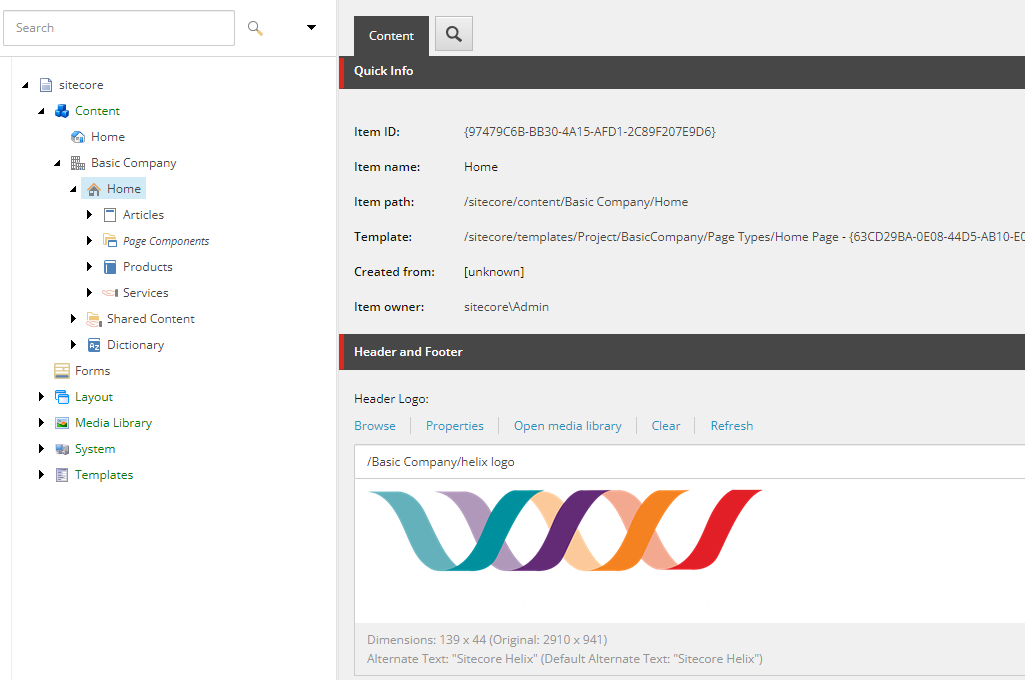
Site can be accessed with the following url –
Sitecore Content Management: https://cm.basic-company-aspnetcore.localhost/sitecore/
Sitecore Identity Server: https://id.basic-company-aspnetcore.localhost
Basic Company site: https://www.basic-company-aspnetcore.localhost
Use following to stop/remove containers-
docker compose down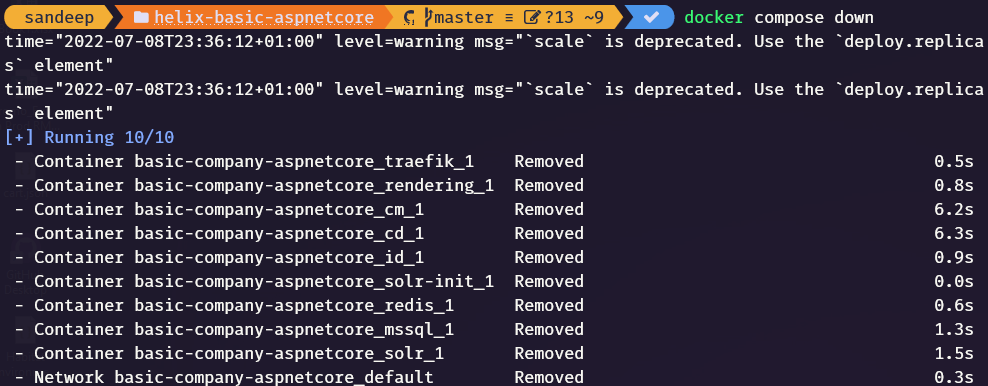
Issues while building the images–
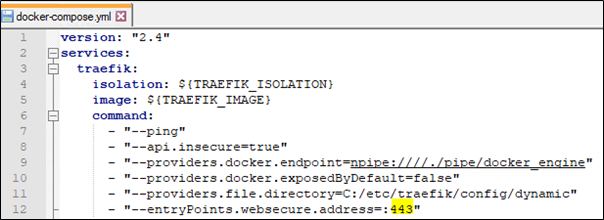
Error response from daemon: Unrecognised volume spec: file ‘\\.\pipe\docker_engine’ cannot be mapped. Only directories can be mapped on this platform
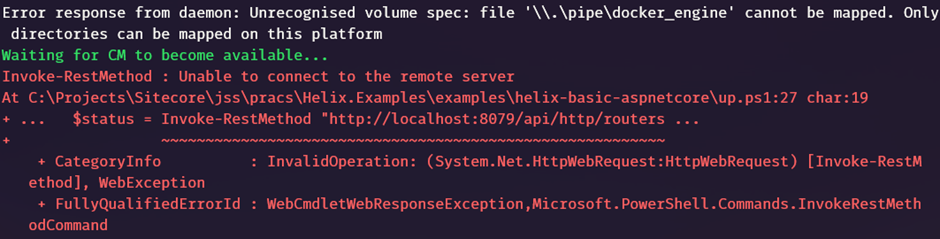
Solution-
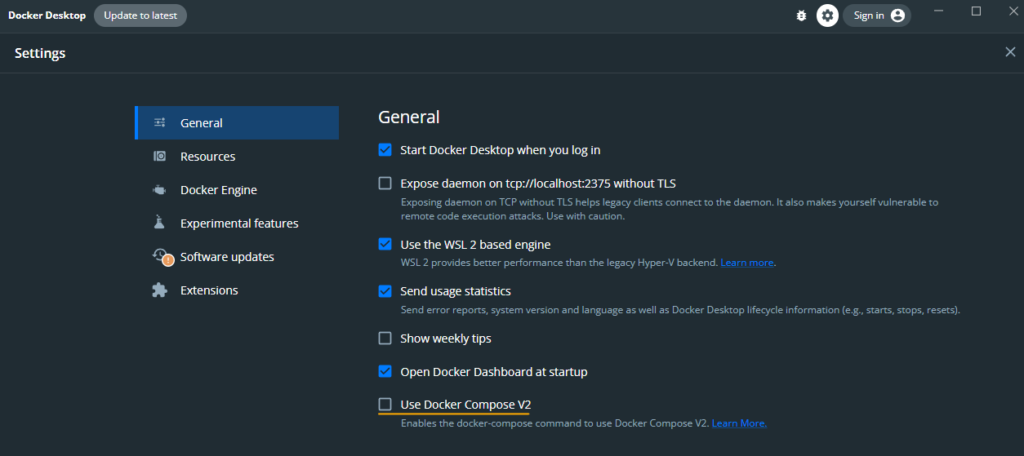
Disable Docker Compose V2 using command or in Docker Desktop-
docker-compose disable-v2or Uncheck the “Use Docker Compose V2” option