Business Tools is extensible using pluggable framework and can extend a UI using Entity Views. Although Business Tools offers a rich set of controls you might want to create your own custom control for the best business experience.
For this you need to first setup the development environment for business tools. Once the environment is setup you should be ready to develop custom control/customize the business tools.
Prerequisites
- Instance of Commerce Engine deployed in development environment
- Install Node.js Javascript runtime
- Install Angular CLI tool – npm install -g @angular/cli
NPM configuration to have NPM Packages from Sitecore public feed
Sitecore BizFx SDK relies on NPM packages available on the Sitecore official public feed for NPM packages.
Open Poswershell as Administrator
Execute these 2 commands in powershell
npm config set @speak:registry=https://sitecore.myget.org/F/sc-npm-packages/npm/

npm config set @sitecore:registry=https://sitecore.myget.org/F/sc-npm-packages/npm/
This will add following line to–
C:\Users\[your user]\.npmrc
[Optional] – you may check if this lines are added
@speak:registry=https://sitecore.myget.org/F/sc-npm-packages/npm/@sitecore:registry=https://sitecore.myget.org/F/sc-npm-packages/npm/
Setup and Install SPEAK and BizFx packages for development solution
Copy Sitecore.BizFX.SDK.4.0.8 folder to your development folder and extract the SDK zip file to folder e.g. c:\BizFXDevelopment\SitecoreBizFx
Copy below files to the folder SDK was extracted. You should find this files from the Sitecore XC release package.
- speak-icon-fonts-1.1.0.tgz
- speak-ng-bcl-2.0.0-r00116.tgz
- speak-styling-1.0.0-r00110.tgz
Execute the following commands where the above files were copied
npm install speak-icon-fonts-1.1.0.tgz
npm install speak-ng-bcl-2.0.0-r00116.tgz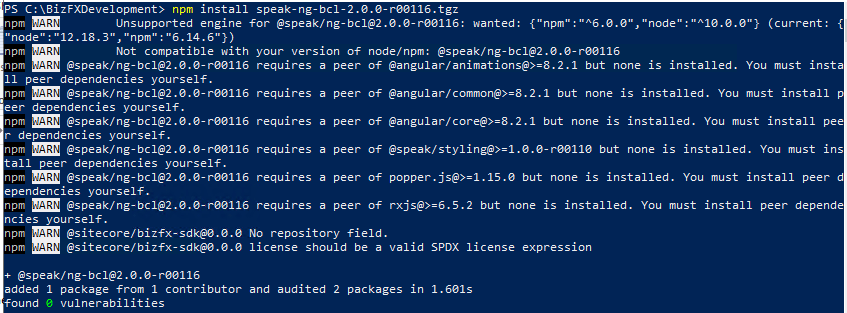
npm install speak-styling-1.0.0-r00110.tgz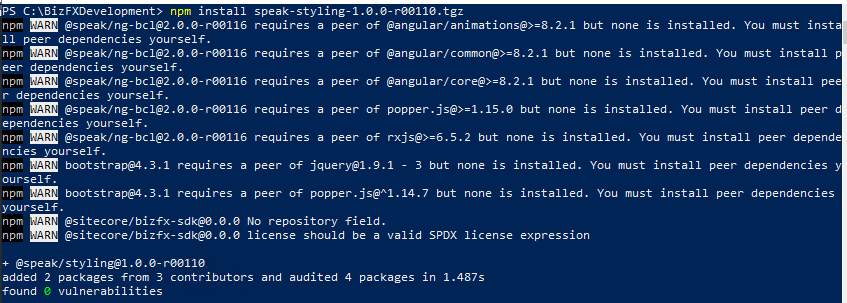
npm install @sitecore/bizfx
Run npm install. This should install required npm modules and add a folder node_modules
npm installSetup the business tools config.json with your deployment configuration
Once the npm installed successfully open config.json file located in src\assets folder
Update the config to the same as the BizFx site instance except for BizFxUri. Note BizFxUri points to http in below config
{
  "EnvironmentName": "HabitatAuthoring",
  "EngineUri": "https://localhost:5000",
  "IdentityServerUri": "https://xp10.IdentityServer",
  "BizFxUri": "http://localhost:4200",
  "Language": "en",
  "ContentLanguage": "en",
  "Currency": "USD",
  "ShopName": "CommerceEngineDefaultStorefront",
  "LanguageCookieName": "selectedLanguage",
  "ContentLanguageCookieName": "selectedContentLanguage",
  "EnvironmentCookieName": "selectedEnvironment",
  "AutoCompleteTimeout_ms": 300,
  "AccessTokenUpdateInterval_ms": 300000
}
Run the development environment
Important!
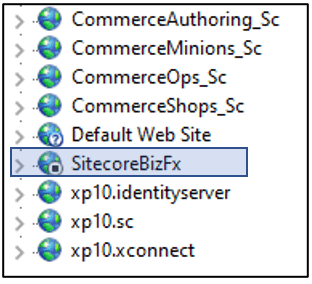
Stop the SitecoreBizFx site as the site listens to 4200 port. Next step will help listen the site from the extracted SDK folder.
Execute following Powershell command –
ng server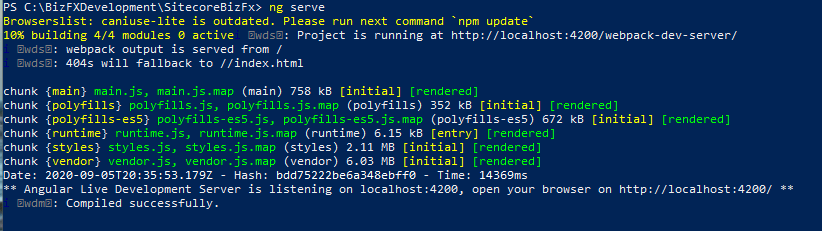
Open browser on http://localhost:4200/ this should ask to enter the Sitecore client credentials, once provided it will throw an error
This site can’t provide a secure connection
The reason this error occurs the identity server is not configure to server BizFx site on http
Update the Sitecore Identity Server Configuration
Open the Sitecore.Commerce.Identity ServiceHost.xml from the installed Identity Server instance \wwwroot\Config\production
Add http://localhost:4200 to AllowedCorsOriginGroup1
<AllowedCorsOrigins>
<AllowedCorsOriginsGroup1>http://localhost:4200</AllowedCorsOriginsGroup1>
</AllowedCorsOrigins>
Update Commerce Engine configuration
- Open config.json from wwwroot folder in CommerceAuthoring site
- Update AllowedOrigins in AppSettings to have http://localhost:4200
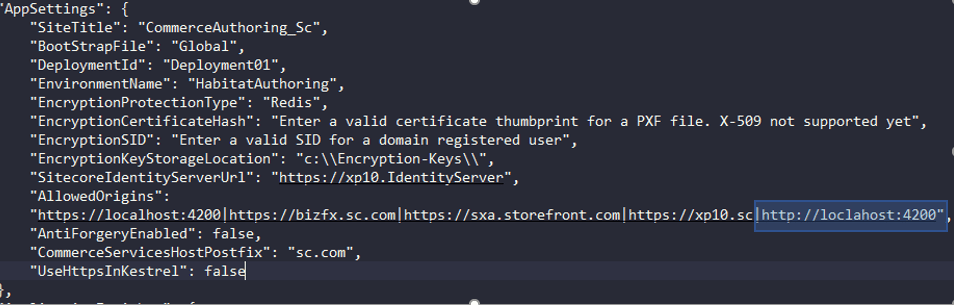
- Since the config is changed need to bootstrap so the changes are applied to authoring site
- Restart IIS. Optionally you may just restart Commerce Authoring site
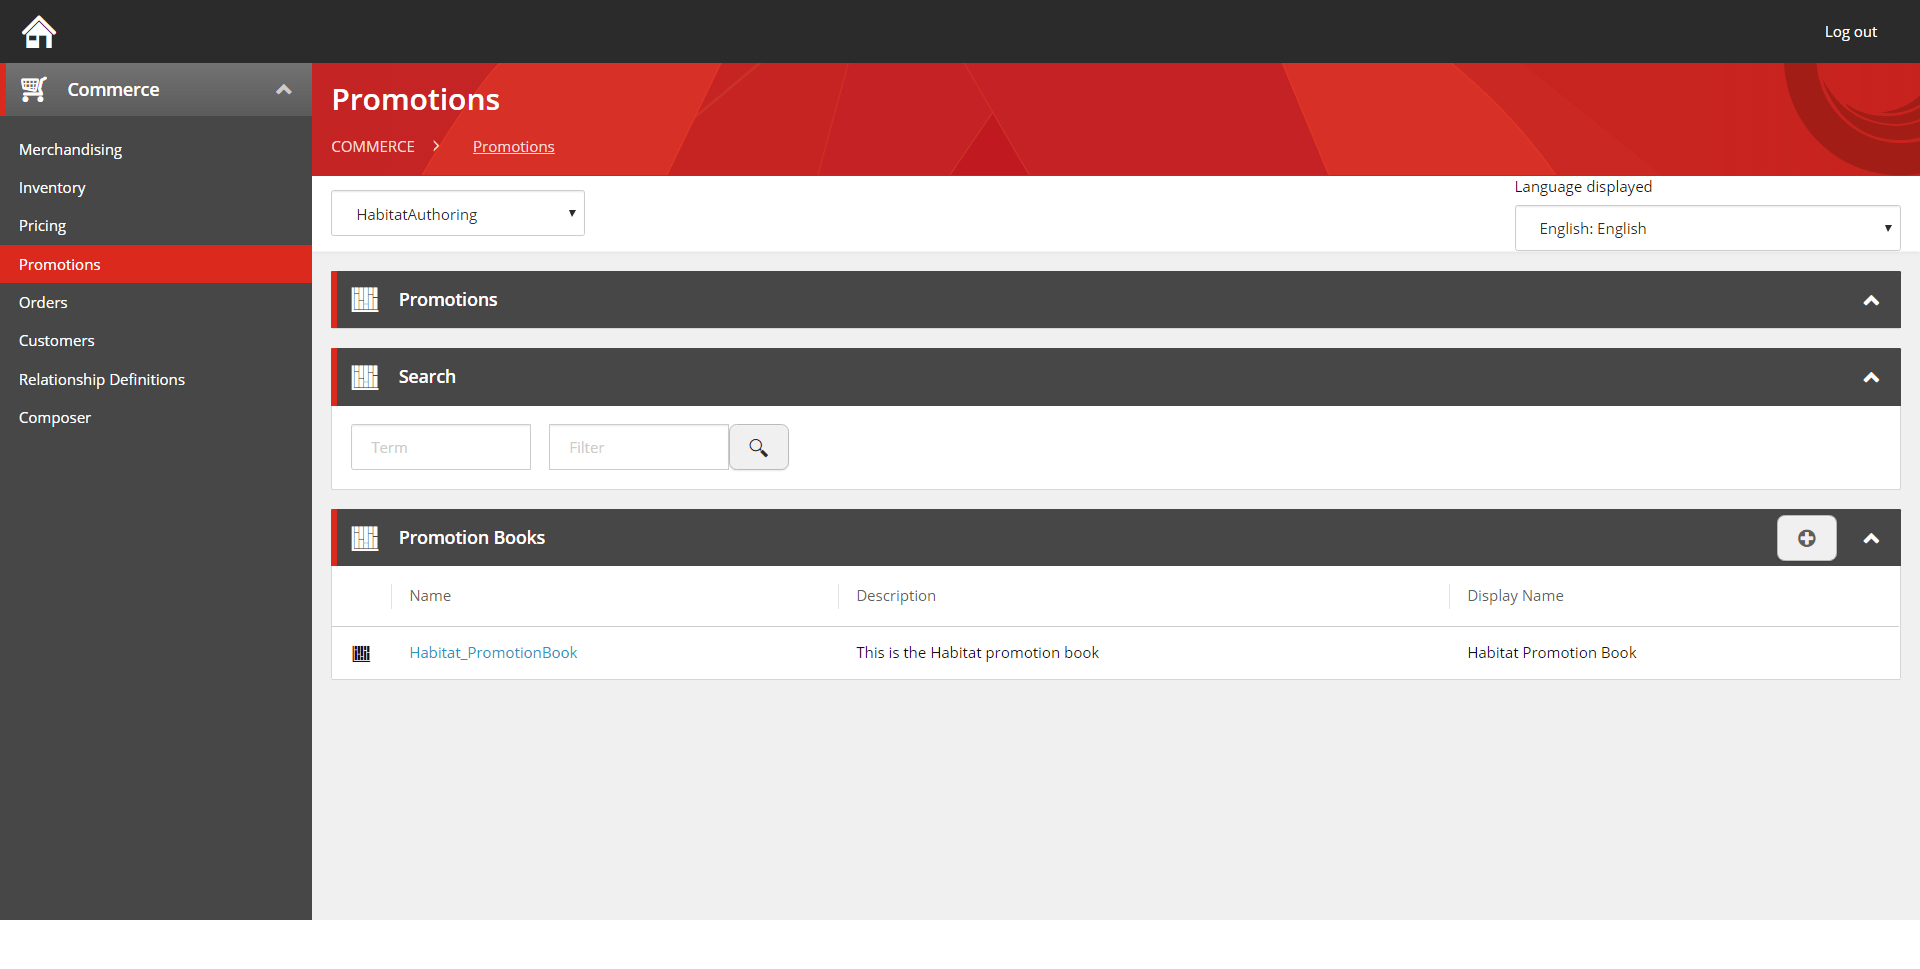
Run Business tool from development environment
Open browser on http://localhost:4200/

Business tools running on http and in developer mode.
References –
Stay tuned next blog will walk through on how to create a new custom control/component in Business Tools