Last Updated on February 1, 2025 by sandeeppote

Deployment Topology for installing Sitecore using SIF we are going to see here is XP Single Developer(XP0)
Another way to install is using Sitecore Installation Assistant (SIA). See this post to deploy using SIA
Use the Sitecore Installation Guide for hardware, OS ,database and other software requirements
Installation guide for Developer workstation
Download/Install following-
- Windows Server 2019/2016 or Windows 10(64-bit)
- Install Microsoft PowerShell 7.0.3 if not already installed
- PowerShell in installed with OS. Check version using this command
-
Get-Host | Select-Object Version
-
- Optionally install version 7.0.3 if version 5.1 or later is already installed
- PowerShell in installed with OS. Check version using this command
- Install .Net Framework 4.8.0
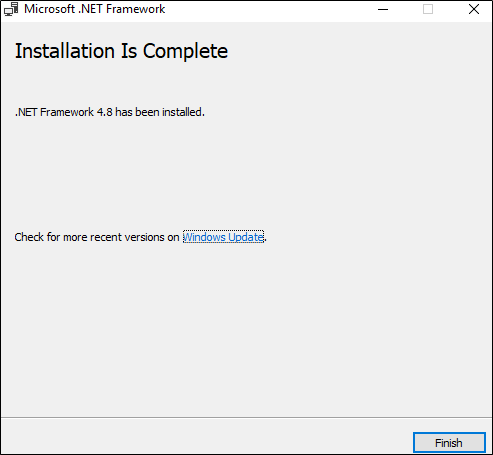
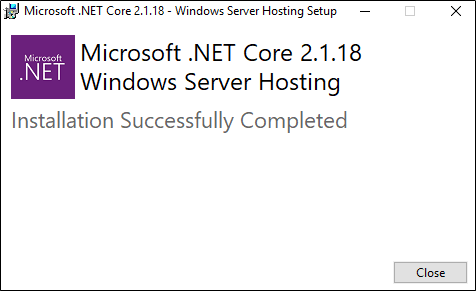
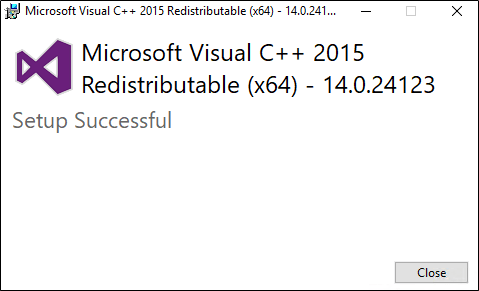
- Install Microsoft Visual C++ 2015
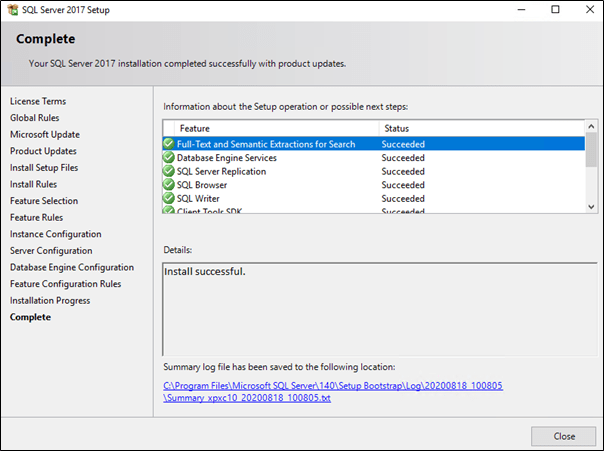
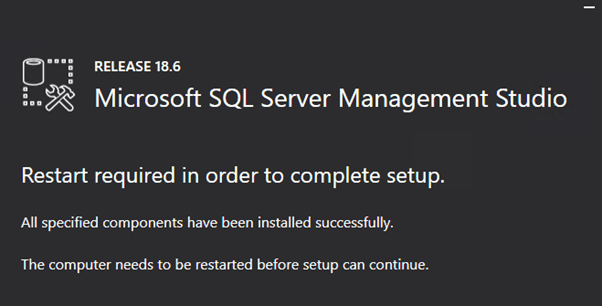
- [Optional] Microsoft SQL Server drivers and utilities
- Download XP Single Developer (XP0)
Machine restart might be required whilst installation of above software’s
Step-by-step prepare and organize pre-requisite and installation files
- Enable Contained Database Authentication
After installing SQL Server launch SQL Server Management Studio and run following-
EXEC sp_configure 'contained', 1;
RECONFIGURE;- Prepare the installation folder
- Extract downloaded XP Single Developer package to a folder e.g.:- sitecorexp10
- Extract XP0 Configuration files 10.0.0 rev. 004346.zip in same folder

- Install SIF Module
- Open PowerShell as an administrator.
- Set unrestricted execution to current user
Set-ExecutionPolicy -Scope CurrentUser Unrestricted
3. Register repository
Register-PSRepository -Name SitecoreGallery https://sitecore.myget.org/F/sc-powershell/api/v24. Install SIF
Install-Module SitecoreInstallFramework
5. After SIF installation check if the SIF 2.3.0 is installed
Get-Module SitecoreInstallFramework –ListAvailable 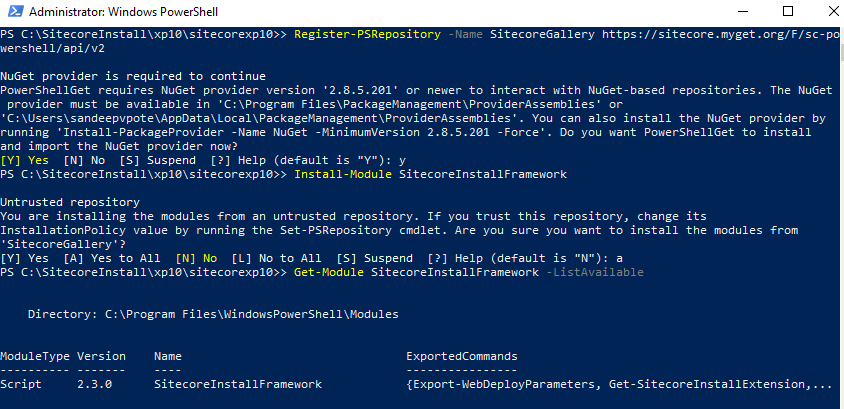
To install specific version of SIF or run multiple version of SIF see this blog
6. Execute – Install-SitecoreConfiguration -Path Solr-SingleDeveloper.json
- Install prerequisites before installing XP 10
Switch to the sitecorexp10 folder and execute following script
Install-SitecoreConfiguration -Path .\Prerequisites.json
- Install SOLR 8.4.0
1. Switch to sitecorexp10 folder. Open Solr-SingleDeveloper.json file
2. Change the Install Root for SOLR – DefaultValue
 "SolrInstallRoot": {
            "Type": "String",
            "Description": "The file path to install Solr. This config will add the prefix and solr version e.g C:\\Solr becomes C:\\Solr\\[SolrServicePrefix]Solr-8.4.0",
            "DefaultValue": "C:\\SOLR"
        },
3. Execute – Install-SitecoreConfiguration -Path Solr-SingleDeveloper.json
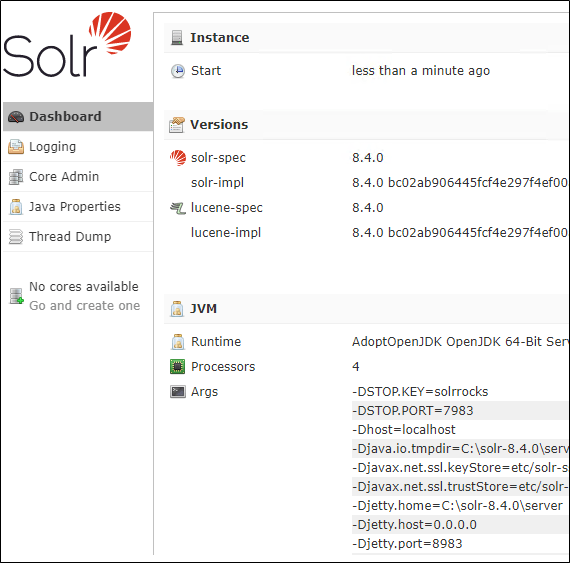
4. Check https://localhost:8983/solr/#/ if SOLR installed on SSL
Prepare and Execute script for installation
Open XP0-SingleDeveloper.ps1 file to update following-
- $Prefix
- $SitecoreAdminPassword
- $SCInstallRoot – change path to the folder installers are available
- $SolrUrl
- $SolrRoot
- $SolrService
- $SqlServer
- $SqlServer
- $SqlAdminPassword
Copy license to the sitecorexp10 folder
Execute installation script – .\XP0-SingleDevelor.ps1

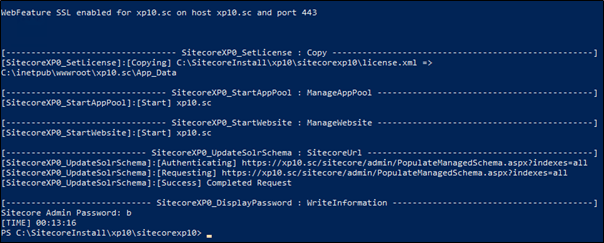
Hope the installation completes without any issues

Post Installation activities
Rebuild the search indexes and the Link database
After you install Sitecore Experience Platform, you must rebuild the search indexes and rebuild the Link databases.
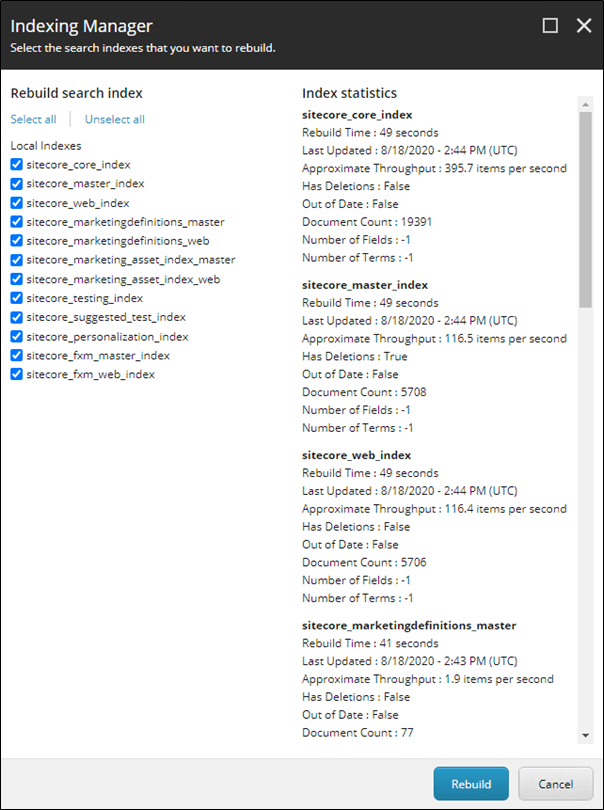
To rebuild all the indexes:
- On the Sitecore Launchpad, click Control Panel, and in the Indexing section, click Indexing manager.
- In the Indexing Manager dialog box, click Select all, and then click Rebuild.
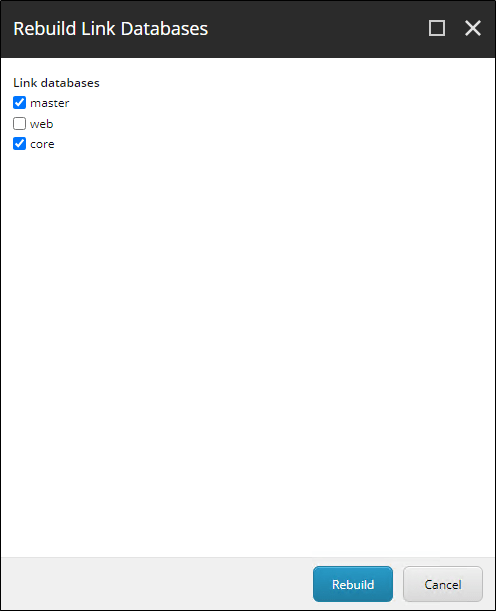
To rebuild the Link databases for the Master and Core databases:
- On the Sitecore Launchpad, click Control Panel, and in the Database section, click Rebuild Link Databases.
- Select the Master and Core databases and then click Rebuild


November 19, 2020 at 9:15 am
Excellent coverage of prerequisites Sandeep Pote…