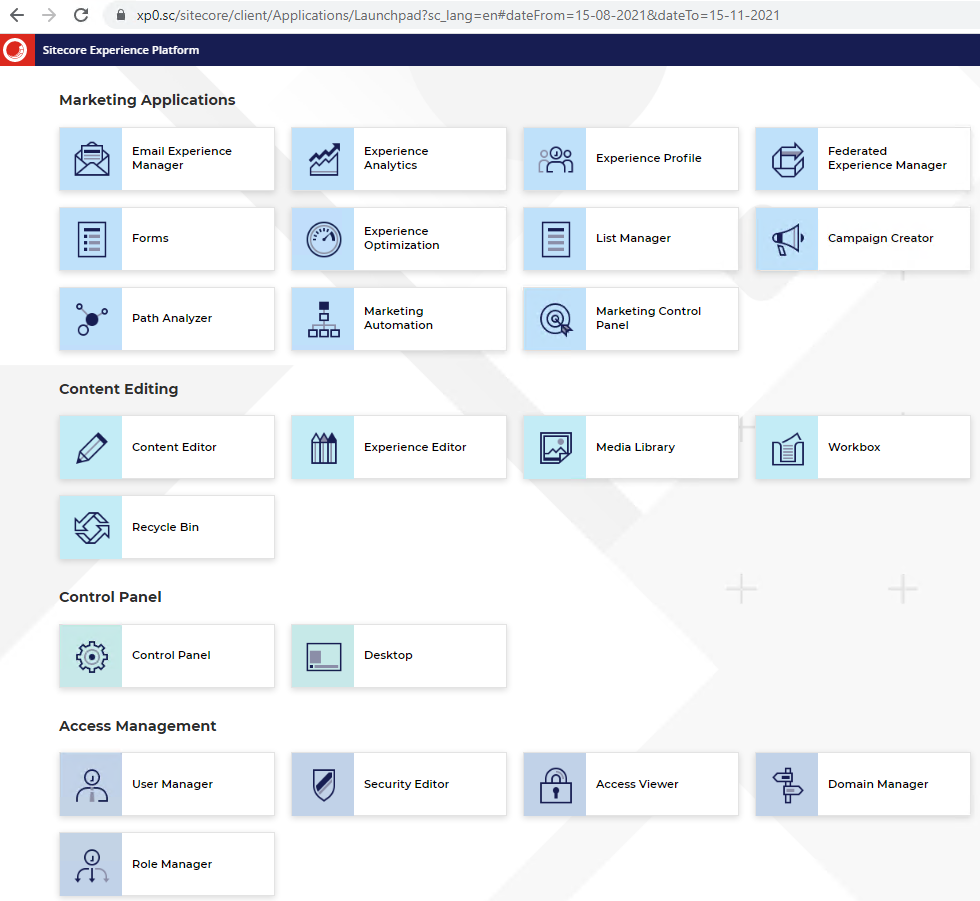
Most of the organisation now want to setup their development environment using docker but if you are currently not considering contanerisation this blog will help you install the Sitecore 10.3 in your local machine.
To install XP Single Developer(XP0) 10.3 on development machine, follow the steps in this blog post
Use the Sitecore Installation Guide for hardware, OS, database and other software requirements
Installation guide for XP Single (XP0)
OS Requirements-
Windows 10(64 bit)
Ensure IIS 10x installed
Ensure Powershell version 5.1 or later is installed. Check here the latest version
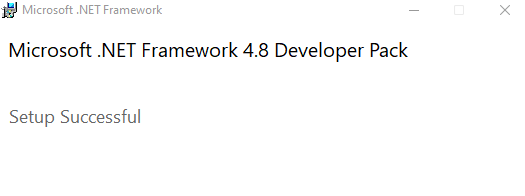
Install .Net Framework 4.8.0 – Download Developer Pack
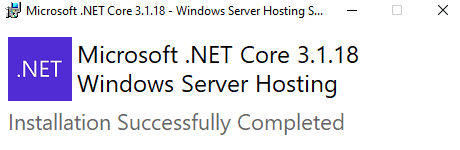
Sitecore Identity server requires .NET Core 6.0 Windows Hosting Bundle or later
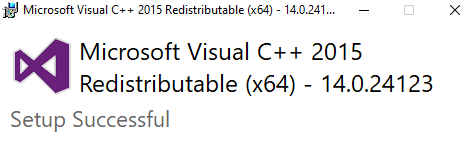
Install Microsoft Visual C++ 2015
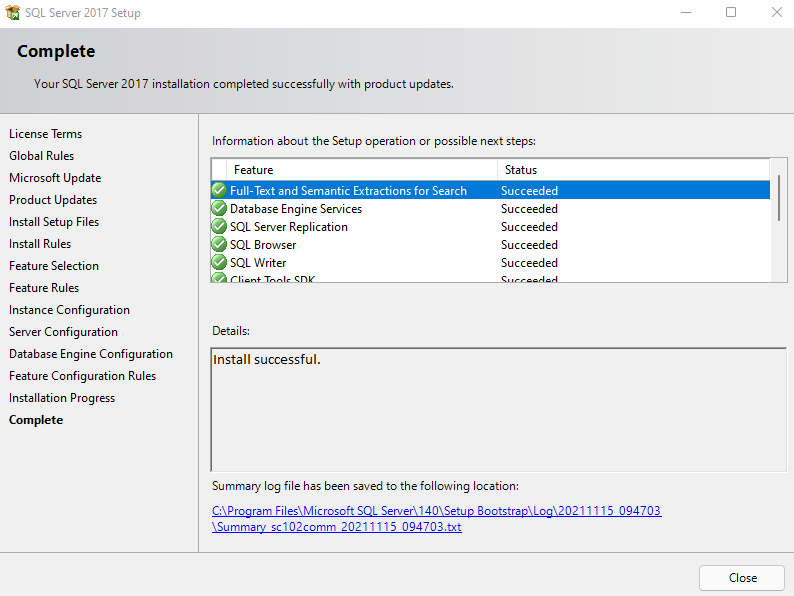
Install Microsoft SQL Server 2017 Express Edition OR Install Microsoft SQL Server 2019 Express
You may also install the above prequisites using CLI. Goto section Install prerequisites before installing XP 10.2 after installing SQL Server and SIF
Install SQL Server Management Studio (SSMS)
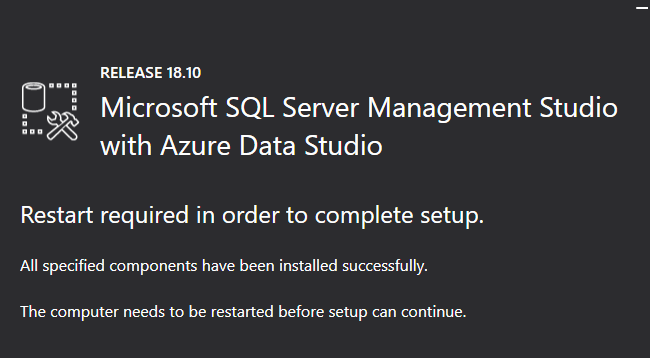
This will ask you to restart your VM/Machine
- Enable Contained Database Authentication
After installing SQL Server launch SQL Server Management Studio and run following-
EXEC sp_configure 'contained', 1;
RECONFIGURE;- Install SIF Module
- Open PowerShell as an administrator.
- Set unrestricted execution to current user
Set-ExecutionPolicy -Scope CurrentUser Unrestricted3. Register repository
Register-PSRepository -Name SitecoreGallery https://sitecore.myget.org/F/sc-powershell/api/v24. Install SIF
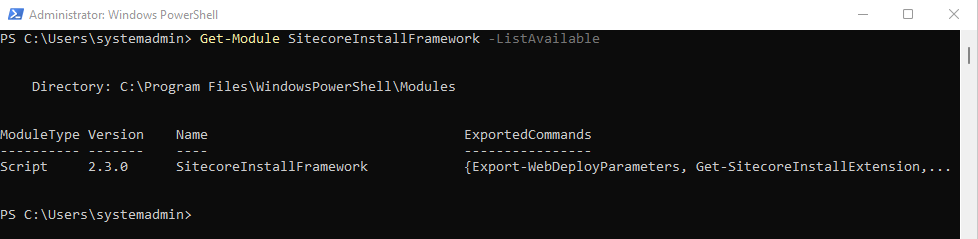
Install-Module SitecoreInstallFramework5. After SIF installation check if the SIF 2.3.0 is installed
Get-Module SitecoreInstallFramework –ListAvailable To install specific version of SIF or run multiple version of SIF see this blog
Download XP Single Developer (XP0)
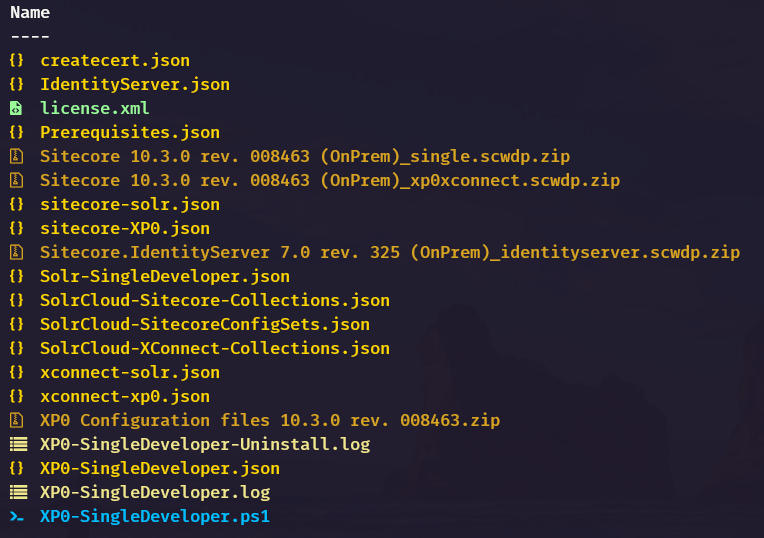
- Prepare the installation folder
1. Extract downloaded XP Single Developer package to a folder e.g.:- C:\SCInstallation\XP103
2. Extract XP0 Configuration files 10.3.0 rev. 008463.zip in same folder
3. Copy license to the e.g. – C:\SCInstallation\XP103 folder
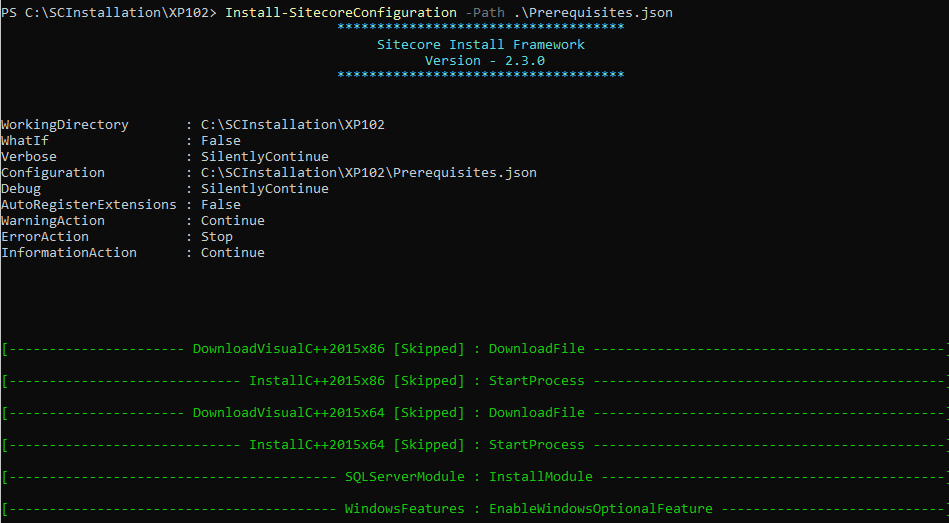
- Install prerequisites before installing XP 10.3
Switch to the installable e.g.:- C:\SCInstallation\XP103 folder and execute following script
Install-SitecoreConfiguration -Path .\Prerequisites.json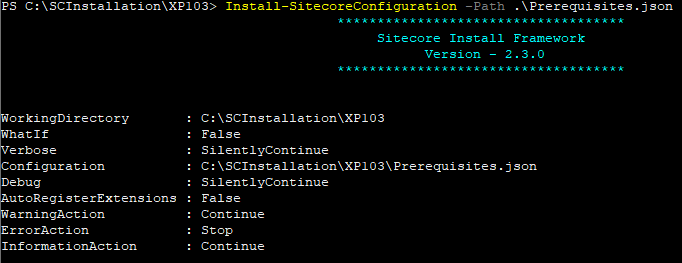
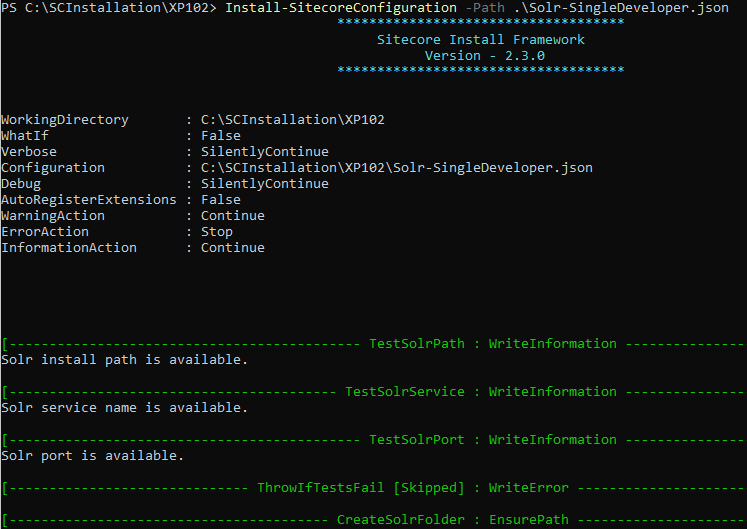
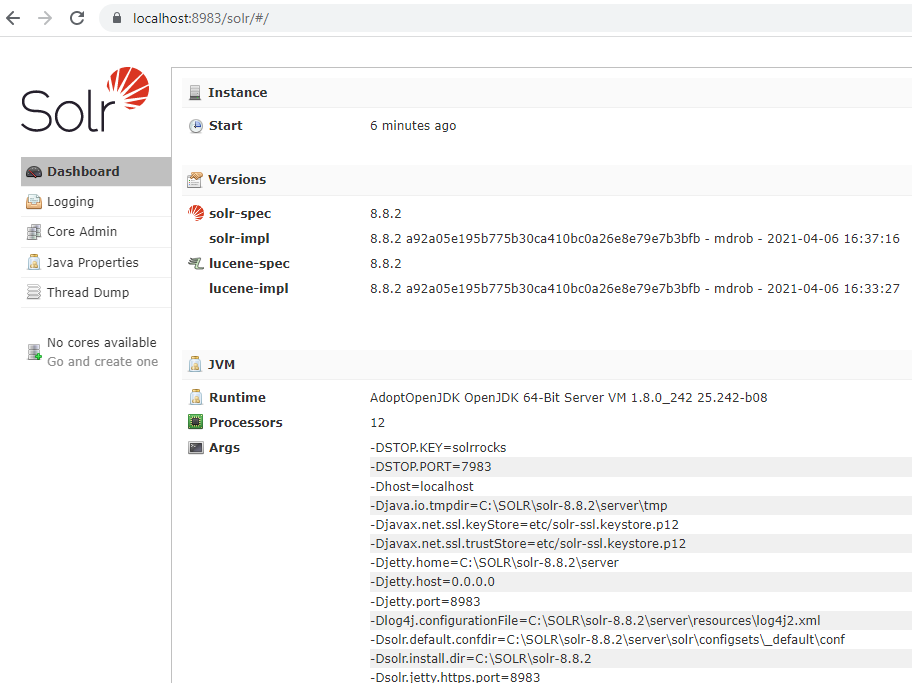
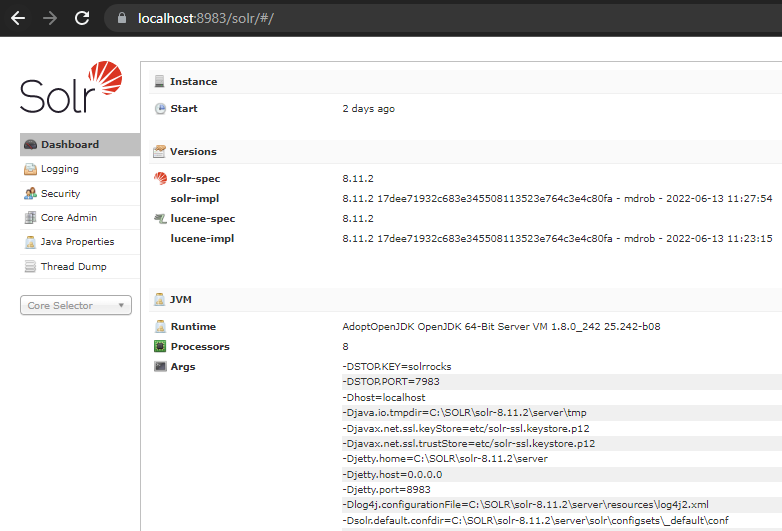
Install SOLR 8.11.2
1. Create a SOLR folder e.g.:- C:\SOLR and switch to e.g.- C:\SCInstallation\XP103 folder. Open Solr-SingleDeveloper.json file.
2. Change the Install Root for SOLR in Solr-SingleDeveloper.json – DefaultValue if your SOLR installat location is different
  "SolrInstallRoot": {
            "Type": "String",
            "Description": "The file path to install Solr. This config will add the prefix and solr version e.g C:\\Solr becomes C:\\Solr\\[SolrServicePrefix]Solr-8.11.2",
            "DefaultValue": "C:\\SOLR"
        },
3. Execute –
Install-SitecoreConfiguration -Path .\Solr-SingleDeveloper.json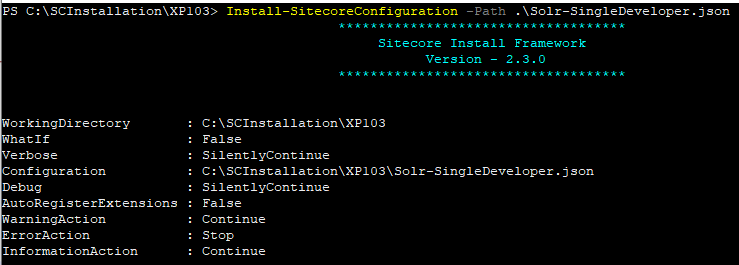
This should install the solr and should run on https.
Prepare and Execute script for installation
Open XP0-SingleDeveloper.ps1 file to update following-
- $Prefix
- $SitecoreAdminPassword
- $SCInstallRoot – change path to the folder installers are available
- $SolrUrl
- $SolrRoot
- $SolrService
- $SqlServer
- $SqlAdminUser
- $SqlAdminPassword
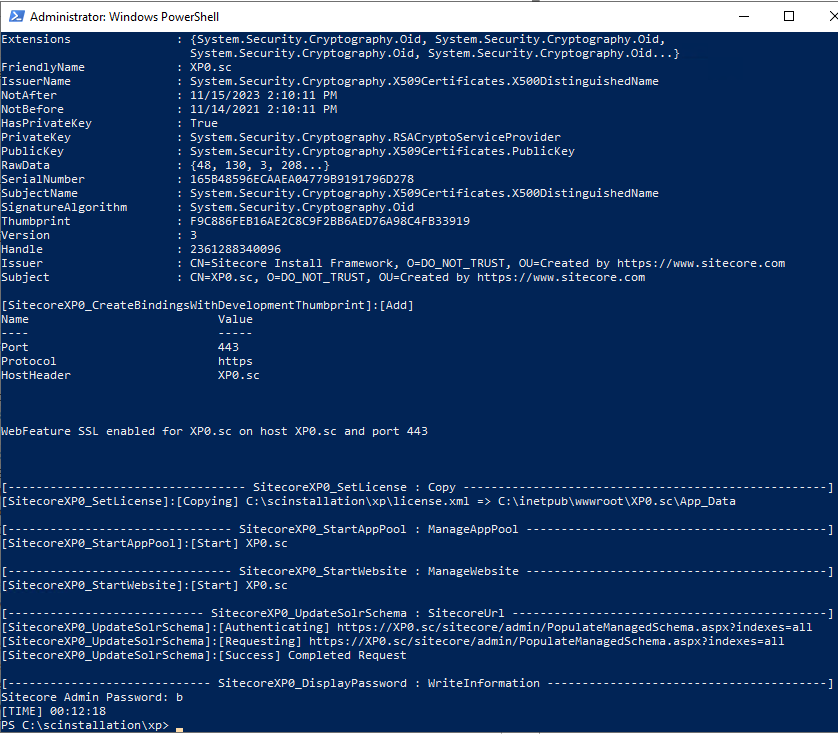
Execute installation script – .\XP0-SingleDevelor.ps1
.\XP0-SingleDevelor.ps1Hopefully this should install successfully on local machine. But if you see any errors below are resoultion to few of the issues I got during installation.

Error while installation
xconnect Marketing Automation fails to start-
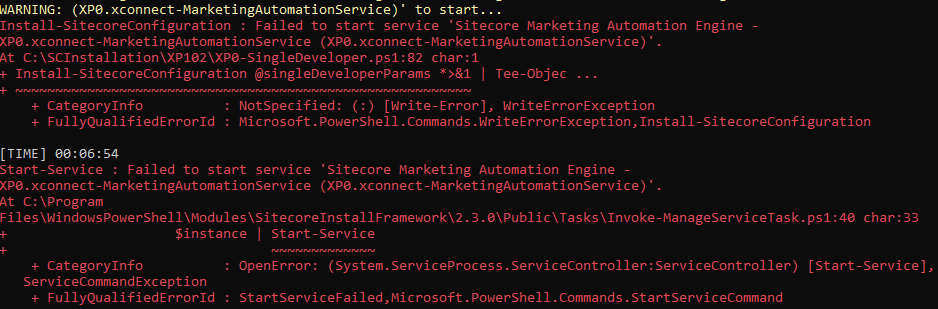
Solution–
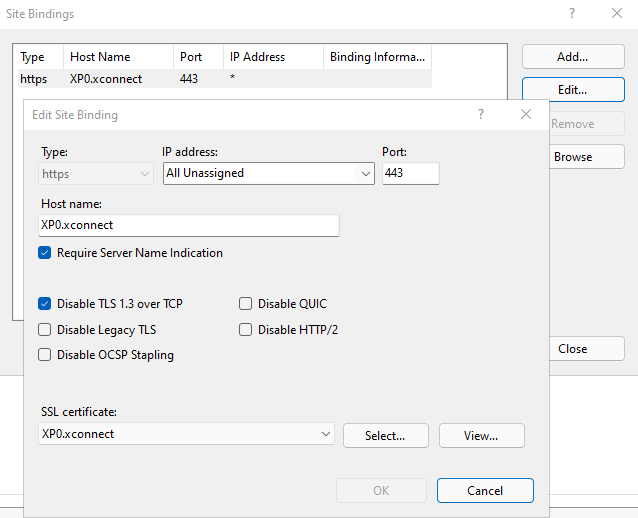
Disable TLS 1.3 over TCP for xconnect. Rerun the installation script or disable this as soon as the xconnect bindings are setup by script during installation.
Copy the instance xconnect certificate to the “Trusted root..” folde. In my case this is the certificate

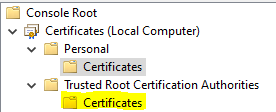
Check that trusted root does not contain non-self-signed certificates using the following PowerShell script:
Get-Childitem cert:\LocalMachine\root -Recurse | Where-Object {$_.Issuer -ne $_.Subject}
If there are any, move them to the Intermediate Certification Authorities:
Get-Childitem cert:\LocalMachine\root -Recurse | Where-Object {$_.Issuer -ne $_.Subject} | Move-Item -Destination Cert:\LocalMachine\CA
https://sitecore.stackexchange.com/questions/10418/the-http-response-was-not-successful-forbidden
No registration for extension ‘AppPool’ of type ‘Task’
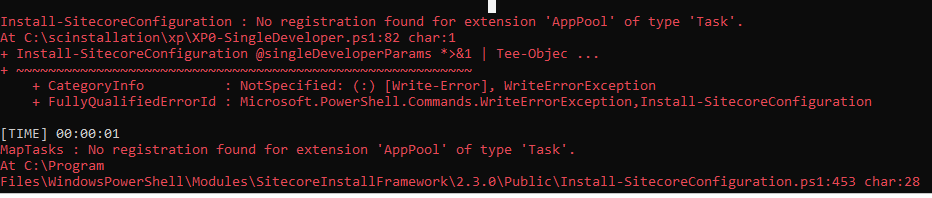
If the service still don’t start try running executable it manually at following location-
XP103.xconnect\App_Data\jobs\continuous\AutomationEngine\Sitecore.MAEngine.exe
Solution
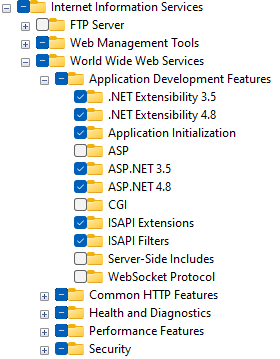
Check if the Asp.Net options in Windows features – Internet Information Services.
Error: .Net SqlClient Data Provider: Msg 12809, Level 16, State 1, Line 5 You must remove all users with password before setting the containment property to NONE.
Solution-
EXEC sp_configure 'contained', 1;
RECONFIGURE; ![]()