In this blog blost lets create Project and Environment to deploy the sxastarter site to XM Cloud. The deployment is based on the existing repository in GitHub and have solution ready to deploy. Please see this blog posts on how to fork Foundation Head Template and setup your local instance along with creating Headless SXA Site(sxastarter) also configure the serliazation of Sitecore items.
To create project and environment you need to have access to XM Cloud either Admin or Contributor.
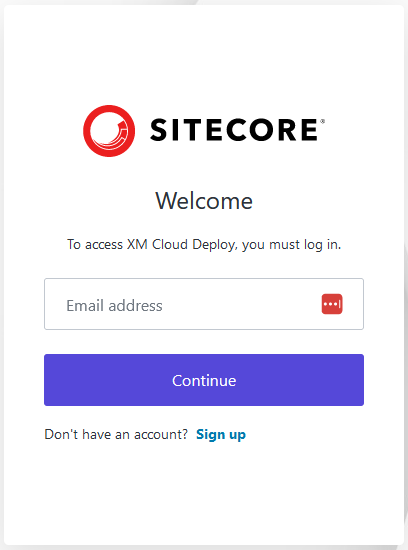
Login to XM Cloud
https://portal.sitecorecloud.io/
XM Cloud Organization-
Contains organization you are assigned to-
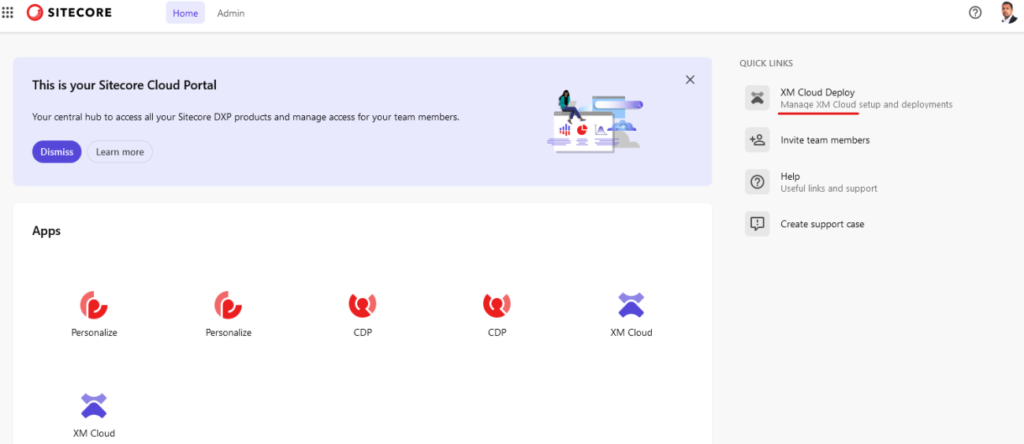
An organization is business unit either company or brand and contains team members and Sitecore Products you are subscribed and can have more than one Sitecore Product as seen in the below screen.
XM Cloud Deploy
As highlighted quick links container XM Cloud Deploy
https://deploy.sitecorecloud.io/
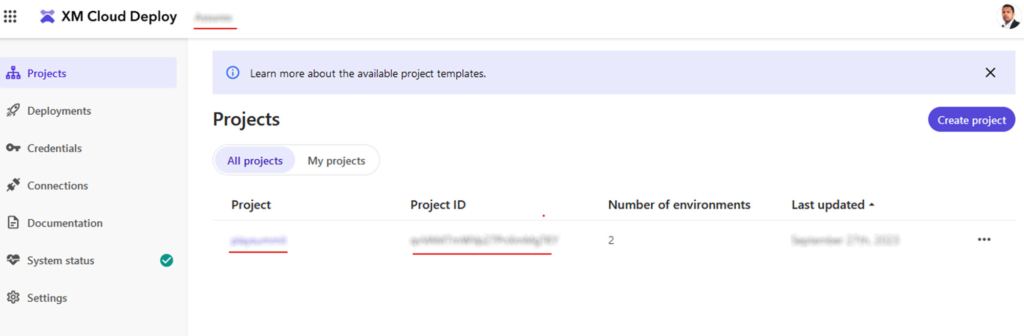
Deploy contanis list of projects and deployments done for each project and environments. It also container connections to GitHub or Vercel if site is hosted their.
The highlighted shows Organization name at the top and list of projects.
Connect to GitHub (Source Control Connections)
Ensure the changes (Sitecore Items) are pushed to GitHub repo.
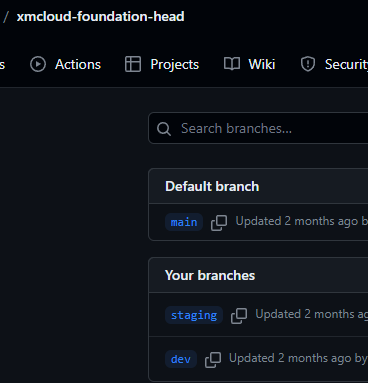
Recommended – create separate branch for each environment. I have created dev, staging and main(prod)
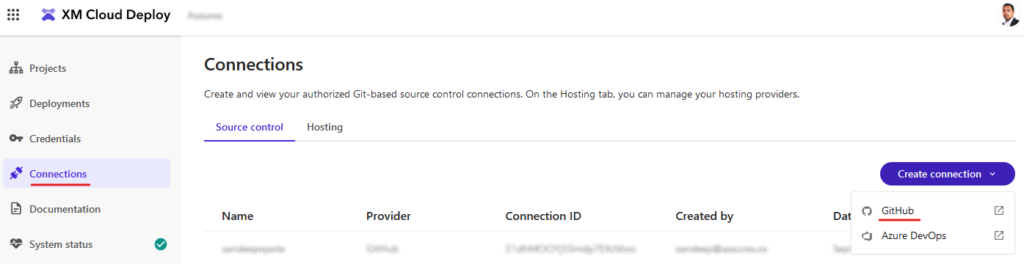
Connections – should show list of all connections for projects mainly Github and Azure Devop for Source Control, while hosting connections can be mafe to Vercel. In this section we will configure GitHub provider.
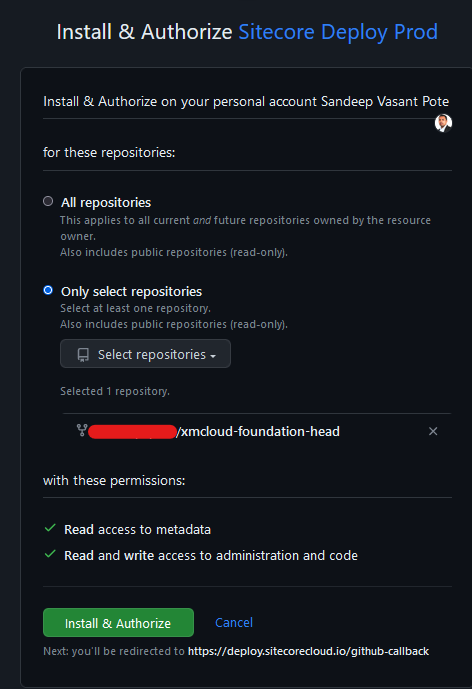
Create a new GitHub connection
Should ask to login and provide access to a repository, you may choose all or specific repository-
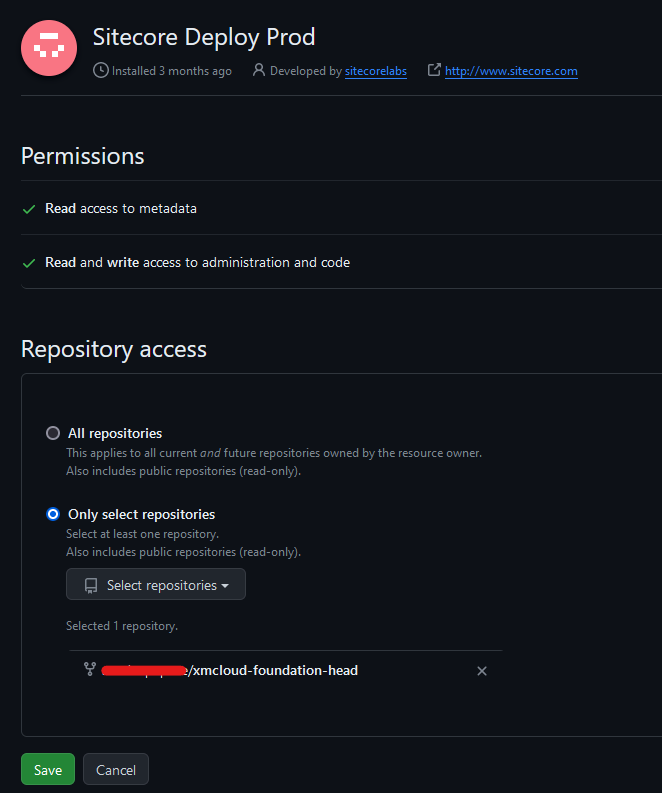
Since I already had connection you will be shown a different option to Install and Authorize
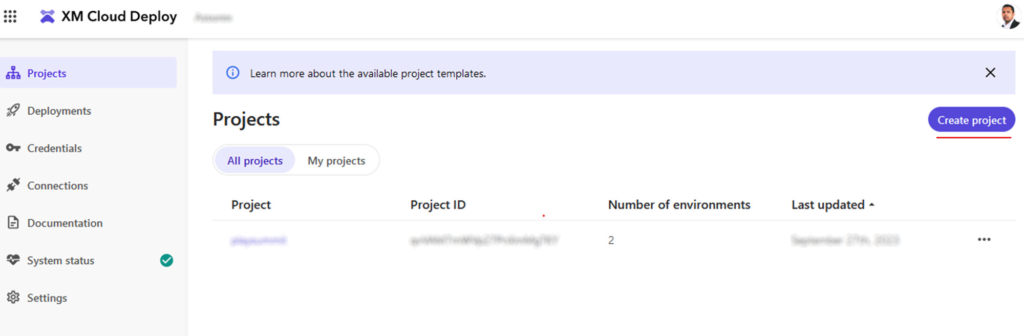
Create Project
Click on Create project option
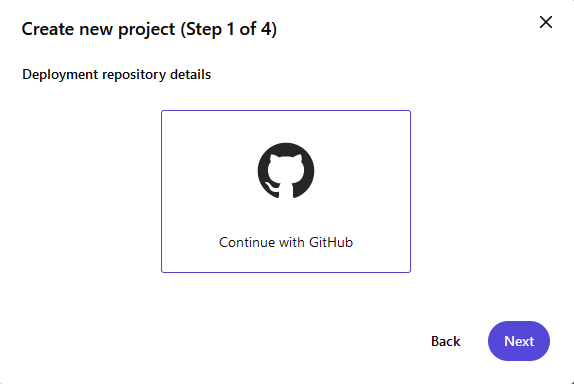
This should show the type of project to be created. We want to start from our own Source Code(GitHub) based on the connection made.
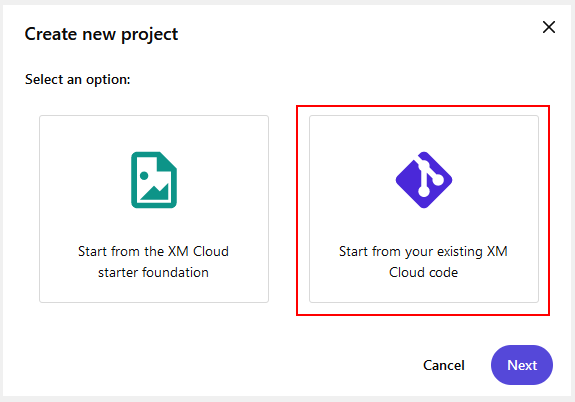
Since we configured only GitHub connection defaults to this Source Control-
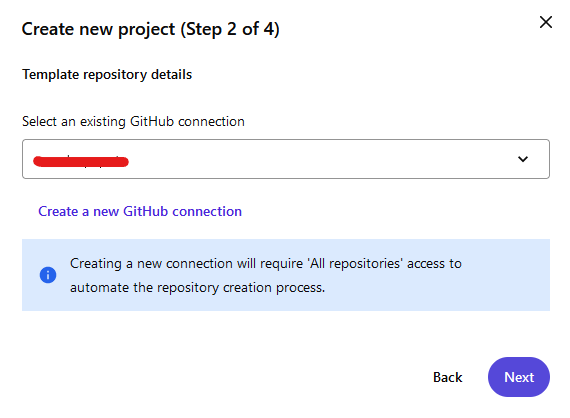
Your connection name will be displayed here. Choose the connection. This will also show any other connections available.
You may also create a new connection from here.
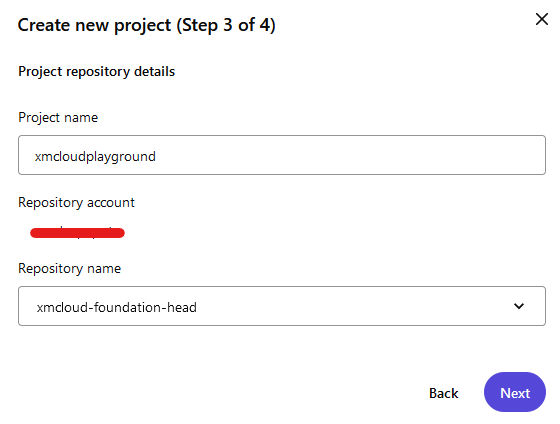
Provide the project name and the repository where Foundation Head code resides along with any other changes you might have done sa a part of development.
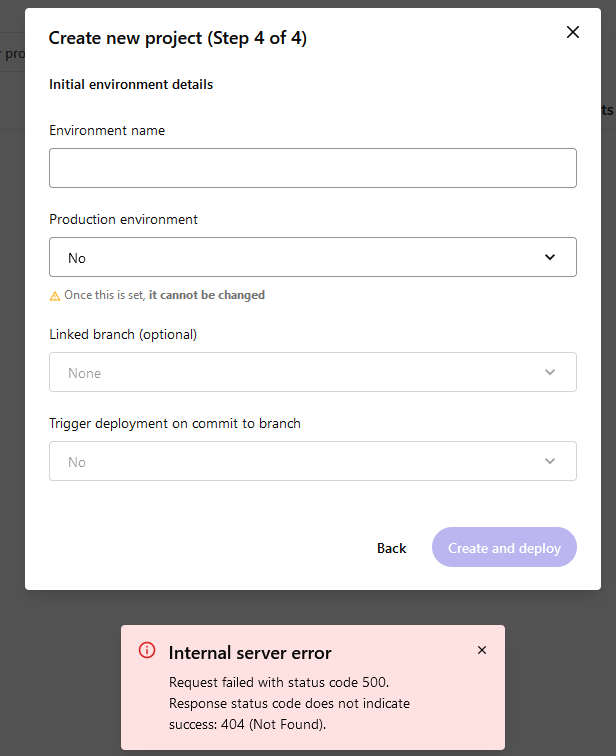
Environment name – provide name – should be able to relate which branch is this pulled from.
Production environment – if this is then choose yes, I have selected this as no since I ma setting dev environment
Linked branch- Select the appropriate branch ensure yuo have all the changes available in this branch which you want to deploy
Trigger deployment on commit to branch – Set if this has to be auto deployed if changes are pushed to selected branch.
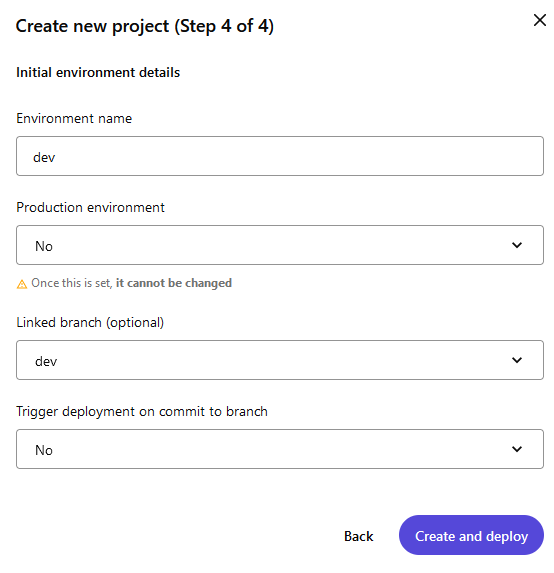
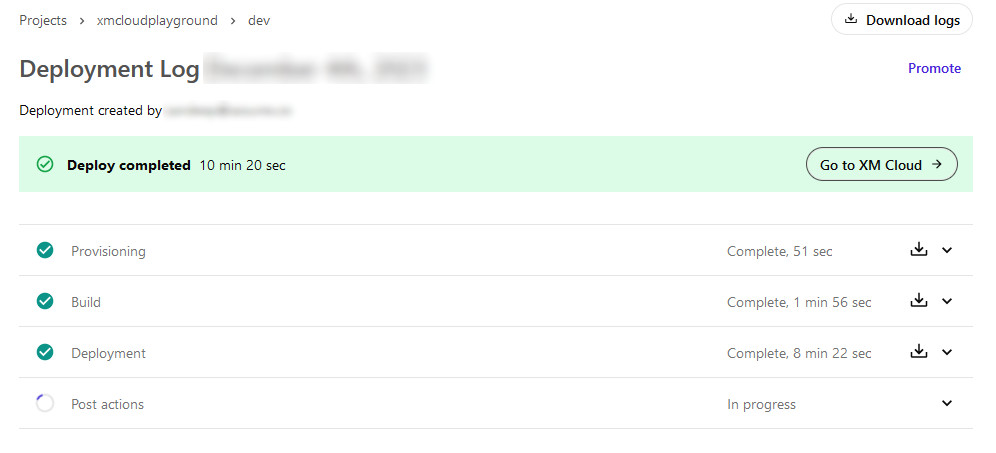
Deploy. This should start the deployment. This should take 10 -15 mins. Wait for the post actions.
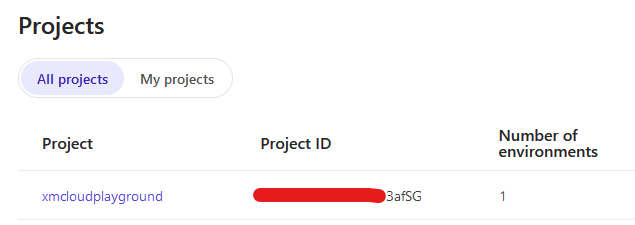
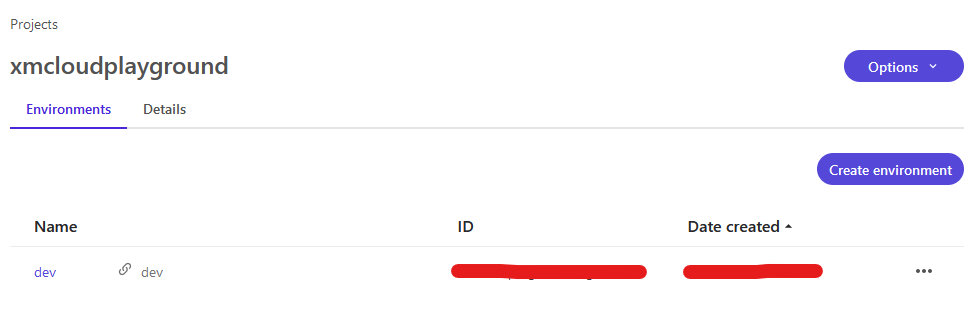
You should now see the newly created project with dev environment-
New Project Created
New Environment Created
New Site Created (sxastarter)
Select environment and goto Sites tab-
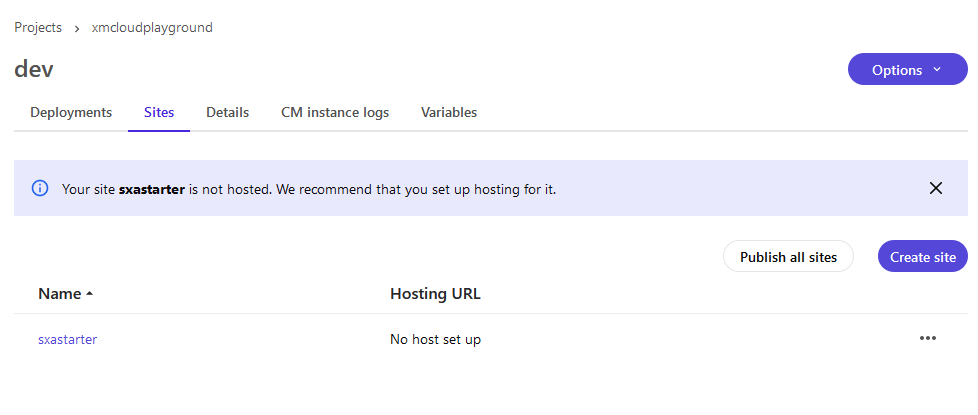
Will see in the next blog hot to setup the Hosting
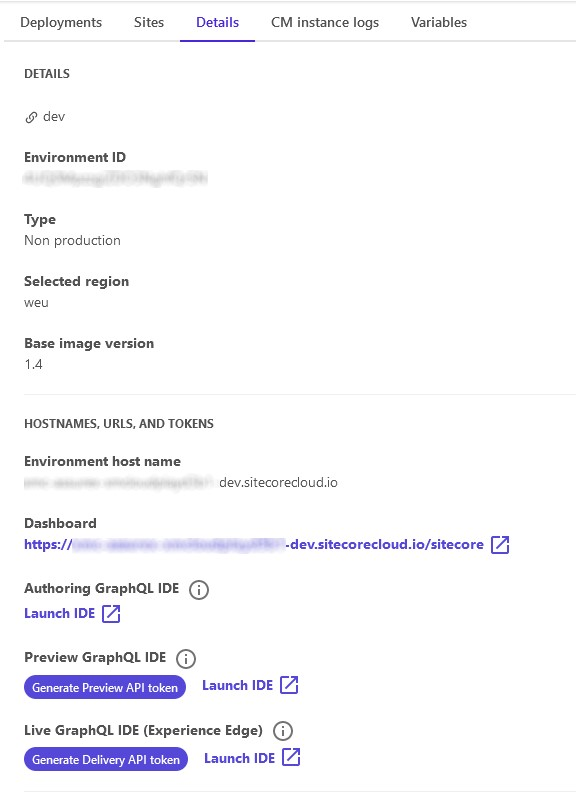
Select environment and Details tab- You should be able to see hostname, url’s and tokens along with Environment details.
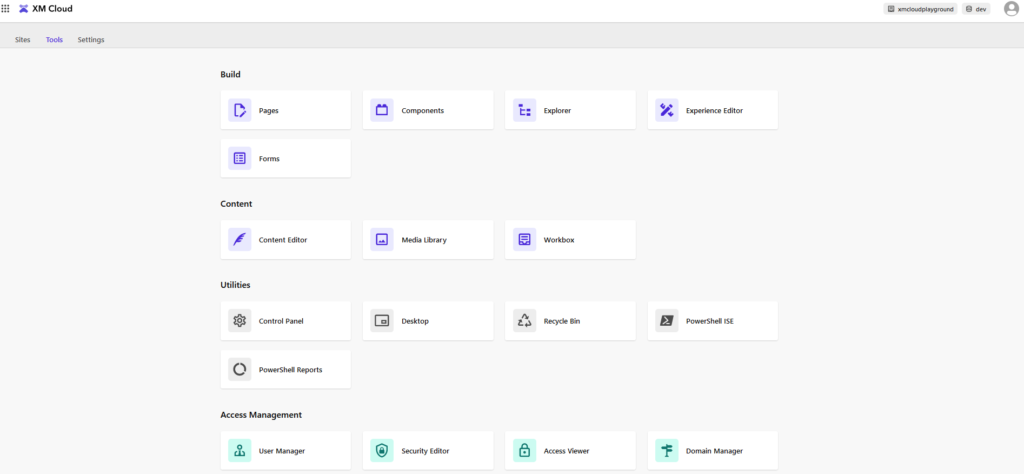
Click on the Dashboard link –> Tools to see if the items are synched-
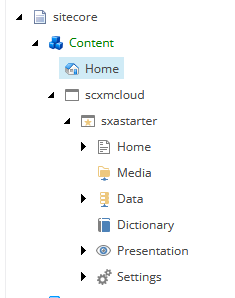
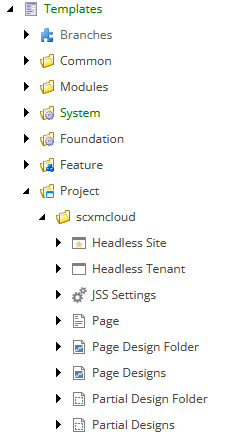
We now have templates, content and relevant items in layouts and image created
Content Editor with Site Collection, Site and Content
Templates Created
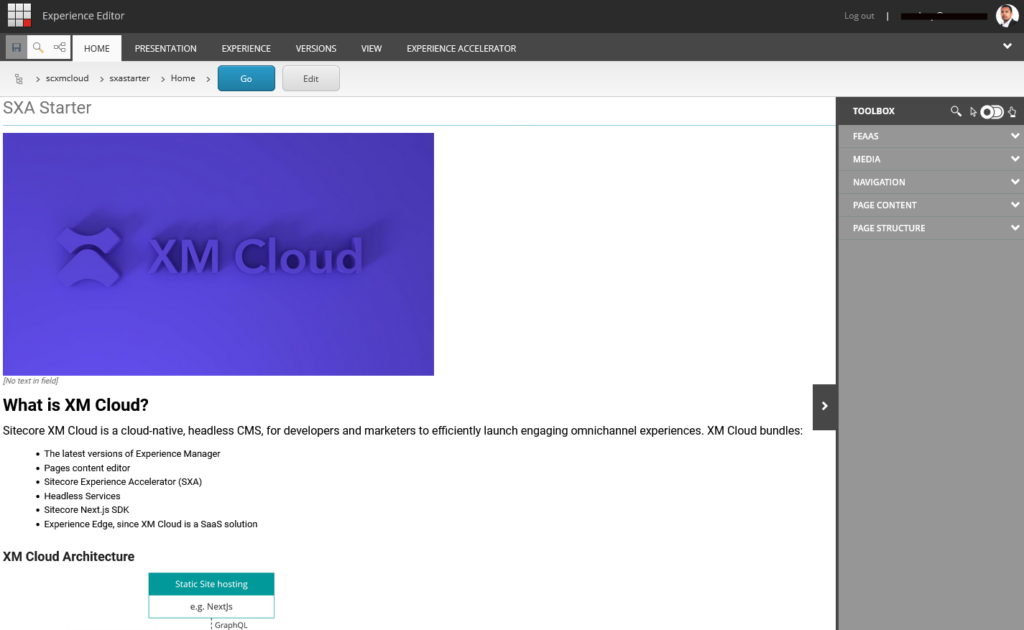
Experience Editor
Lets check the home page in experience editor
In the next bog will configure the Site hosting to Vercel.
Errors-
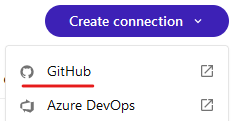
In connections select Create Connection –> GitHub
Click on Uninstall “Sitecore Deploy Prod”
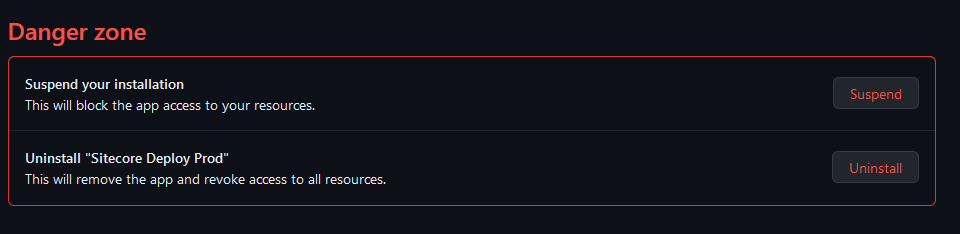
Follow the process of creating a Connection again and this time you will see option to Install & Authorize
Once this is done an confirmed try creating a project –
![]()